GitHub Actions
GitHub Actions는 코드 저장소(repository)로 유명한 GitHub에서 제공하는 CI/CD 기능이다.
GitHub Actions를 사용하면 자동으로 코드 저장소에서 어떤 이벤트가 발생했을 때 특정 작업이 일어나게 하거나 주기적으로 어떤 작업들을 반복해서 실행시킬 수도 있다.
GKE 웹 어플리케이션 배포 실습에 있는 어플리케이션을 받아와서 GitHub Actions를 사용해 배포해볼 것이다.
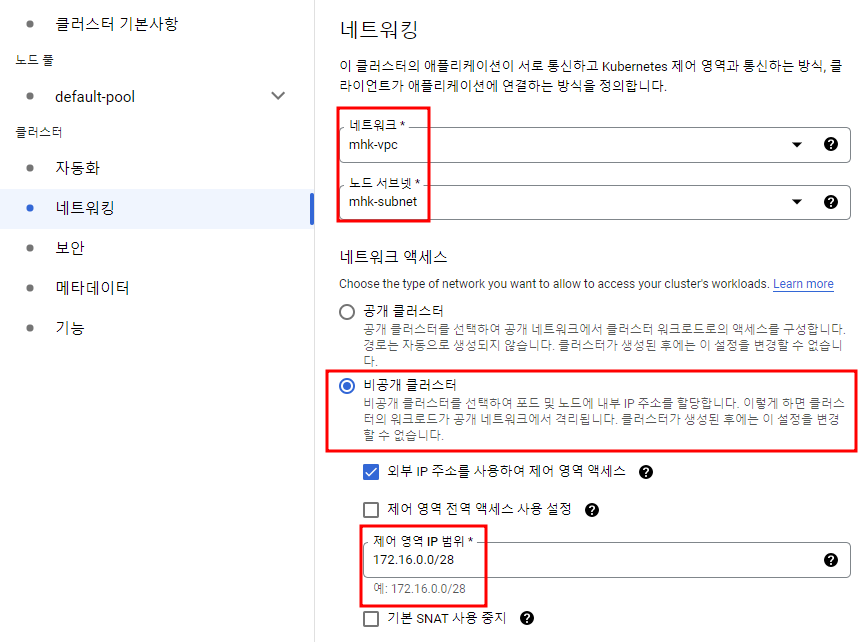
우선 GKE 클러스터를 생성해주는데 이전 GitLab CI/CD 포스트에서와 마찬가지로 비공개 클러스터로 생성해줄 것이다.
(GitLab CI/CD 포스팅 과 유사한 부분이 많다.)
GitHub 설정
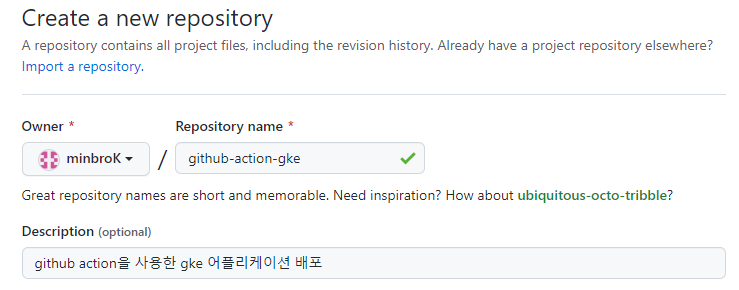
GitHub 저장소 생성
내 로컬에도 작업 폴더를 만들어주고 git 사용이 처음이라면 아래 명령어를 해준다.
git init
git config --global user.name "<이름>"
git config --global user.email "<메일 주소>"
구글에서 샘플 어플리케이션을 받아와서 아래의 파일들만 내 로컬 작업 폴더로 옮겨주자. 파일 위치는 아래의 경로에 있다.
kubernetes-engine-samples/hello-app
main.go
package main

import (
	"fmt"
	"log"
	"net/http"
	"os"
)

func main() {
	// register hello function to handle all requests
	mux := http.NewServeMux()
	mux.HandleFunc("/", hello)

	// use PORT environment variable, or default to 8080
	port := os.Getenv("PORT")
	if port == "" {
		port = "8080"
	}

	// start the web server on port and accept requests
	log.Printf("Server listening on port %s", port)
	log.Fatal(http.ListenAndServe(":"+port, mux))
}

// hello responds to the request with a plain-text "Hello, world" message.
func hello(w http.ResponseWriter, r *http.Request) {
	log.Printf("Serving request: %s", r.URL.Path)
	host, _ := os.Hostname()
	fmt.Fprintf(w, "Hello, world!\n")
	fmt.Fprintf(w, "Version: 1.0.0\n")
	fmt.Fprintf(w, "Hostname: %s\n", host)
}
Dockerfile
FROM golang:1.19.2 as builder
WORKDIR /app
RUN go mod init hello-app
COPY *.go ./
RUN CGO_ENABLED=0 GOOS=linux go build -o /hello-app

FROM gcr.io/distroless/base-debian11
WORKDIR /
COPY --from=builder /hello-app /hello-app
ENV PORT 8080
USER nonroot:nonroot
CMD ["/hello-app"]
helloweb-deployment.yaml
apiVersion: apps/v1
kind: Deployment
metadata:
  name: helloweb
  labels:
    app: hello
spec:
  selector:
    matchLabels:
      app: hello
      tier: web
  template:
    metadata:
      labels:
        app: hello
        tier: web
    spec:
      containers:
      - name: hello-app
        image: us-docker.pkg.dev/google-samples/containers/gke/hello-app:1.0
        ports:
        - containerPort: 8080
        resources:
          requests:
            cpu: 200m
helloweb-service-load-balancer.yaml
apiVersion: v1
kind: Service
metadata:
  name: helloweb
  labels:
    app: hello
    tier: web
spec:
  type: LoadBalancer
  ports:
  - port: 80
    targetPort: 8080
  selector:
    app: hello
    tier: web
kustomization.yml
resources:
- helloweb-deployment.yaml
- helloweb-service-load-balancer.yaml
이제 GitHub의 저장소와 싱크시켜주고 push 해주자
git branch -M main
git remote add origin <GitHub 저장소 URL>
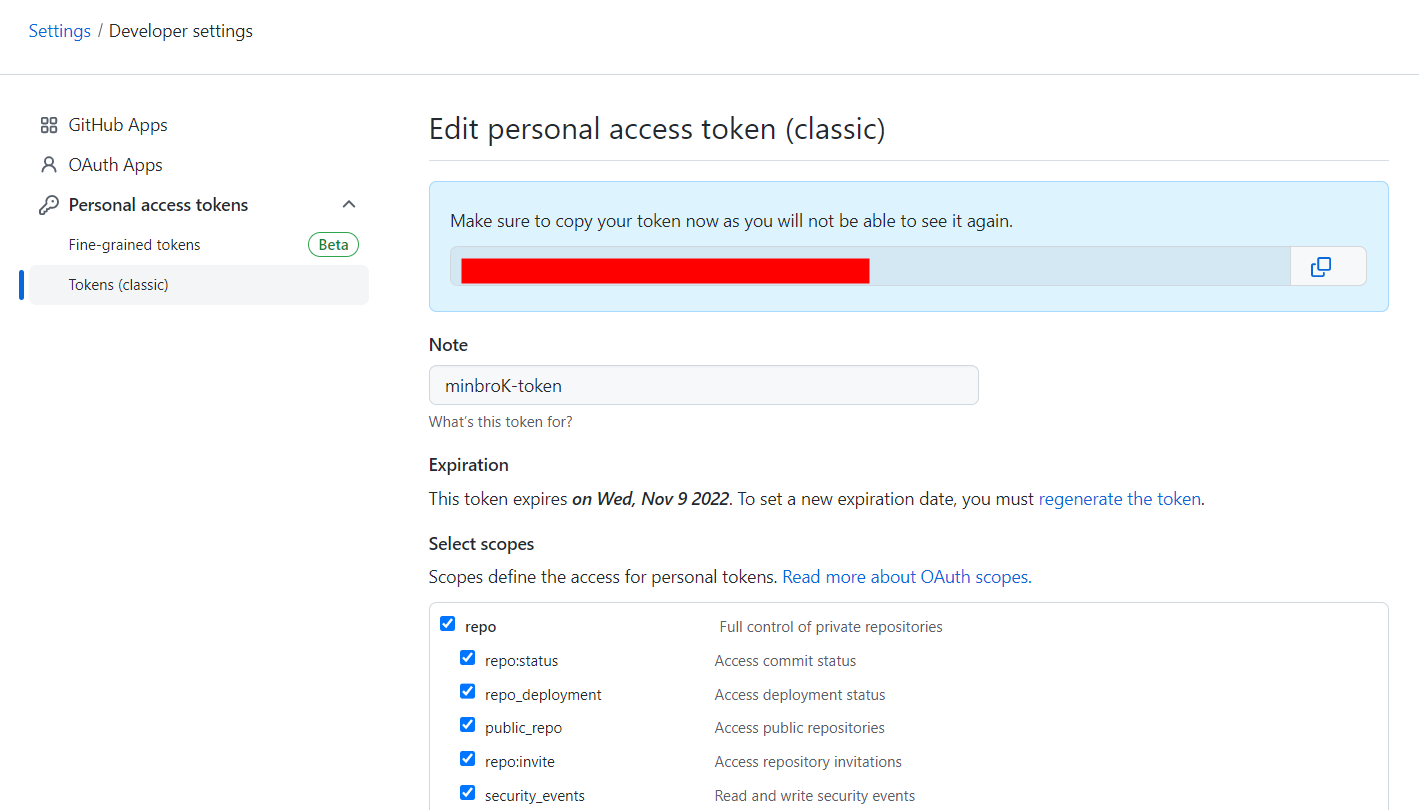
git push -u origin main
GitLab에서와 마찬가지로 password는 아래와 같이 토큰을 발급받고 그 토큰을 입력해줘야 한다.
이제 이 파일들을 갖고 GKE에 배포해주는 GitHub
Actions를 사용해볼 것이다. 그 전에 GitHub은 오픈소스이므로 GKE에 대한 인증이 필요하다. (컨테이너와 스토리지의 admin) 권한이 있는 서비스 계정 키를 등록시켜줘야 한다.
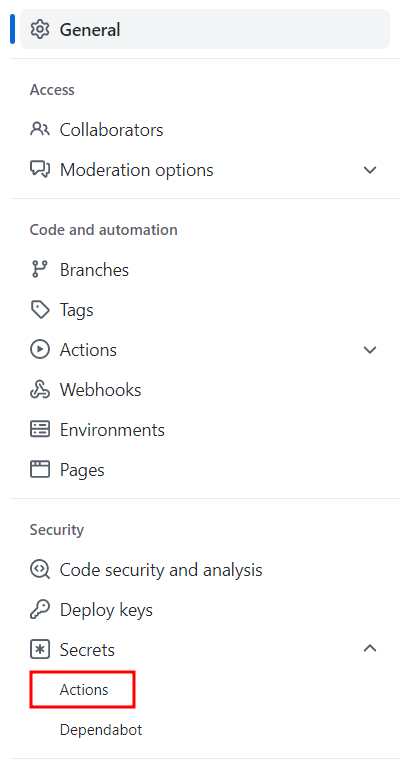
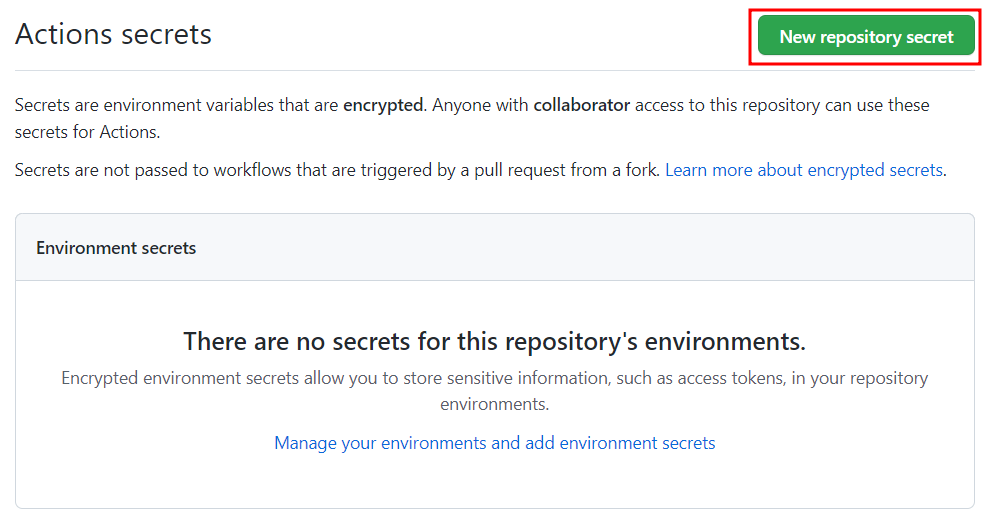
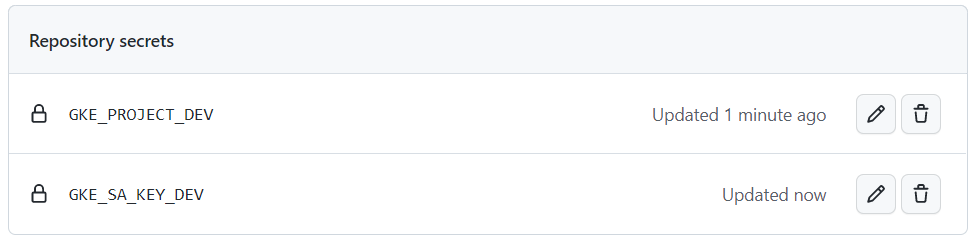
프로젝트 ID와 서비스 계정 키 값을 secrets에 넣어줬다.
어플리케이션 배포
이제 이 secret에서 해당 값들을 변수로 받아와서 사용할 것이다.
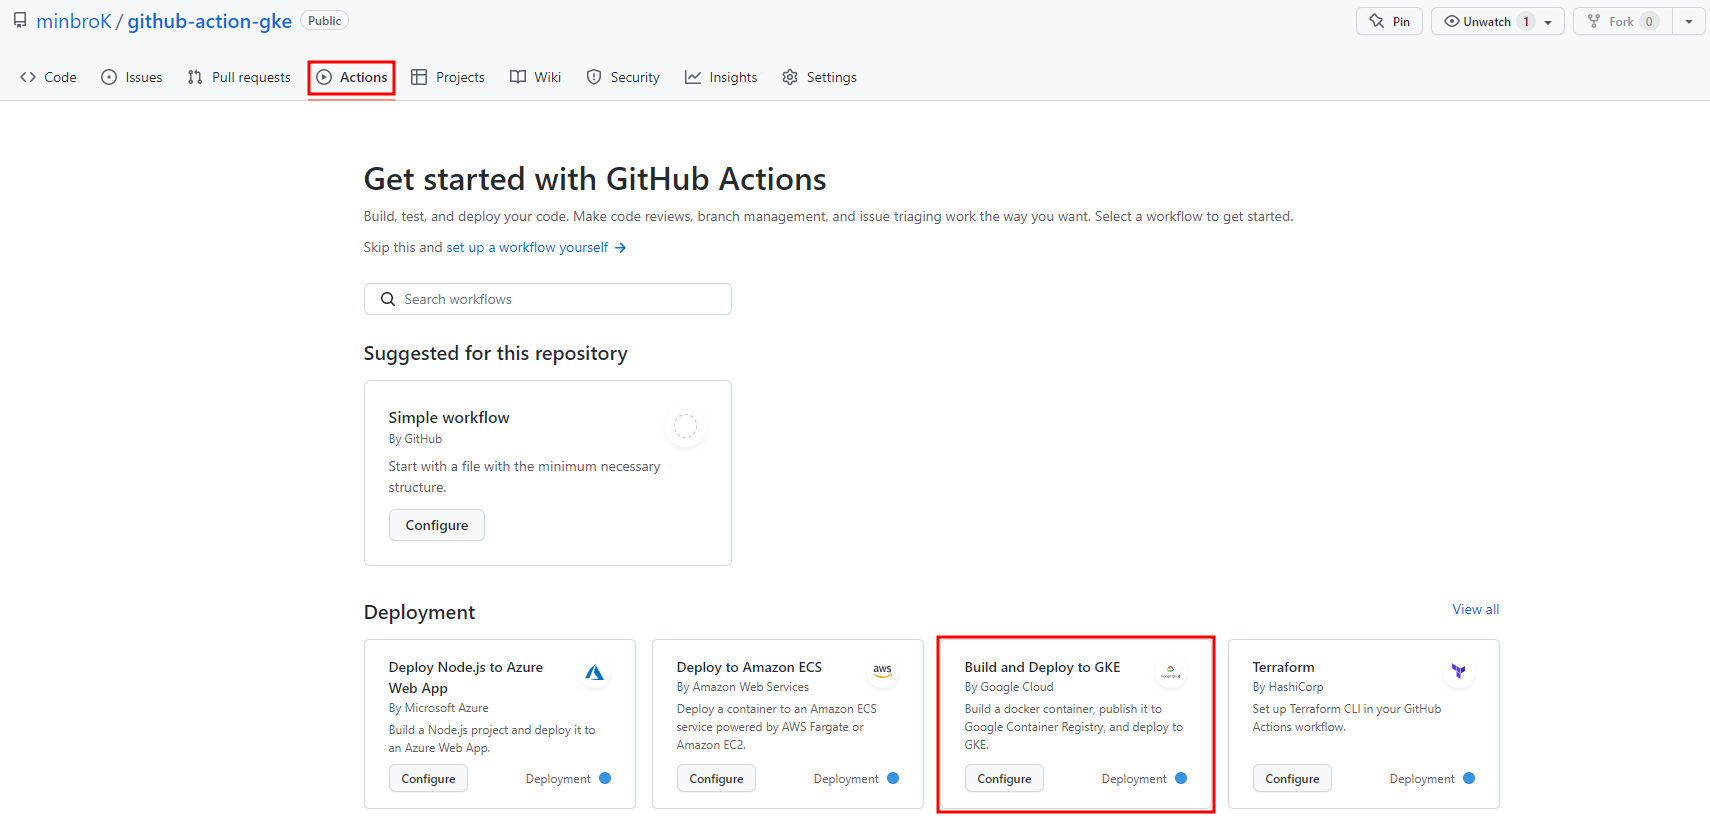
Actions에서 GKE로 빌드, 배포하는 것을 선택해주면 자동으로 기본 양식이 나온다.
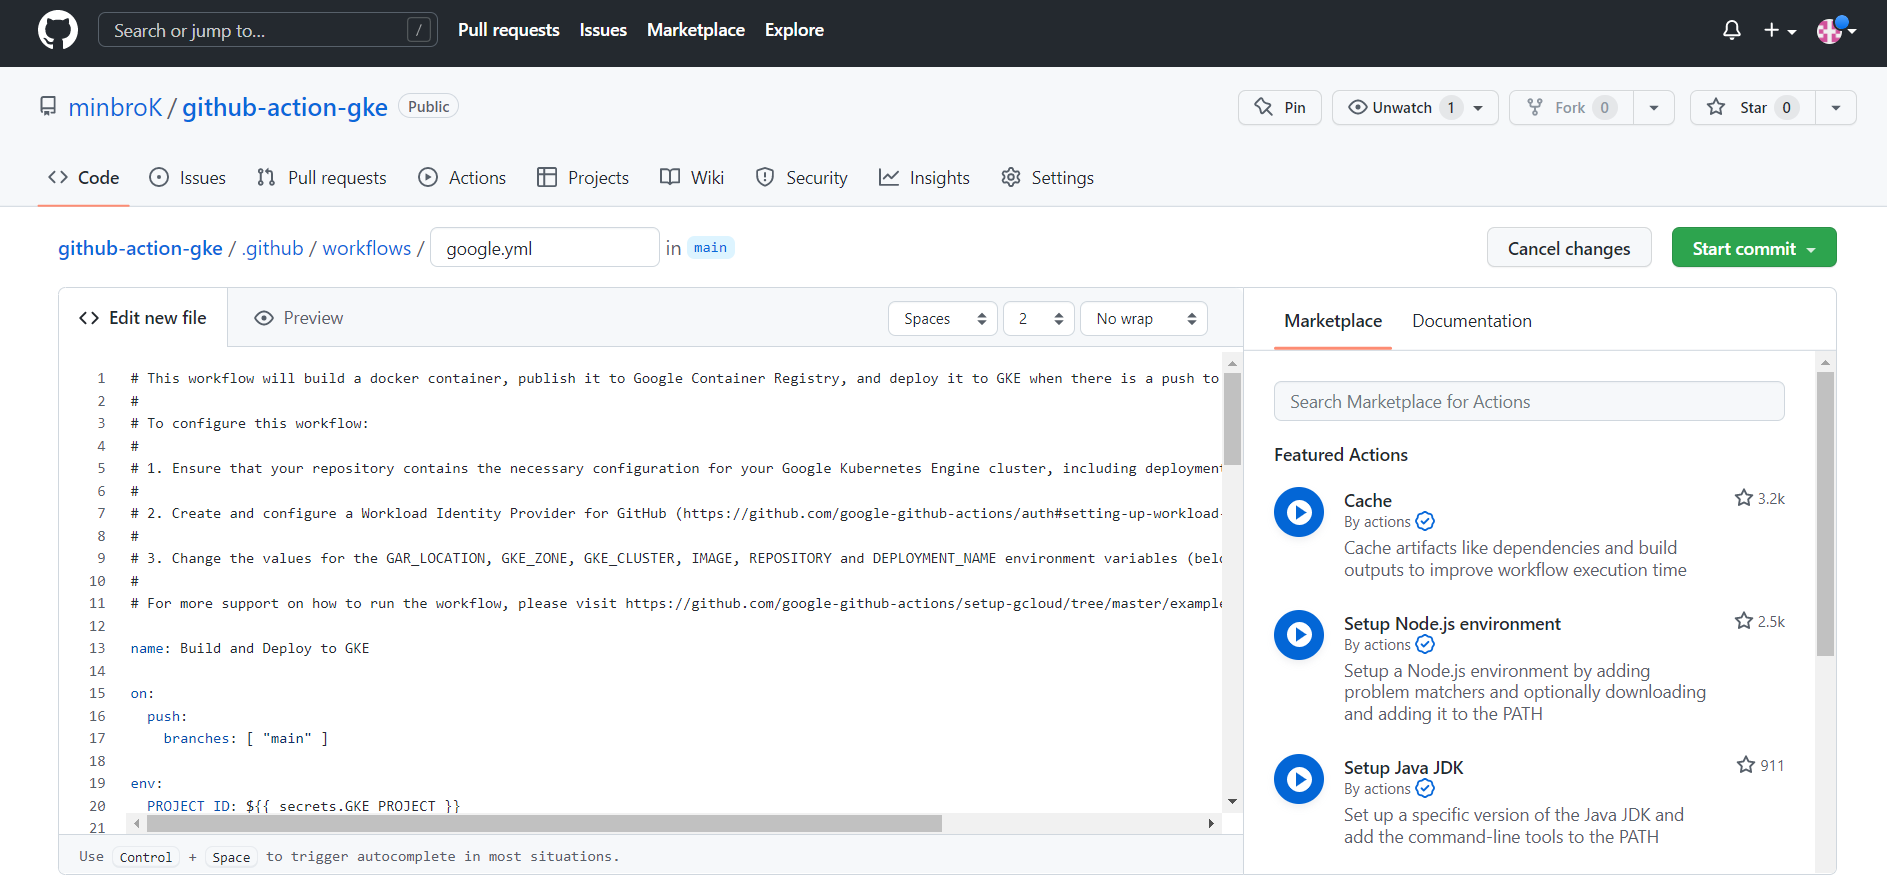
Workflows
GitHub Actions에서 가장 상위 개념인 워크플로우(Workflow, 작업 흐름)는 쉽게 말해 자동화해놓은 작업 과정이라고 볼 수 있다. 워크플로우는 코드 저장소 내에서 .github/workflows 폴더 아래에 위치한 YAML 파일로 설정하며, 하나의 코드 저장소에는 여러 개의 워크플로우, 즉 여러 개의 YAML 파일을 생성할 수 있다.
워크플로우 YAML 파일에는 크게 2가지를 정의해야한다.
- 첫번째는 on 속성을 통해서 해당 워크플로우가 언제 실행되는지를 정의
- 두번째는 jobs 속성을 통해서 해당 워크플로우가 구체적으로 어떤 일을 해야하는지 명시
GitHub Docs GKE에 배포 여기를 참고하여 아래와 같이 작성해준다.
위의 링크는 Artifact Registry로 빌드하는 코드이지만 난 Container Registry로 빌드해줬다.
google.yaml
name: Build and Deploy to GKE
on:
push:
branches: [ "main" ]
env:
PROJECT_ID: ${{ secrets.GKE_PROJECT_DEV }}
GKE_CLUSTER: <GKE 클러스터 이름>
GKE_ZONE: <ZONE>
DEPLOYMENT_NAME: <deployment 이름>
IMAGE: hello-app
jobs:
setup-build-publish-deploy:
name: Setup, Build, Publish, and Deploy
runs-on: ubuntu-latest
environment: production
steps:
- name: Checkout
uses: actions/checkout@v3
# Setup gcloud CLI
- uses: google-github-actions/setup-gcloud@94337306dda8180d967a56932ceb4ddcf01edae7
with:
service_account_key: ${{ secrets.GKE_SA_KEY_DEV }}
project_id: ${{ secrets.GKE_PROJECT_DEV }}
# Configure Docker to use the gcloud command-line tool as a credential
# helper for authentication
- run: |-
gcloud --quiet auth configure-docker
# Get the GKE credentials so we can deploy to the cluster
- uses: google-github-actions/get-gke-credentials@fb08709ba27618c31c09e014e1d8364b02e5042e
with:
cluster_name: ${{ env.GKE_CLUSTER }}
location: ${{ env.GKE_ZONE }}
credentials: ${{ secrets.GKE_SA_KEY_DEV }}
# Build the Docker image
- name: Build
run: |-
docker build \
--tag "gcr.io/$PROJECT_ID/$IMAGE:$GITHUB_SHA" \
--build-arg GITHUB_SHA="$GITHUB_SHA" \
--build-arg GITHUB_REF="$GITHUB_REF" \
.
# Push the Docker image to Google Artifact Registry
- name: Publish
run: |-
docker push "gcr.io/$PROJECT_ID/$IMAGE:$GITHUB_SHA"
# Set up kustomize
- name: Set up Kustomize
run: |-
curl -sfLo kustomize https://github.com/kubernetes-sigs/kustomize/releases/download/v3.1.0/kustomize_3.1.0_linux_amd64
chmod u+x ./kustomize
# Deploy the Docker image to the GKE cluster
- name: Deploy
run: |-
# replacing the image name in the k8s template
./kustomize edit set image gcr.io/$PROJECT_ID/$IMAGE:v1=gcr.io/$PROJECT_ID/$IMAGE:$GITHUB_SHA
./kustomize build . | kubectl apply -f -
kubectl rollout status deployment/$DEPLOYMENT_NAME
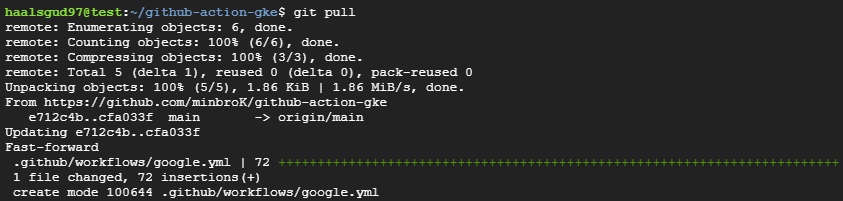
kubectl get services -o wide소스코드를 수정하고 싶다고 하면 GitHub에서 google.yaml을 바로 commit해주고 로컬에서 git pull해와서 작업해줘도 된다.
Commit후 Actions를 들어가면 자동으로 google.yaml에 정의된 작업들을 수행하여 CI/CD 파이프라인이 동작하는 것을 볼 수 있다.
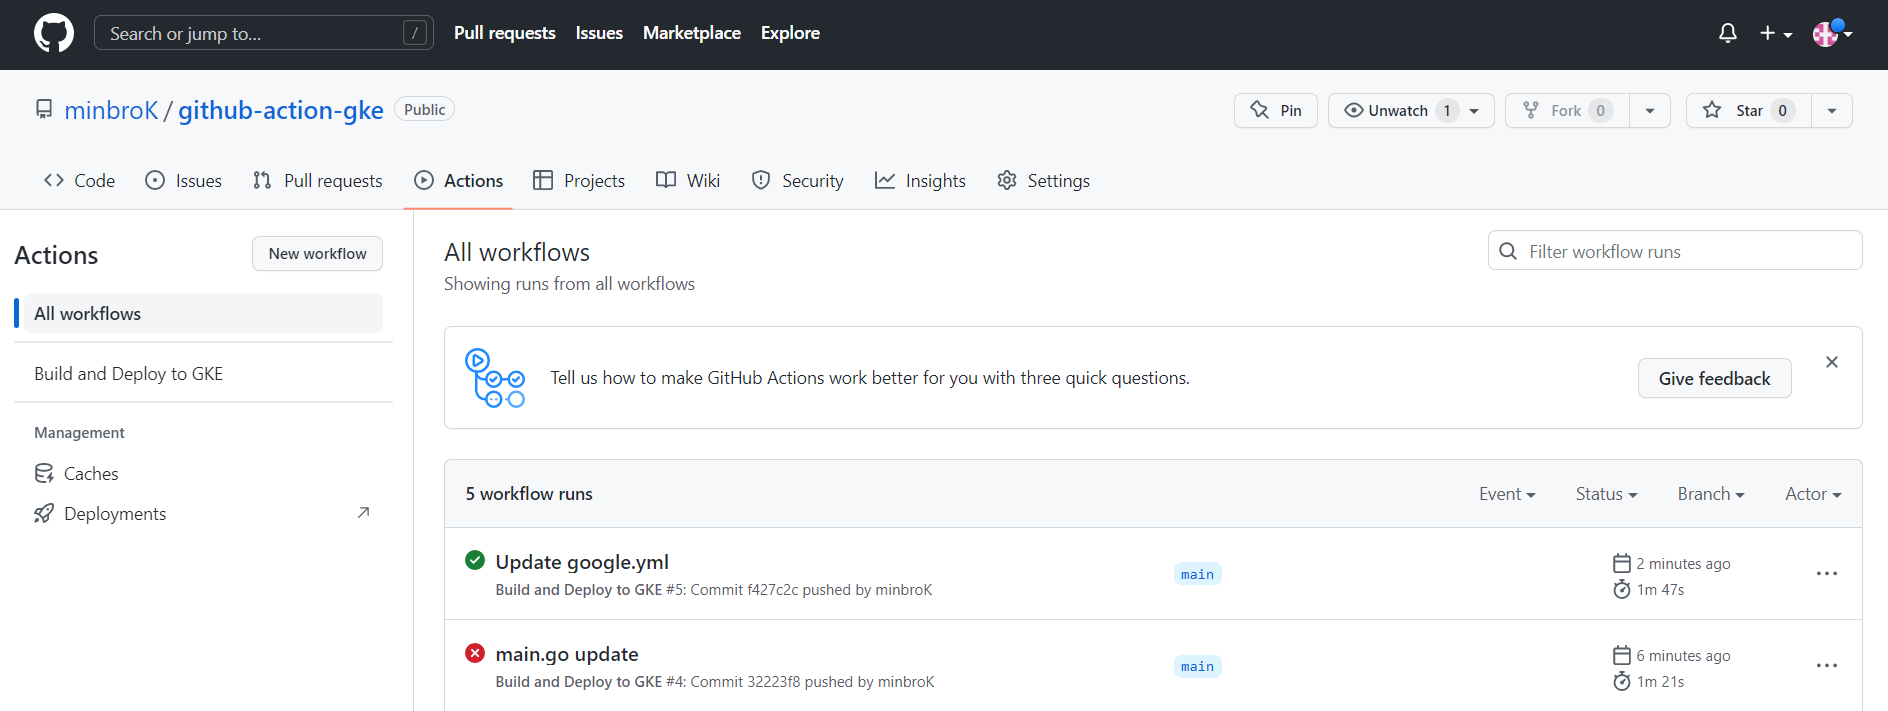
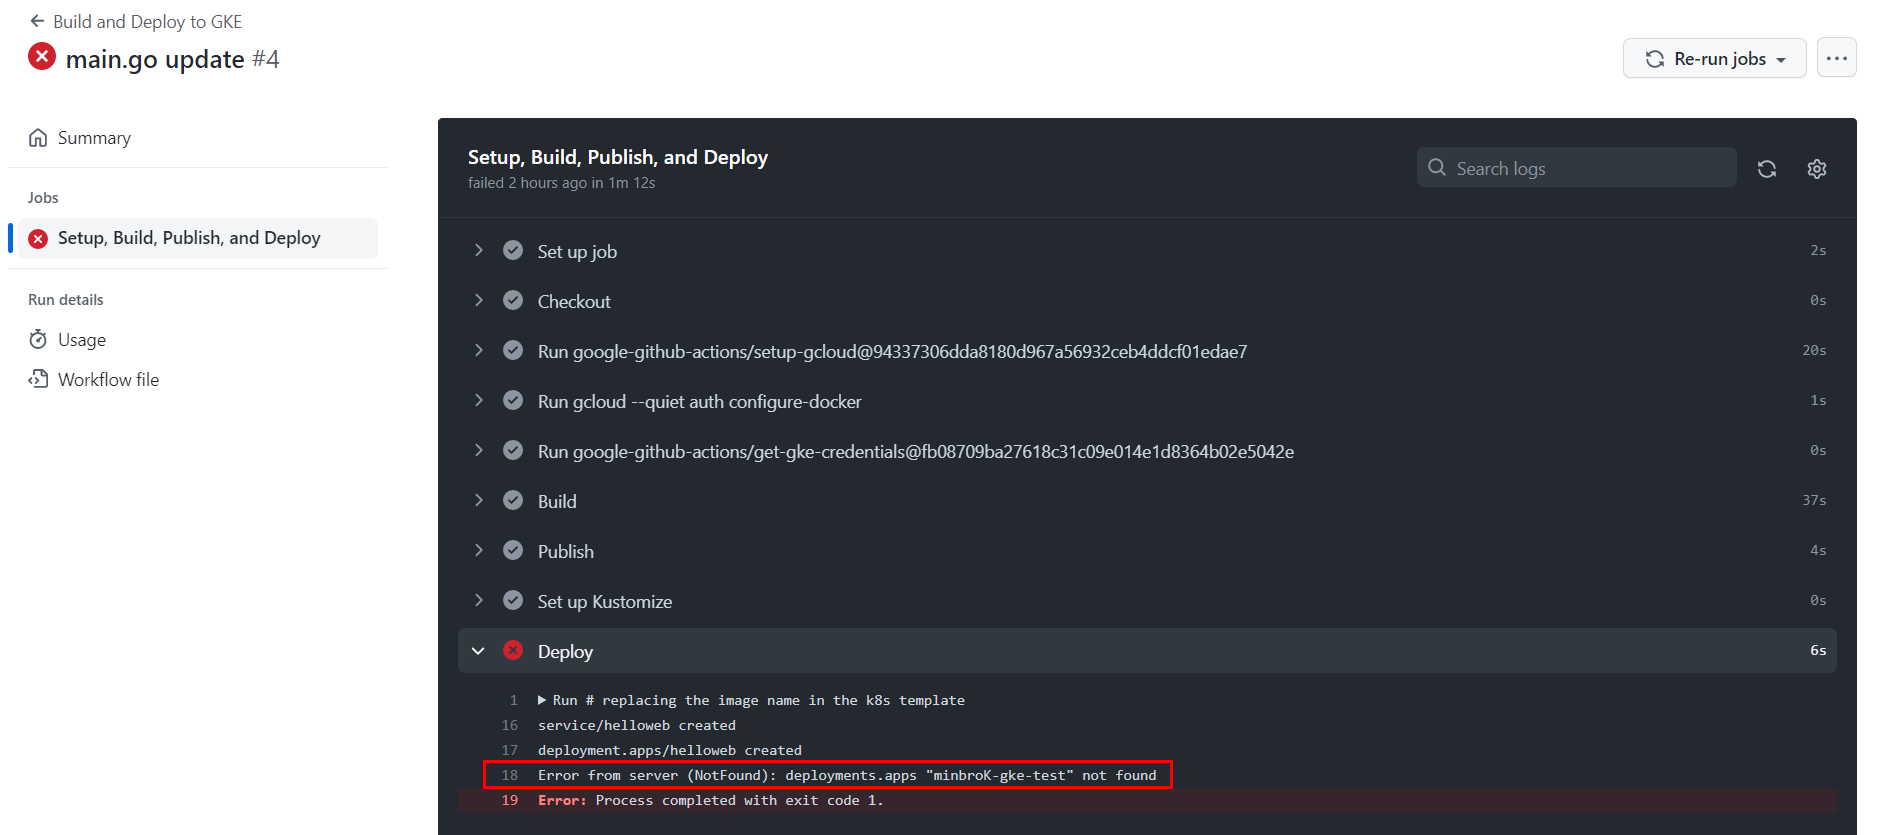
실패하게 되면 아래와 같이 해당 workflow에 들어가서 에러 로그를 볼 수 있다.
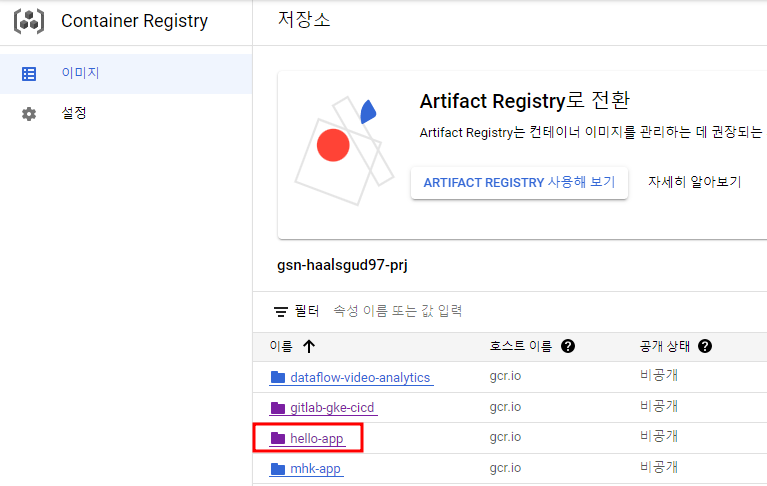
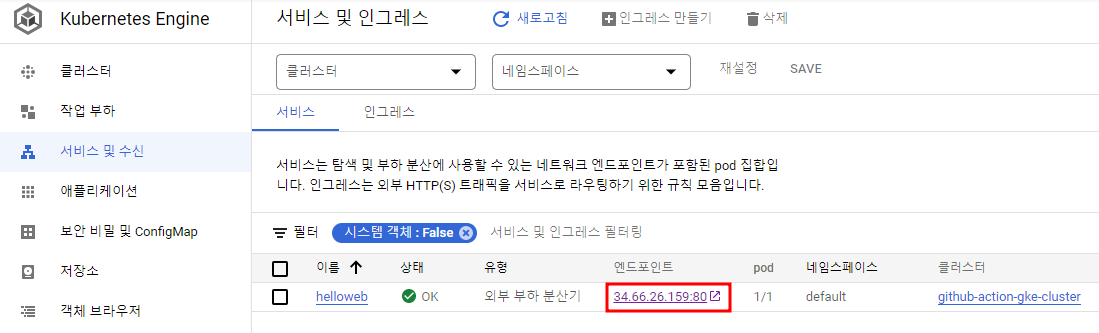
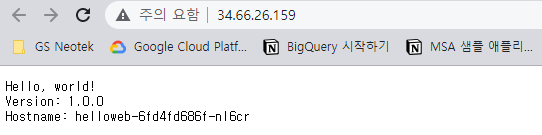
배포에 성공하면 Container Registry에 이미지가 빌드되고 LB를 통해 어플리케이션을 확인할 수 있다.
[GitHub Actions 참고]
https://www.daleseo.com/github-actions-basics/