1. 사전 준비
-
터미널이 사용가능한 os
-
python 가상 환경 ( conda )
mlflow models serve 할 때 필요
-
3.6 버전 이상 사용
2. 설치
# 새로우 디렉토리 생성
$ mkdir mlflow-tutorial

$ cd mlflow-tutorial

# conda 세팅
$ conda create -n mlflow-tutorial
$ conda activate mlflow-tutorial

$ pip install mlflow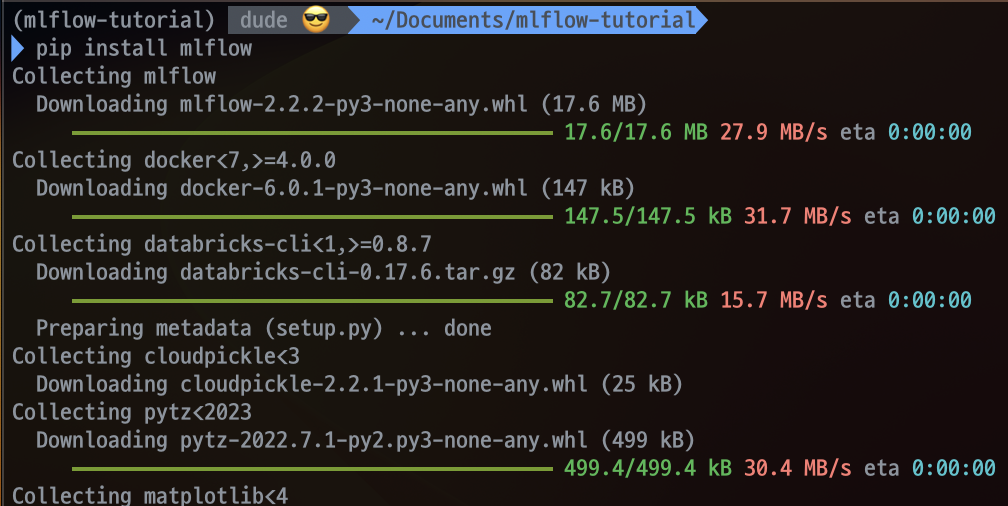
# 특정 버전을 설치할 경우
$ pip install mlflow==1.20.2

$ mlflow --version
3. MLflow tracking server 띄우기
$ mlflow ui --help
# mlflow tracking server를 띄운다.
# UI (dashboard)의 default url은 https://localhost:5000
# 5000포트가 열려있는지 확인
# production 용으로는 mlflow ui 대신 mlflow server를 사용하라는 안내가 출력
$ mlflow server --help
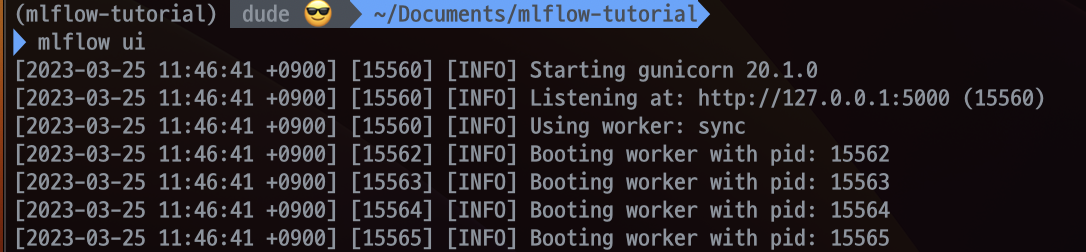
# mlflow server는 worker를 여러 개 띄울 수 있고, prometheus가 metrics를 가져갈 수 있도록 엔드포인트를 제공하는 등의 추가적인 기능이 존재.$ mlflow ui노트북에서 5000번 포트가 사용 중이 아니었다면,
http://127.0.0.1:5000 로 접속하면 된다는 안내 출력
다른 터미널을 열어서, 동일한 디렉토리로 이동하여 mlruns 라는 디렉토리가 생성된 것을 확인
- mlflow ui 실행 시,
--backend-store-uri, --default-artifact-root 옵션을 주지 않은 경우,
mlflow ui를 실행한 디렉토리에 mlruns라는 디렉토리를 생성한 뒤,
그 곳에 실험 관련 데이터를 저장하게 된다.
$ cd mlflow-tutorial

$ ls -a

$ cd mlruns

$ cat 0/meta.yaml- 이 디렉토리가 존재한다면, mlflow ui 터미널을 종료한 뒤,
다시 실행시켜도 동일한 화면을 볼 수 있게 된다.