Vue.js
공식문서가 한글을 지원하는 위대한 프레임워크..!!
검색하면 보통 버전2 내용이 많을텐데, 요즘은 버전3을 많이쓰니 버전3으로 검색해서 사용하자.

Vue의 대표적인 기능은 선언적 렌더링과 반응성이다.
뷰 사용해보기
<div id="app">{{ counter }}</div>
<script>
const { createApp } = Vue;
const app = createApp({
data() {
return { counter: 0 }
},
/* mounted() {
setInterval(() => {
this.counter += 1
}, 1000)
} */
}).mount('#app');
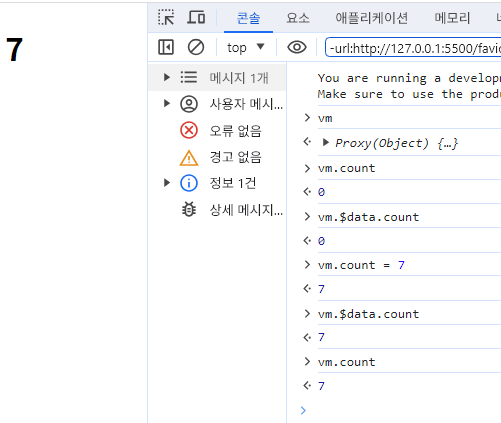
</script>여기서 counter라는 데이터값은

Proxy라는 객체에 들어가있다.
실제로 Proxy객체 내부의 counter라는 값을 바꾸면 리-렌더링이 일어난다.

directive
v-bind키워드를 이용하면 html속성에 데이터를 넘겨줄 수 있다.
이를 디렉티브(Directive)라고 부른다.
<style>
    .orange {
      color: orange;
      font-size: 30px;
    }
  </style>
  <div id="app">
    <div v-bind:class="{ orange: active }">{{ counter }}</div>
    <script>
      const { createApp } = Vue;
      const app = createApp({
        data() {
          return {
            counter: 0,
            active: true
          }
        },
      }).mount('#app');
    </script>
결과 :
methods(v-on)
노드에 메서드를 할당할 수도 있다.
v-on 디렉티브를 사용하면 이벤트 리스너에 할당할수 있다.
<div id="app">
    <div v-bind:class="{ orange: active }">{{ counter }}</div>
    <button v-on:click="increase">버튼</button>
  </div>
 <script>
      const { createApp } = Vue;
      const app = createApp({
        data() {
          return {
            counter: 0,
            active: true
          }
        },
        methods: {
          increase() {
            this.counter += 1;
          }
        }
      }).mount('#app');
    </script>
버튼을 누르면 counter가 증가한다

v-if
v-if키워드를 사용하면 조건문 렌더링을 사용할 수 있다.
<div id="app">
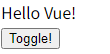
<div v-if="active">Hello Vue!</div>
<button v-on:click="toggle">Toggle!</button>
</div>
<script>
const { createApp } = Vue;
const app = {
data() {
return {
active: false,
}
},
methods: {
toggle() {
this.active = !this.active
}
}
}
createApp(app).mount('#app');
</script>
버튼을 누르면this.active를 토글한다.
그리고 'Hello Vue'노드는v-if를 사용하여active에 의존한다.

v-for
  <div id="app">
    <ul>
      <li v-for="fruit in fruits">{{ fruit }}</li>
    </ul>
  </div>
  <script>
    const { createApp } = Vue;
    const app = {
      data() {
        return {
          fruits: [
            "apple", 'banana', 'cherry'
          ]
        }
      },
    }
    createApp(app).mount('#app');
</script>v-for속성을 이용하여 반복문으로 노드를 생성할 수 있다.
이때 v-for="[반복문 내부 데이터] in [반복문 할 객체, 배열 등]" 이렇게 사용 후
반복할 노드가 예를 들어 li라면 <li> {{ [반복문 내부 데이터] }}</li> 이렇게 사용해주면 된다.
v-model
v-model디렉티브를 사용하면 양방향 바인딩이 가능하다.
예를들면 input의 밸류를 Vue의 데이터와 바인딩하면 양방향이 가능함.
나중에 따로 자세히 다루는 파트가 있음.
뷰의 컴포넌트
반복되는 부분을 컴포넌트로 만들어놓으면 유용하다.
Vue역시 컴포넌트 기능을 지원한다.
  <div id="app">
    <ul>
      <!--  v-for로 fruits를 반복해서 사용하고, v-bind키워드를 붙인 fruit-name(프롭스)에 반복문 내부 데이터인 fruit를 할당한다. -->
      <fruit-item v-for="fruit in fruits" v-bind:fruit-name="fruit"></fruit-item>
    </ul>
  </div>
  <script>
    const { createApp } = Vue;
    // template으로 컴포넌트에서 사용할 노드를 넣고, props도 정한다.
    const FruitItem = {
      template: '<li>{{ fruitName }}</li>',
      props: ['fruitName']
    }
    const app = {
      components: {
        FruitItem
      },
      data() {
        return {
          fruits: [
            "apple", 'banana', 'cherry'
          ]
        }
      },
    }
    createApp(app).mount('#app');
  </script>
애플리케이션과 인스턴스 생성
const vm = createApp(app).mount('#app');이렇게 변수에 할당해서 인스턴스를 활용할수도 있다. 속성들은 보통 $property이렇게 달러사인을 붙여 사용한다.
자세한 설명은 공식문서를 보면 될것같다.
라이프 사이클
각 컴포넌트는 생성될때 일련의 초기화 단계를 거친다.
출처:https://v3-docs.vuejs-korea.org/guide/essentials/lifecycle.html#lifecycle-
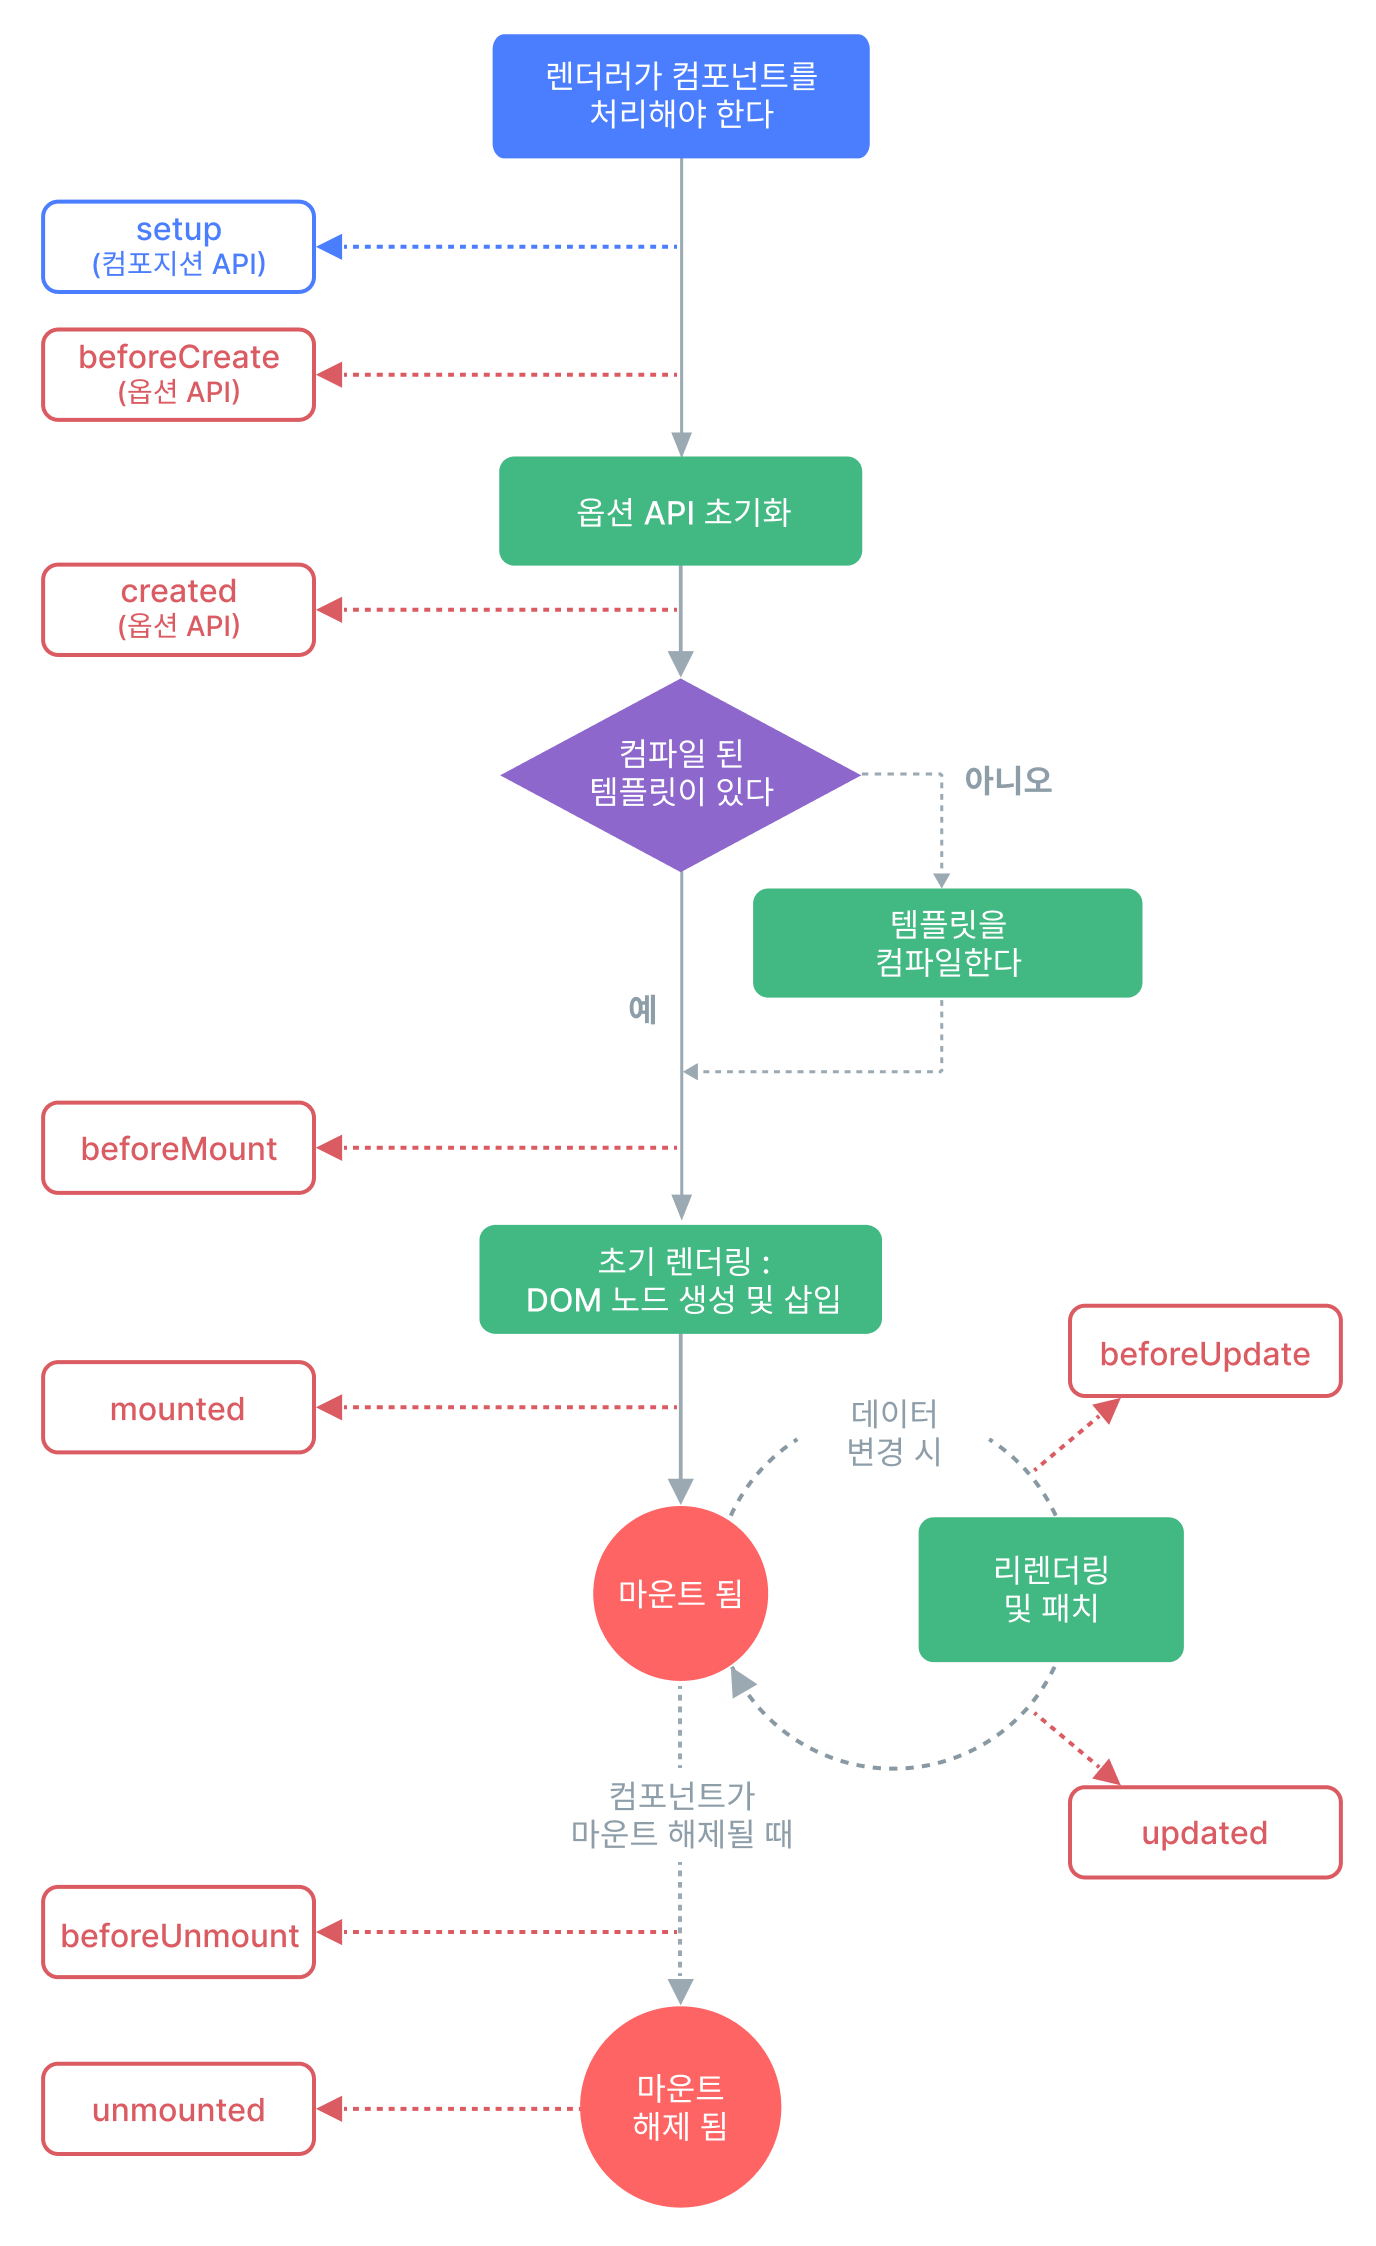
각 생명주기를 간단하게 나타내면 이렇다
beforeCreate => created => mounted (업데이트될때 beforeUpdate, updated발생)=> beforeUnmount => unmounted
data()처럼 객체의 메서드에 넣어주면된다.
const app = {
      data() {
        return {
          msg: 'Hello Vue!'
        }
      },
      beforeCreate() {
        console.log("befroe create", this.msg)
        console.log(document.querySelector("h1"))
      },
      created() {
        console.log("created!", this.msg)
        console.log(document.querySelector("h1"))
      },
      beforeMount() {
        console.log("before mount!", this.msg)
        console.log(document.querySelector("h1"))
      },
      mounted() {
        console.log("mounted!", this.msg)
        console.log(document.querySelector("h1"))
      }
    }
생성 이전단계는 초기화가 이루어지지 않아this.msg에 접근할수 없다.
또한 마운트가 되야지만 DOM에 접근해 가져올 수 있음.

    const app = {
      data() {
        return {
          msg: 'Hello Vue!'
        }
      },
      beforeUpdate() {
        console.log("Before update", this.msg)
      },
      updated() {
        console.log("updated", this.msg)
      }
    }
    const vm = createApp(app).mount('#app');
왜beforeUpdate는 이전의 값을 가져오지 못할까?
=> 업데이트는 데이터의 업데이트가 아니라 화면의 업데이트다. 실제로 쿼리셀럭터로 확인해보면beforeUpdate는 이전값을 가져옴

템플릿 문법
Vue는 내부적으로 템플릿을 가상DOM렌더링 함수로 컴파일됨.
=> 리액트와 비슷하구나! 최적화를 하여 DOM조작 최소화.
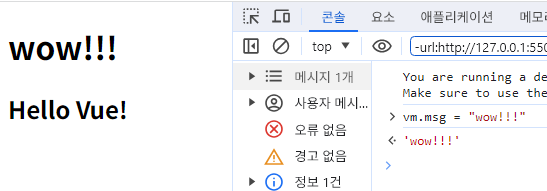
v-once
데이터갱신 없이 고정된 데이터 사용할때 이 디렉티브를 사용함.
<div id="app">
    <h1>{{ msg }}</h1>
    <h2 v-once>{{ msg }}</h2>
  </div>
  <script>
    const { createApp } = Vue;
    const App = {
      data() {
        return {
          msg: 'Hello Vue!'
        }
      },
    };
    const vm = createApp(App).mount("#app");
  </script>
h2태그는v-once디렉티브를 사용해서 데이터가 바뀌지 않는다.
v-html
문자열로 작성된 html를 렌더할때 필요한 디렉티브
<h3>{{rawHtml}}</h3>
<h3 v-html="rawHtml"></h3>
이를 사용할땐 innerHTML처럼 XSS공격에 주의해야함(Cross Site Scripting).
=> 신뢰할수 없는 스크립트를 바로 실행하면 문제가 있다.
반드시 신뢰할 수 있는 콘텐츠에서만 사용하고 유저가 제공한 컨텐츠에서는 사용하지 말자.
v-bind
html속성을 동적으로 할당할때 이중중괄호{{}}는 쓸수없다. 따라서v-bind디렉티브를 이용함.
<div v-bind:class="dynamicClass"></div>단순한 boolean속성이 들어간다면, 해당하는 속성이 boolean에 따라 출력되지 않거나, 출력됨.
참고로 truthy, falsy한 값들도 가능하다.
이중 중괄호 내부
단일 표현식만 사용가능.
=> 할당문, 조건문 사용불가(삼항 연산자로 대체가능)
디렉티브 심화
속성 이름도 동적으로 정해줄수 있다.
<a v-bind:[attributeName]="url">...</a>
<script>
...
  data(){
  	return{
  		url:"local...",
  		attributeName: "href"
  	}
  }
</script>
또한 여러 디렉티브를 축약표현으로 사용할수도 있다!
<!-- v-bind축약 -->
<a v-bind:href="url">...</a>
<a :href="url">...</a>

<!-- v-on 축약 -->
<a v-on:click="onclick">...</a>
<a @click="onclick">...</a>
데이터와 메서드
데이터는 원래 $data내부에 등록됨. 사용자가 this키워드를 편하게 사용하기위해 재할당해줌.
동적으로 데이터에 접근할때는 $data에 접근해서 바꿔주는것이 좋다.
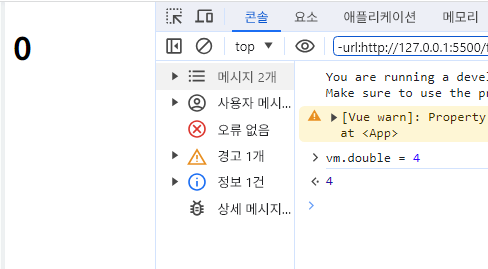
또한 초기값이 지정(선언)되어있지 않으면 동적으로 렌더링되지 않는다.
그런데, 자꾸 등장하는 Proxy는 뭘까?
proxy
Proxy 객체를 사용하면 한 객체에 대한 기본 작업을 가로채고 재정의하는 프록시를 만들 수 있습니다.
출처:https://developer.mozilla.org/ko/docs/Web/JavaScript/Reference/Global_Objects/Proxy
객체에 대한 작업을 가로챈 포워드 프록시같은 느낌이구나!
const app = {
data: {
count: 0
}
}
const proxyA = new Proxy(app.data, {
get(target, key) {
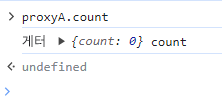
console.log("게터", target, key)
},
set(target, key) {
console.log("세터", target, key)
}
})위와같이 정의해두면 app.data객체에 접근할때마다 get,set이 발생된다.
=> Object.defineProperty와 비슷하지만 더 많은 기능이 제공된다.
참고로 target,key는 이렇게 나온다
data가 타겟이고key는 조회한 키값이다.