Ajax
Ajax는 Jquery가 임포트한 페이지에서만 동작가능하다.$.ajax({
type: "GET",
url: "여기에URL을입력",
data: {},
success: function(response){
console.log(response)
}
})Ajax의 기본 골격이다.
서울시 미세먼지 api를 이용하여 업데이트 버튼을 누를때마다 미세먼지를 표시하는 페이지를 만들어 볼 것이다.
<!doctype html>
<html lang="ko">
<head>
<meta charset="UTF-8">
<title>jQuery 연습하고 가기!</title>
<!-- jQuery를 import 합니다 -->
<script src="https://ajax.googleapis.com/ajax/libs/jquery/3.4.1/jquery.min.js"></script>
<style type="text/css">
div.question-box {
margin: 10px 0 20px 0;
}
</style>
<script>
function q1() {
$.ajax({
type: "GET",
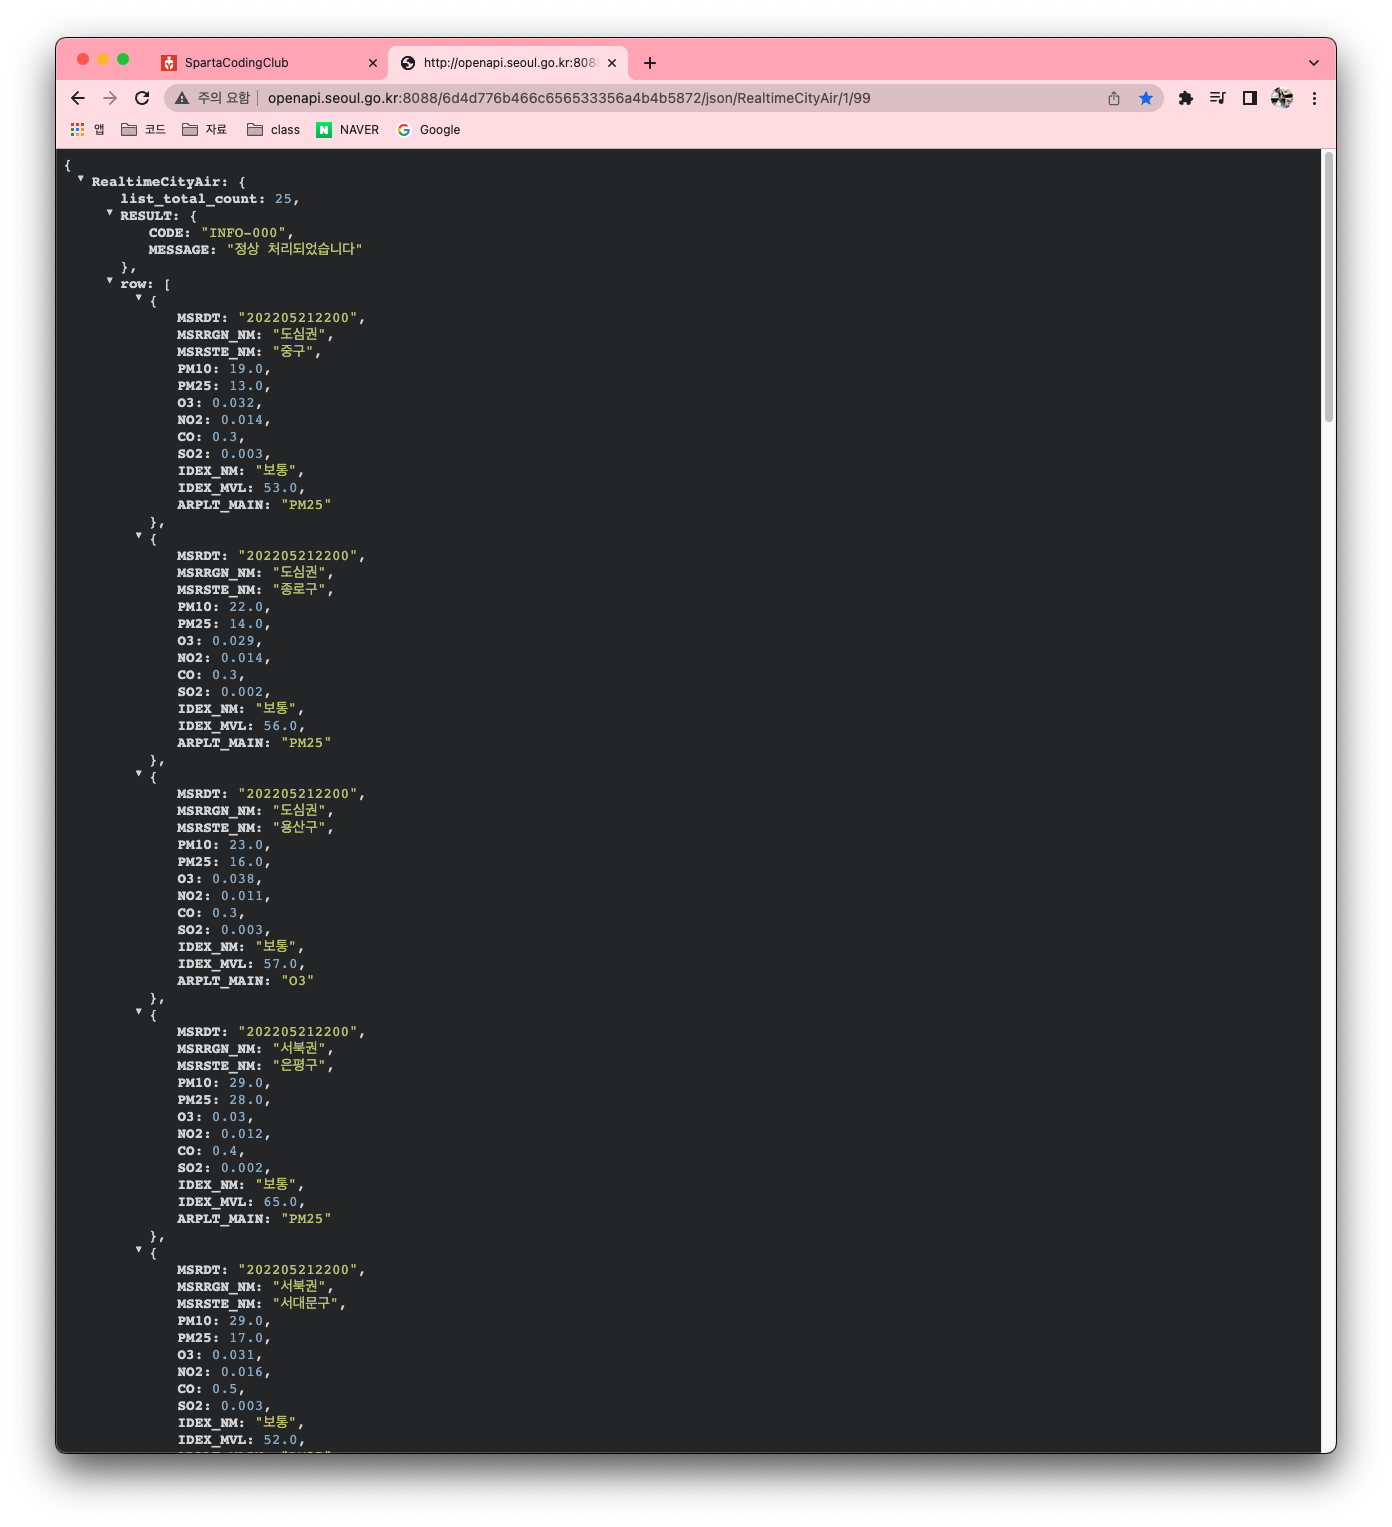
url: "http://openapi.seoul.go.kr:8088/6d4d776b466c656533356a4b4b5872/json/RealtimeCityAir/1/99",
data: {},
success: function (response) {
let rows = response['RealtimeCityAir']['row']
for (let i = 0; i < rows.length; i++) {
console.log(rows[i])
}
}
})
}
</script>
</head>
<body>
<h1>jQuery+Ajax의 조합을 연습하자!</h1>
<hr />
<div class="question-box">
<h2>1. 서울시 OpenAPI(실시간 미세먼지 상태)를 이용하기</h2>
<p>모든 구의 미세먼지를 표기해주세요</p>
<p>업데이트 버튼을 누를 때마다 지웠다 새로 씌여져야 합니다.</p>
<button onclick="q1()">업데이트</button>
<ul id="names-q1">
<li>중구 : 82</li>
<li>종로구 : 87</li>
<li>용산구 : 84</li>
<li>은평구 : 82</li>
</ul>
</div>
</body>
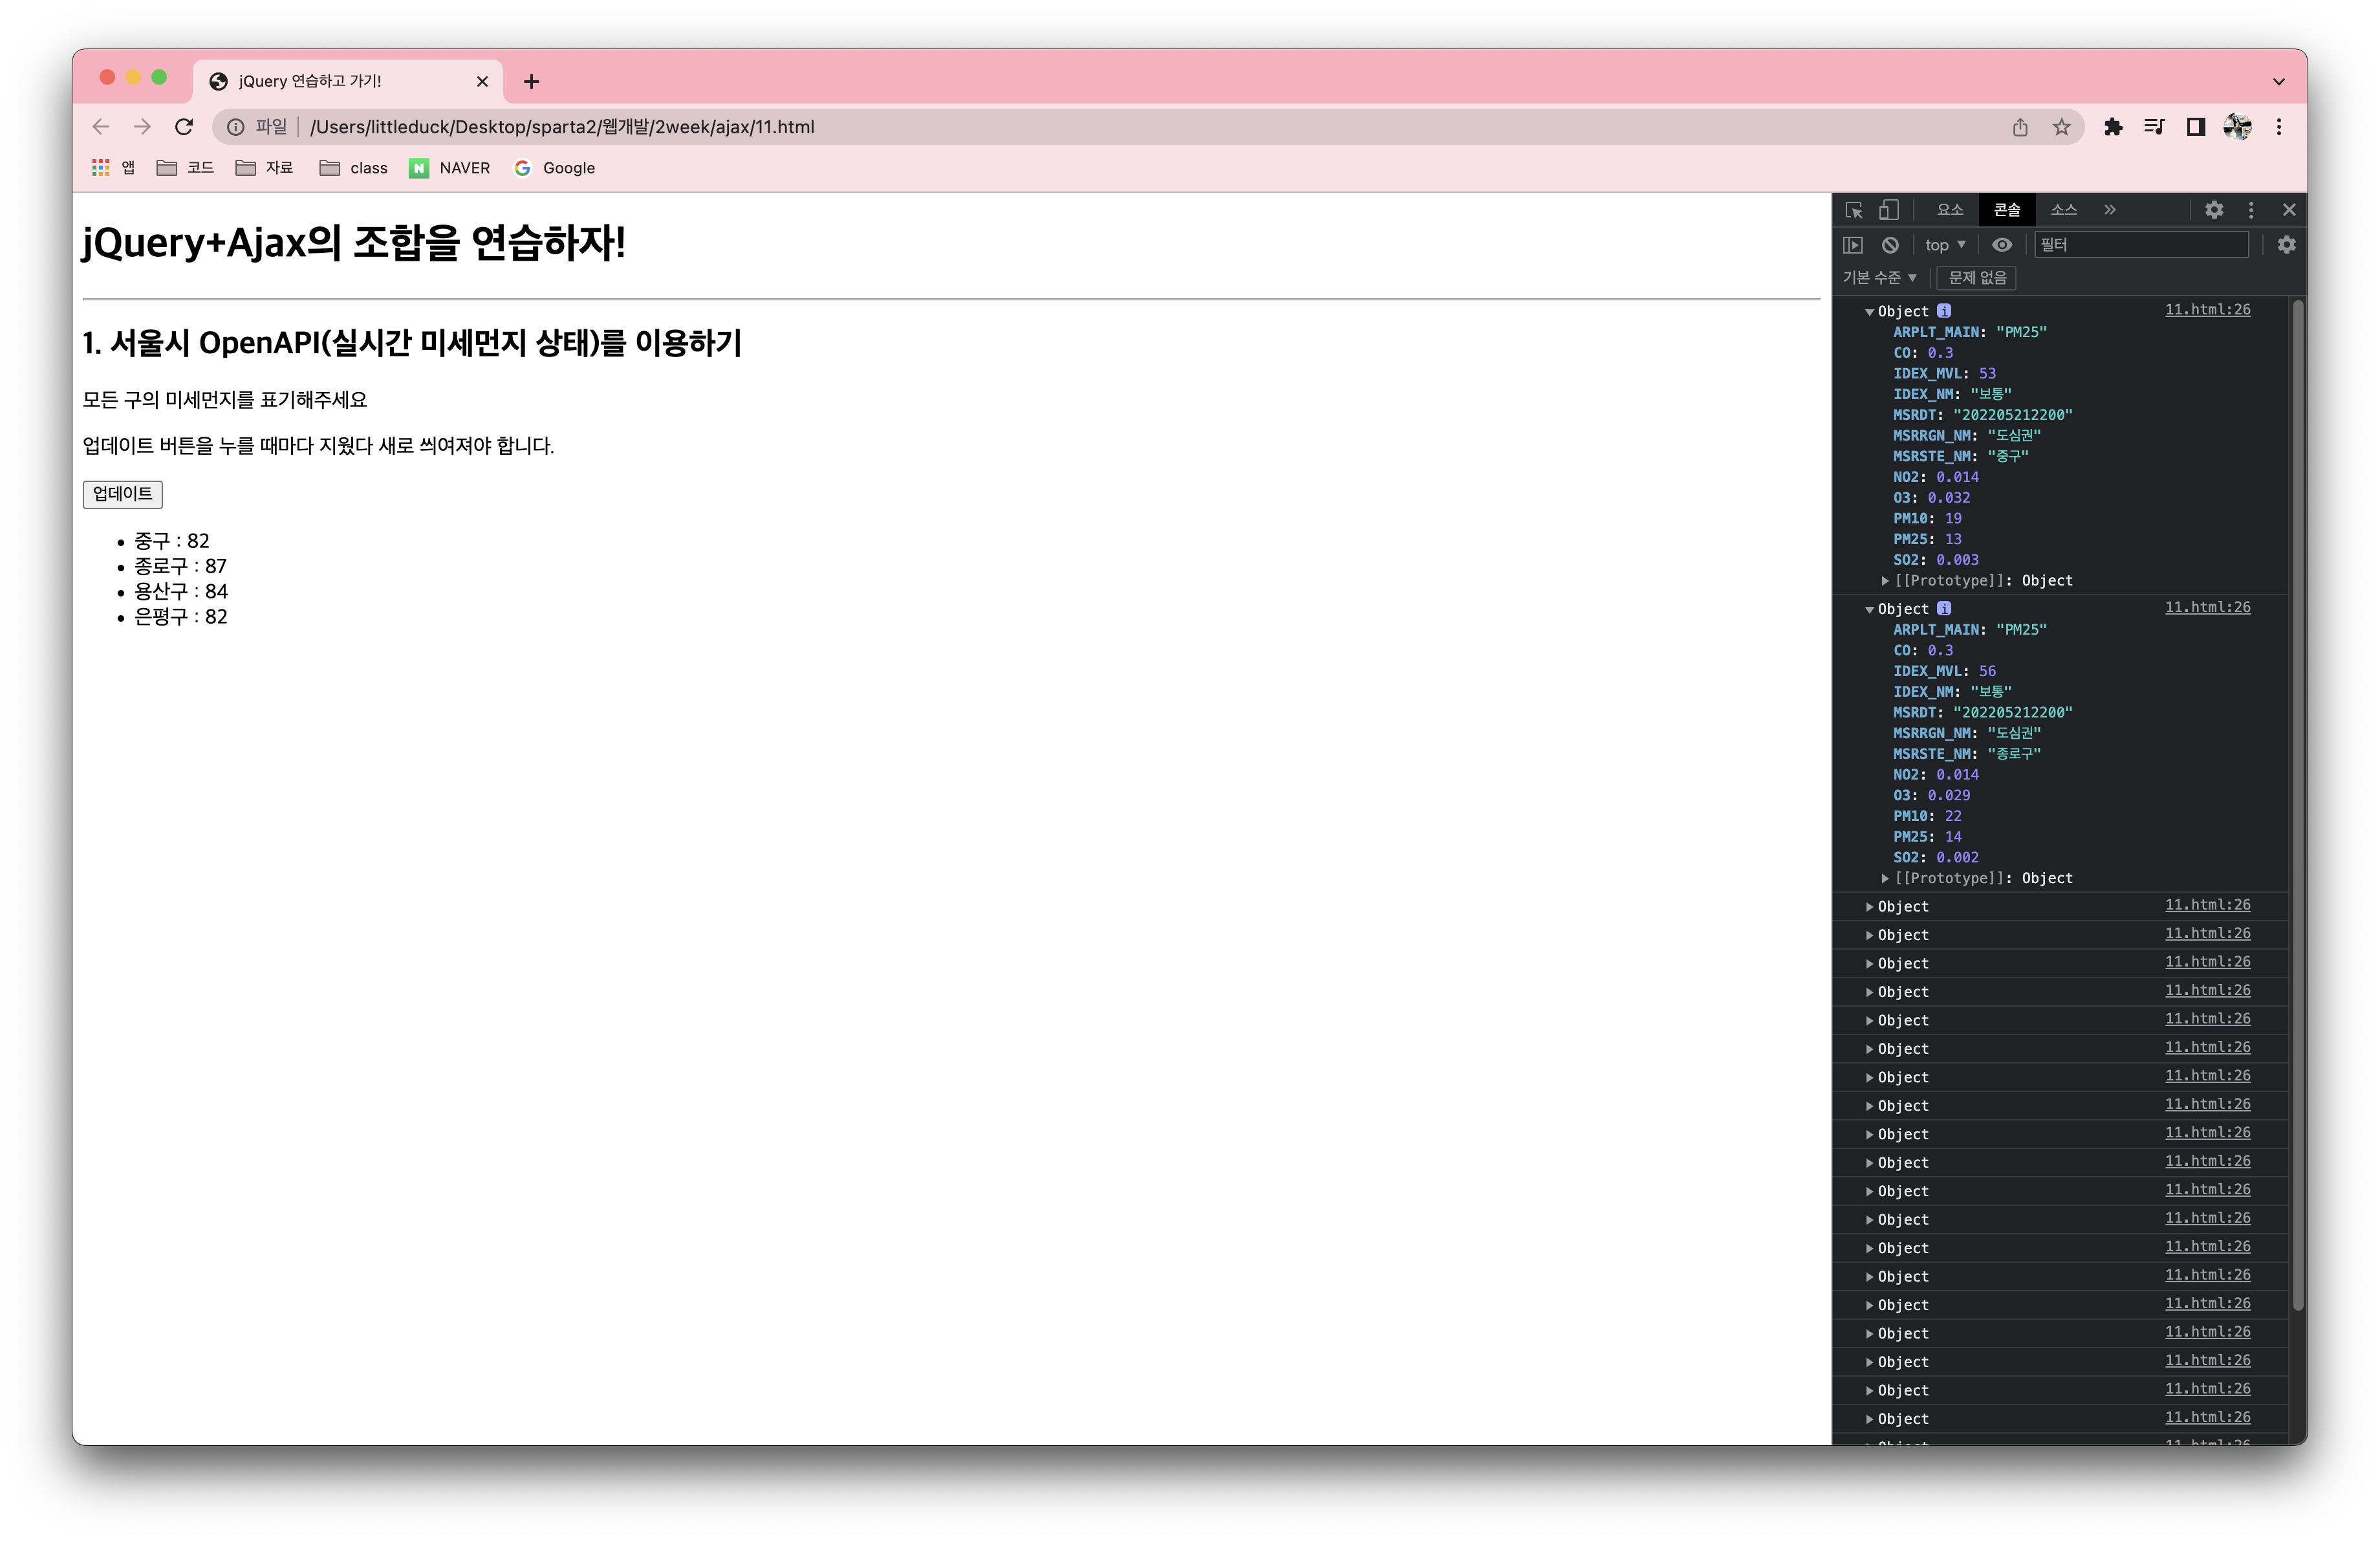
</html>미세먼지 api의 RealtimeCityAir-row를 response하고
for문을 사용하여 가져오고 콘솔창에 표시해 보았다. 정상적으로 잘 가져오는 것을 확인.
<script>
function q1() {
$.ajax({
type: "GET",
url: "http://openapi.seoul.go.kr:8088/6d4d776b466c656533356a4b4b5872/json/RealtimeCityAir/1/99",
data: {},
success: function (response) {
let rows = response['RealtimeCityAir']['row']
for (let i = 0; i < rows.length; i++) {
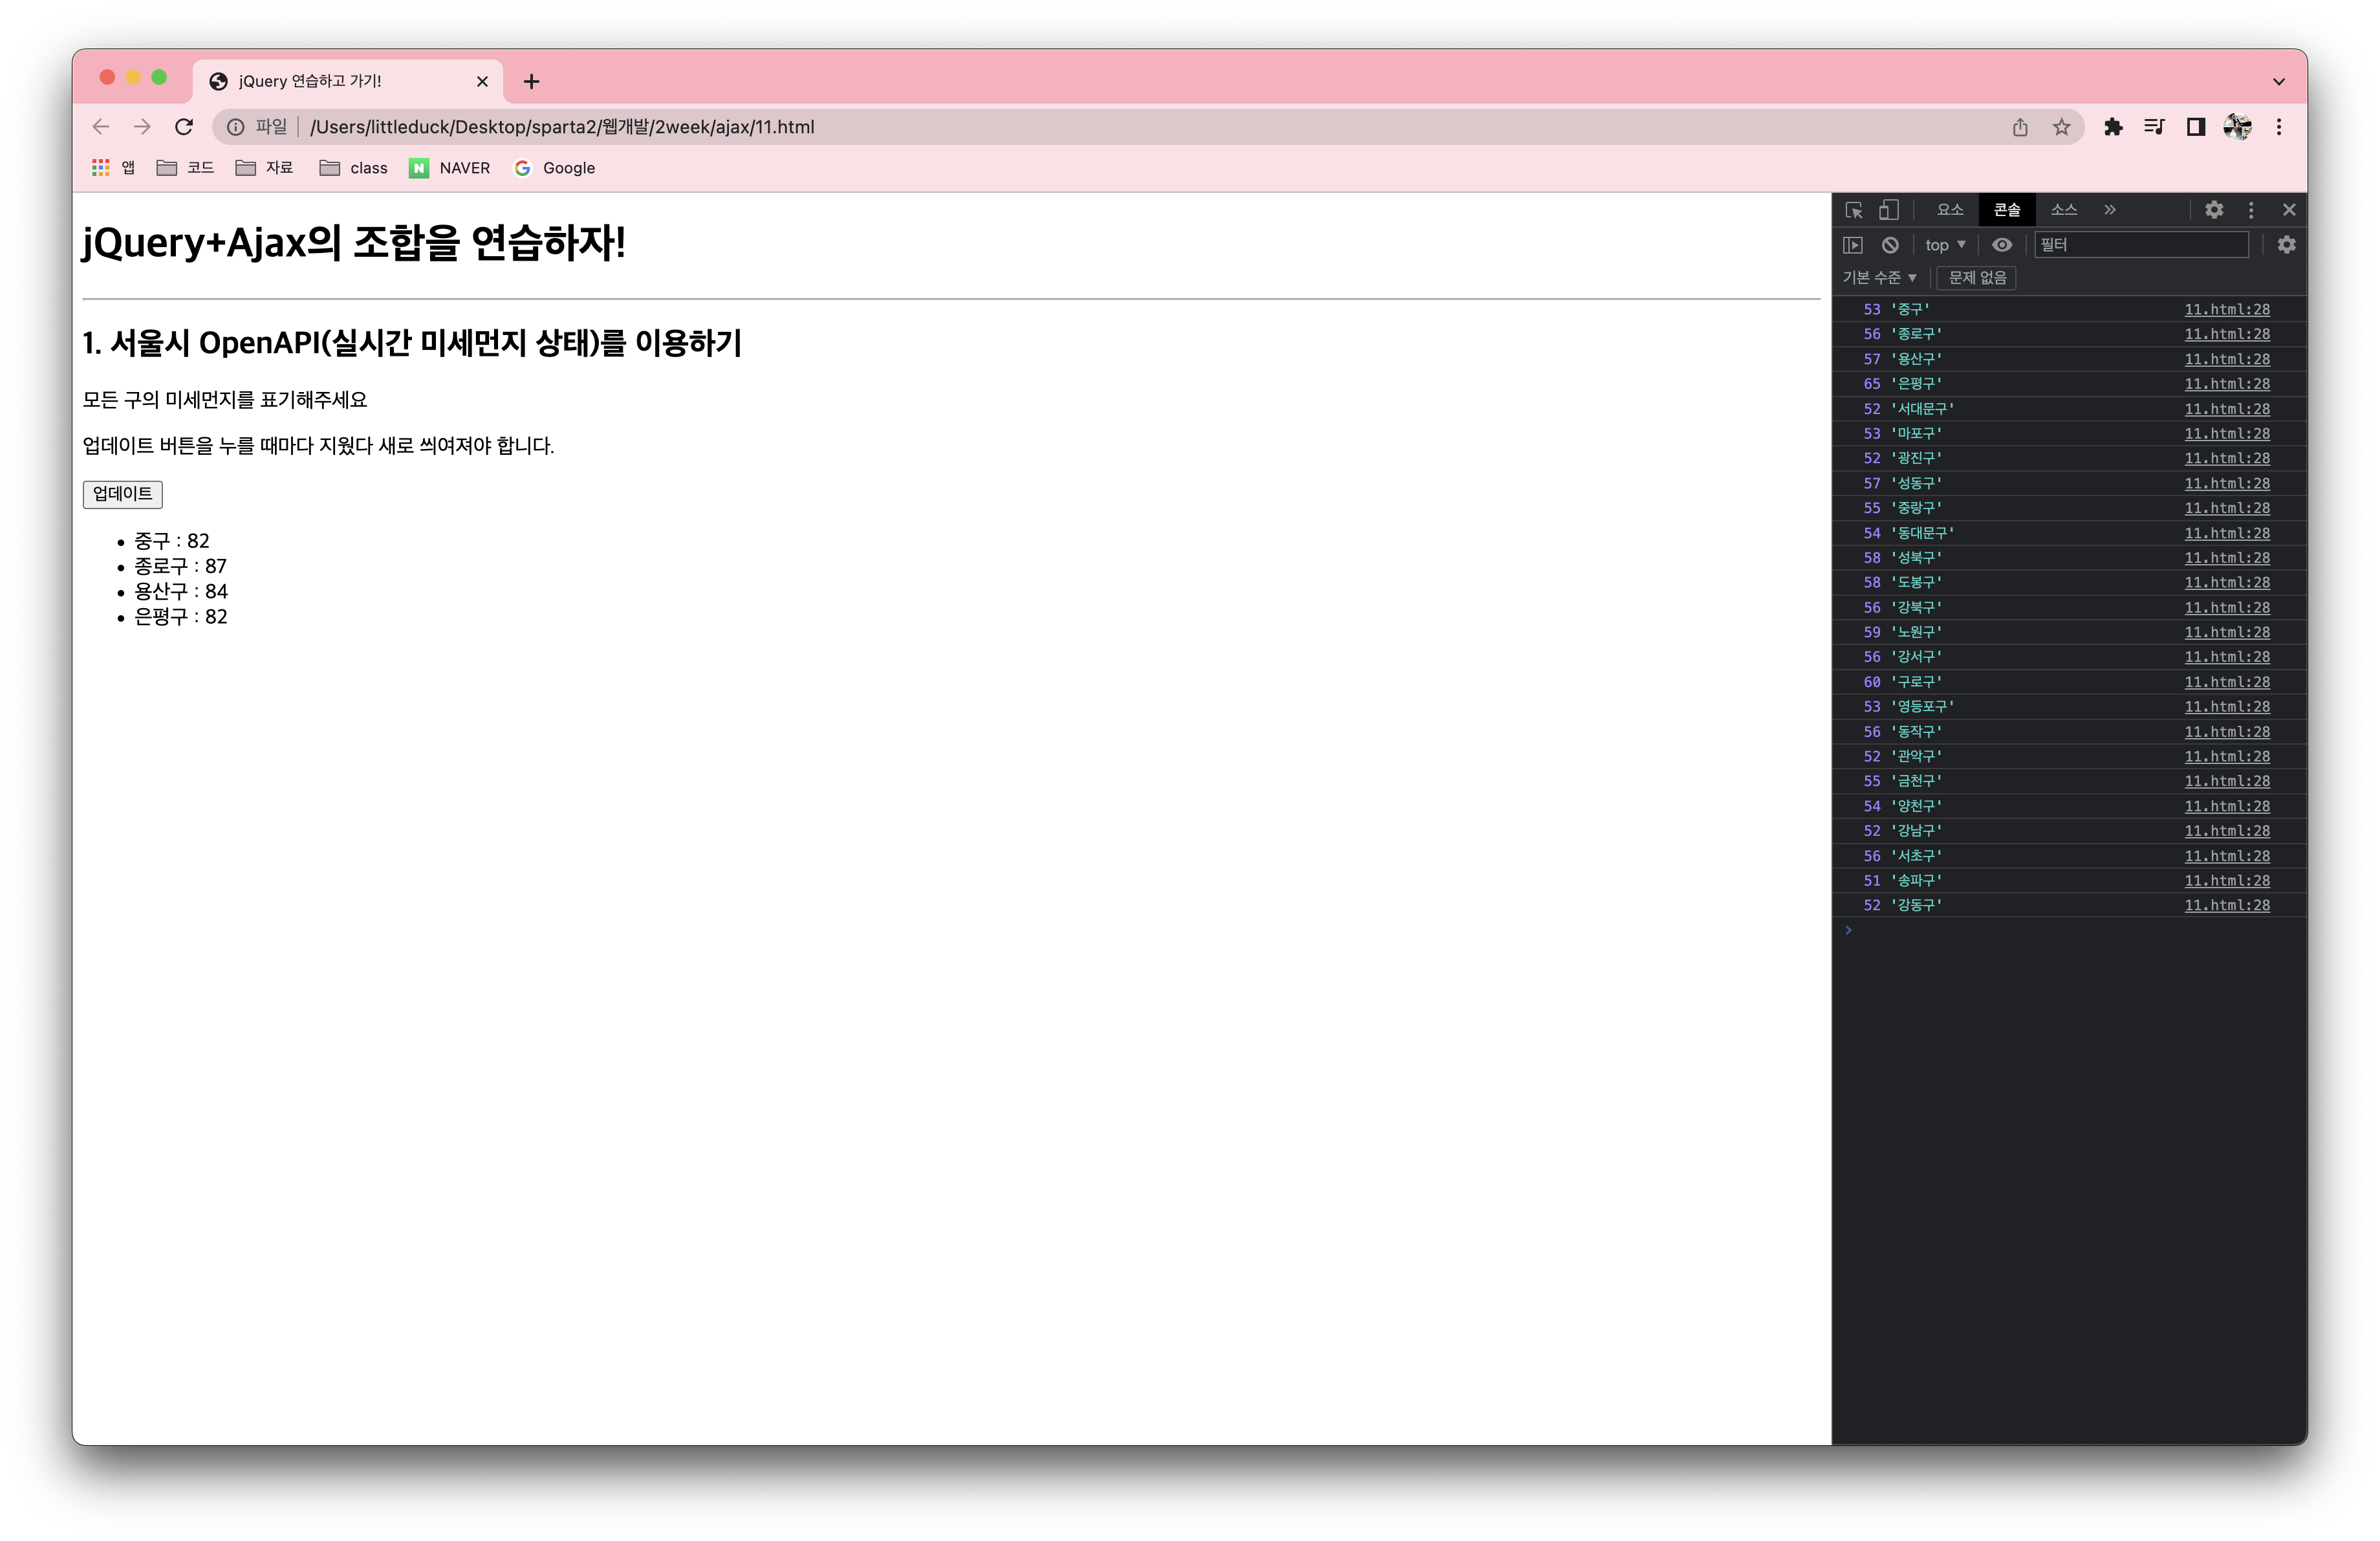
let gu_name = rows[i]['MSRSTE_NM']
let gu_mise = rows[i]['IDEX_MVL']
console.log(gu_mise, gu_name)
}
}
})
}
</script>이제 필요한 내용만 표시해 보았다.
구의 이름과 구의 미세먼지를 rows에서 뽑아서 표시 하고 콘솔 창에 표시해 보았다. 확인!
<script>
function q1() {
$('#names-q1').empty()
$.ajax({
type: "GET",
url: "http://openapi.seoul.go.kr:8088/6d4d776b466c656533356a4b4b5872/json/RealtimeCityAir/1/99",
data: {},
success: function (response) {
let rows = response['RealtimeCityAir']['row']
for (let i = 0; i < rows.length; i++) {
let gu_name = rows[i]['MSRSTE_NM']
let gu_mise = rows[i]['IDEX_MVL']
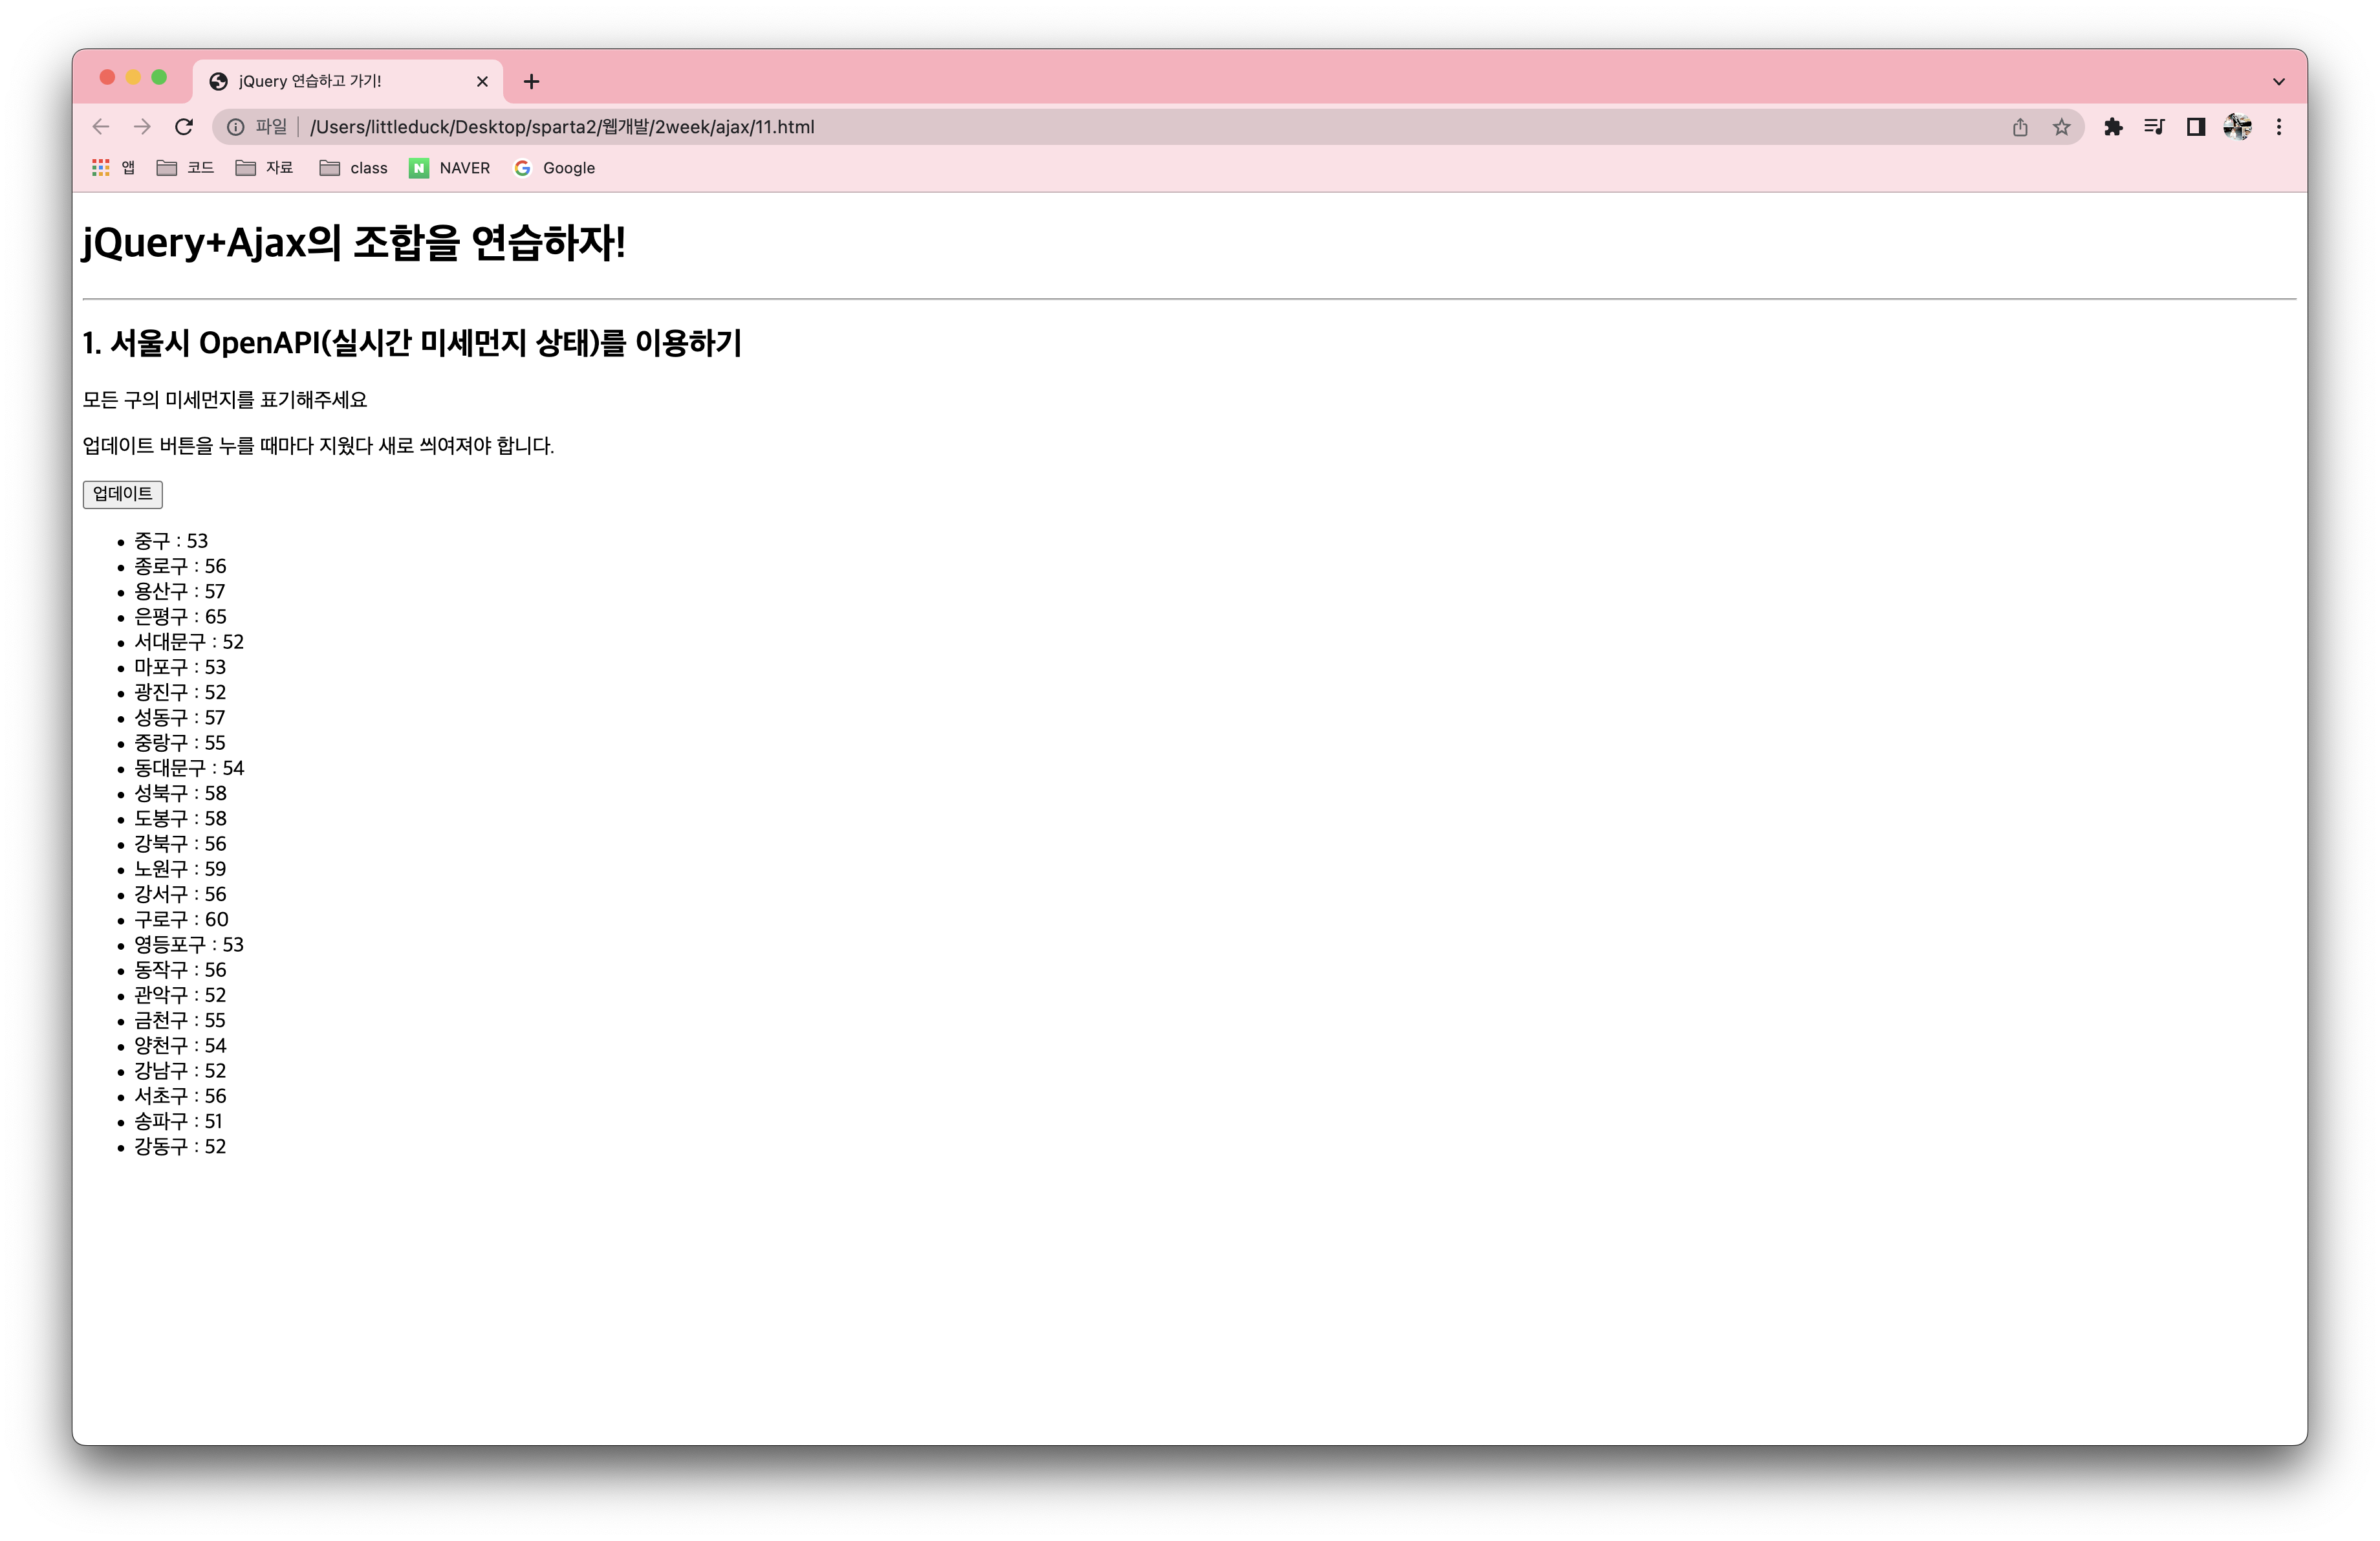
let temp_html = ` <li>${gu_name} : ${gu_mise}</li>`
$('#names-q1').append(temp_html)
}
}
})
}
</script>이제 콘솔창에서만 실행할 것이 아니라 리스트에 붙여줘보자.
tmep_html을 사용하고 ``(백틱)을 꼭 붙여주자
마지막에 name-q1에 append로 붙여주자 이렇게만하면 업데이트를 누를때마다 계속해서 내용이 붙여 나오므로 function-q1밑에 empty를 사용하여 내용을 받아오기 전에 비워주는 명령어를 입력한다.

newb