폰과 캐릭터 차이 실습
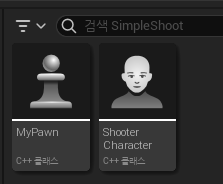
둘의 차이를 명확하게 알기 위해서 2개의 c++ 클래스를 생성하였는데, 하나는 pawn, 하나는 character 기반으로 생성하였다
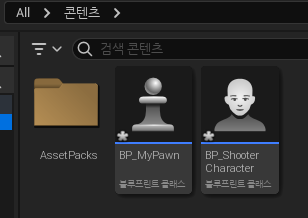
그리고 블루 프린트를 클릭하고 부모로 각각 저 둘을 상속받게 2개를 만들어주었다.
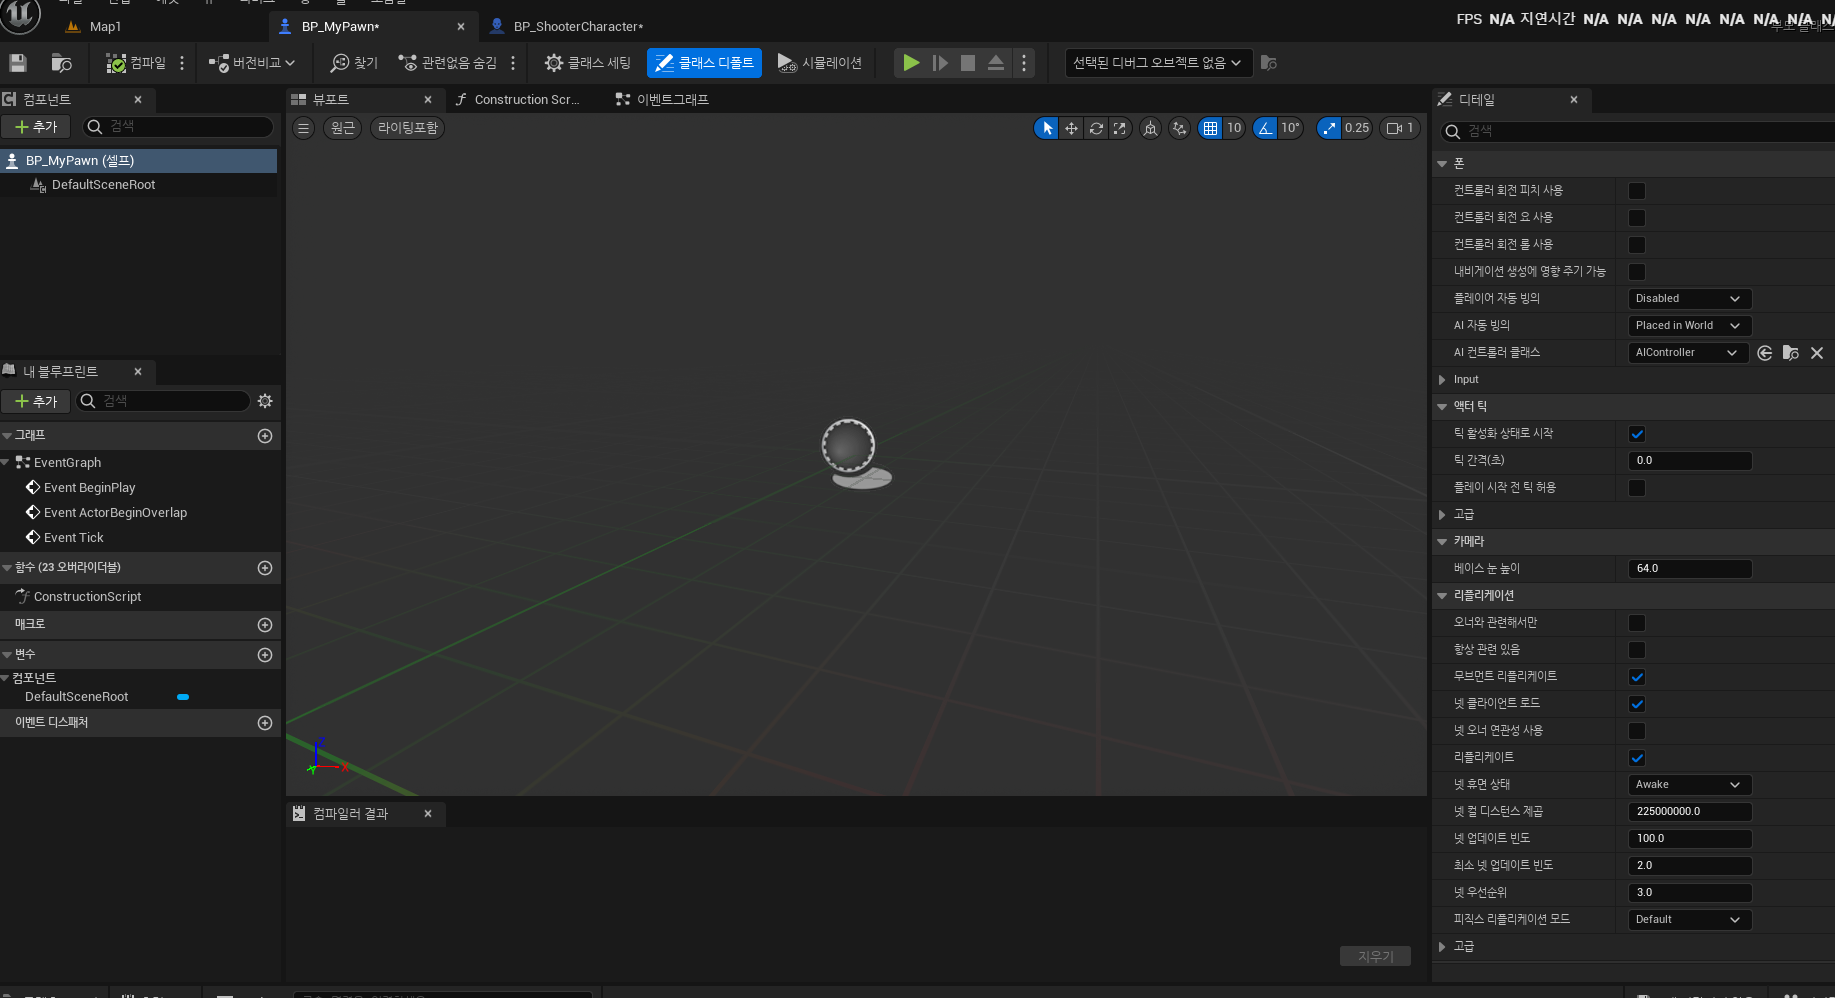
Mypawn을 상속받은 블루프린트를 살펴보면 DefaultSceenRoot만 존재하며
ShooterCharacter을 상속받은 블루프린트는 캡슐 컴포넌트, 화살표 컴포넌트, 매시, 캐릭터 무브먼트 등 다양한게 존재한다
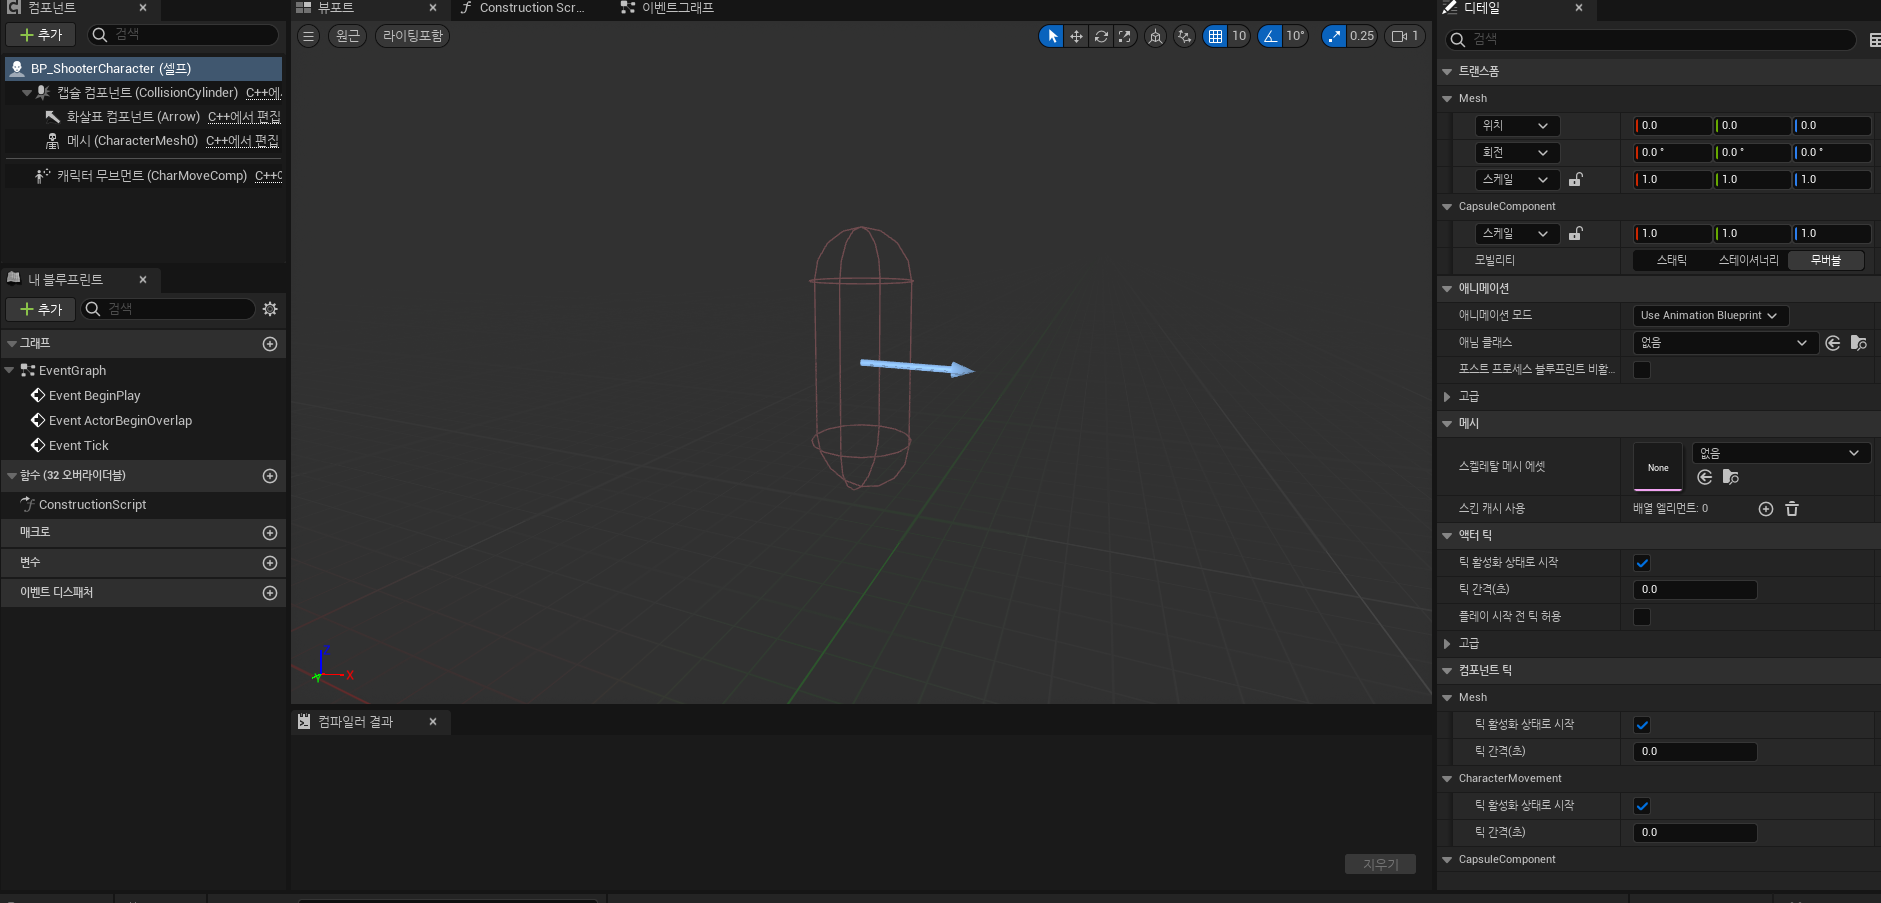
또한 캐릭터의 경우 매시를 클릭하고 스켈레탈 메시 에셋을 선택할 수 있는데, 나는 화면과 같은 에셋을 선택하였다
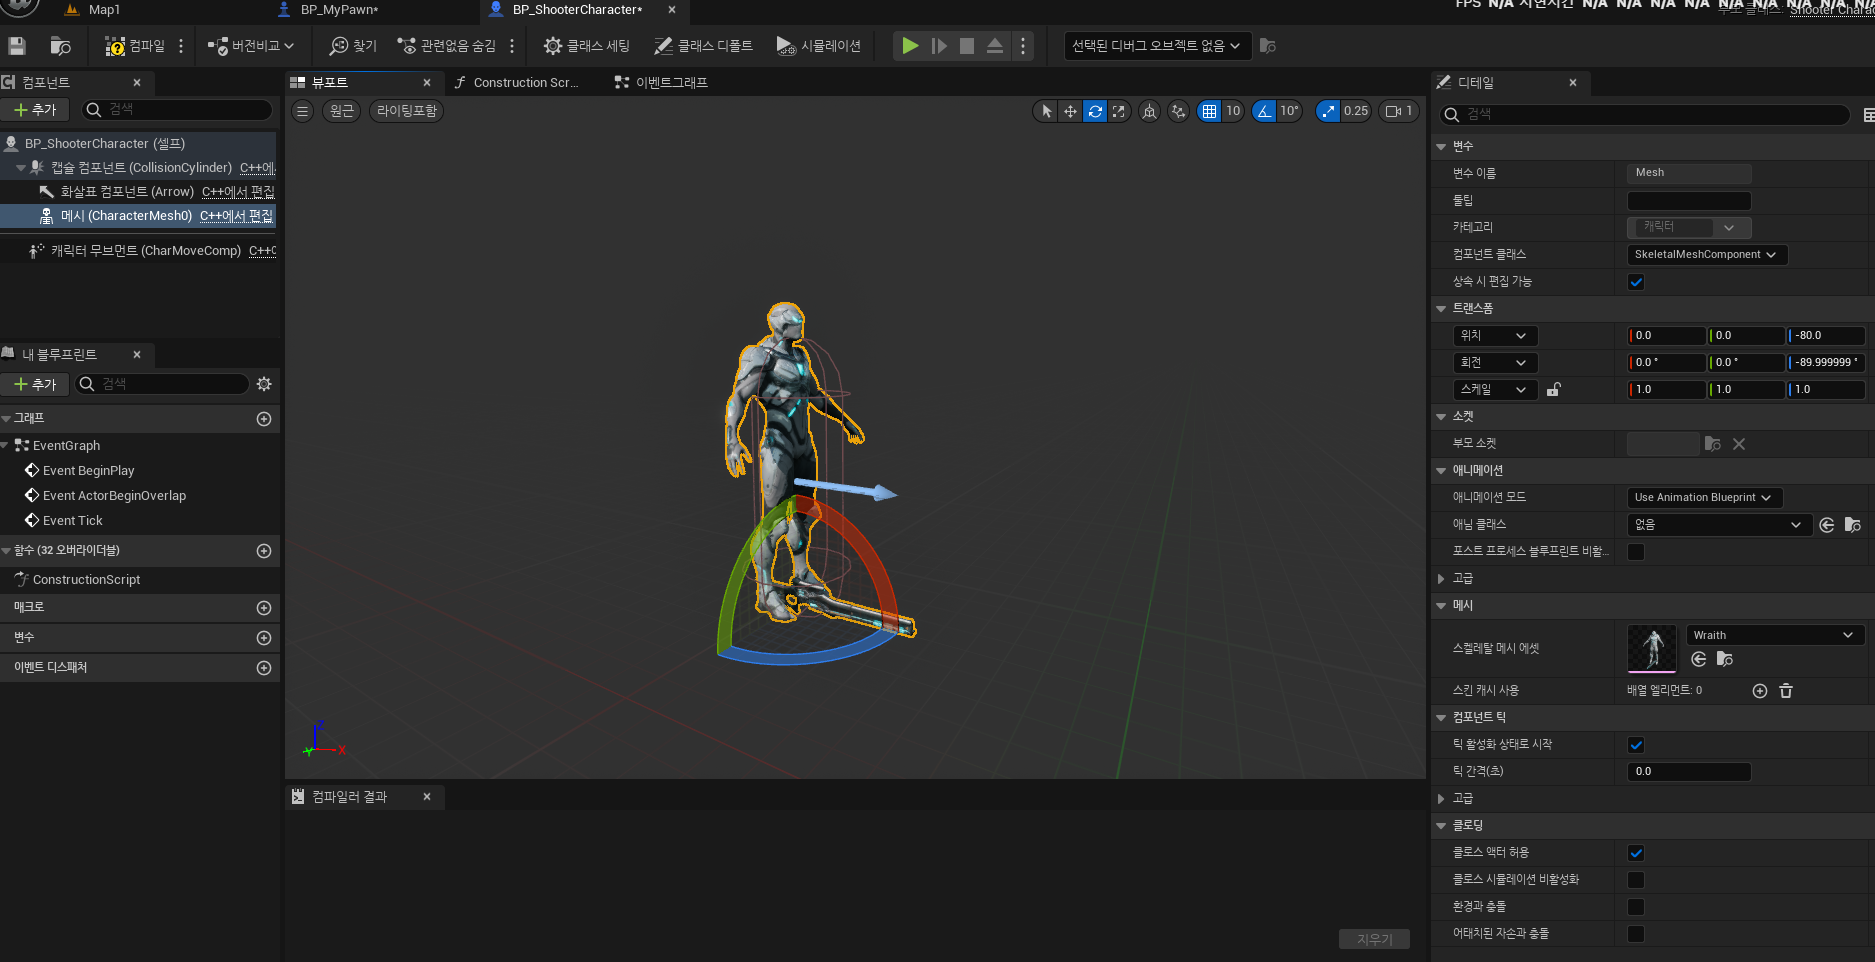
설명했듯이 캐릭터 무브먼트가 따로 존재하는데 이는 걷고 뛰는 등 캐릭터 같은 이동을 제공하는 역할을 한다. 디테일 창에서 더 많은 옵션을 볼 수 있었다.
Character Movement Functions
- AddMovementInput(): 벡터를 받아 이동할 방향을 알려준다
- AddControllerPichInput(): 위와 아래를 바라보는 기능
- AddControllerYawInput(): 왼쪽과 오른쪽 바라봄
- Jump(): 점프 기능
여기서 잠깐!
AddControllerPitchInput은 언리얼 엔진에서 컨트롤러의 피치값을 조정하는 함수이다.
피치(Pitch)란?
- 피치는 3D 공간에서 오브젝트의 회전 방향 중 하나를 나타낸다.
- 오브젝트가 앞뒤로 기울어지는 각도를 의미한다. (캐릭터가 위/아래를 보는 동작)
요(Yaw)란? - 오브젝트가 좌우로 회전하는 것을 의미한다.
- 오브젝트가 z축을 중심으로 회전을 한다
-언리얼 에서 z축: 위아래 방향
-캐릭터가 고개를 좌우로 돌리는 동작

언리얼 엔진의 좌표계 개념
언리얼 엔진은 오른손 좌표계를 사용합니다
- x축: 앞뒤 방향(Forward/Backward)
- y축: 좌우 방향(right/left)
- z축: 위아래 방향(Up/Down)
y축이 좌우 방향인 이유
- y축이 좌우 방향인 것은 언리얼 엔진의 월드 좌표계 정의에 의한 것이다.
- 하지만 오브젝트가 회전을 할때는 pitch, yaw, roll을 기준으로 한다
-pitch는 x축, yaw는 z축 기준으로 회전
간단한 비유
Pitch(X축 회전)
- 사람이 고개를 위/아래로 움직이는 동작
Yaw(Z축 회전) - 사람이 고개를 좌우로 돌리는 동작
언리얼에서 활용 예시
- Pitch:
-1인칭 시점에서 카메라를 위아래로 움직이는 경우(AddControllerPitchInput) - Yaw:
-캐릭터가 방향을 바꿀 때(AddControllerYawInput)
🎮키보드나 마우스, 컨트롤러에 오는 입력을 함수에 바인딩 하겠다!
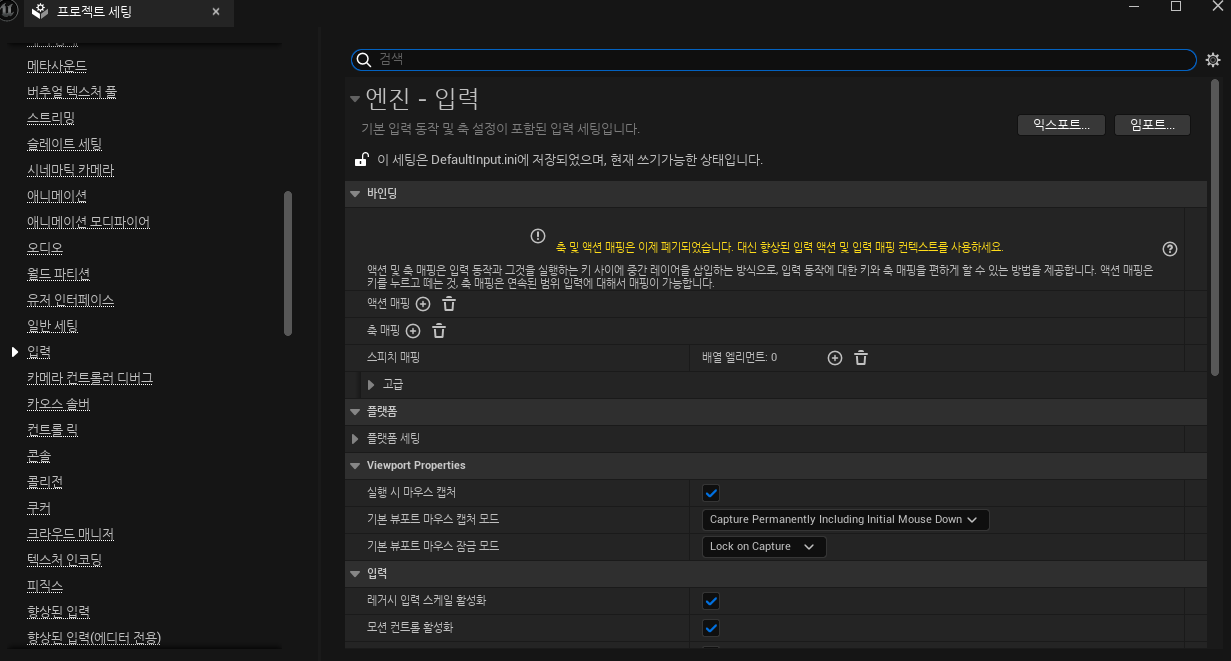
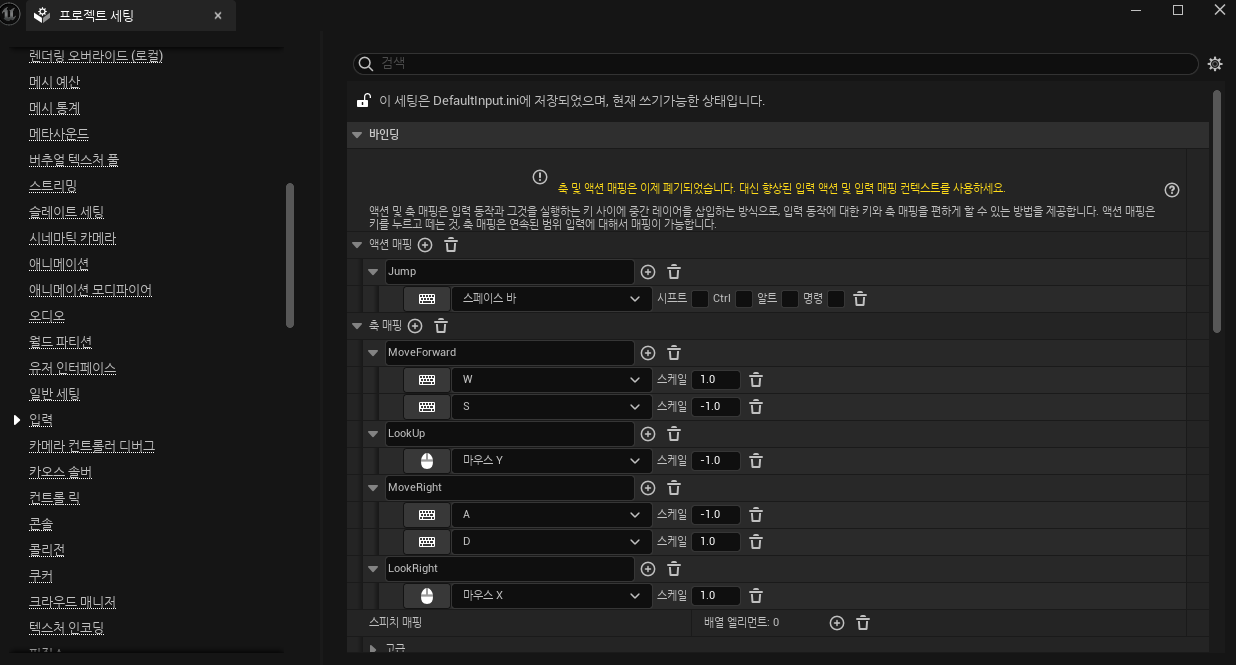
먼저 프로젝트 세팅- 입력으로 가서 몇가지 세팅을 해보겠다. 액션 매핑은 jump나 fire 같은 행위(?) 같은 것이고, 축 매핑은 앞뒤 이동, 양옆 이동에 관한 것이다.
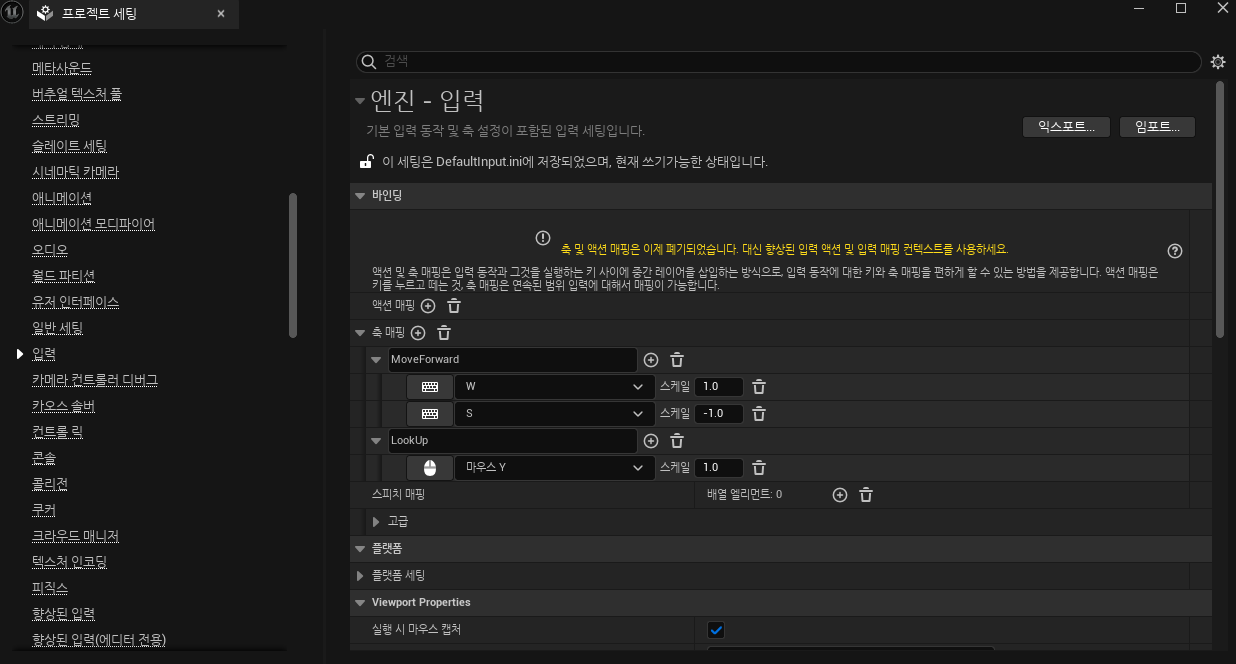
마우스까지 간단한 세팅을 마쳐주고 축이름을 정했으니 Playerinput을 설정할 수 있다.
ShooterCharacter.h에 매핑하고자 하는 함수를 private영역에 선언한다
private:
	void MoveForward(float AxisValue);
그 다음 매핑하는 곳은 SetupPlayerInputComponent 함수에서 해야하는데 아래와 같이 작성해준다
// Called to bind functionality to input
void AShooterCharacter::SetupPlayerInputComponent(UInputComponent* PlayerInputComponent)
{
	Super::SetupPlayerInputComponent(PlayerInputComponent);
	PlayerInputComponent->BindAxis(TEXT("MoveForeward"),this, &AShooterCharacter::MoveForward);

}
this를 쓰는 곳은 함수의 타겟이므로 현재 객체를 나타내기 위해서 this를 쓴다.
마지막으로 Axis를 호출할려는 함수에 AddMovementInput()를 호출하도록 하면 된다.
void AShooterCharacter::MoveForward(float AxisValue)
{
	AddMovementInput();
}
다음 단계로 이것이 MoveForward이기 때문에 액터의 전진 벡터를 넣어야 한다.
void AShooterCharacter::MoveForward(float AxisValue)
{
	AddMovementInput(GetActorForwardVector()*AxisValue);
}
둘을 곱해 곱한 값이 1이면 전진하고 -1이면 후진벡터가 된다.
이제 LookUp함수를 만들어보도록 한다. 이것은 MoveForward 함수와 매우 똑같다
private:
	void MoveForward(float AxisValue);
	void LookUp(float AxisValue);
Lookup함수를 만들어 준 뒤, SetUpIputComponent에서 바인딩 해주면 된다.
void AShooterCharacter::SetupPlayerInputComponent(UInputComponent* PlayerInputComponent)
{
	Super::SetupPlayerInputComponent(PlayerInputComponent);
	PlayerInputComponent->BindAxis(TEXT("MoveForeward"),this, &AShooterCharacter::MoveForward);
	PlayerInputComponent->BindAxis(TEXT("LookUp"), this, &AShooterCharacter::LookUp);
}
여기서부터 다른 점은 LookUp 함수에서는 AddMovementInput 함수가 아닌 AddControllerPitchInput()을 사용한다.
void AShooterCharacter::LookUp(float AxisValue)
{
	AddControllerPitchInput(AxisValue);
}
❓이렇게 쓰면 한가지 의문점이 들 수 있다.
함수 안에서 매개변수만 다른 함수에 넘겨줘서 실행하는 것 아닌가?
그래서 그냥 함수를 거치는 대신 자동으로 패런트 함수를 호출하면 된다
두 번째 PlayerInputCompoenent->BindAixs(TEXT("LookUp), this, &APawn::AddControllerPitchInput); 자세히 보면 세 번째 인자가 APawn에 있는 함수를 호출하는 것으로 변경되었다.
// Called to bind functionality to input
void AShooterCharacter::SetupPlayerInputComponent(UInputComponent* PlayerInputComponent)
{
	Super::SetupPlayerInputComponent(PlayerInputComponent);
	PlayerInputComponent->BindAxis(TEXT("MoveForeward"),this, &AShooterCharacter::MoveForward);
	PlayerInputComponent->BindAxis(TEXT("LookUp"), this, &APawn::AddControllerPitchInput);
}

void AShooterCharacter::MoveForward(float AxisValue)
{
	AddMovementInput(GetActorForwardVector()*AxisValue);
}
❓패런트 함수에 대해서 처음 들어봤는데 상위 클래스에 정의된 함수를 의미하는 것이었다.
- 객체지향 프로그래밍(OOP)에서 상속 개념을 기반으로 하위 클래스는 상위 클래스의 속성 및 함수를 물려받는다.
- 패런트 함수는 자식 클래스에서 호출하거나, 오버라이드하여 동작을 변경할 수 있다.
이후에는 같은 방법으로 양옆 이동, 카메라 좌우 회전의 코드를 적어주면 캐릭터가 이동하는데 캐릭터 카메라 위아래 회전이 왜 반대지?
void AShooterCharacter::SetupPlayerInputComponent(UInputComponent* PlayerInputComponent)
{
	Super::SetupPlayerInputComponent(PlayerInputComponent);
	PlayerInputComponent->BindAxis(TEXT("MoveForward"),this, &AShooterCharacter::MoveForward);
	PlayerInputComponent->BindAxis(TEXT("LookUp"), this, &APawn::AddControllerPitchInput);
	PlayerInputComponent->BindAxis(TEXT("MoveRight"), this, &AShooterCharacter::MoveRight);
	PlayerInputComponent->BindAxis(TEXT("LookRight"), this, &APawn::AddControllerYawInput);
}

void AShooterCharacter::MoveForward(float AxisValue)
{
	AddMovementInput(GetActorForwardVector()*AxisValue);
}

void AShooterCharacter::MoveRight(float AxisValue)
{
	AddMovementInput(GetActorRightVector() * AxisValue);
}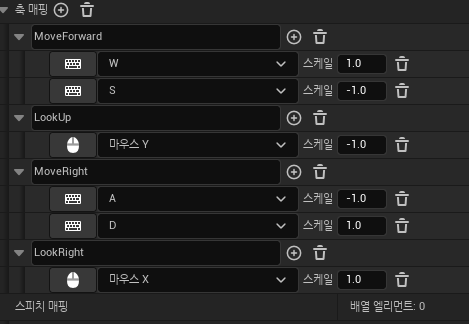
LookUp 입력 값이 -1로 설정된 이유에 대해서 찾아봤다
언리얼 엔진에서 Pitch와 Yaw 회전은 다음과 같이 정의된다.
⚠ Pitch
- 양수(+) ->아래로 회전(머리가 숙여짐)
- 음수(-)-> 위로 회전(머리를 들어올림)
⚠ Yaw
- 양수(+) ->오른쪽으로 회전
- 음수(-)-> 왼쪽으로 회전
⚠마우스 Y축
- 위로 드래그-> 양수 값(+) 발생
- 아래로 드래그-> 음수 값(-) 발생
문제는 언리얼 엔진의 Pitch 회전의 방향과 마우스 입력 값이 반대로 정의되어 마우스를 위로 움직이면 시점이 아래로 내려간다!!!!
그래서 반전 시킨 -1 값을 곱하는 것으로 시작한다!!!(와 오늘 처음 알았음)
이제 액션 매핑에 Jump함수를 만들어주고 스페이스바를 누르면 점프를 할 것 이기 때문에 스페이스바를 할당해주고 아래와 같이 PlayerInputComponent에 Character 클래스에 이미 jump함수가 구현되어 있기 때문에 ACharacter::jump를 사용해줬다
void AShooterCharacter::SetupPlayerInputComponent(UInputComponent* PlayerInputComponent)
{
	Super::SetupPlayerInputComponent(PlayerInputComponent);
	PlayerInputComponent->BindAxis(TEXT("MoveForward"),this, &AShooterCharacter::MoveForward);
	PlayerInputComponent->BindAxis(TEXT("LookUp"), this, &APawn::AddControllerPitchInput);
	PlayerInputComponent->BindAxis(TEXT("MoveRight"), this, &AShooterCharacter::MoveRight);
	PlayerInputComponent->BindAxis(TEXT("LookRight"), this, &APawn::AddControllerYawInput);
	PlayerInputComponent->BindAction(TEXT("Jump"), EInputEvent::IE_Pressed, this, &ACharacter::Jump);
}
🎮 TIL: 오늘의 깨달음
- 실습: Pawn과 Character의 차이점
- Pawn:
-DefaultSceneRoot만 존재하며 추가 기능이 없음. - Character:
-캡슐 컴포넌트, 화살표 컴포넌트, 메쉬, 캐릭터 무브먼트 등이 기본 제공.
-특히 CharacterMovementComponent는 걷기, 뛰기, 점프와 같은 캐릭터 특유의 이동 기능을 제공.
- Pitch와 Yaw 개념
언리얼 엔진에서 회전은 Pitch, Yaw, Roll로 나뉘며, 각 축에 대한 회전을 의미한다.
Pitch (X축 회전):
- 오브젝트가 앞뒤로 기울어지는 회전.
-예: 캐릭터가 고개를 위/아래로 움직임. - 양수(+): 아래로 회전 (머리가 숙여짐).
- 음수(-): 위로 회전 (머리가 올라감).
Yaw (Z축 회전):
- 오브젝트가 좌우로 회전.
- 예: 캐릭터가 고개를 좌/우로 돌림.
- 양수(+): 오른쪽으로 회전.
- 음수(-): 왼쪽으로 회전.
- LookUp 입력 값이 -1로 설정된 이유
마우스 입력과 언리얼 엔진의 Pitch 방향이 서로 반대이기 때문!
- 마우스 Y축:
-위로 드래그 → 양수(+) 값 발생.
-아래로 드래그 → 음수(-) 값 발생.
Pitch 기본 동작:
- 양수(+) 값 → 아래로 회전 (머리 숙임).
- 음수(-) 값 → 위로 회전 (머리 올림).
⛔문제점:
- 마우스를 위로 움직이면 양수 값이 전달되는데, 언리얼에서는 아래로 회전하는 방향으로 처리됨.
- 이로 인해 플레이어가 생각하는 "위로 움직이면 위를 바라본다"라는 직관적 동작과 반대가 됨.
🔍해결:
- LookUp 입력 값에 스케일 -1을 곱해서 마우스 입력 방향을 반전시킴.
- 이를 통해 마우스를 위로 움직이면 시점이 위로 향하도록 설정됨.
⏰다음 목표
- 캐릭터의 이동과 회전 기능을 확장해 더 복잡한 입력 처리 구현.
- 액션 매핑을 활용한 슈팅 및 상호작용 기능 추가.
아 또 지피티가 잘못 알려주었다... 언리얼 왼손 좌표계란 사실...! 이제 왼손 좌표계로 다시 이해하러 떠나봅니다

언리얼은 왼손 좌표계를 이용한다는...!