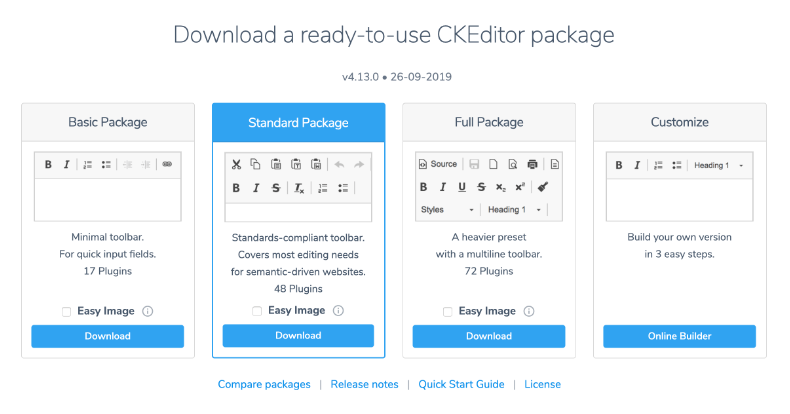
👾 CKEditor 4
https://ckeditor.com/ckeditor-4/download/
👾 Image Upload
오늘 해볼 건 CKEditor4로 이미지를 삽입하는 거다!! 하기 싫어서 미적대다 겨우 데탑 앞에 앉앗다. . ..
(1) 📁 CKEditor4 Config Setting
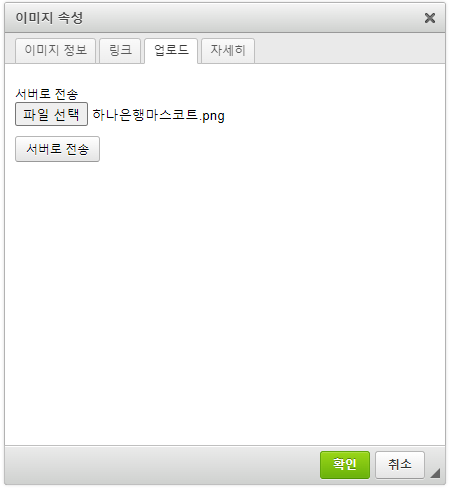
가장 먼저 해줘야하는 게 있다. 아무 설정 없이 이미지 업로드 버튼을 누르면 위 이미지의 업로드 탭이 비활성화되어 있을 거다. 이걸 활성화해야 한다.
이전에 <textarea>태그를 삽입한 파일의 <script>부분을 고쳐줘야한다.
<script>
    CKEDITOR.replace( 'editor4',
    {
      filebrowserUploadUrl:'/boards/ck/imageUpload.do'
    } );
</script>- filebrowserUploadUrl
: 화면에서파일 업로드버튼을 누르면 동작할Controller를(Post 매핑 url) 지정해주는 거다.
(2) 📁 Image Path Setting
이제는 이미지 파일 경로 설정을 해줘야 한다. 이거 안 하면 정말 후회한다. 왜냐면 방금 이거때매 몇 시간 헤맸기때문이다.. .ヘ(。□°)ヘ💀🔨🔨
appliation.properties 파일을 열어보면, 아마도(?) DB 연동 정보가 들어 있을 거다. 그 아래에 코드를 추가한다. ( 나중에 .properties 파일 분리할 예정 )
#FILE_UPLOAD
resource.handler = /ck/images/**
resource.location = file:///C:/2023_side/imgUpload/

image.upload.path = C:/2023_side/imgUpload- resource.handler
: 화면에 보일 url 경로다. 그냥 원하는대로 설정하면 된다. 하지만 끝에 ⭐꼭/**붙일 것!⭐
-
resource.location
: 이건 위에 작성한 핸들러에서/ck/images/**로 접근할 경우 실제로 열리게되는 파일 경로다. C드라이브를 쓰든, D드라이브를 쓰든 전혀 상관이 없다. -
image.upload.path
: 실제 이미지가 업로드되는 경로다. 보기엔resource.location이랑 비슷하게 보이지만 끝에/가 빠져있으니 유의!
(3) 📁 WebConfig Setting
프로젝트 경로에 JAVA 클래스 WebConfig를 추가한다.
@Configuration
public class WebConfig implements WebMvcConfigurer {

    @Value("${resource.handler}")
    private String resourceHandler;

    @Value("${resource.location}")
    private String resourceLocation;

    @Override
    public void addResourceHandlers(ResourceHandlerRegistry registry) {
        registry.addResourceHandler(resourceHandler)
                .addResourceLocations(resourceLocation);
    }

}
이렇게 작성해주면, resourceHandler로 오는 요청을 가로채 resourceLocation로 대체해 준다.
(4) 📁 Build.Gadle Setting
미리 아래의 의존성을 추가해준다.
implementation 'com.google.code.gson:gson:2.9.0'
implementation group: 'commons-fileupload', name: 'commons-fileupload', version: '1.4'
implementation group: 'org.apache.commons', name: 'commons-lang3', version: '3.0'- gson :
Json객체를 편하게 사용할 수 있다 - commons-fileupload , commons-lang3
:MultipartFile사용에 필요하다
(5) 📁 Controller
@ResponseBody
    @PostMapping("/ck/imageUpload.do")
    public void fileUpload(HttpServletRequest req, HttpServletResponse res,
                             @RequestParam MultipartFile upload) throws Exception{

        OutputStream out = null;
        PrintWriter printWriter = null;

        try {
            //랜덤 문자 생성
            UUID uid = UUID.randomUUID();
            //이름, 확장자, 바이트 가져오기
            String fileName = upload.getOriginalFilename();
            String extension = FilenameUtils.getExtension(fileName);
            byte[] bytes = upload.getBytes();

            //실제 이미지 저장 경로
            String path = uploadPath + File.separator;
            String ckUploadPath = path + uid + "." + extension;

            System.out.println("ckUploadPath :" + ckUploadPath);

            File folder = new File(path);

            //해당 디렉토리가 존재하는지 확인
            if(!folder.exists()){
                try{
                    folder.mkdirs(); // 폴더 생성
                }catch(Exception e){
                    e.getStackTrace();
                }
            }

            //이미지 저장
            out = new FileOutputStream(ckUploadPath);
            out.write(bytes);
            out.flush(); //초기화

            //ckEditor 로 전송
            printWriter = res.getWriter();
            String fileUrl = "/ck/images/" + uid + "." + extension;

            System.out.println("fileUrl :" + fileUrl);

            //json 으로 변환
            JsonObject json = new JsonObject();
            json.addProperty("uploaded", 1);
            json.addProperty("fileName", fileName);
            json.addProperty("url", fileUrl);
            printWriter.println(json);
            printWriter.flush(); //초기화

            System.out.println("json :" + json);

        } catch (IOException e) {
            e.printStackTrace();
        } finally {
            try {
                if(out != null) { out.close(); }
                if(printWriter != null) { printWriter.close(); }
            } catch(IOException e) { e.printStackTrace(); }
        }
    }

}-
@RequestParam MultipartFile upload
: 파일을 쉽게 주고받으려고 만들어진 클래스가MultipartHttpServletRequest다. 이 요청 메시지의content-type은multipart/form-data로 이미지 전송에 특화되어 있다.지금 사용하는
CKEditor4도 해당 방식으로 이미지를 서버에 전송한다. 여기서MultipartFile이름은upload로 고정되어 있다. -
JsonObject json = new JsonObject();
: 의존성 추가한gson의 객체다. 메소드를 이용하면 응답 메시지를json형식으로 손쉽게 바꿀 수 있다. 참고로CKEditor4에서 요청하는 응답헤더도json형식이다! -
String ckUploadPath = path + uid + "." + ;
: 업로드된 파일의 오리지널 이름으로만 파일을 업로드하면 중복 문제가 발생할 수 있다. 그래서 랜덤한UUID를 생성해 파일 이름을 대체했다. -
String fileUrl = "/ck/images/" + uid + "." + extension;
: 실제 디렉토리에 파일을 업로드하고서는CKEditor4에서 뿌려줄 이미지를응답 메시지에 넣어 돌려보내줘야 한다. 그 이미지의 파일 경로가 위와 같다. 앞에 붙은/ck/images/는 아까WebConfig파일에서 정해준 리소스 핸들러 경로다!!
(6) 📁 Use
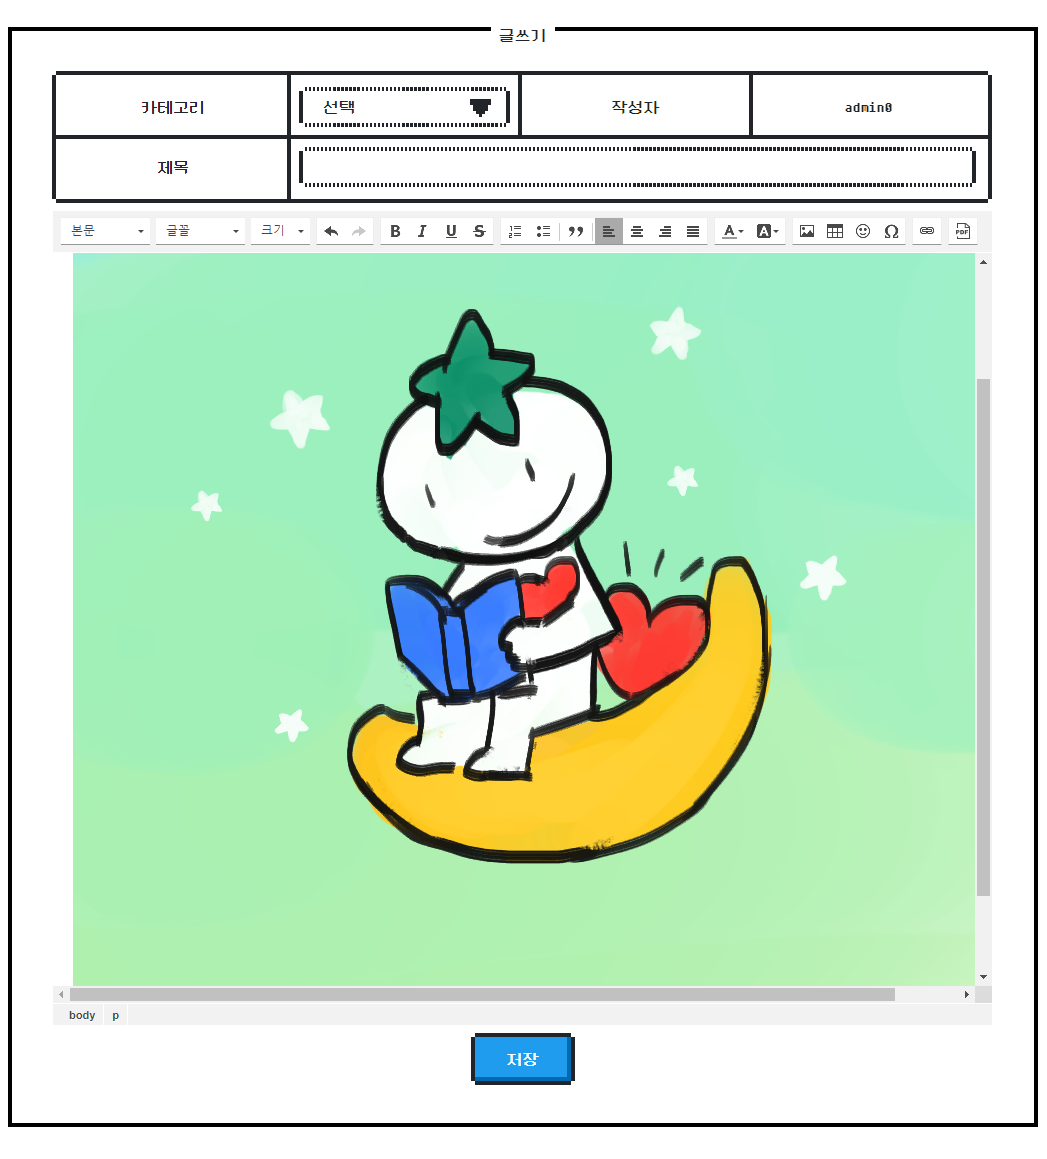
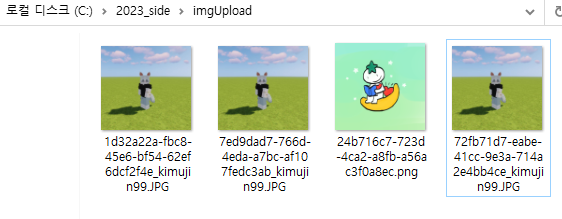
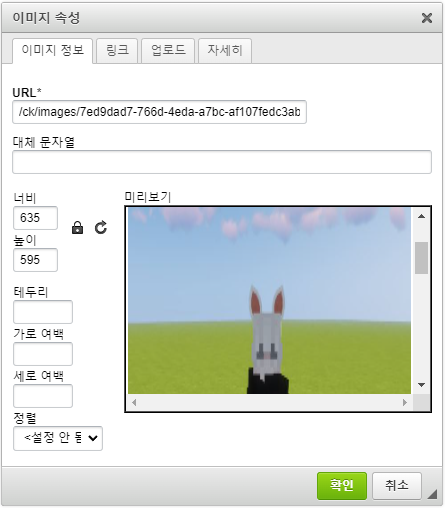
여기까지 진행했으면 끝이다! 👏👏 ദ്ദി˶˙ᵕ˙˶ ) 마지막으로 잘 돌아가는지 확인해보자~
 |  |
|---|