1. 스케줄러 적용
1. requirements.txt
requirements.txt에 django-celery-beat를 추가한다.
Django>=3.1
djangorestframework>=3.11.1
psycopg2>=2.8.5
requests>=2.24.0
Pillow>=5.4.0
flake8>=3.8.3
djangorestframework-simplejwt
django-cors-headers>=3.5.0

celery>=4.4.7, <4.5
django-celery-beat==2.0.0
2. docker 빌드
- makemigrations, migrate
docker-compose build
docker-compose up
3. db 확인
여기서 db를 확인해보자.
docker-compose run --rm app sh -c "python manage.py inspectdb"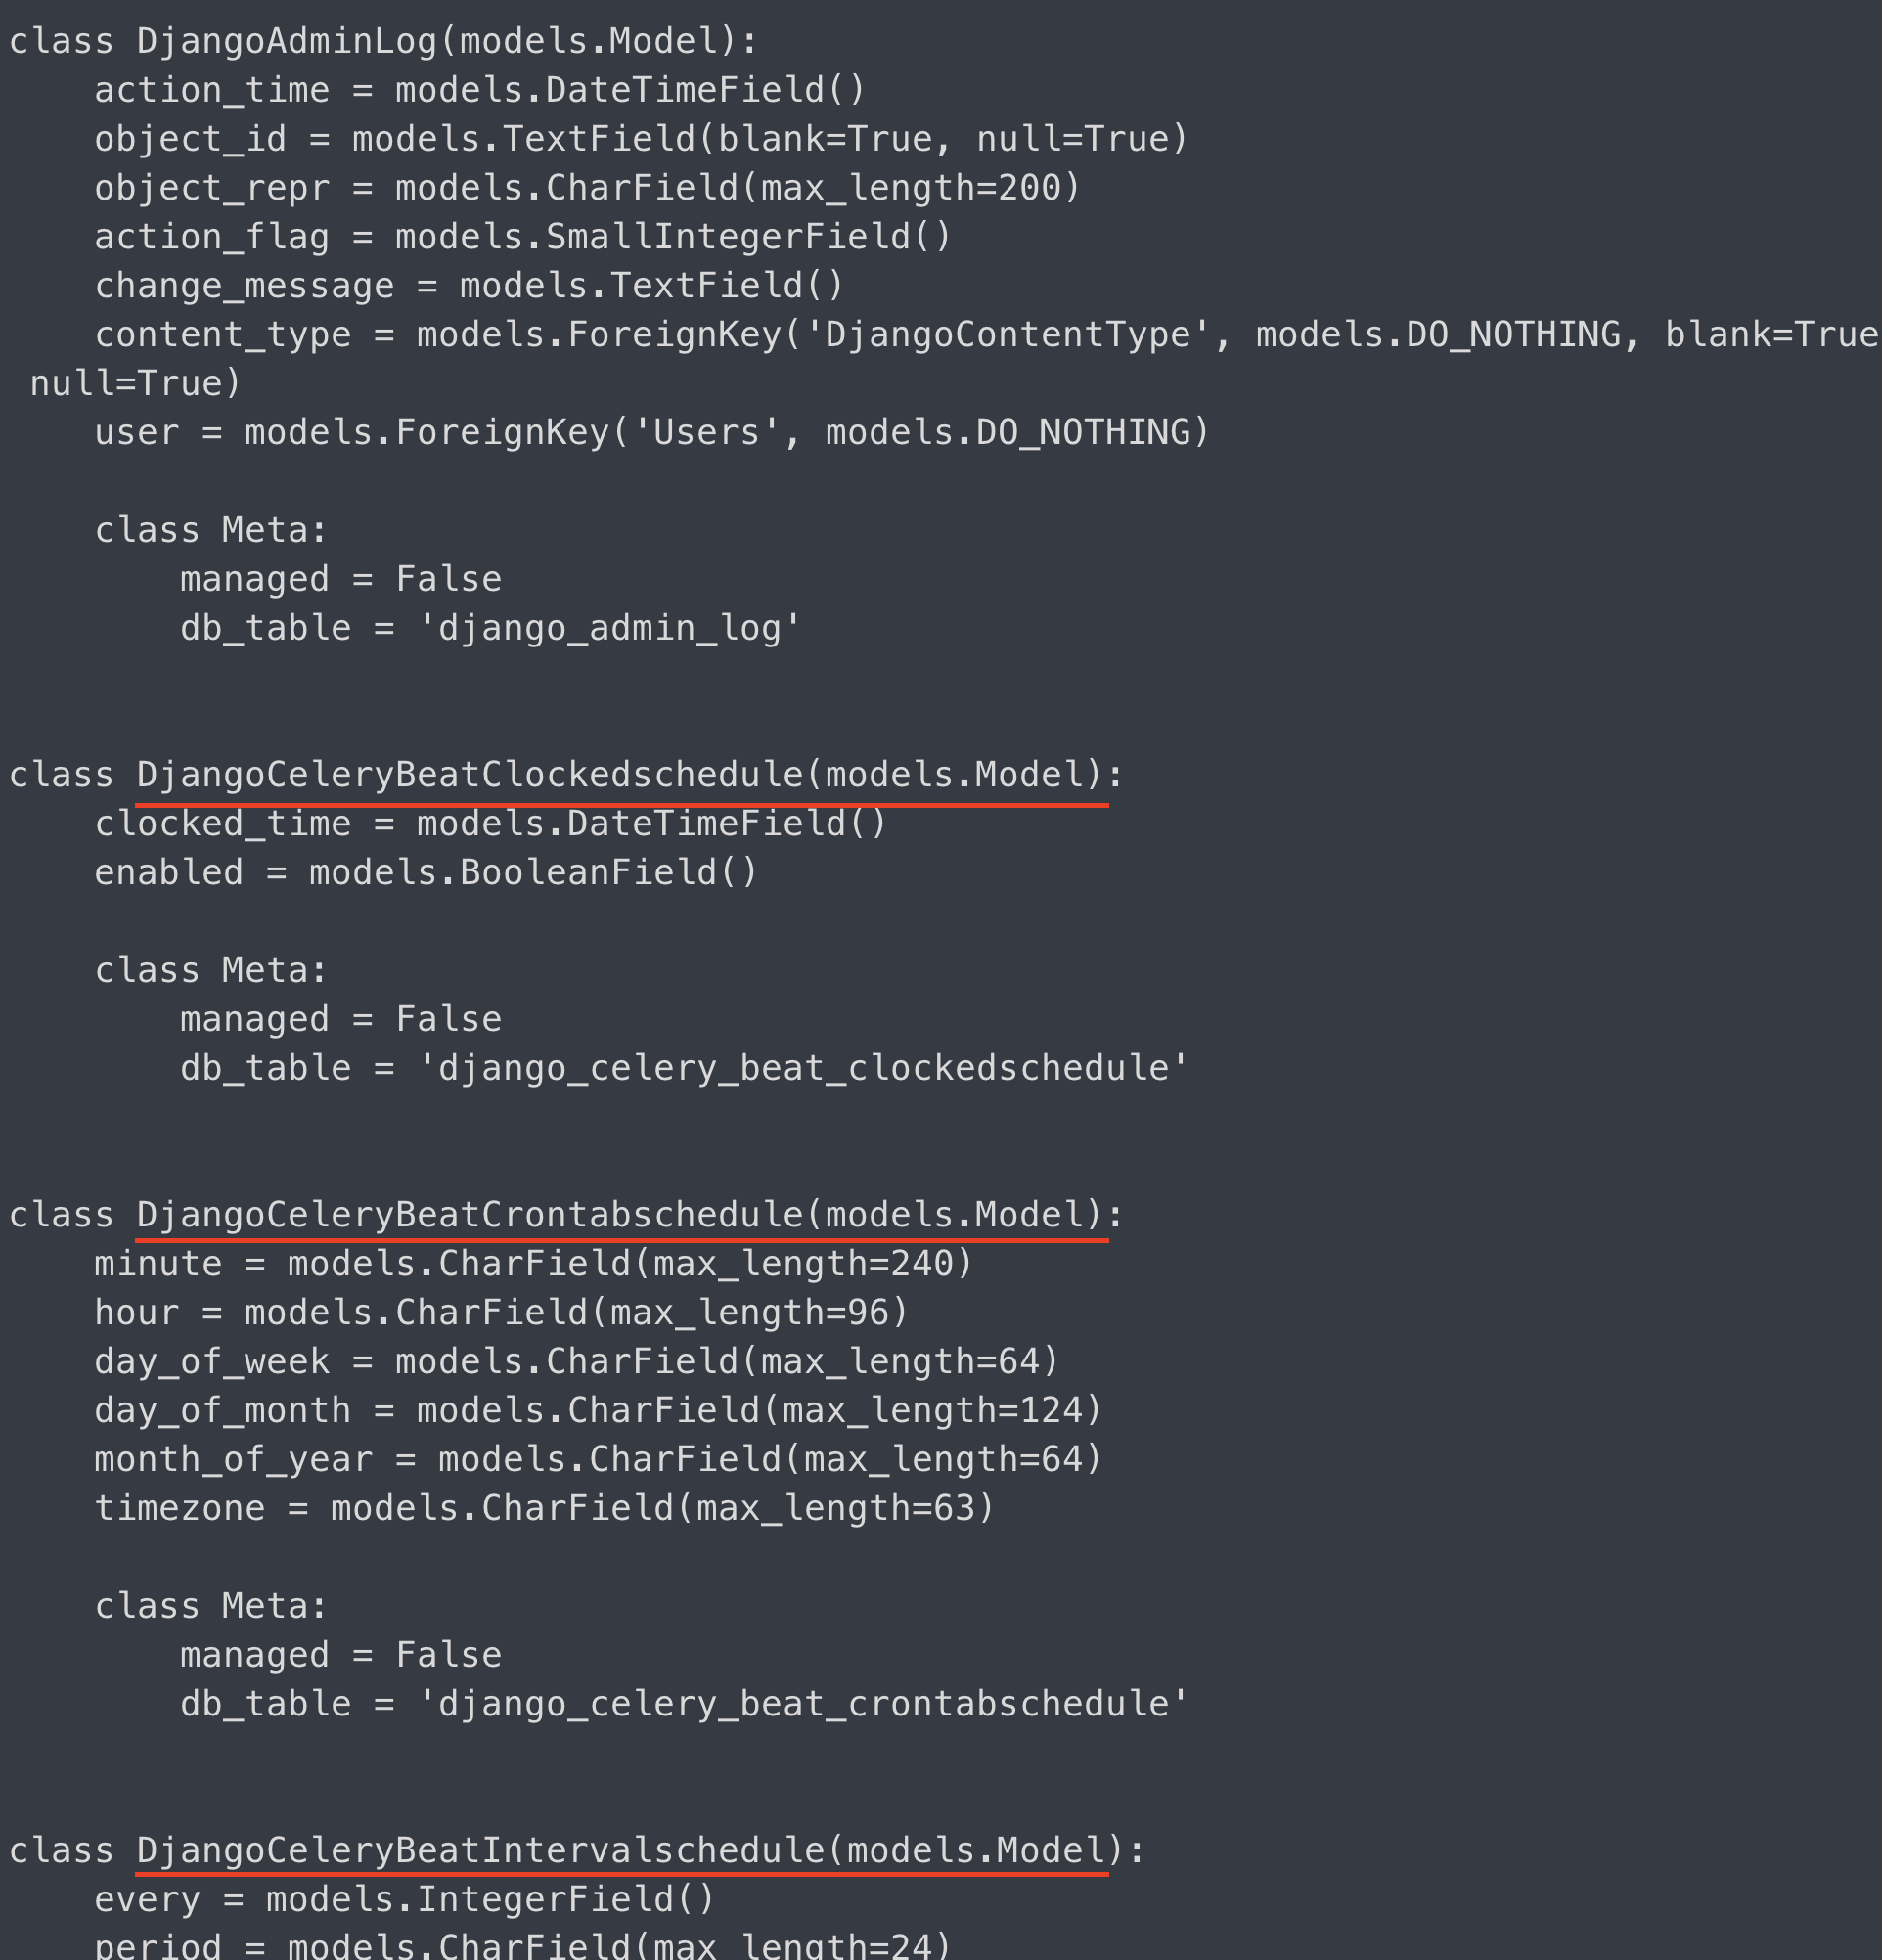
지금까지는 models.py에 정의한 모델만 DB에 반영되는 줄로 알았다.
하지만, django-celery-beat를 다운받고도
db에 반영됐음을 확인할 수 있다.
4. tasks.py
-
참고로, 내 프로젝트의 이름은 app(최상위 모듈명)이며,
생성한 앱 이름은core다. -
추후 비동기 작업들을 추가를 위하여 생성한 core앱 안에
tasks.py를 생성했고, 아래와 같이 비동기 작업 함수를 작성했다.
(이해를 돕기 위해,
즉 cd core 를 한 그 장소에서 tasks.py를 생성했다는 의미다.)
@shared_task
def say_hello():
    print('hwanil nim hihihi')
5. schedule 기능 적용
내가 구현하고 싶은 것은 비동기 작업이 일정 주기로 작동되게 하는 것이다.
core 앱에서 빠져나오고, app/app 경로로 이동한다.
즉, settings.py가 있는 곳으로 간다.
그곳에 celery.py가 있기 때문이다.
celery.py를 아래와 같이 수정했다.
from __future__ import absolute_import, unicode_literals

import os

from celery import Celery
from celery import shared_task
from celery.schedules import crontab

# set the default Django settings module for the 'celery' program.
os.environ.setdefault('DJANGO_SETTINGS_MODULE', 'app.settings')

app = Celery('app')

# Using a string here means the worker doesn't have to serialize
# the configuration object to child processes.
# - namespace='CELERY' means all celery-related configuration keys
#   should have a `CELERY_` prefix.
app.config_from_object('django.conf:settings', namespace='CELERY')

app.conf.beat_schedule = {
    'every-15-second': {
        'task': 'core.tasks.say_hello',
        'schedule': 15,
#        'args': (,)
    }
}
# Load task modules from all registered Django app configs.
app.autodiscover_tasks()


@app.task(bind=True)
def debug_task(self):
    print('Request: {0!r}'.format(self.request))
6. rabbitmq 서버 확인하기
docker-compose run --rm app celery -A app worker -l info현재는 ready 상태다.
7. 실행 및 결과
스케줄이 적용된 비동기 작업을 실행해보자.
docker-compose run --rm app celery -A app beat -l info
아래와 같이, 15초마다 비동기 작업이 실행되는 것을 알 수 있다.

8. 느낀점
예전에, rabbitmq라는 broker없이 crontab만으로
스케줄러 작업을 구현한 적이 있었다.
문제는,
내 로컬 서버가 비동기 방식이 아니라는 것이다.
프론트엔드에서 수많은 요청을 보낼때나, 아니면
혼자 매 초마다 비동기 작업을 pure crontab만으로 구현했을때
서버에서 에러가 발생하곤 했다.
rabbitmq 및 celery의 조합으로 producer, broker, worker 가 생겼고,
이를 통해, 서버 에러없이 병렬적으로 비동기 작업들이 처리됨을 확인할 수 있었다.
좀 더 해야할 점은,
1. 현재 서버 시간이 Asia/Seoul 이 아니라는 점이다.
현재 9월 4일 금요일 16시 27분인데,
서버에서는 9월 4일 07시 27분이라고 출력되고 있다.
해당 시간을 서비스가 배포되는 한국을 기준으로 셋팅을 맞추려 한다.
2. 유닛테스트 작성
해당 스케줄러에 대한 유닛테스트 역시 작업을 진행해야 한다.