Bundler - Webpack
1. 기본 설정
터미널에서 npm 프로젝트를 시작한 후, 3개의 webpack 패키지를 동시에 설치한다.
npm init -y
npm i -D webpack webpack-cli webpack-dev-server@nextpackage.json의 scripts 부분에 명령어를 추가한다.
"scripts": {
  "dev": "webpack-dev-server --mode development",
  "build": "webpack --mode production"
}
필요한 파일들을 생성한다.

index.html
<!DOCTYPE html>
<html lang="en">
<head>
  <meta charset="UTF-8">
  <meta http-equiv="X-UA-Compatible" content="IE=edge">
  <meta name="viewport" content="width=device-width, initial-scale=1.0">
  <title>Hello Webpack!</title>
  <link rel="stylesheet" href="https://cdn.jsdelivr.net/npm/reset-css@5.0.1/reset.min.css">
</head>
<body>
  <h1>Hello Webpack!</h1>
</body>
</html>
main.js
console.log("webpack!")webpack.config.js
webpack은 따로 파일을 생성하여 구성 옵션을 직접 지정해야한다.
이는 브라우저에서 동작하는 것이 아닌 node.js 환경에서 동작한다.
export: 파일을 읽어들이기 시작하는 진입점을 설정하는 부분이다.entry:html파일을 진입점으로 사용하는parcel과는 다르게js파일을 진입점으로 사용한다.output:path속성에는 node.js에서 요구하는 절대경로를 명시해야한다. 따라서path라는 전역 모듈을 가져와서 사용하고,.resolve()를 통해__dirname과dist의 경로를 합쳐준다.
// import
const path = require('path')

// export
module.exports = {
  // 파일을 읽어들이기 시작하는 진입점 설정
  entry: './src/main.js',

  // 결과물(번들)을 반환하는 설정
  output: {
    path: path.resolve(__dirname, 'dist'),
    filename: 'main.js'
  }
}
🤔
clean옵션
clean: true옵션을 추가하면 기존에 생성된 파일을 제거하고 다시 결과물을 만들 수 있다.output: { path: path.resolve(__dirname, 'public'), filename: 'main.js', clean: true }
🤔 생략?!
파일경로와 파일명을 따로 지정하지 않아도 기본적으로 'dist' 폴더에entry에서 지정한 이름인 'main.js' 라는 이름으로 파일을 생성해주므로 다음처럼 생략해도 무방하다. (다만, 항상 그런 것은 아니고 구성이 복잡해지면 경로와 이름을 지정해주어야 하는 상황이 올 수 있다!)module.exports = { // 파일을 읽어들이기 시작하는 진입점 설정 entry: './src/main.js', // 결과물(번들)을 반환하는 설정 output: { // path: path.resolve(__dirname, 'dist'), // filename: 'main.js', clean: true } }
터미널에 다음 명령어를 입력하면 'dist'이 생성된다.
npm run build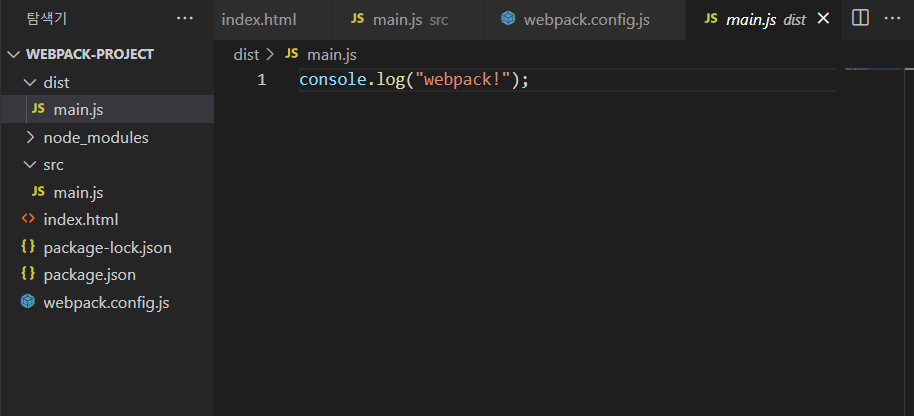
2. plugins
이제 개발 서버를 오픈해서 내용을 확인할 수 있도록 만들어보자.
터미널에 다음 명령어를 입력하여 패키지를 설치한다.
npm i -D html-webpack-pluginwebpack.config.js
webpack.config.js 파일에 plugins 옵션을 추가한다. 이는 번들링 후 결과물의 처리 방식 등 다양한 플러그인들을 설정하는 옵션이다.
// import
const path = require('path')
const HtmlPlugin = require('html-webpack-plugin')
// export
module.exports = {
// 파일을 읽어들이기 시작하는 진입점 설정
entry: './src/main.js',
// 결과물(번들)을 반환하는 설정
output: {
// path: path.resolve(__dirname, 'dist'),
// filename: 'main.js',
clean: true
},
plugins: [
new HtmlPlugin({
template: './index.html'
})
]
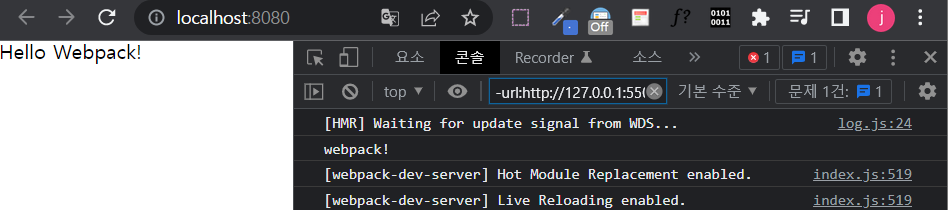
}이제 개발 서버를 열어보자! 시간이 조금 흐르고 webpack ... compiled successfully in ... 이라는 문구가 출력되면 성공적으로 실행된 것이다.
npm run dev위로 조금 올라가면 개발 서버가 열린 것을 볼 수 있다.

여기서 주소에 'localhost'가 나타나지 않고 '[::]' 처럼 나타난다면, exports의 plugins 하단에 다음 코드를 추가하면 된다.
plugins: [
    new HtmlPlugin({
      template: './index.html'
    })
  ],

devServer: {
  host: 'localhost'
}
해당 주소로 접속하면 정상적으로 웹페이지가 작동하는 것을 볼 수 있다.
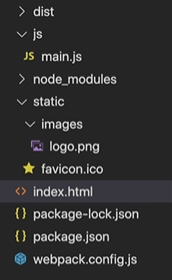
3. 정적 파일 연결
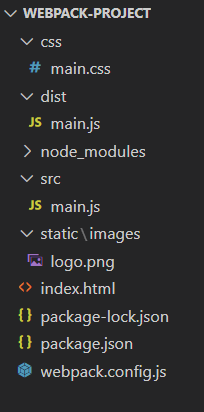
다음처럼 폴더를 생성하고 이미지 파일들을 넣어준다.
명렁어를 입력해 패키지를 설치한다.
npm i -D copy-webpack-pluginindex.html
<body>
  <h1>Hello Webpack!</h1>
  <img src="./images/logo.png" alt="LOGO">
</body>
webpack.config.js
// import
const CopyPlugin = require('copy-webpack-plugin')
// export
module.exports = {
...
plugins: [
new HtmlPlugin({
template: './index.html'
}),
new CopyPlugin({
patterns: [
{from: 'static'}
]
})
]
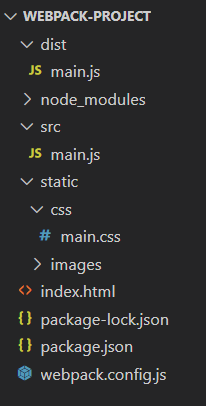
} 4. 스타일 적용하기
index.html
<!DOCTYPE html>
<html lang="en">
<head>
  <meta charset="UTF-8">
  <title>Hello Webpack!</title>
  <link rel="stylesheet" href="https://cdn.jsdelivr.net/npm/reset-css@5.0.1/reset.min.css">
  <link rel="stylesheet" href="./css/main.css">
</head>
<body>
  <h1>Hello Webpack!</h1>
  <img src="./images/logo.png" alt="LOGO">
</body>
</html>
main.css
body {
  background-color: orange;
}
npm run dev 명령어로 서버를 실행해보면 스타일이 잘 적용되었다.

css 경로 변경
패키지 설치를 설치한다.
npm i -D css-loader style-loadermain.js
import '../css/main.css'

console.log("webpack!")
webpack.config.js
// import
// import
const path = require('path')
const HtmlPlugin = require('html-webpack-plugin')
const CopyPlugin = require('copy-webpack-plugin')

// export
module.exports = {
  // 파일을 읽어들이기 시작하는 진입점 설정
  entry: './src/main.js',

  // 결과물(번들)을 반환하는 설정
  output: {
    // path: path.resolve(__dirname, 'dist'),
    // filename: 'main.js',
    clean: true
  },

  module: {
    rules: [
      {
        test: /\.css$/,
        use: [
          'style-loader',
          'css-loader'
        ]
      }
    ]
  },

  plugins: [
    new HtmlPlugin({
        template: './index.html'
    }),
    new CopyPlugin({
      patterns: [
        {from: 'static'}
      ]
    })
  ]
}
npm run dev 명령어를 통해 서버를 실행해보면 마찬가지로 잘 동작한다.