Source to Target ETL Pipeline을 만들기 전에 한 시스템에 연결하여 간단한 처리를 해보는 작업을 진행해본다.
연결 작업은 생각보다 시행 착오를 겪는 경우가 많다. 네트워크 문제라던지.. 기타 환경설정 문제라던지.. 권한 문제라던지 등등..
그래서 순차적으로 Unit Test(단위 테스트)를 해보면서 Pipeline을 만들어 볼 계획이다.
그리고 GUI 기반의 통합 툴 같은 경우는 연결이 성공하면 데이터 미리보기까지 제공하기 때문에 내가 처리할 데이터에 정상 연결된 것을 확인하는 것이 간편하지만, Airflow의 경우는 코딩으로 모든 걸 커스터마이징 해주어야 한다. 따라서 시스템에 연결하는 것에 그치는게 아니라 간단한 처리하는 것까지 구현해봐야 할 것 같다.
진행할 시나리오는 단순하다.
MySQL DB를 On-premise 환경에서 운영 중이라고 가정하고, Local MySQL에 연결해서 간단한 Query를 실행시키는 Pipeline을 만들어 본다.
Pipeline 개요
Local에 설치한 MySQL에 연결하여 테이블을 생성하고, 샘플 데이터를 삽입하는 Pipeline을 만들어본다.
사전 작업
MySQL 설정
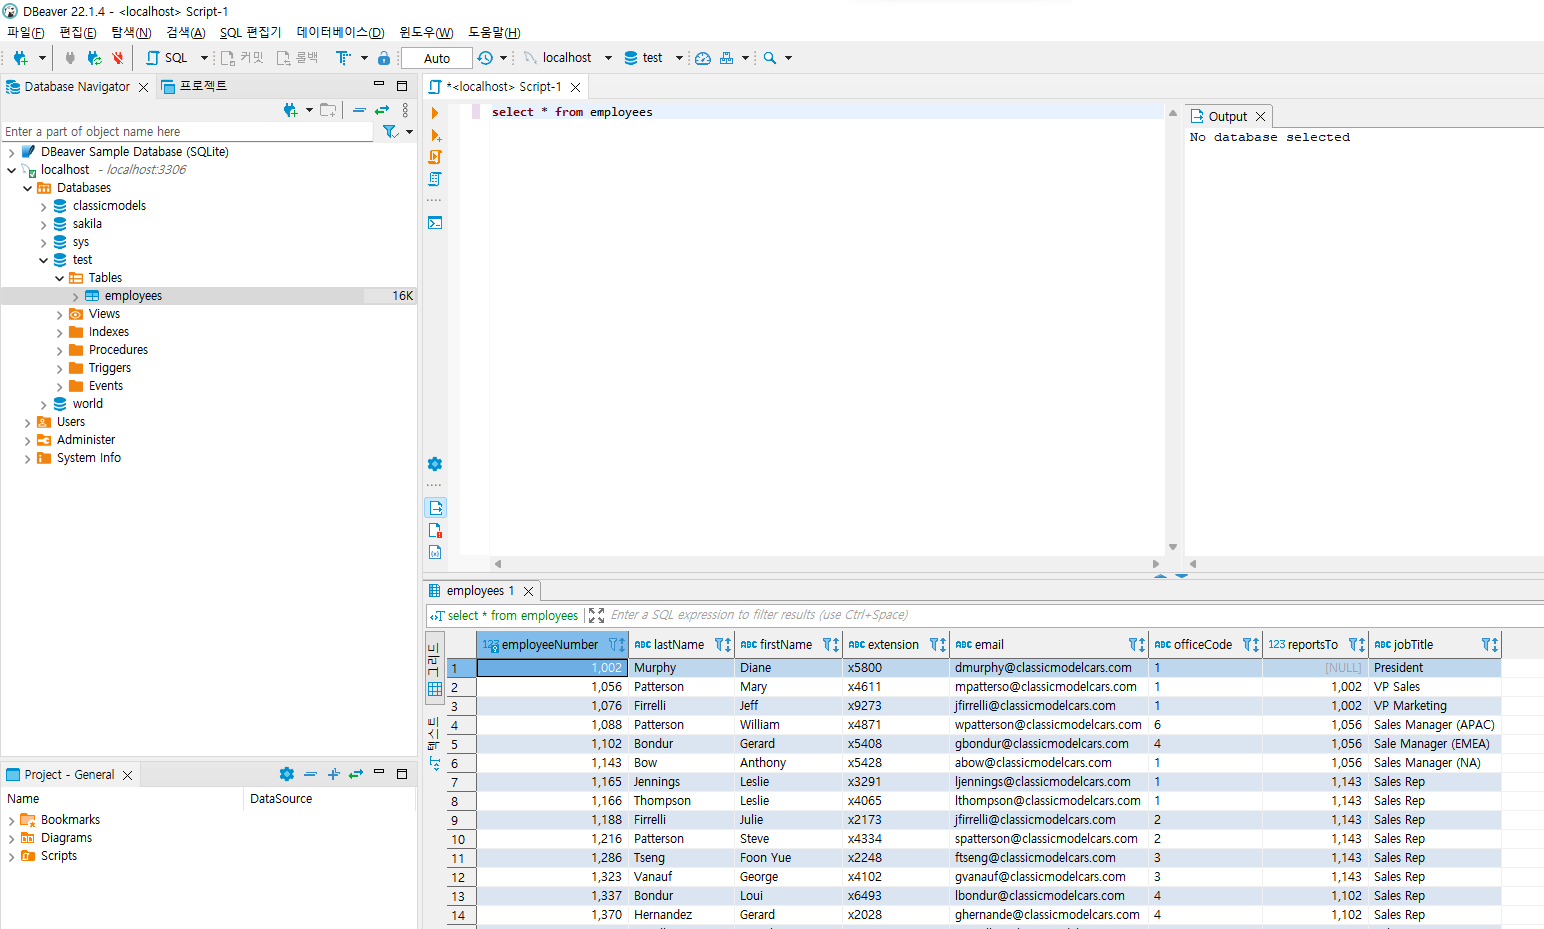
localhost에 접속하여 아래 명령을 실행하여 사용자 정보를 가져온다.
select * from mysql.user;
아니면 왼쪽 Navigator의 [Users]를 펼쳐도 확인할 수 있다.
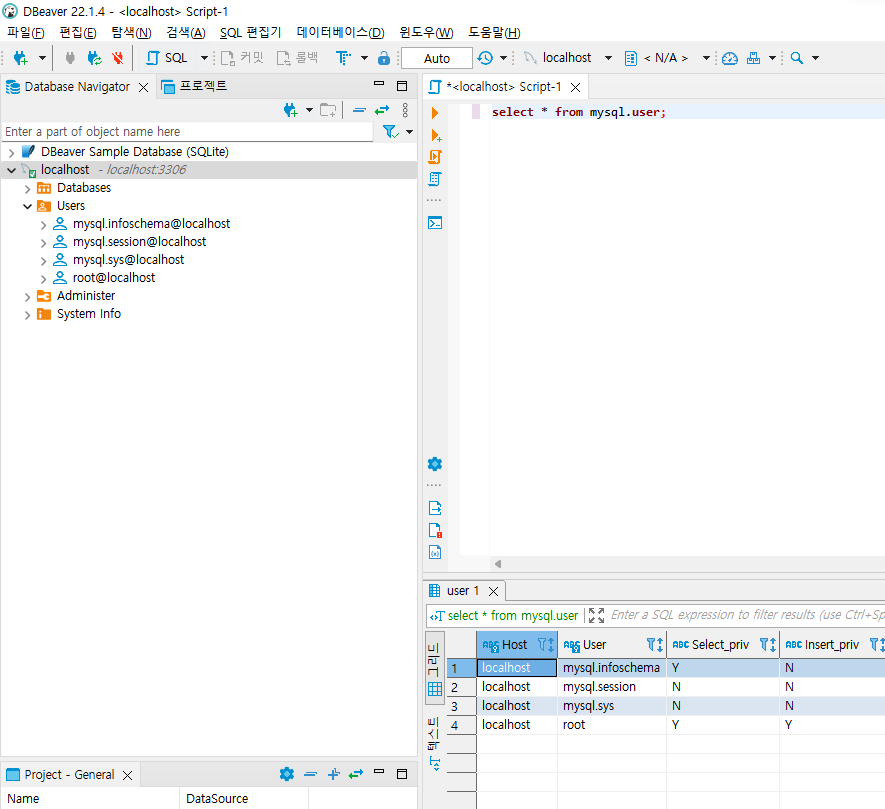
Host가 전부 localhost인 것만 보인다.
MySQL을 설치하면 기본적으로 localhost에서의 접속만 허용한다. 따라서 외부에서 접속할 수 있도록 계정을 설정해주어야 한다.
사용자 계정 생성
계정 생성
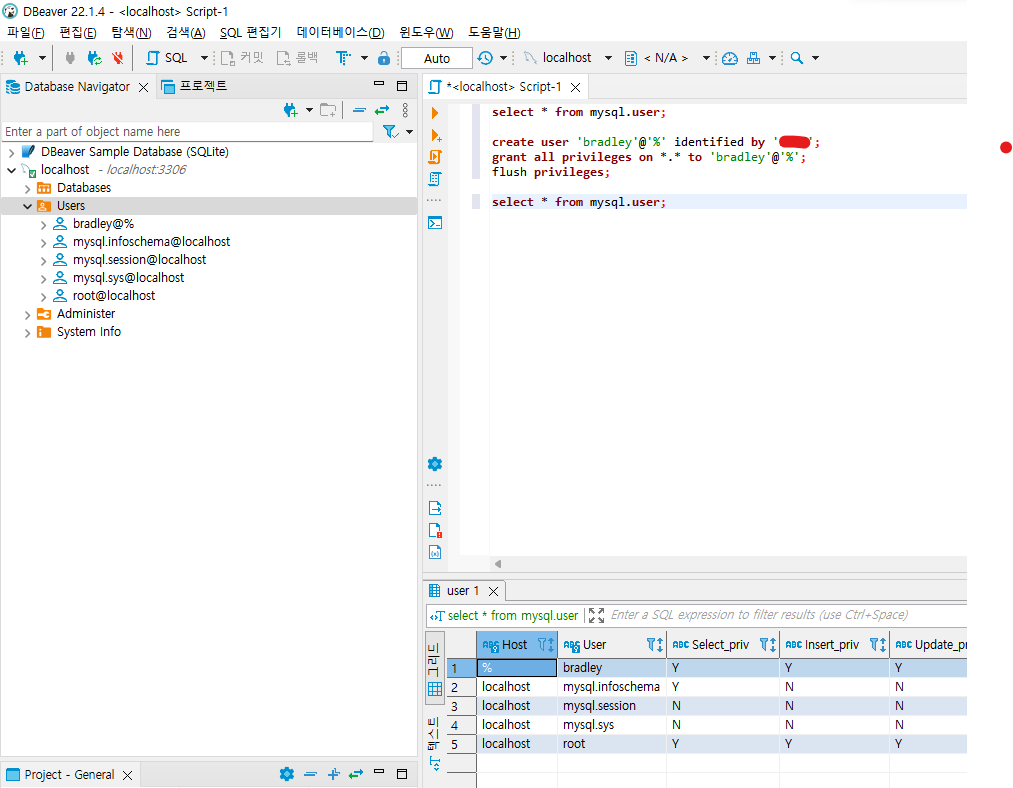
외부 접속을 허용하는 계정을 하나 생성한다.
create user '[사용자명]'@'%' identified by '[비밀번호]';
@'localhost': 로컬에서만 접근 가능@'%': 어떤 client에서든 접근 가능@'[특정 IP]: 특정 IP에서만 접근 가능223.101.%:223.101.X.X대역의 IP에서 접근 가능223.101.13.21:223.101.13.21IP에서만 접근 가능
권한 부여
해당 계정에 권한을 부여한다.
grant all privileges on [DB].[Table] to '사용자명'@'%';
대상 객체
- 모든 DB와 Table을 대상으로 할 경우
*.*입력testDB의 모든 Table을 대상으로 할 경우 :test.*testDB의abcTable을 대상으로 할 경우 :test.abc
DML 권한
- 모든 DML 권한을 주기 위해서는
all입력select권한만 줄 경우
grant select privileges ~select,insert,update권한을 줄 경우
grant select, insert, update privileges ~
변경된 내용을 반영한다.
flush privileges
권한을 부여했는데 이 명령은 뭐냐하면 "현재 사용 중인 MySQL 캐시를 지우고 새로운 설정을 적용하기 위해 사용한다"는 뜻이다.
쉽게 말해 MySQL의 환경 설정을 변경할 경우, MySQL 재시작없이 변경한 설정 부분을 적용시키고자 할 때 사용한다.
Table 추가/제거 등의 변경은 MySQL 환경 설정이 아니므로 필요가 없지만, ID/PW 추가/수정의 경우 환경 설정이 변경된 것임으로 해당 명령이 필요하다.
계정 생성 확인
다시 mysql.user Table을 조회하거나 Navigatoer를 새로고침해서 확인하면 [사용자명]@%가 생긴 것을 확인할 수 있다.
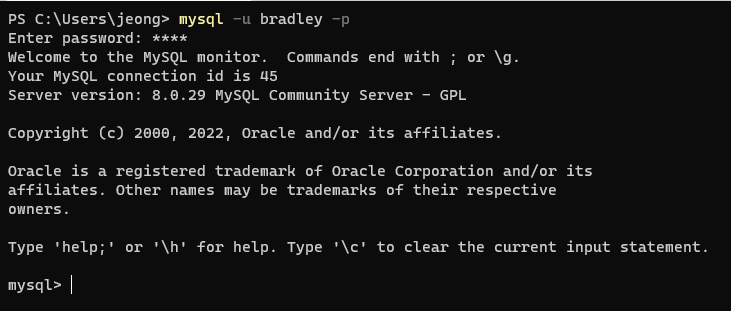
신규 계정으로 MySQL 접속 확인
MySQL에 생성한 계정으로 접속이 잘 되는지 확인한다.
mysql -u [사용자명] -p
Airflow Pipeline 만들기
MySQL 연결 만들기
이제 위에서 생성한 계정을 통해 Airflow가 MySQL에 접속할 수 있도록 연결을 만든다.
우선 ipconfig 명령으로 IP를 확인한다.
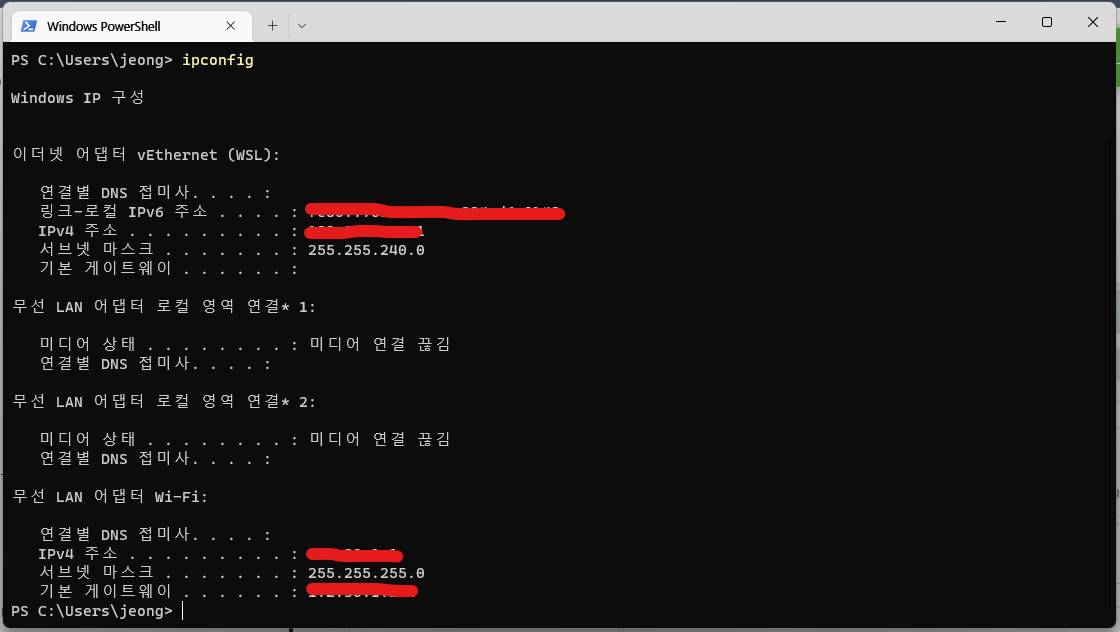
Airflow에서 [Admin] - [Connections] 메뉴로 이동한 뒤 [+]를 눌러 새 연결을 만든다.
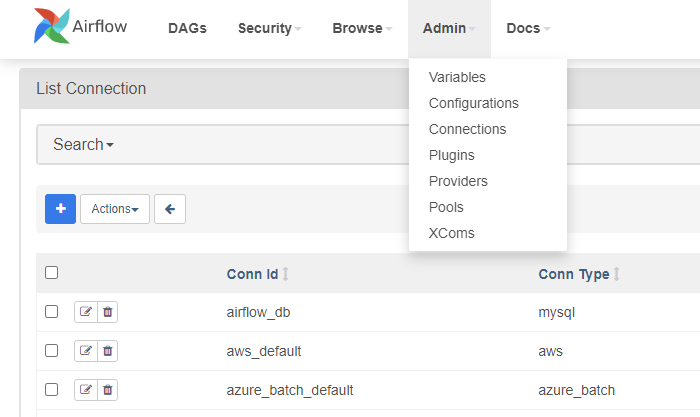
연결 정보를 입력한 뒤 [Test] 버튼을 눌러 정상적으로 연결되는지 확인한다.

- Connection id : 연결 이름
- Connection Type : MySQL
- Host : 확인한 IP 입력
- Schema : Table을 생성할 DB
- Login : 외부에서도 접속할 수 있도록 설정한 MySQL 계정
- Password :
- Port : 3306
DAG 작성
library 설치
MySQL에 Query를 날리기 위해서는 MySqlOperator 모듈이 필요하다.
apache-airflow-providers-mysql 모듈을 설치한다.
pip3 install apache-airflow-providers-mysql

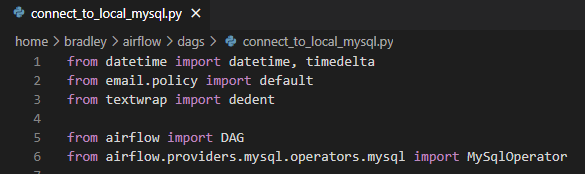
DAG 파일에서는 아래와 같이 Import 한다.
from airflow.providers.mysql.operators.mysql import MySqlOperator
DAG 작성
employees Table을 생성하는 Task와 샘플 employees 데이터를 삽입하는 Task를 가진 DAG를 작성한다.
connect_to_local_mysql.py
from datetime import datetime, timedelta
from email.policy import default
from textwrap import dedent

from airflow import DAG
from airflow.providers.mysql.operators.mysql import MySqlOperator

default_args = {
    'depends_on_past': False,
    'retires': 1,
    'retry_delay': timedelta(minutes=5)
}

sql_create_table = """
    CREATE TABLE `employees` (
        `employeeNumber` int(11) NOT NULL,
        `lastName` varchar(50) NOT NULL,
        `firstName` varchar(50) NOT NULL,
        `extension` varchar(10) NOT NULL,
        `email` varchar(100) NOT NULL,
        `officeCode` varchar(10) NOT NULL,
        `reportsTo` int(11) DEFAULT NULL,
        `jobTitle` varchar(50) NOT NULL,
    PRIMARY KEY (`employeeNumber`)
    );
"""

sql_insert_data = """
    insert  into `employees`(`employeeNumber`,`lastName`,`firstName`,`extension`,`email`,`officeCode`,`reportsTo`,`jobTitle`) values
        (1002,'Murphy','Diane','x5800','dmurphy@classicmodelcars.com','1',NULL,'President'),
        (1056,'Patterson','Mary','x4611','mpatterso@classicmodelcars.com','1',1002,'VP Sales'),
        (1076,'Firrelli','Jeff','x9273','jfirrelli@classicmodelcars.com','1',1002,'VP Marketing'),
        (1088,'Patterson','William','x4871','wpatterson@classicmodelcars.com','6',1056,'Sales Manager (APAC)'),
        (1102,'Bondur','Gerard','x5408','gbondur@classicmodelcars.com','4',1056,'Sale Manager (EMEA)'),
        (1143,'Bow','Anthony','x5428','abow@classicmodelcars.com','1',1056,'Sales Manager (NA)'),
        (1165,'Jennings','Leslie','x3291','ljennings@classicmodelcars.com','1',1143,'Sales Rep'),
        (1166,'Thompson','Leslie','x4065','lthompson@classicmodelcars.com','1',1143,'Sales Rep'),
        (1188,'Firrelli','Julie','x2173','jfirrelli@classicmodelcars.com','2',1143,'Sales Rep'),
        (1216,'Patterson','Steve','x4334','spatterson@classicmodelcars.com','2',1143,'Sales Rep'),
        (1286,'Tseng','Foon Yue','x2248','ftseng@classicmodelcars.com','3',1143,'Sales Rep'),
        (1323,'Vanauf','George','x4102','gvanauf@classicmodelcars.com','3',1143,'Sales Rep'),
        (1337,'Bondur','Loui','x6493','lbondur@classicmodelcars.com','4',1102,'Sales Rep'),
        (1370,'Hernandez','Gerard','x2028','ghernande@classicmodelcars.com','4',1102,'Sales Rep'),
        (1401,'Castillo','Pamela','x2759','pcastillo@classicmodelcars.com','4',1102,'Sales Rep'),
        (1501,'Bott','Larry','x2311','lbott@classicmodelcars.com','7',1102,'Sales Rep'),
        (1504,'Jones','Barry','x102','bjones@classicmodelcars.com','7',1102,'Sales Rep'),
        (1611,'Fixter','Andy','x101','afixter@classicmodelcars.com','6',1088,'Sales Rep'),
        (1612,'Marsh','Peter','x102','pmarsh@classicmodelcars.com','6',1088,'Sales Rep'),
        (1619,'King','Tom','x103','tking@classicmodelcars.com','6',1088,'Sales Rep'),
        (1621,'Nishi','Mami','x101','mnishi@classicmodelcars.com','5',1056,'Sales Rep'),
        (1625,'Kato','Yoshimi','x102','ykato@classicmodelcars.com','5',1621,'Sales Rep'),
        (1702,'Gerard','Martin','x2312','mgerard@classicmodelcars.com','4',1102,'Sales Rep');
"""


with DAG(
    'connect_to_local_mysql',
    default_args = default_args,
    description = """
        1) create 'employees' table in local mysqld
        2) insert data to 'employees' table
    """,
    schedule_interval = '@daily',
    start_date = datetime(2022, 1, 1),
    catchup = False,
    tags = ['mysql', 'local', 'test', 'employees']
) as dag:
    t1 = MySqlOperator(
        task_id="create_employees_table",
        mysql_conn_id="mysql_local_test",
        sql=sql_create_table,
    )

    t2 = MySqlOperator(
        task_id="insert_employees_data",
        mysql_conn_id="mysql_local_test",
        sql=sql_insert_data
    )


    t1 >> t2
DAG 실행 확인
DAG 파일을 실행시켜 파일이 잘 작성되었는지 확인한다.

실행 및 확인
조금 기다리면 작성한 connect_to_local_mysql DAG가 올라온다.

Task 구성은 다음과 같다.
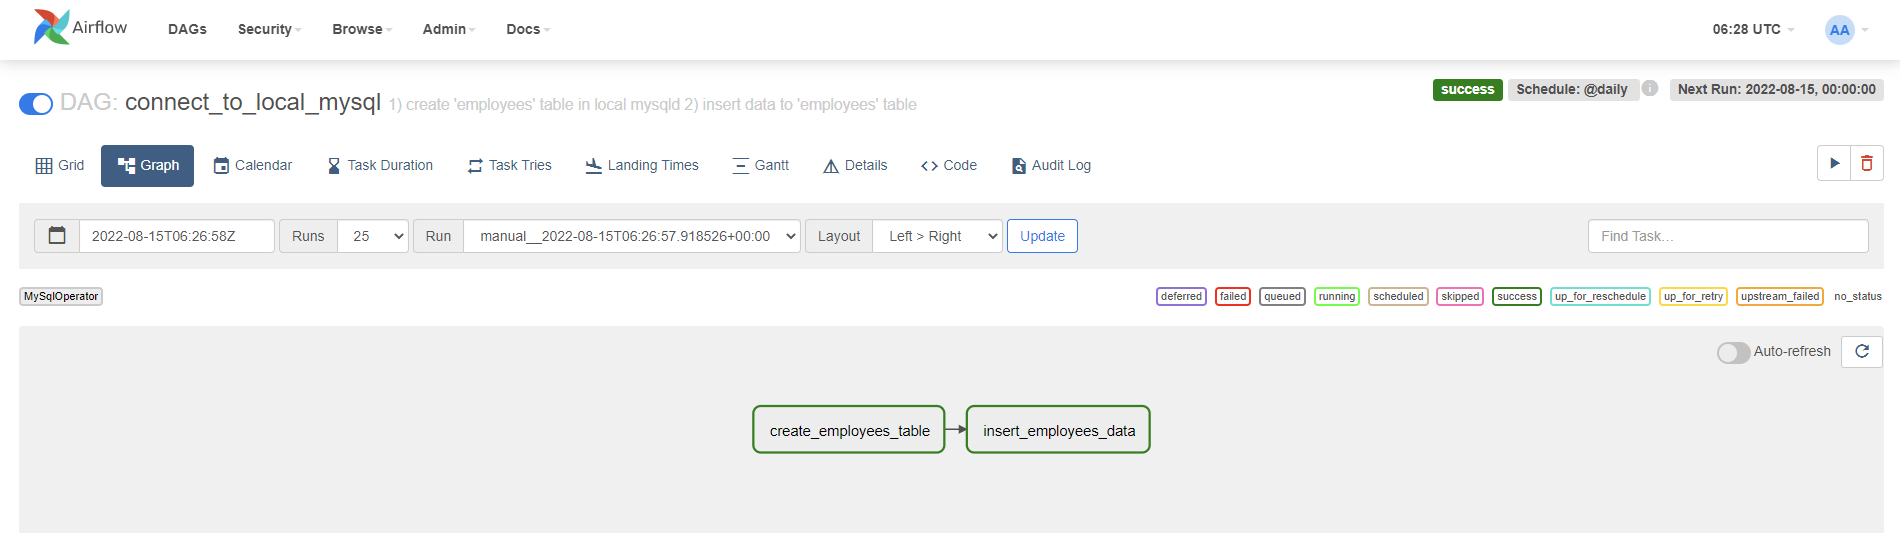
DAG를 실행한 뒤 정상 실행된 것을 확인한다.
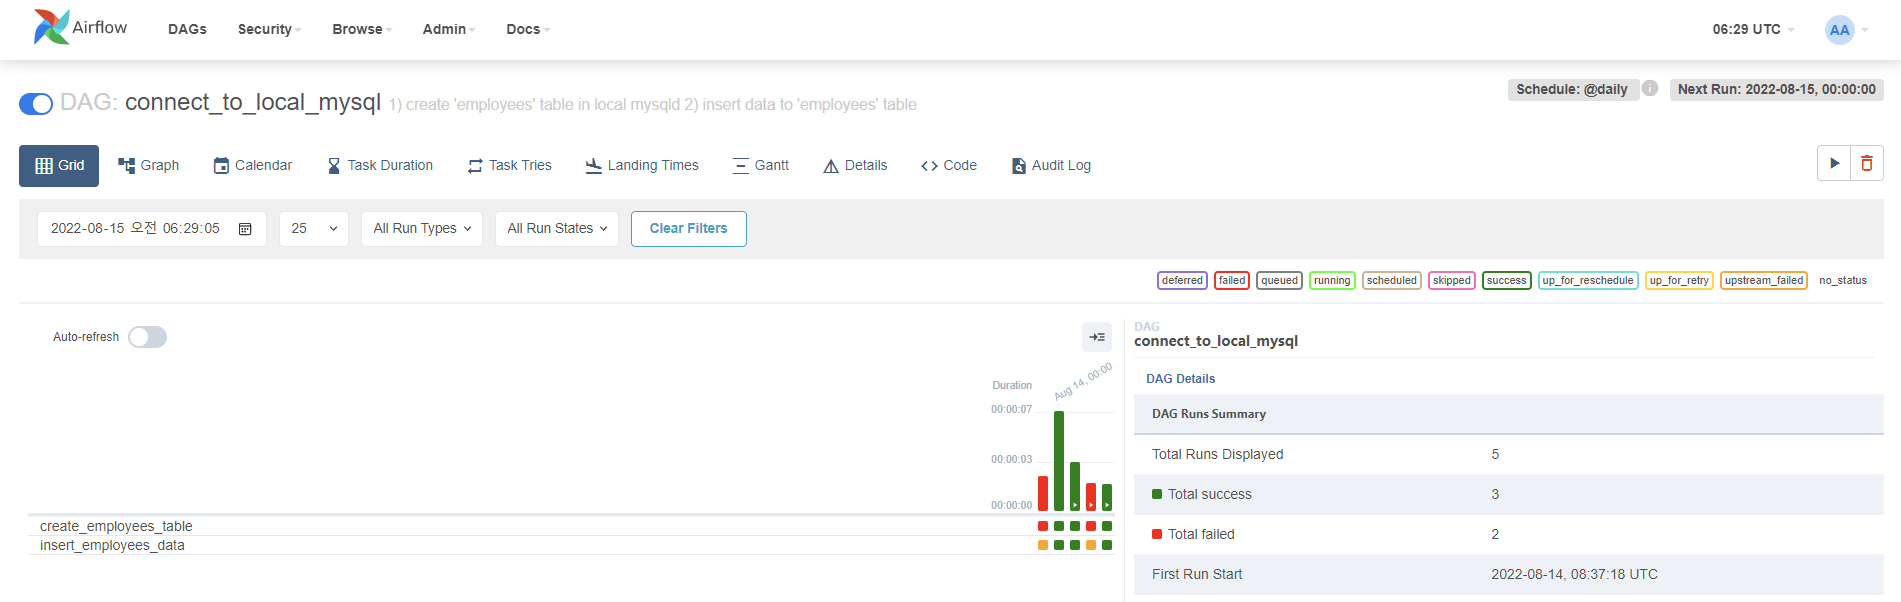
Local DB에도 employees 테이블이 생기고, 샘플 데이터가 삽입된 것을 확인할 수 있다.