
[진행중인 포스트입니다.]
오늘은 회원가입 파트를 진행해보고자 합니다!
# 목표
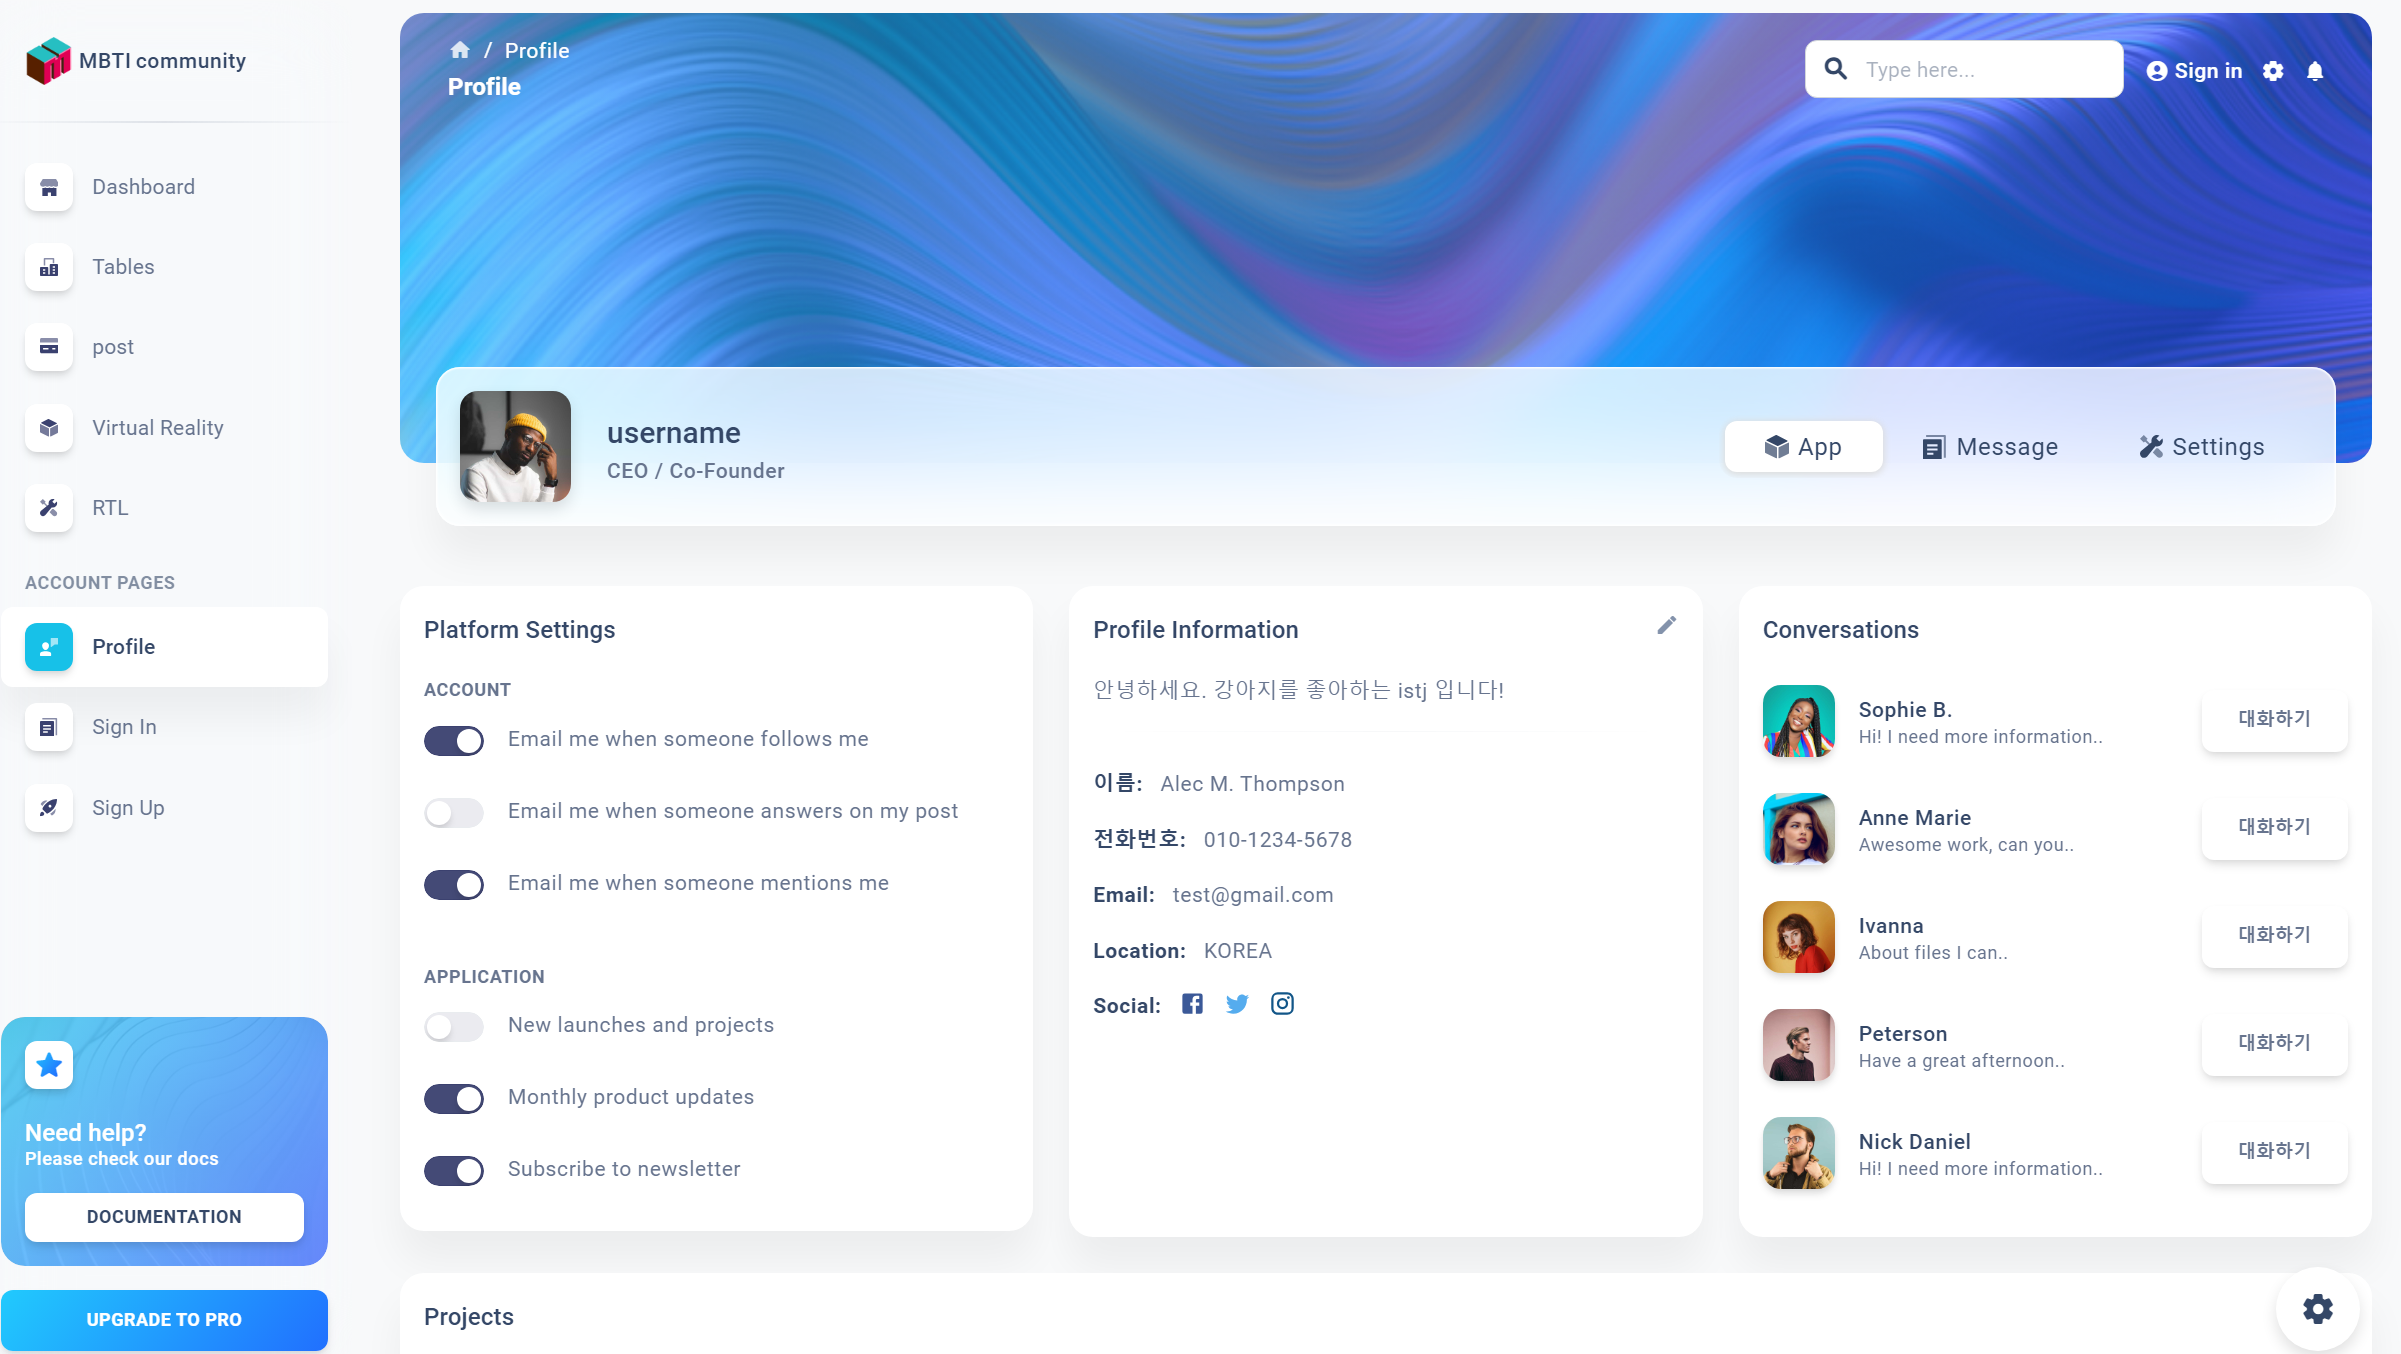
현재 진행중인 MBTIcommunity 프로젝트의 회원가입 부분입니다!
오늘은 간단하게 회원가입 화면에서 정상적으로 회원가입이 동작할 수 있도록 해보겠습니다!
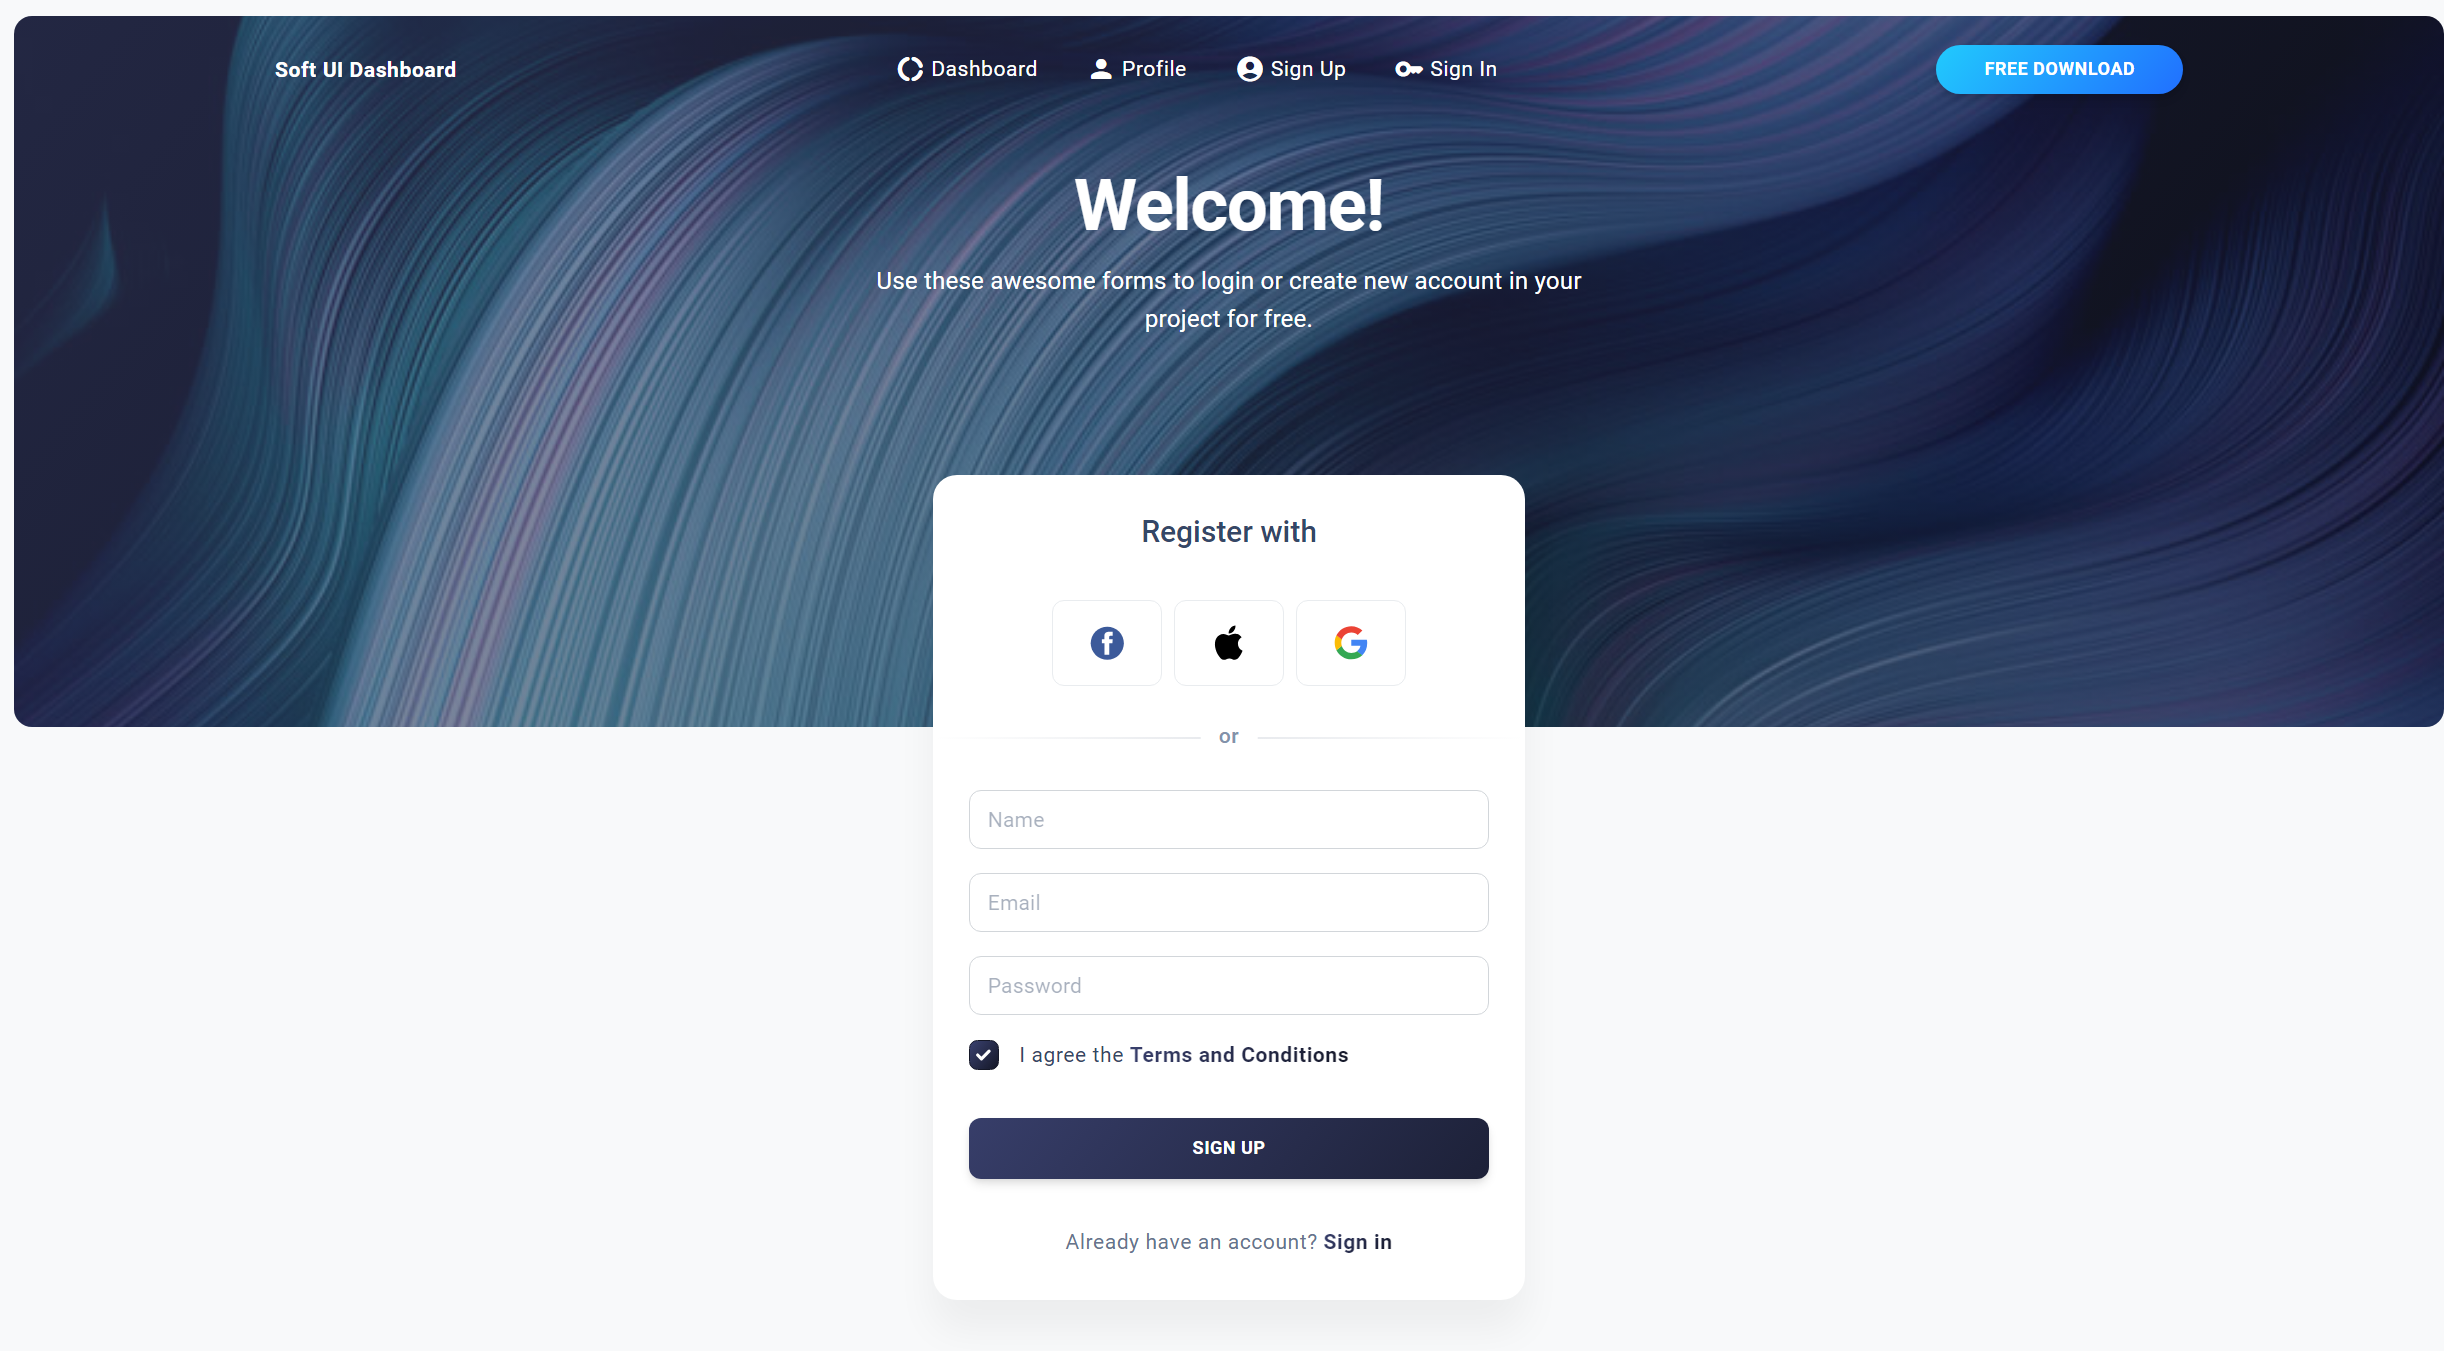
현재 react에 구현된 signUp 코드입니다!
function SignUp() {
const [agreement, setAgremment] = useState(true);
const handleSetAgremment = () => setAgremment(!agreement);
return (
<BasicLayout
title="Welcome!"
description="Use these awesome forms to login or create new account in your project for free."
image={curved6}
>
<Card>
<SoftBox p={3} mb={1} textAlign="center">
<SoftTypography variant="h5" fontWeight="medium">
Register with
</SoftTypography>
</SoftBox>
<SoftBox mb={2}>
<Socials />
</SoftBox>
<Separator />
<SoftBox pt={2} pb={3} px={3}>
<SoftBox component="form" role="form">
<SoftBox mb={2}>
<SoftInput placeholder="Name" />
</SoftBox>
<SoftBox mb={2}>
<SoftInput type="email" placeholder="Email" />
</SoftBox>
<SoftBox mb={2}>
<SoftInput type="password" placeholder="Password" />
</SoftBox>
<SoftBox display="flex" alignItems="center">
<Checkbox checked={agreement} onChange={handleSetAgremment} />
<SoftTypography
variant="button"
fontWeight="regular"
onClick={handleSetAgremment}
sx={{ cursor: "poiner", userSelect: "none" }}
>
I agree the
</SoftTypography>
<SoftTypography
component="a"
href="#"
variant="button"
fontWeight="bold"
textGradient
>
Terms and Conditions
</SoftTypography>
</SoftBox>
<SoftBox mt={4} mb={1}>
<SoftButton variant="gradient" color="dark" fullWidth>
sign up
</SoftButton>
</SoftBox>
<SoftBox mt={3} textAlign="center">
<SoftTypography variant="button" color="text" fontWeight="regular">
Already have an account?
<SoftTypography
component={Link}
to="/authentication/sign-in"
variant="button"
color="dark"
fontWeight="bold"
textGradient
>
Sign in
</SoftTypography>
</SoftTypography>
</SoftBox>
</SoftBox>
</SoftBox>
</Card>
</BasicLayout>
);
}
export default SignUp;현재 mbti 정보를 받는 칸이 없으므로 만들어서 넣어줍니다!
추가 코드입니다!
 const [mbti, setMbti] = useState('');
  const handleMbtiChange = (e) => {
    setMbti(e.target.value);
  };

...
...

<Box>
  <FormControl sx={{ width: 'auto' }}>
    <InputLabel id="demo-simple-select-label">
      MBTI
	</InputLabel>
	<Select
		labelId="demo-simple-select-label"
		id="demo-simple-select"
		value={mbti}
		label="mbti"
		onChange={handleAgeChange}
		sx={{ width: '100%' }}
  	>
    {mbtiList.map(
     (mbti) => (<MenuItem value={mbti} key={mbti}>{mbti}</MenuItem>))}
  </Select>
</FormControl>
</Box>
email이나 password와 같이 age 변경값을 만들어 두고 select 컴포넌트를 활용하여 mbti 타입들을 랜더링 해줍니다!
Post 전송
function Chat({ }) {

    const [mbti, setMbti] = useState('');
    const [username, setUsername] = useState('');
    const [email, setEmail] = useState('');
    const [password, setPassword] = useState('');
    const navigate = useNavigate();

    const handleMbtiChange = (e) => {
        setMbti(e.target.value);
    };
    const handleUsernameChange = (e) => {
        setUsername(e.target.value);
    };
    const handleEmailChange = (e) => {
        setEmail(e.target.value);
    };
    const handlePasswordChange = (e) => {
        setPassword(e.target.value);
    };

   //회원가입
  const handleSignUp = (e) => {
    e.preventDefault();
    const userData = {
      username: username,
        email: email,
        password:password,
        mbtiType:mbti,
    };

    const url = `http://localhost:8080/api/signup`

    axios
        .post(url, userData)
        .then((response) => {
            alert(`${username}님 회원가입 성공`)
          navigate("/authentication/sign-in");
        })
        .catch((error) => {
          alert('회원가입 실패')
        });
  };
서버 엔드포인트인 /api/signup에 post요청을 보내고 응답값에 따라 알람을 다르게 띄워줍니다!
성공시 -> user이름 + 회원가입 성공 메세지 경고
실패시 -> 회원가입 실패 경고
다음 포스트에서는 백엔드 부분을 다룹니다!
다름 포스트에서~

코딩은재밌어