📌 학습한 내용
전체 코드 : 💾
jQuery 라이브러리
-
라이브러리 : 반복적인 기능에 대해 미리 작성해둔 코드
-
production (압축된 버전, minify -> 파일의 용량을 줄여, 사이트의 로딩 속도를 줄임)
vs
development (압축이 안된 버전, javascript로 작성) ✔
jQuery 기본구조
: 아래와 같은 구조를 만든 뒤, 안쪽에 jquery관련 코드 기입
// 과거 버전
// html문서를 다 가져온 다음 jquery 코드를 실행
$(document).ready(function() {

});

// 3. 버전에서 간소화
$(function() {
	// console.log("Hello World");
})
jQuery 선택자
: querySelector와 동일한 접근 방법 사용(css와 동일)
// $('디자인 또는 기능을 적용할 영역')
$('header').css('background-color', 'yellow');
$('#masthead-id').css("color", "red");
$('.,masthead-heading').css("color", "blue");

// 해당 요소를 개별적으로 가져올 수도 있음
console.log($("#masthead-id"));

// 가져온 영역을 자바스크립트 변수 안에다가 할당 가능
// -> 암묵적으로 변수명 앞에 $기호로 변수명을 시작
// -> (jQuery 라이브러리를 이용해 할당시킨 값임을 명시적으로 표기)
var $masthead = $("#masthead-id");
console.log(masthead);- 부모 자식관계로도 요소에 접근 가능
$('header #masthead-id').css('color', 'red');
$('header #masthead-id.masrhead-subheading').css('color', 'red');- 선택자가 존재하지 않을 때
: 비어있는 형태로 반환
console.log($("#test"));
jQuery 가상 선택자
- 코드는 항상 0부터 시작
:even: 인덱스 넘버에 따라 홀수 선택:odd: 인덱스 넘버에 따라 짝수 선택:eq(index): 원하는 영역에 디자인 가능, 인덱스 넘버에 해당하는 요소에 적용
$('.nav-item:even').css('background-color', 'blue');
$('.nav-item:odd').css('background-color', 'green');
$('.nav-item:eq(3)').css('background-color', 'pink');
👉 라이브러리를 이용할 때, html에 <script>의 작성 순서에 주의해야 한다. 위에서 부터 아래로 코드가 실행되는 것을 명심!
jQuery event
.mouseenter(): 마우스를 오버하면 이벤트 작동 후 지속.mouseleave(): 마우스 오버 후, 해당 영역을 벗어나면 이벤트 작동 후 지속.click(): 해당 요소를 클릭하면 이벤트 작동 후 지속.on({}): 하나의 영역에 여러 개의 이벤트 적용, 객체로 전달
// 기본 작성
$("header #masthead-id").mouseenter(function() {
	// $("header #masthead-id").css('background-color', 'yellow');
	$(this).css('background-color', 'yellow');
	});

$("header #masthead-id").mouseleave(function() {
	// $("header #masthead-id").css('background-color', 'blue');
	$(this).css('background-color', 'blue');
	})

// .on사용 간소화
$("header #masthead-id").on({
	mouseenter: function() {
		$(this).css('background-color', 'yellow')
		},
	mouseleave: function() {
		$(this).css('background-color', 'blue')
		}
	})
fadeTo(속도, opacity값, function()): opacity의 강도를 조절하는 메서드
$("header #masthead-id").on({
	mouseenter: function() {
		$(this).fadeTo('fast', 1);
	},
	mouseleave: function() {
		$(this).fadeTo('fast', 0.5);
	}
})
display: none; 관련 메서드
.hide(): 화면에서 보이지 않게 함,display: none;적용.show():display: none제거toggle(): 화면에 보이고 있을 경우.hide()수행, 화면에 보이지 않고 있을 경우.show()수행
.slideDown(): 슬라이드 되면서 화면에 노출.slideUp(): 슬라이드 되면서 화면에서 감춤.slideToggle():display: none;의 유무에 따라 슬라이드 되면서 화면에 노출/숨김
.fadeIn()/.fadeOut(): 투명/선명해지면서 숨김/노출
클래스 제어 코드
.addClass('추가할 클래스명'): 클래스 추가.removeClass('추가할 클래스명'): 클래스 제거
.toggleClass() 구현
var $id = $("#masthead-id");

$(".btn-one").click(function() {
	if($id.hasClass('blue')) {
		$id.removeClass('blue');
	} else {
		$id.addClass('blue');
	}
  	// $id.toggleClass('blue');
})
실습
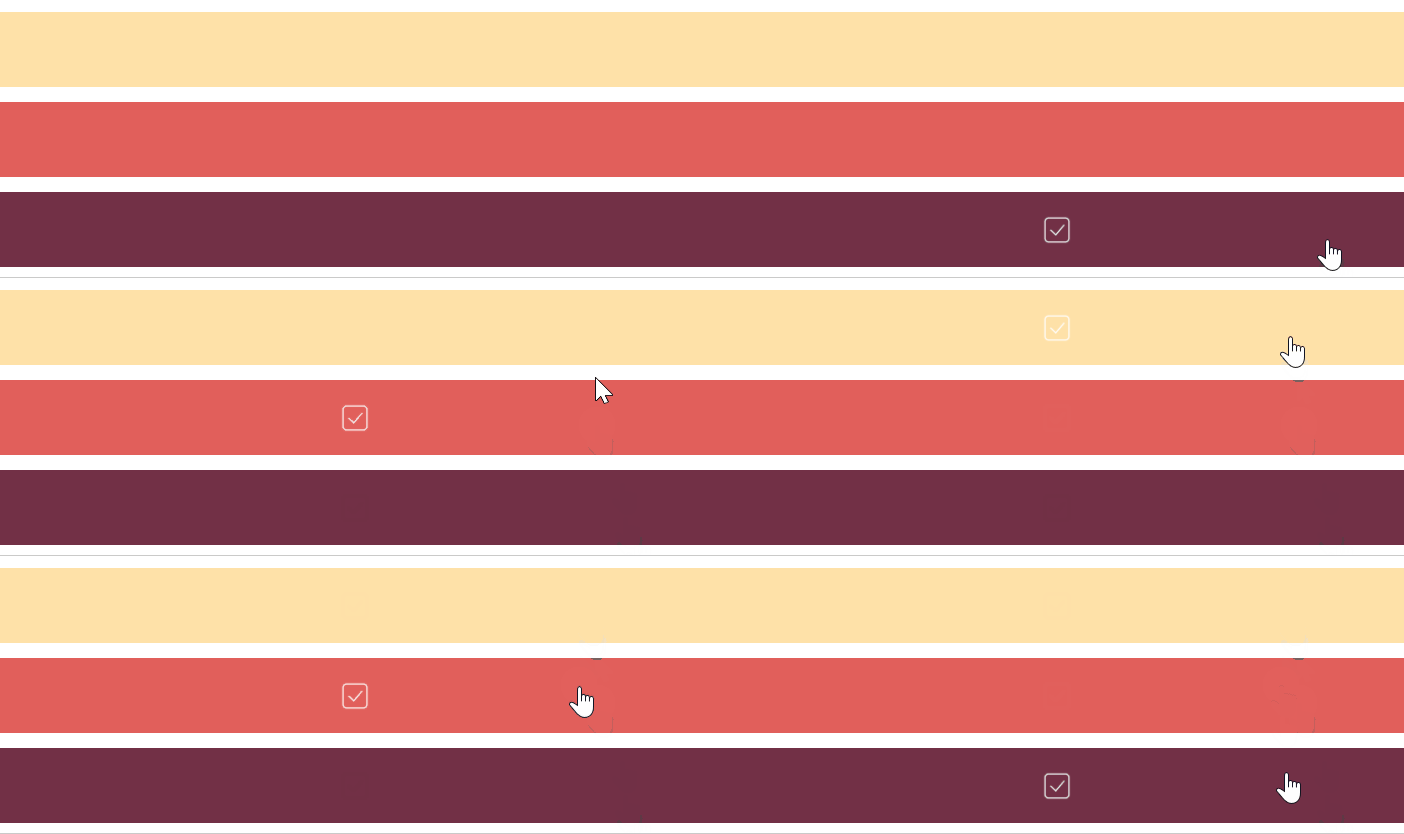
1. 체크 박스
: 클릭 시, 선택한 영역의 박스만 색상 변경

<i class="favorite_icon"></i>
<i class="favorite_icon"></i>
<i class="favorite_icon"></i>
var $favoriteIcon = $('.favorite_icon');
$favoriteIcon.click(function() {
// 선택한 영역에 대해서만 이벤트를 발동하기 위해 $favoriteIcon 대신 $(this)를 넣어줌
if($(this).hasClass('on')) {
$(this).removeClass('on');
} else {
$(this).addClass('on');
// $(this).toggleClass('on');
};
});2. 체크 박스 ver.2
: 클릭시 체크 박스가 나타나고, 다른 영역 클릭시 기존에 있던 체크박스는 사라지고 해당 영역에 체크박스가 나타나는 기능

방법 1
<ul>
	<li class="select one">
		<i class="check_icon"></i>
	</li>
	<li class="select two">
		<i class="check_icon"></i>
	</li>
	<li class="select three">
		<i class="check_icon"></i>
	</li>
</ul>
var $select = $('.select');
$select.click(function() {
// 전체 요소에 대해 on 클래스를 삭제하고, 선택한 요소에 대해서만 on클래스 삽입
// -> 아래의 순서를 바꿨을 때, 제대로 작동 x
$select.removeClass('on');
$(this).addClass('on');
});방법 2
.siblings(): 선택한 영역을 제외한 모든 형제 요소들을 반환
$select.click(function() {
	// 나를 제외한 형제 요소들에 대해 on클래스 제거
 	$(this).addClass('on').siblings().removeClass('on');
})
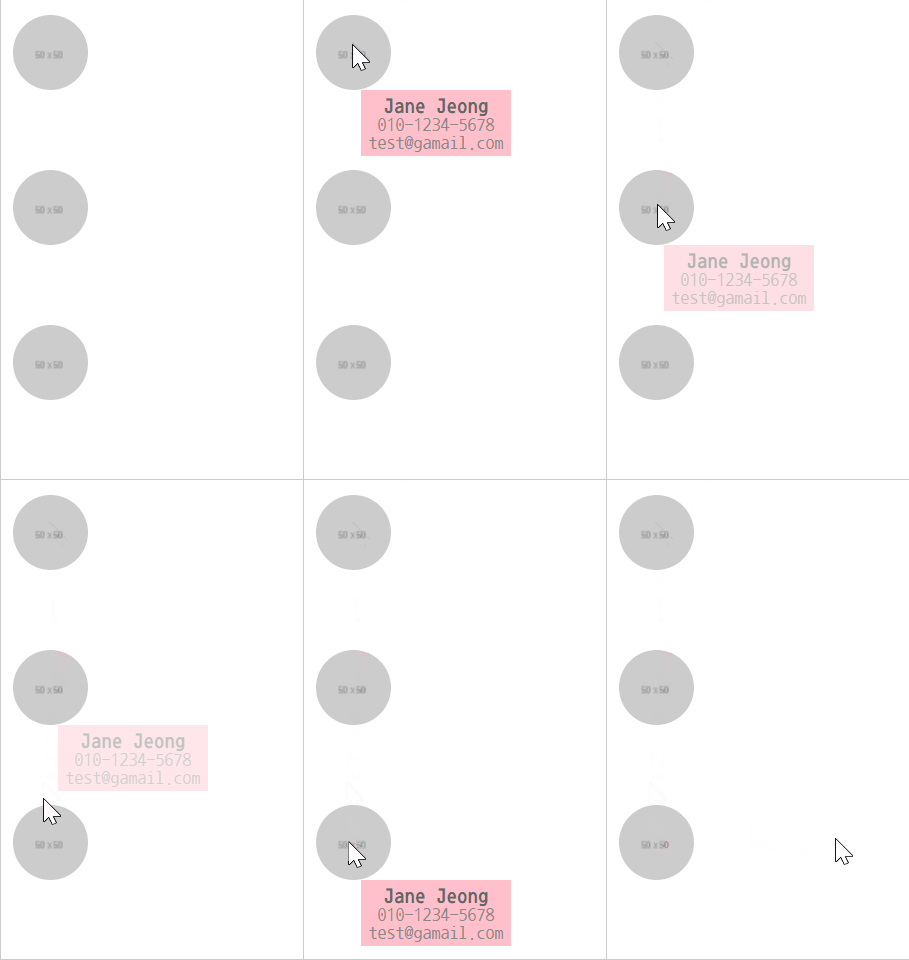
3. 프로필 정보창 띄우기
: 프로필 사진에 마우스 오버시, 프로필 사용자의 상세 정보를 팝업창으로 띄우기

방법 1 : 부모 경유
parent(): 바로 위의 부모 태그에 접근find(): 인자로 받은 클래스 혹은 아이디를 찾는 메서드
var $profile = $('.profile');
var $profilePopup = $('.profile-popup');

$profile.on({
	// 마우스 오버시 이벤트
	mouseenter: function() {
		// $profile.parent().find('.profile-popup').css('display', 'block');
		// $profile.parent().find('.profile-popup').show();

		// 클래스로 선택한 요소가 여러 개 있을 경우, 선택한 요소에서만 이벤트를 작동하기 위해 this 사용
		$(this).parent().find('.profile-popup').show();
	},

	// 마우스 뗐을 때 이벤트
	mouseleave: function() {
		// $profilePopup.css('display', 'none');
		$profilePopup.hide();
	}
})
방법 2 : 부모 경유 x
next(): 다음에 나오는 형제 태그 선택preve(): 이전에 나오는 형제 태그 선택
var $profile = $('.profile');

$profile.on({
	mouseenter: function() {
		$(this).next().show();
	},
	mouseleave: function() {
		$(this).next().hide();
	}
})
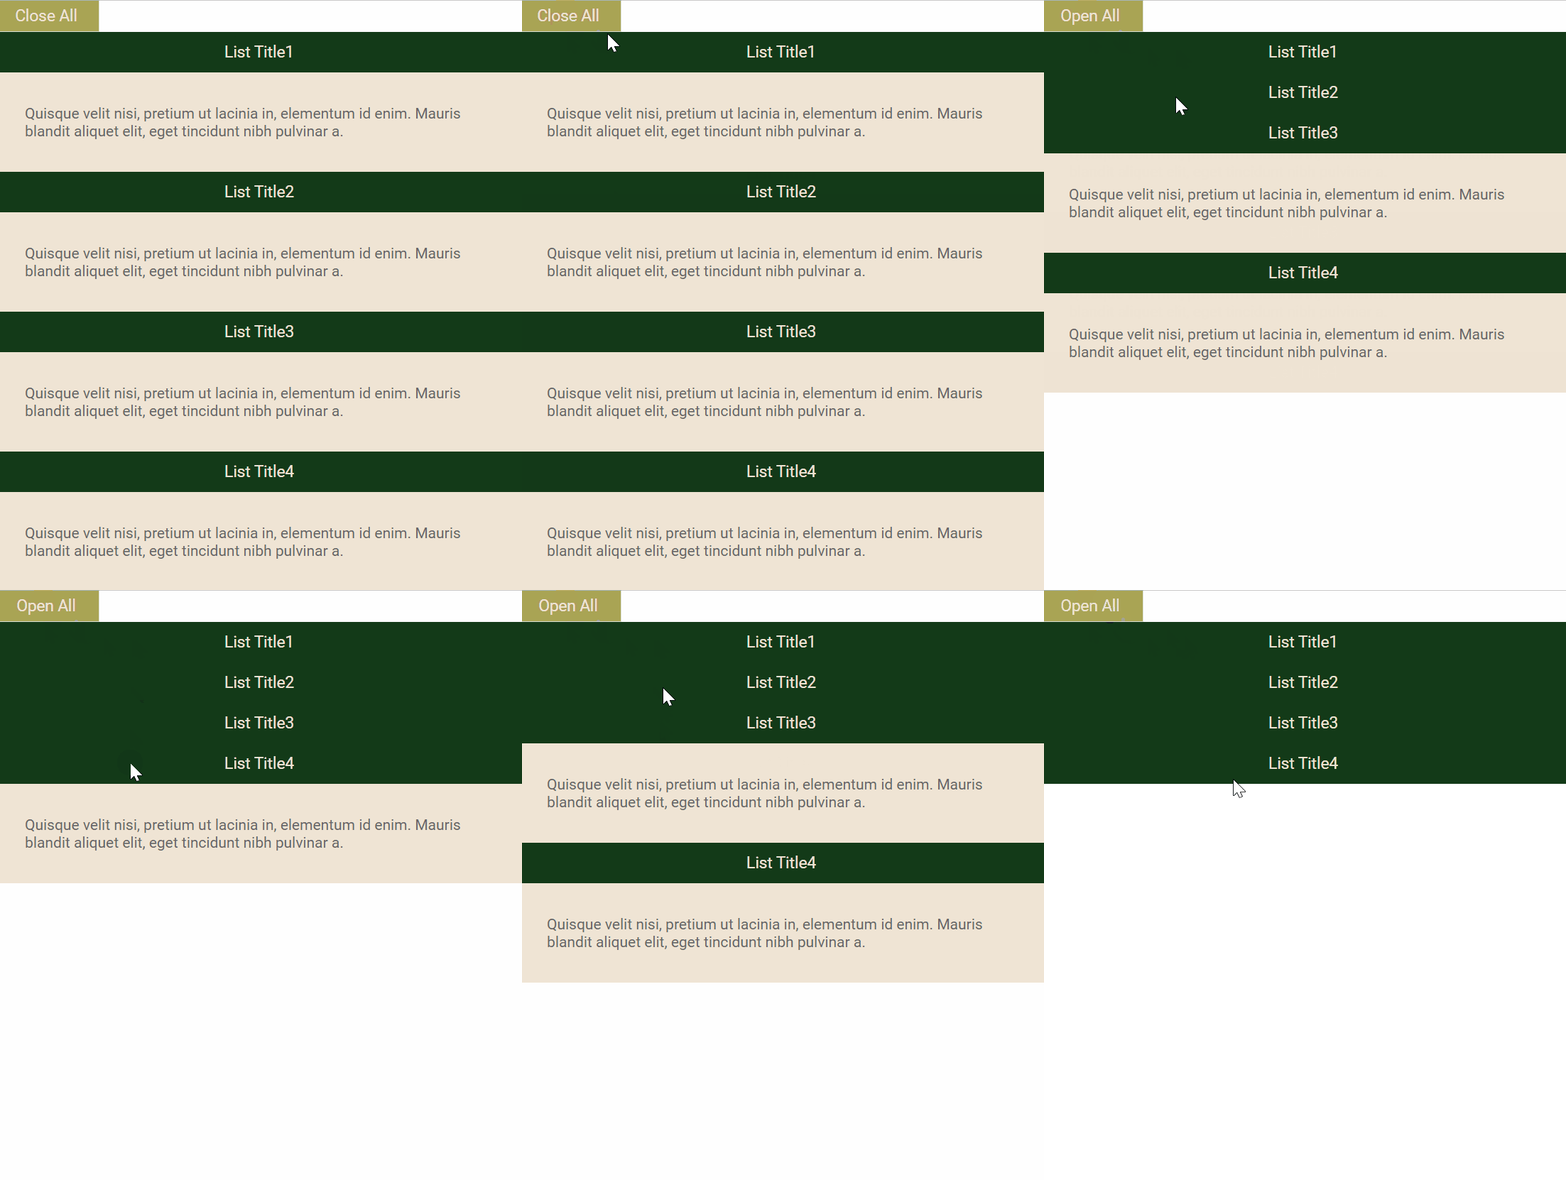
4. 리스트 모두 접기/펴기 + Accordion 기능

1. 리스트 모두 접기/펴기
var $close_text = $(".close_text");
var $open_text = $(".open_text");
var $list_title_wrap = $('.list_title_wrap');
var $list_article_wrap = $('.list_article_wrap');

// Close All을 누르면 해당 버튼이 사라지고 Open All이 보여짐
// + 리스트 본문 영역 감추기
$close_text.click(function() {
	$close_text.hide();
	$open_text.show();
	$list_article_wrap.addClass('hide');
});

// Open All을 누르면 해당 버튼이 사라지고 Close All이 보여짐
// + 리스트 본문 영역 펼치기
$open_text.click(function() {
	$open_text.hide();
	$close_text.show();
	$list_article_wrap.removeClass('hide');
});
2. 리스트 개별적으로 접기/펴기
방법 1
$list_title_wrap.click(function() {
	if($(this).parent().find(".list_article_wrap").hasClass('hide')) {
		$(this).parent().find('.list_article_wrap').removeClass('hide')
	} else {
		$(this).parent().find('.list_article_wrap').addClass('hide')
	};
});
방법 2 : slideToggle()
$list_title_wrap.click(function() {
	$(this).next().slideToggle();
})
방법 2 사용시 버그 발생
-> hide 클래스와 slideToggle() 메서드에 내장 되어 있는 none: block 속성이 충돌, 둘 중 어떤 것을 기준으로 할지 정해야 함
$list_title_wrap.click(function() {
	$(this).next().toggleClass('hide');
})
3. 리스트를 개별적으로 모두 접었을 때, Close All로 바꾸기
$list_title_wrap.click(function() {
	$(this).next().toggleClass('hide');

	//`hide` 클래스가 존재하는 요소의 개수에 따라 분기처리
	var hideLength = $('.list_article_wrap.hide').length;

	if(hideLength === 4); {
		$open_text.show();
		$close_text.hide();
	}

	if(hideLength === 0) {
		$close_text.show();
		$open_text.hide();
	};

});
📌 학습내용 중 어려웠던 점
- 마지막 실습 부분에서
hide클래스와none: block;속성이 충돌하는 데에 버그가 발생하고 그 원인을 파악하는 부분이 헷갈렸다.
📌 해결방법
- 반복해서 강의를 듣고 정리해서 이해했다.
📌 학습소감
jQuery 라이브러리를 이용해서 훨씬 작업이 편해진 것도 있지만, 동시에 각 메서드, 요소 간의 충돌이 발생해서 100% 완벽할 수는 없다는 것을 깨달았다. 각 메서드들에 대한 충분한 이해가 필요한 듯 싶다. 😣
