기본 VScode 사용법
Alt + shift + 위/아래 : 복사
shift + tab : 들여쓰기
shift + alt + p -> indent -> 2 (2칸 들여쓰기)
f5 + chrome 클릭 : 크롬창에서 실행
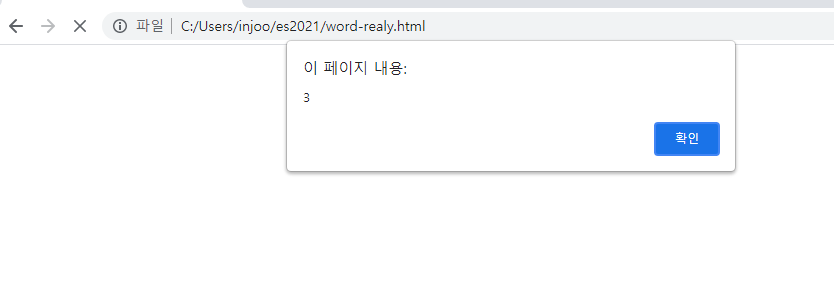
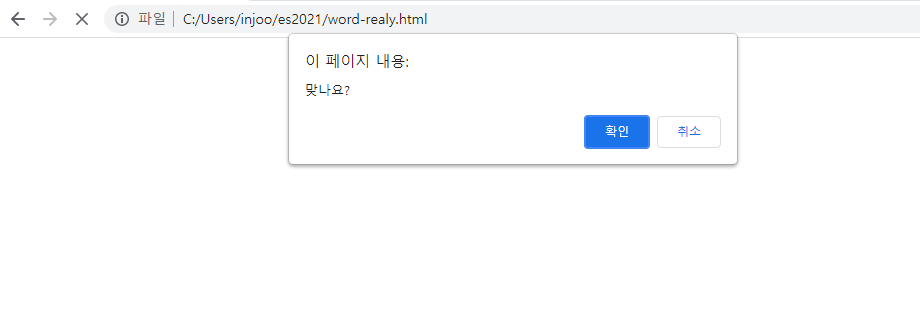
대화창 (prompt, alert, confirm)
<!DOCTYPE html>
<html lang="ko">
<head>
<meta charset="UTF-8">
<meta http-equiv="X-UA-Compatible" content="IE=edge">
<meta name="viewport" content="width=device-width, initial-scale=1.0">
<title>끝말잇기</title>
</head>
<body>
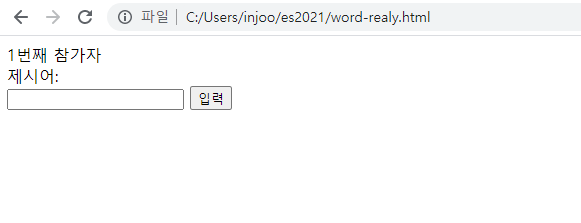
<div><span id="order">1</span>번째 참가자</div>
<div>제시어: <span id="word"></span></div>
<input type="text">
<button>입력</button>
<script>
const number = parseInt(prompt('몇 명이 참가하나요?'), 10);
alert(number);
const yesOrNo = confirm('맞나요?');
</script>
</body>
</html>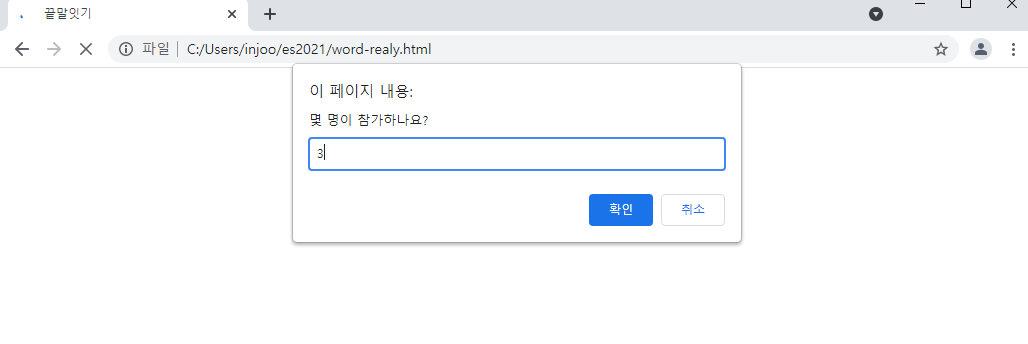
HTML 태그 선택하기(querySelector)
선택자는 HTML 태그를 선택할 수 있게 도와주는 문자열입니다.

태그가 여러 개 일때 document.querySelectorAll을 쓰면 된다.
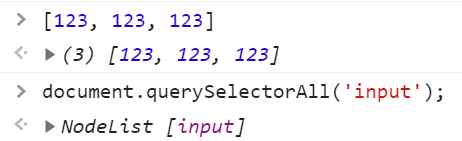
두 개다 배열처럼 보이지만 차이가 있다. 진짜 배열은 앞에 길이가 뜨는데 밑에 것은 NodeList가 나온다. 배열인척하는 객체이다. 이런 것을 유사배열이라한다.
document.querySelector()할 때 여러개가 있으면 처음것만 가져온다.
document.querySelectorAll('#word');아이디가 word인 것을 가져온다.
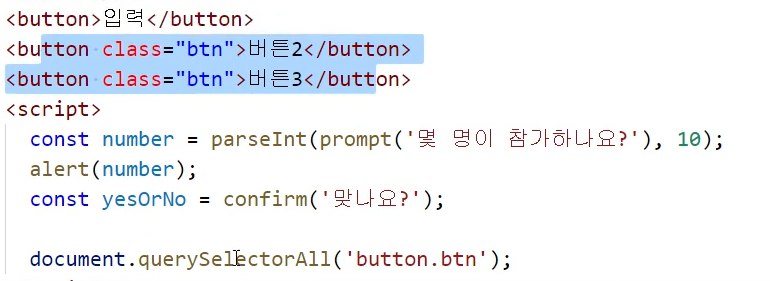
버튼 태그가 여러개인데 아래 두개만 가져오고 싶을 때 버튼 태그 중에서 버튼 클래스를 가져오게 하면된다.
document.querySelector('div span');태그와 태그 사이 공백이 있으면 자손태그를 의미한다.
자식과 자손의 차이는, 자식은 바로 아래들어있는 것이고, 자손은 손자까지 다 포함이다.
document.querySelector('div>span');꺽쇠를 넣어주면 자식 태그에서만 찾는다.
이벤트 리스너 달기(콜백함수)
document.querySelector('input').addEventListener('input', function() {
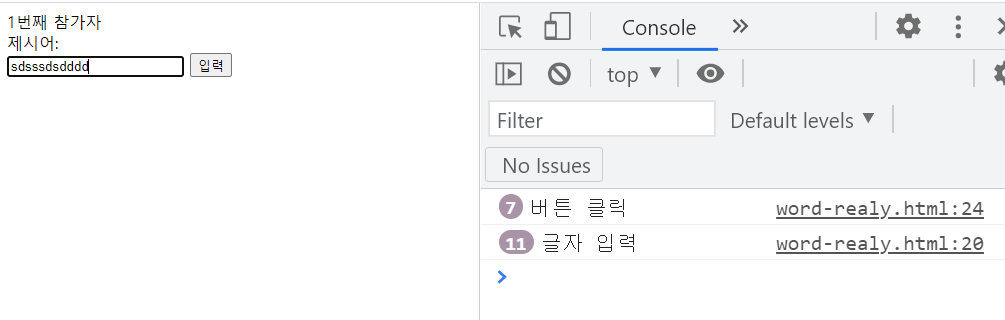
console.log('글자 입력');
});
document.querySelector('button').addEventListener('click', function() {
console.log('버튼 클릭');
});addEventListener를 붙이면 첫 번째 인자인 이벤트가 발생하면 두번째인자인 이름 없는 함수가 실행된다.
콜백함수 (리스너함수)
태그.addEventListener('이벤트 이름', 리스너함수) document.querySelector('input').addEventListener('input', (event) => {
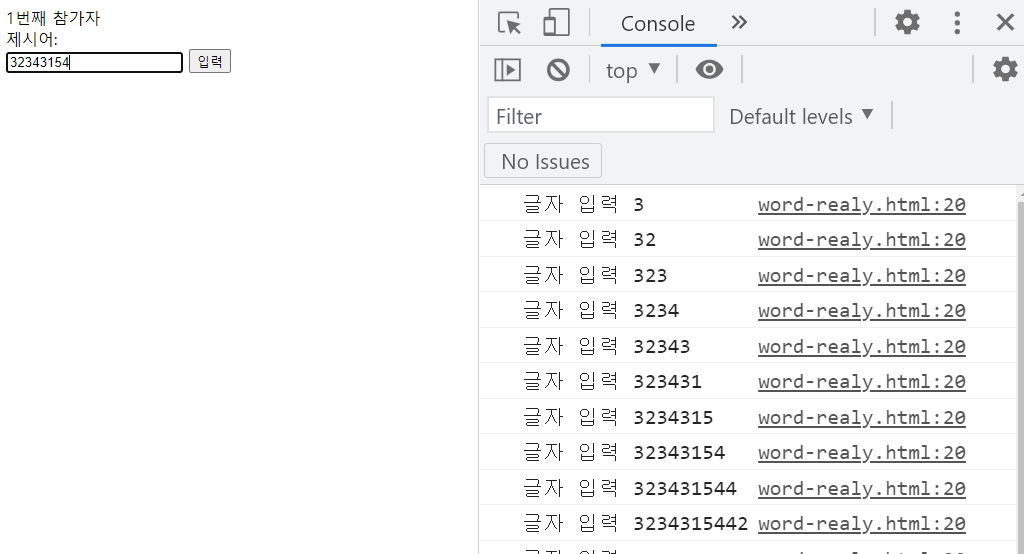
console.log('글자 입력', event.target.value);
});event에서 값도 가져올 수 있다. 입력할때마다 값이 로그가 찍히는 중이다.
첫 번째 사람인지 판단하기
    const number = parseInt(prompt('몇 명이 참가하나요?'), 10);
    const $button = document.querySelector('button');
    const $input = document.querySelector('input');
    const $word = document.querySelector('#word');
    let word; // 제시어
    let newWord; // 새로 입력한 단어

    const onClickButton = () => {
      if (!word) { //제시어가 비어 있는가?
        word = newWord;
        $word.textContent = word;
        $input.value = '';
      } else {

      }
    };
    const onInput = (event) => {
      newWord = event.target.value;
    }

    $button.addEventListener('click', onClickButton);
    $input.addEventListener('input', onInput);
$word.textContent = word;부분을 통해서 html에 값을 넣어주는 것이다.
올바른 단어인지 판단하기
    const number = parseInt(prompt('몇 명이 참가하나요?'), 10);
    const $button = document.querySelector('button');
    const $input = document.querySelector('input');
    const $word = document.querySelector('#word');
    let word; // 제시어
    let newWord; // 새로 입력한 단어

    const onClickButton = () => {
      if (!word) { //제시어가 비어 있는가?
        word = newWord;
        $word.textContent = word;
        $input.value = '';
        const order = Number($order.textContent);
        if (order + 1 > number) {
          $order.textContent = 1;
        } else {
          $order.textContent = order + 1;
        }
      } else {
        if (word[word.length - 1] === newWord[0]) { //올바른가
          word = newWord;
          $word.textContent = word;
          $input.value = '';
          const order = Number($order.textContent);
          if (order + 1 > number) {
            $order.textContent = 1;
          } else {
            $order.textContent = order + 1;
          }
        } else { // 올바르지 않은가

        }
      }
    };
    const onInput = (event) => {
      newWord = event.target.value;
    }

    $button.addEventListener('click', onClickButton);
    $input.addEventListener('input', onInput);
틀렸을 때 오류 표시하기
$input.focus()를 하면 원하는 태그에 커서를 놔둘 수 있다.
순서도 최적화하기(and, or)
    const number = parseInt(prompt('몇 명이 참가하나요?'), 10);
    const $button = document.querySelector('button');
    const $input = document.querySelector('input');
    const $word = document.querySelector('#word');
    const $order = document.querySelector('#order');
    let word; // 제시어
    let newWord; // 새로 입력한 단어

    const onClickButton = () => {
      if (!word || wird[word.length -1] === newWord[0]) { //제시어가 비어 있는가?
        word = newWord;
        $word.textContent = word;
        $input.value = '';
        const order = Number($order.textContent);
        if (order + 1 > number) {
          $order.textContent = 1;
        } else {
          $order.textContent = order + 1;
        }
      } else {
        alert('올바르지 않은 단어입니다');
      }
      $input.value='';
      $input.focus();
    };
    const onInput = (event) => {
      newWord = event.target.value;
    }

    $button.addEventListener('click', onClickButton);
    $input.addEventListener('input', onInput);