Data Binding(데이터 바인딩)
<layout xmlns:app="http://schemas.android.com/apk/res-auto"
    xmlns:tools="http://schemas.android.com/tools">

    <data>
        <variable
            name="presenter"
            type="woowacourse.Movie.CounterPresenter">
    </data>

    <androidx.constraintlayout.widget.ConstraintLayout xmlns:android="http://schemas.android.com/apk/res/android"
        xmlns:app="http://schemas.android.com/apk/res-auto"
        xmlns:tools="http://schemas.android.com/tools"
        android:layout_width="match_parent"
        android:layout_height="match_parent"
        tools:context=".ui.home.HomeFragment">

        <TextView
            android:id="@+id/text_home"
            android:layout_width="match_parent"
            android:layout_height="wrap_content"
            android:layout_marginStart="8dp"
            android:layout_marginTop="8dp"
            android:layout_marginEnd="8dp"
            android:textAlignment="center"
            android:textSize="20sp"
            app:layout_constraintBottom_toBottomOf="parent"
            app:layout_constraintEnd_toEndOf="parent"
            app:layout_constraintStart_toStartOf="parent"
            app:layout_constraintTop_toTopOf="parent" />
    </androidx.constraintlayout.widget.ConstraintLayout>
</layout>


Fragment~~Binding이 생기게 됨- onCreateView에서 작업하면 터짐. 그러므로 onViewCreated에서 작업해야 함
private lateinit var binding: FragmentCounterBinding

override fun onCreateView {
	setupBinding()
	setUpPresenter()
    return binding.root
}

override fun onViewCreated(){
    setUpView() //여기서 해야함 onCreateView에서 하면 안됨
}

fun setupBinding(){
	binding = FragmentCounterBinding.inflate(layoutInflater)
}
==> 단방향 데이터바인딩
==> 양뱡향은 나중에 배워!
바인딩 어댑터란?
- 바인딩을 이용해 가시성을 제어하고 싶다면, 바인딩 어댑터를 사용해 한단계 추상화를 할 수 있어 뷰의 가시성을 제어할 수 있다.
- 외부로 드러나는 뷰의 API를 내부에서 처리할 수 있다.
피드백
Add vs Replace
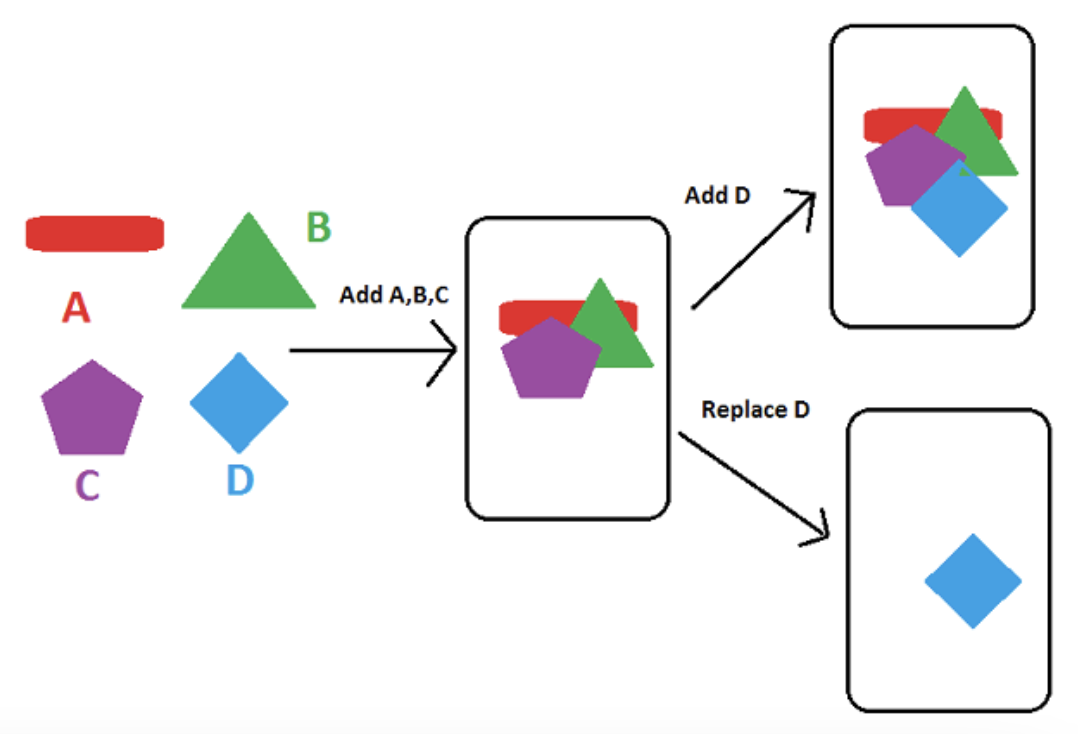
- show()와 hide는 add()/remove()와 달리Fragment LifeCycle에 영향을 주지 않음
R.id.itemID -> {
	supportFragmentManager.commit{
		setOrderingAllowed(true)
		val fragment : Fragment? = 		supproteFragmentManager.findFragmentByTag(HomeFragment.TAG)
		if(fragment == null) {
        	supportFragmentManager.fragmnets.forEash(::hide)
			add(R.id.fragment_container_view, HomeFragment.newInstance(name), HomeFragment.TAG)
		} else {
			supportFragmentManager.fragmnets.forEash(::hide)
    		show(fragment)
		}
	}
	true
}
- 레아는 리플렉션 선호 안하심
- 리플렉션 뭔지 공부!
- 화면 회전 시 터지지 않게 하기 위해 arguments로 생성자를 만들어 이걸로 호출함
onViewCreated(){
	val name = arguments?.getString("name") ?: "이름없음"
}

fun newInstance(name: String): HomeFragment {
	HomeFragment().apply {
    	// name을 HomeFragment의 setArgument()로 넣어줄 것
    	arguments = bundelOf(
        	"name" to name
        )
    }
}

//