개요
Windows 10 환경에 ruby를 설치할 일이 생겨서 정리해보았다.
필자는 WSL을 사용하고있어 WSL에 ruby를 설치해보려 한다.
본문
사전 요구사항
- Windows10
- WSL2 Ubuntu 20.04
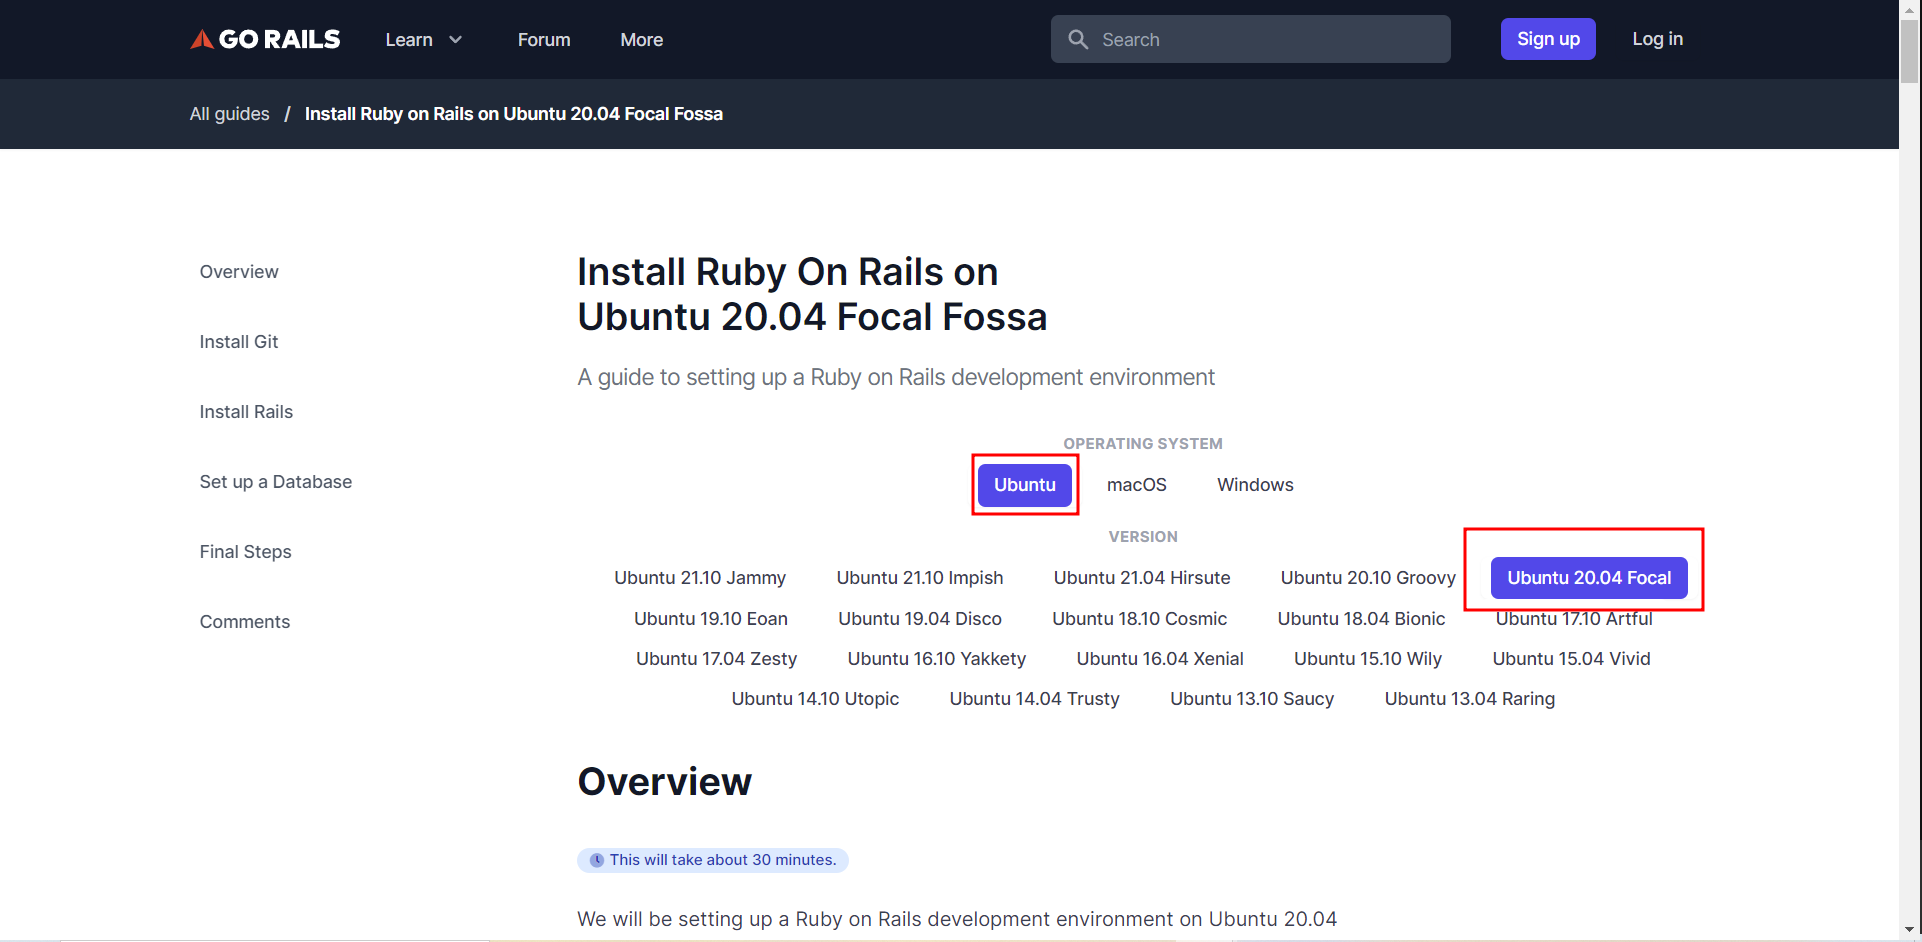
💡 참고 : gorails 공식 설치 문서

설치
필자는 Recommanded 버전인 3.0.3 버전으로 설치했다.
- The first step is to install some dependencies for Ruby and Rails
sudo apt install curl
curl -sL https://deb.nodesource.com/setup_lts.x | sudo -E bash -
curl -sS https://dl.yarnpkg.com/debian/pubkey.gpg | sudo apt-key add -
echo "deb https://dl.yarnpkg.com/debian/ stable main" | sudo tee /etc/apt/sources.list.d/yarn.list

sudo apt-get update
sudo apt-get install git-core zlib1g-dev build-essential libssl-dev libreadline-dev libyaml-dev libsqlite3-dev sqlite3 libxml2-dev libxslt1-dev libcurl4-openssl-dev software-properties-common libffi-dev nodejs yarn- Next we're going to be installing Ruby using a version manager called Rbenv.
cd
git clone https://github.com/rbenv/rbenv.git ~/.rbenv
echo 'export PATH="$HOME/.rbenv/bin:$PATH"' >> ~/.zshrc
echo 'eval "$(rbenv init -)"' >> ~/.zshrc
exec $SHELL
/usr/bin/zsh

git clone https://github.com/rbenv/ruby-build.git ~/.rbenv/plugins/ruby-build
echo 'export PATH="$HOME/.rbenv/plugins/ruby-build/bin:$PATH"' >> ~/.zshrc
exec $SHELL
/usr/bin/zsh
💡 참고 : 필자는 WSL 환경에서 zsh을 사용하고 있어
.bzshrc가 아닌.zshrc에 추가했다.
- To install Ruby and set the default version, we'll run the following commands:
rbenv install 3.0.3
rbenv global 3.0.3- Confirm the default Ruby version matches the version you just installed.
ruby -v
ruby 3.0.3p157 (2021-11-24 revision 3fb7d2cadc) [x86_64-linux]- The last step is to install Bundler
gem install bundler이상 WSL 환경에서 ruby를 설치하는 방법에 대해서 알아보았다.
