
오늘은 블로그에 방명록 기능을 추가해보겠습니다!!!!
물론 이걸 활용하면 댓글 기능도 추가할수있겠져? 껄껄스껄~
💬 Utterances 활용하기
✔️ utterances 설치
install utterances 링크를 통해 설치 및 레포지토리 연결을 시켜줍니다.
레포지토리는 기존 블로그 레포지토리와 연결시키거나 새로 댓글을 위한 레포지토리를 생성해도 됩니다!
저는 방명록에만 utterances를 적용할 것 이기 때문에 따로 레포지토리를 생성해서 연결시켜 주었습니다.
✔️ utterances 적용
utterances 🔮 링크로 접속해서 스크립트를 설정합시다!
매핑 방법 설정
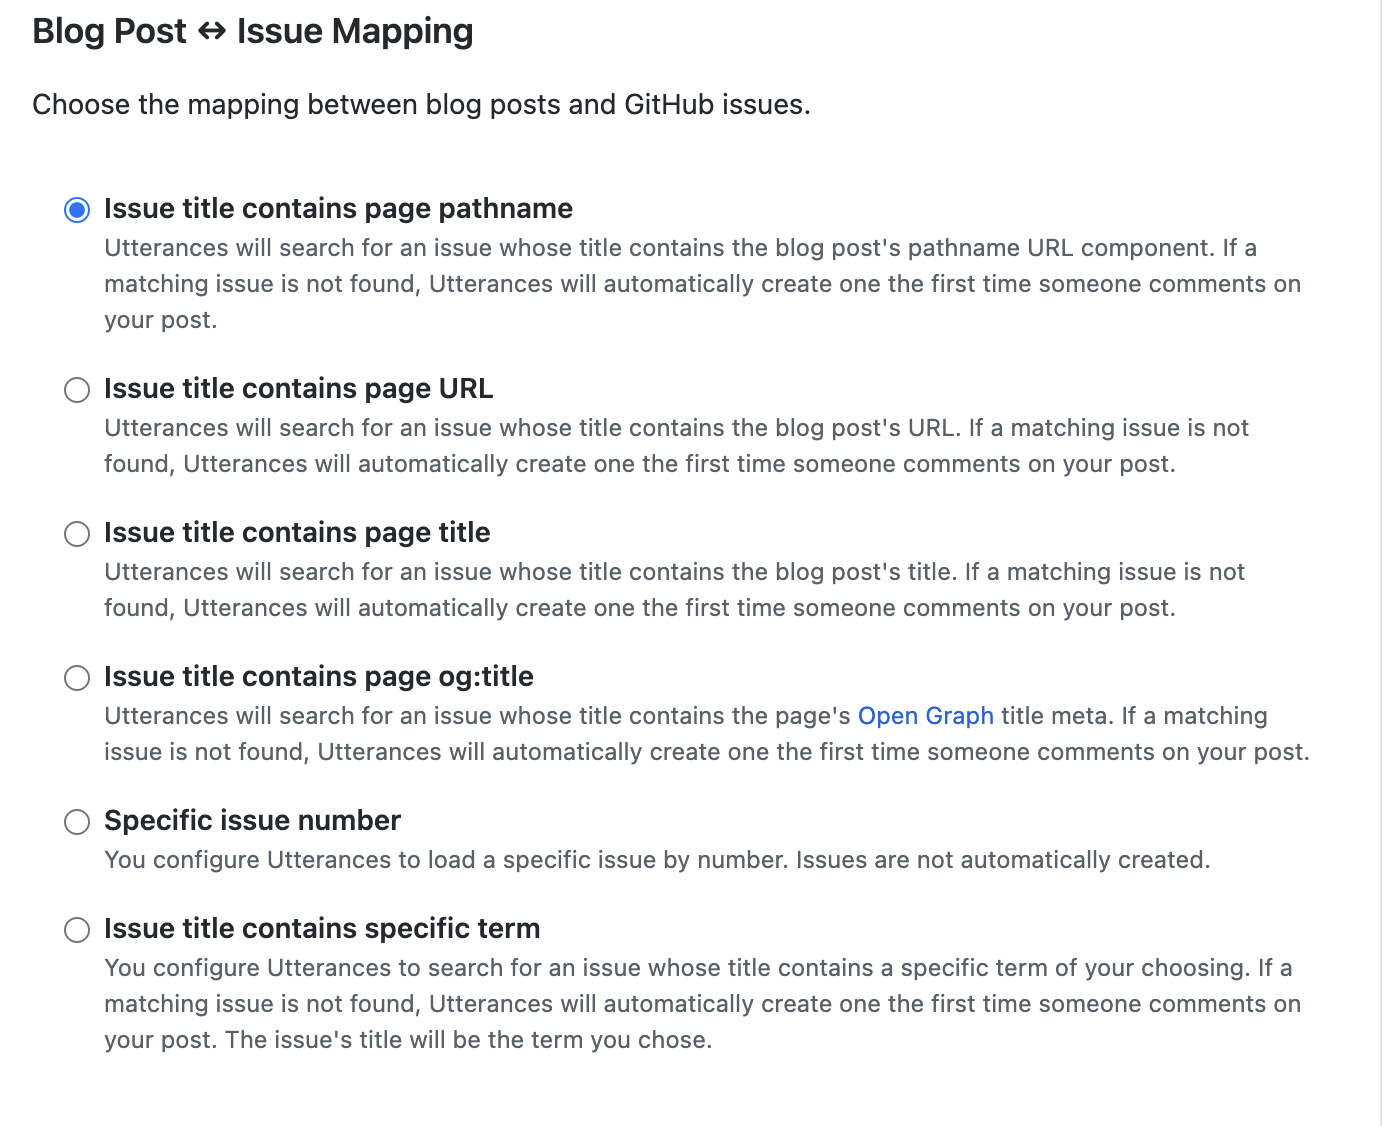
매핑 방법을 설정하면 됩니다. 저는 pathname을 이용하는 방법을 선택했습니다.
(선택) 레포지토리 이름 넣어주기
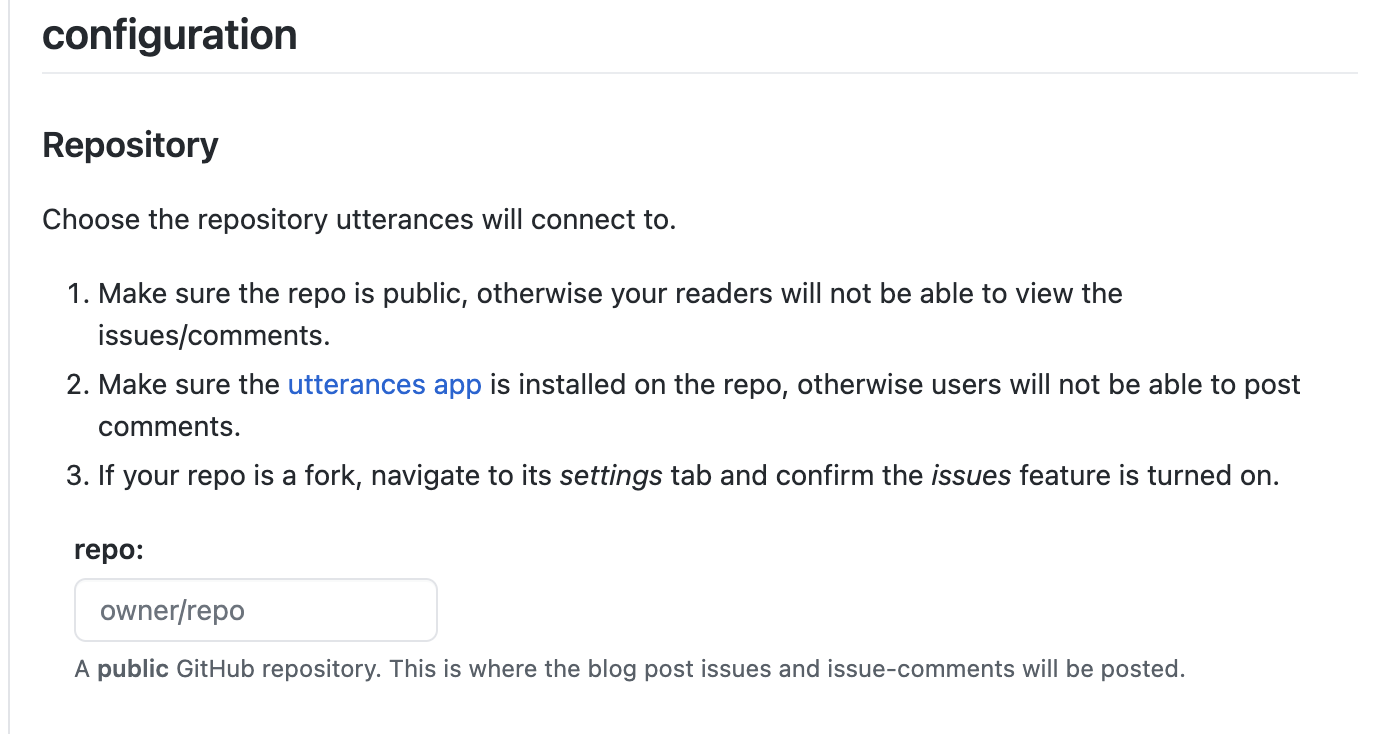
여기에 아까 생성한 댓글을 위한 레포지토리 혹은 기존에 있던 블로그 레포지토리 이름을 넣어줍니다. 선택인 이유는 안넣으도 나중에 스크립트에 직접 써주면 되기 때문입니다.
테마 설정
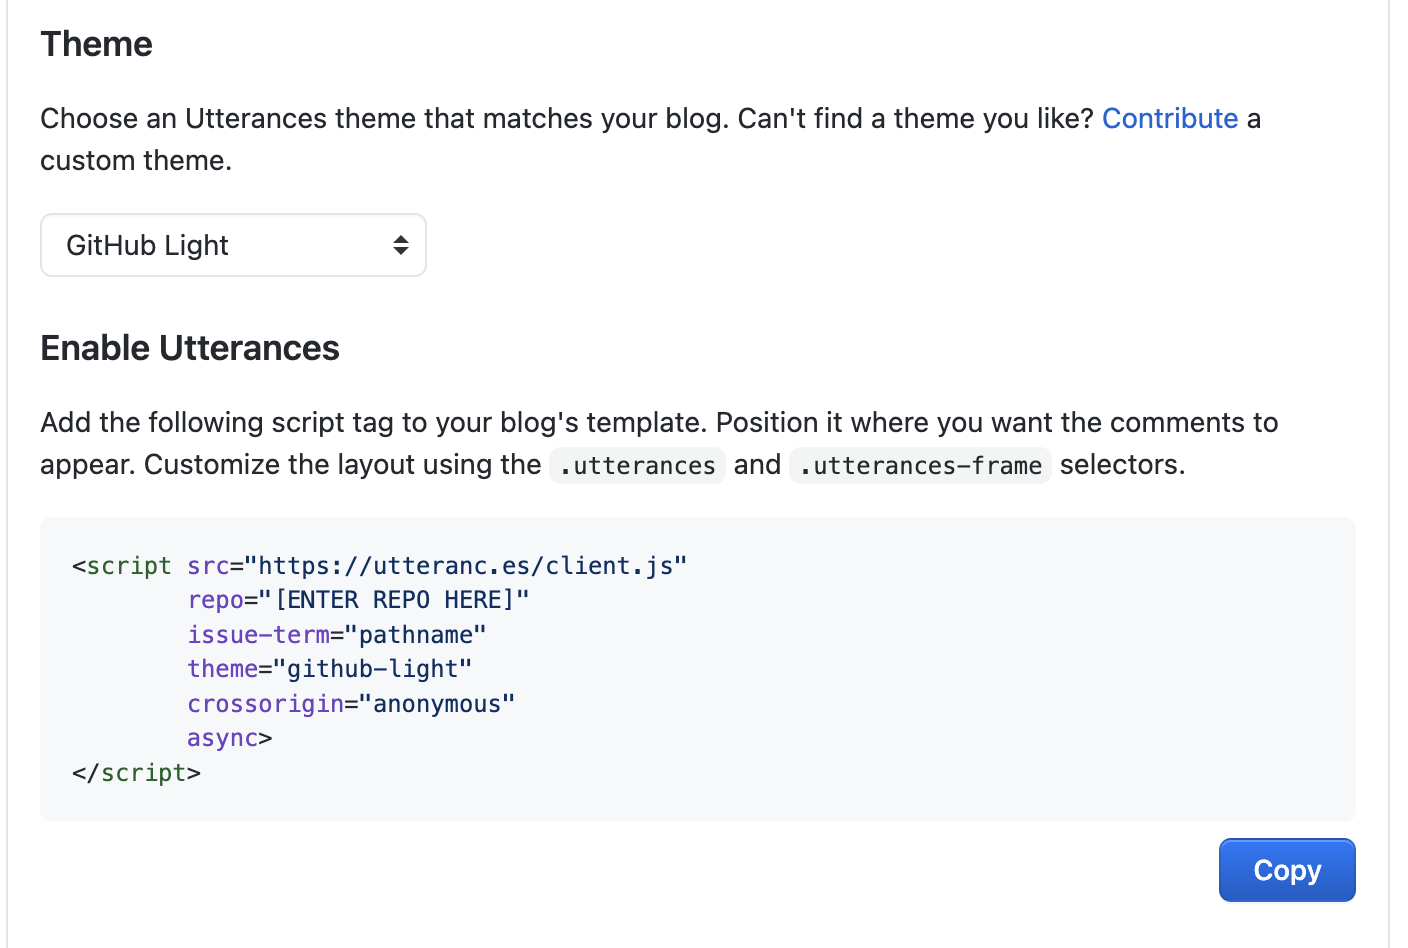
원하는 테마를 골라서 선택해주면 끝~ 입니다.
✔️ 스크립트 추가
<script src="https://utteranc.es/client.js"
        repo="[ENTER REPO HERE]"
        issue-term="pathname"
        theme="github-light"
        crossorigin="anonymous"
        async>
</script>
원래는 위에서 내가 설정한 값들을 통해서 만들어진 스크립트를 추가하면 됩니다!
하지만.. 개츠비는 리액트 기반!! 이기 때문에 저것을 추가할 수 없스무니다....
그래서 아래와 같은 컴포넌트 파일을 생성해줍니다!
Utterances.jsx
import React, { useEffect } from 'react';

const COMMENTS_ID = 'comments-container';

const Utterance = () => {
    useEffect(() => {
        const script = document.createElement('script');
        script.src = 'https://utteranc.es/client.js';
      	//아래 코드는 사용자 설정에 맞게 변경해주세요
        script.setAttribute('repo', '여기에 아까 넣은 "owner/repository-name"써주면 됩니다 ex)kkorin/blog-post');
        script.setAttribute('issue-term', 'pathname');
        script.setAttribute('theme', 'github-light');
        script.setAttribute('crossorigin', 'anonymous');
        script.async = true;

        const comments = document.getElementById(COMMENTS_ID);
        if (comments) comments.appendChild(script);

        // This function will get called when the component unmounts
        // To make sure we don't end up with multiple instances of the comments component
        return () => {
            const comments = document.getElementById(COMMENTS_ID);
            if (comments) comments.innerHTML = '';
        };
    }, []);

    return <div id={COMMENTS_ID} />;
};

export default Utterance;
스크립트 코드를 포함한 utterances 컴포넌트를 만들어주었습니다!
저는 props를 사용하지 않는 코드로 작성했습니다. 레포지토리를 각각 다르게 설정하고 싶다! 하시면 아래와 같이 작성해주면 됩니다.
import React, { createRef, useEffect } from "react"

export default function Comment({ repo }) {
  const containerRef = createRef()
  useEffect(() => {
    const utterances = document.createElement("script")
    const attributes = {
      src: "https://utteranc.es/client.js",
      repo,
      "issue-term": "title",
      label: "comment",
      theme: "github-light",
      crossOrigin: "anonymous",
      async: "true",
    }
    Object.entries(attributes).forEach(([key, value]) => {
      utterances.setAttribute(key, value)
    })
    containerRef.current.appendChild(utterances)
  }, [repo])
  return <div id="comment" ref={containerRef} />
}
theme 값 변경도 원한다면 props로 받아주면 됩니다! (코드는 따로 추가하지 않겠습니다 히히)
✔️ 댓글 컴포넌트 추가
무지무지 간단합니다.
댓글을 추가해주고 싶은 페이지에서 아래와 같이 컴포넌트를 불러오면 됩니다.
<Utterances />근데 위 방법에서 2번째 방식인 Props를 이용했다면 아래와 같이 코드를 작성해주어야 합니다.
<Utterances repo="kkorin/blog-post" />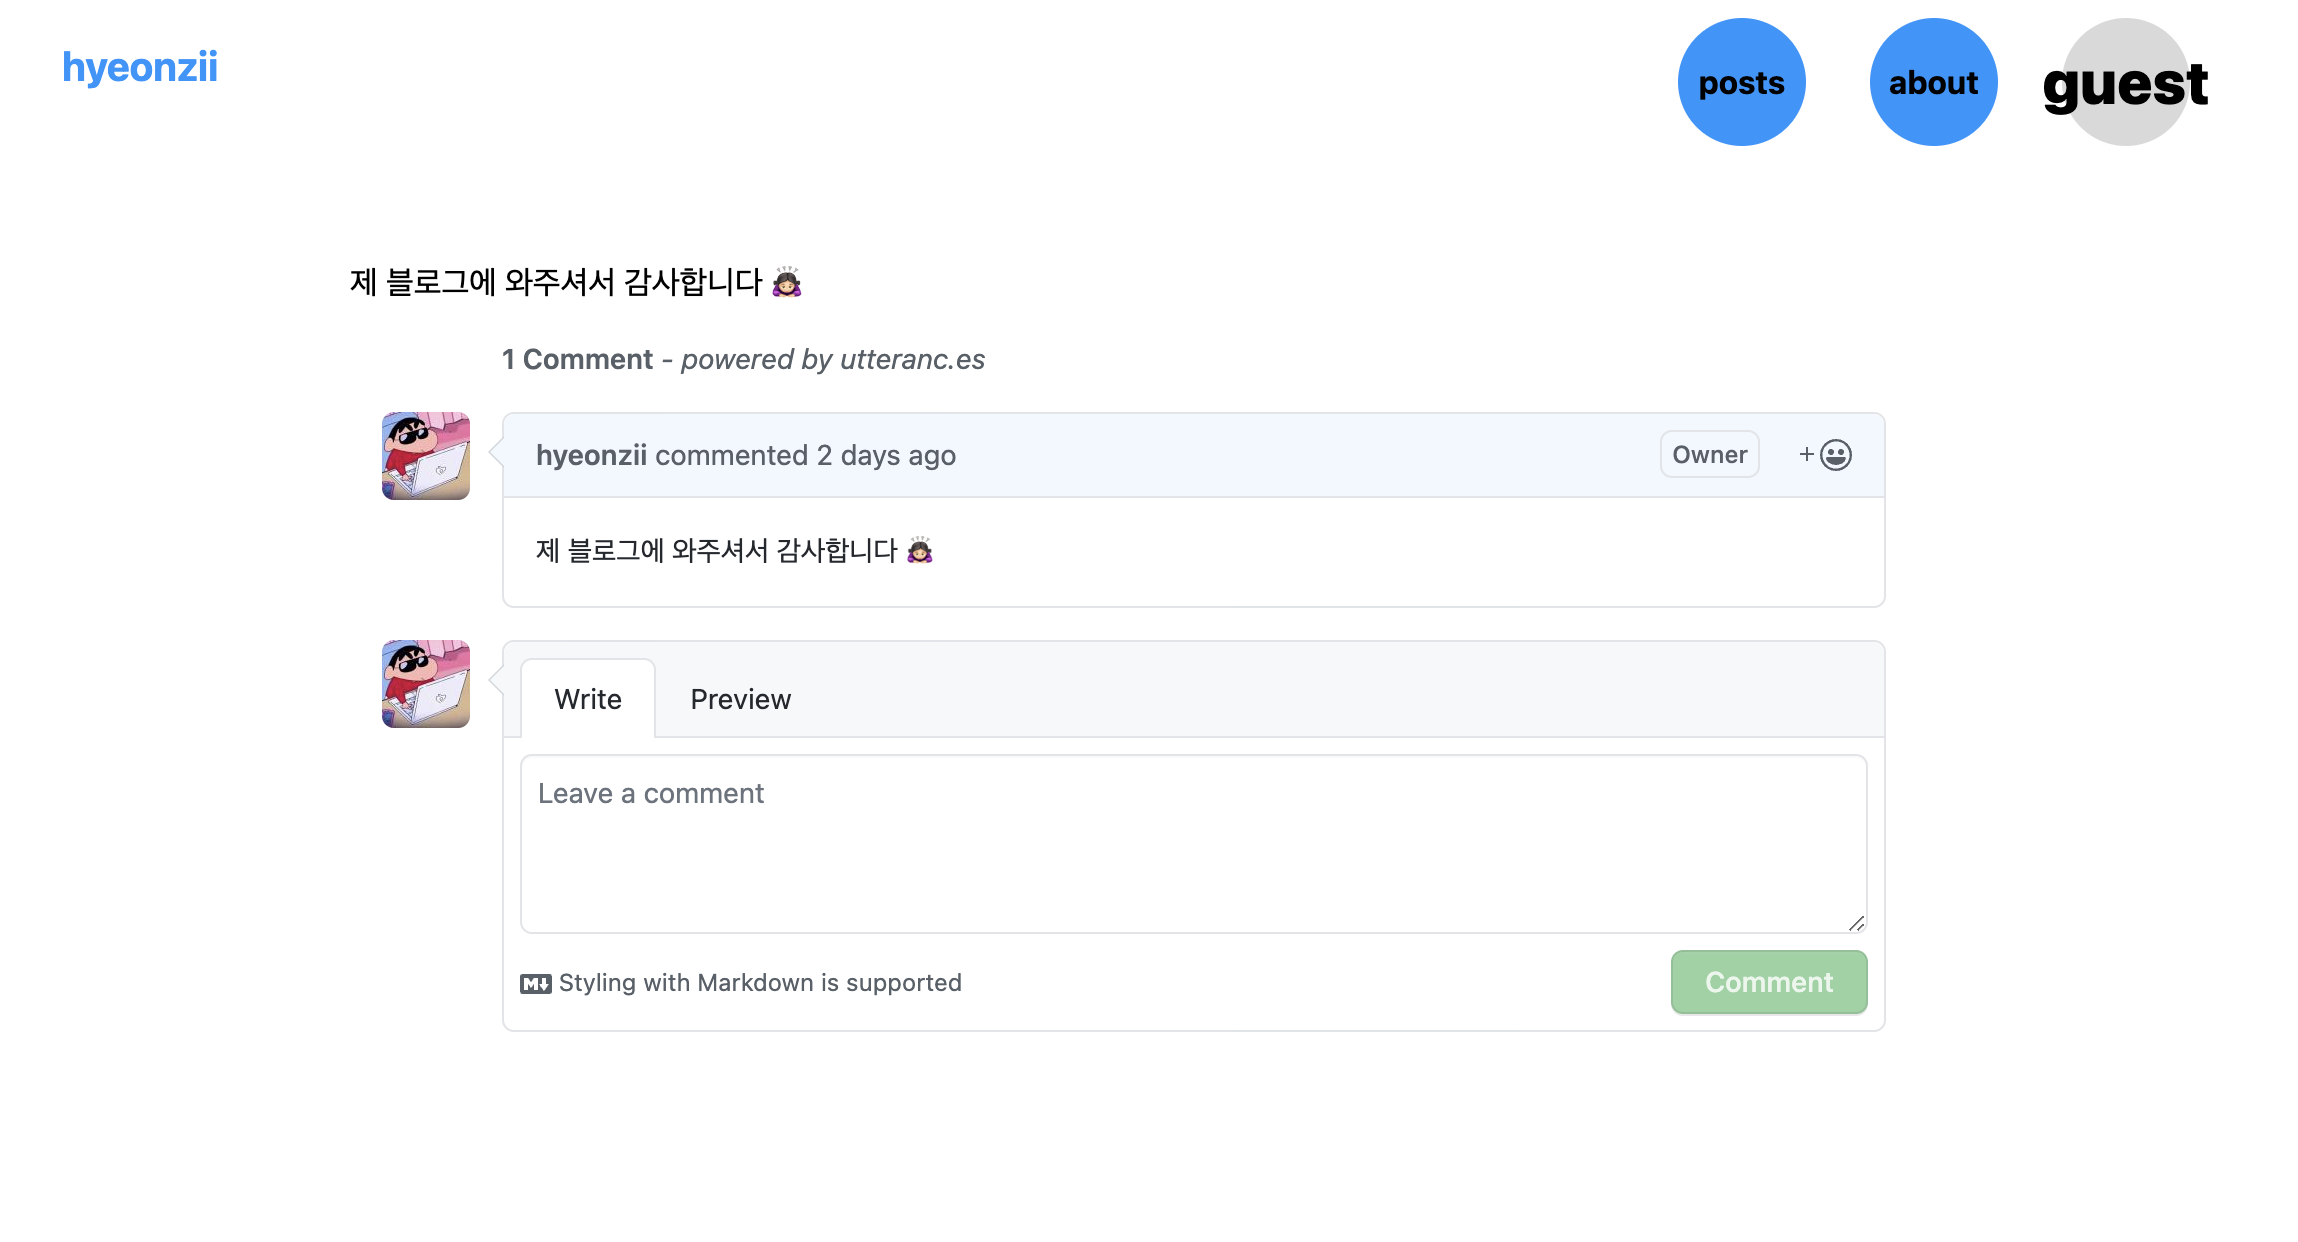
헤헤 잘보이네요
🚨 혹시 안보인다면...?
일단 안보인다면 개발자 모드를 켜서 확인해보세요!!
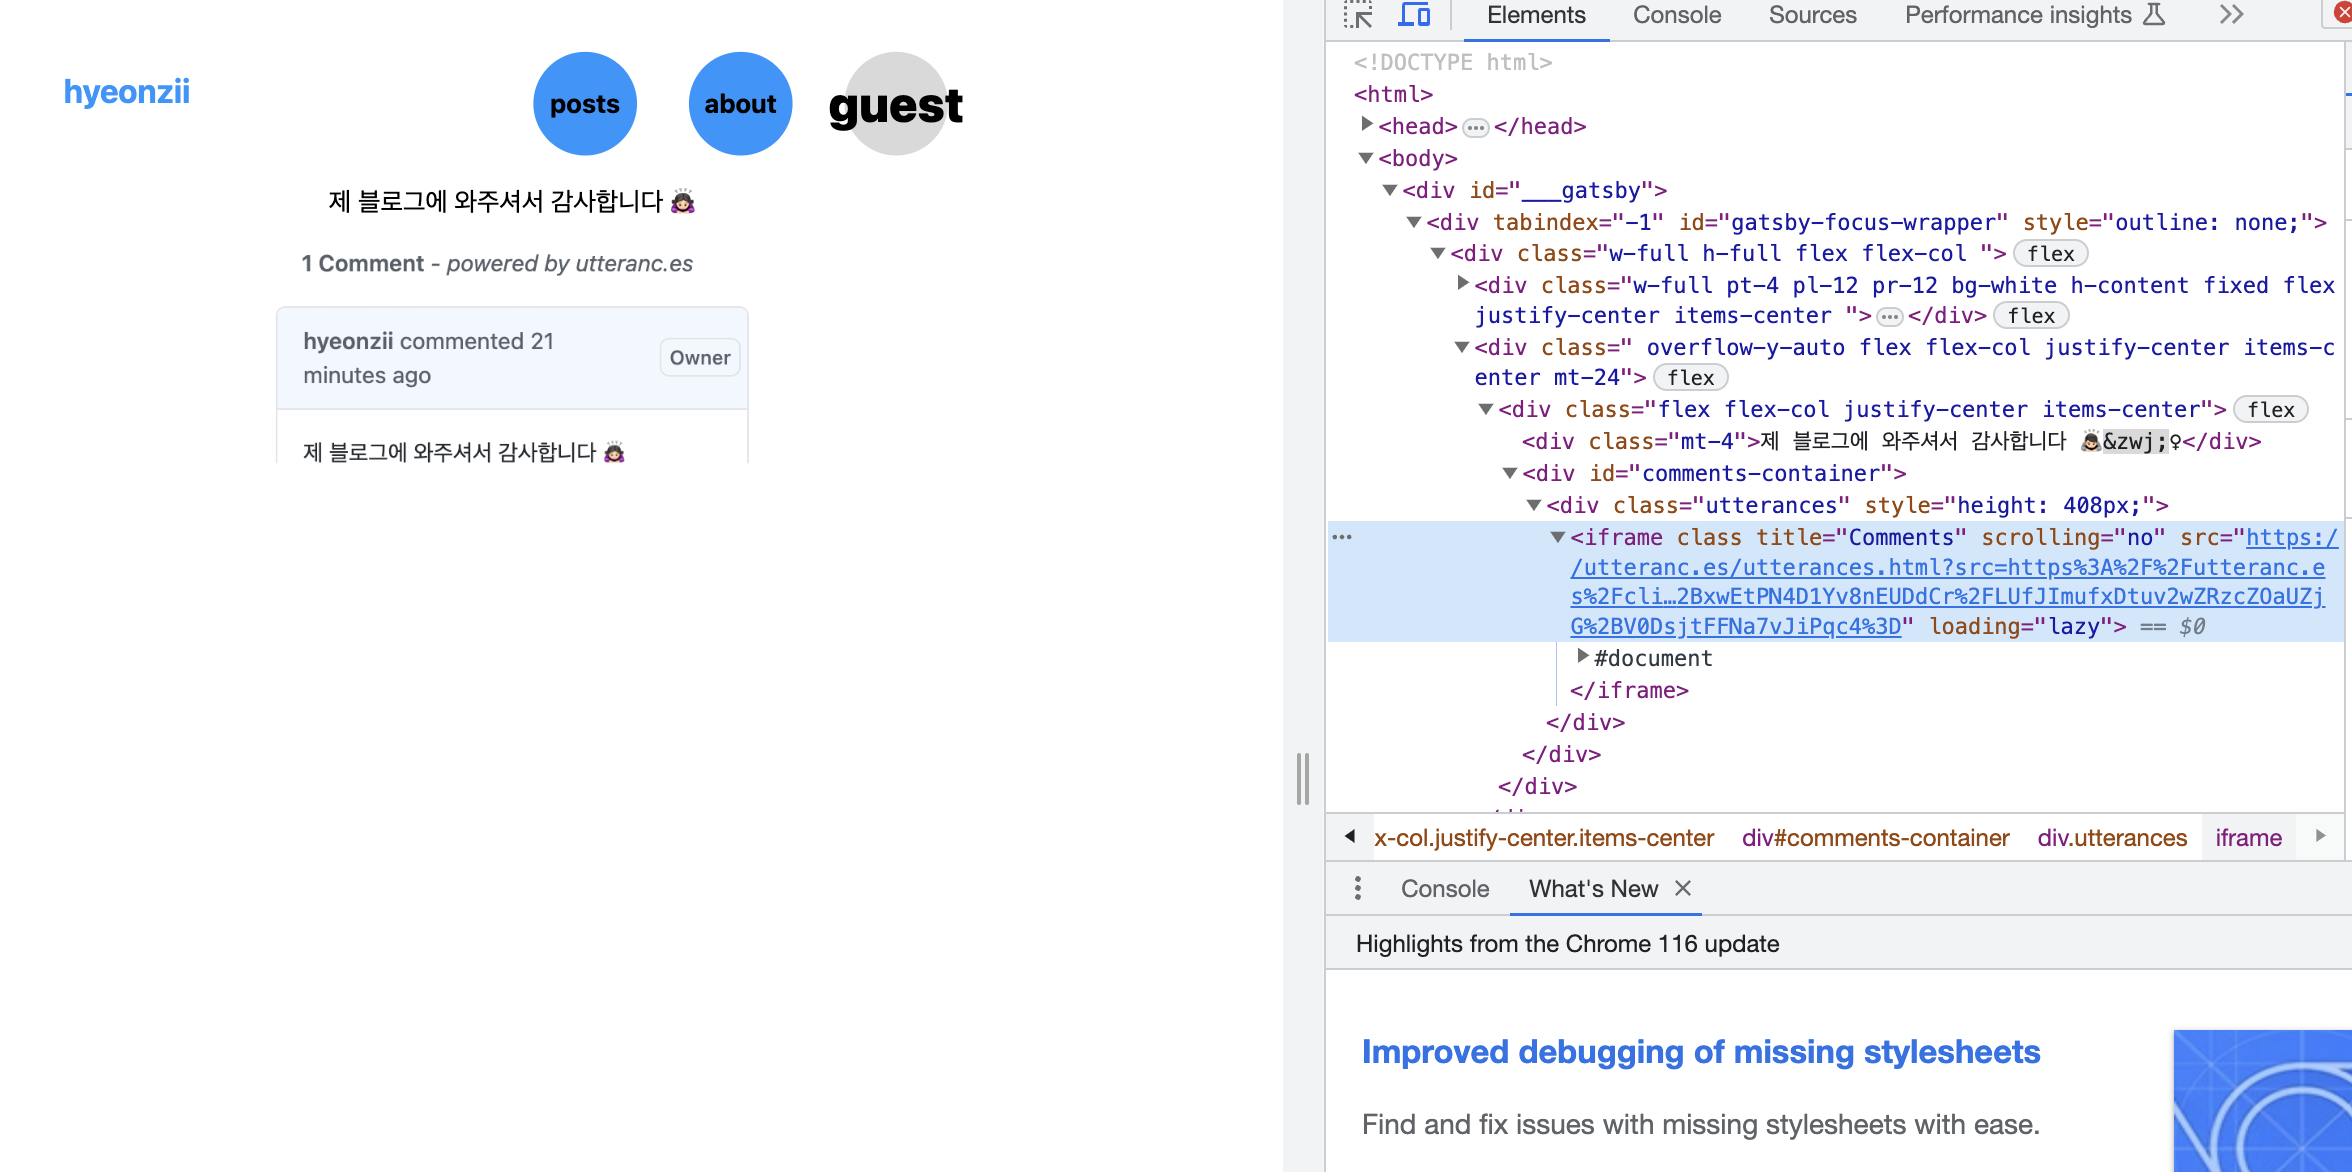
거기서 컴포넌트를 잘 불러오고 있는지 확인해줍니다.
잘불러오고 있죠? 그럼 CSS 때문에 안보이는것이 확실합니다.
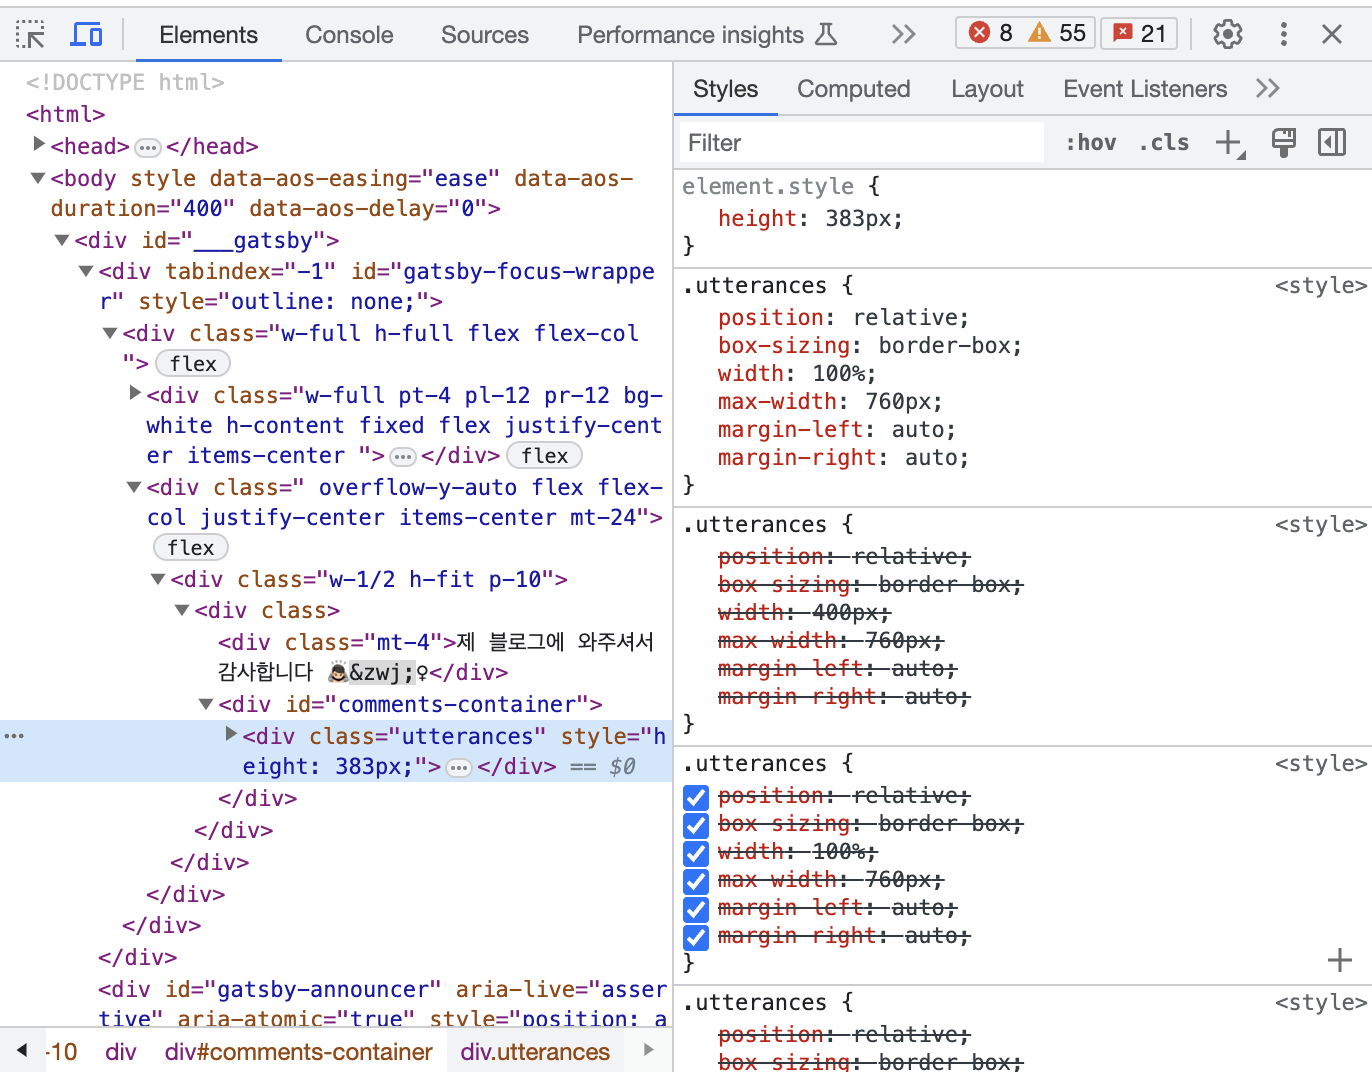
이제 styles를 확인해줍니다. 그래서 하나씩 지우거나 추가해주면서 화면에 보이나 안보이나 수정해주면됩니다!!
근데 사실 제 경우에는 Layout 스타일이 잘못되어서 안보인거였습니다..!!
(블로그 쓰다가 고쳤어요 🐕이득)
암튼 다들 아주아주 편리한.... 댓글 이용하세요..!!
그럼 오늘두 20000! 아듀!~
