
회사에서 프로젝트를 셋팅할때는 일일이 처음부터 설정하거나, 가벼운 개인 프로젝트는 귀찮아서 CRA 로 React Project 를 설정하는편이지만 매번 설정할때마다 귀찮기 때문에 나만의 React BoilerPlate 를 만들어서 npx 에 배포해놓고 npx create-react-hoon 과 같은 명령어로 사용하면 편할것같아 정리하게되었다.
Install & Setting
먼저, 프로젝트를 생성할 경로로 이동하여 아래의 명령어를 통해 프로젝트를 init 해준다.
$ mkdir hoon-react
$ cd hoon-react

$ yarn init
React 설치
$ yarn add react react-dom react-router-domtypescript 설치
$ yarn add -D typescript @types/react @types/react-domtsconfig.json 생성 및 설정
$ npx tsc --init// tsconfig.json
{
"compilerOptions": {
"target": "ES2020",
"module": "ESNext",
"useDefineForClassFields": true,
"lib": ["ES2020", "DOM", "DOM.Iterable"],
"moduleResolution": "bundler",
"esModuleInterop": true,
"forceConsistentCasingInFileNames": true,
"strict": true,
"skipLibCheck": true,
"allowJs": false,
"jsx": "react-jsx",
"baseUrl": ".",
"paths": {
"@/*": ["src/*"]
}
},
"include": ["src", "vite.config.js"],
"exclude": ["node_modules", "build", "dist"]
}번들러로 vite 를 사용할거기 때문에 vite 설치
$ yarn add -D vite @vitejs/plugin-reactvite.config.js 생성 및 설정
// vite.config.js
import react from "@vitejs/plugin-react";
import { defineConfig } from "vite";

export default defineConfig({
  plugins: [
    react()
  ],
  resolve: {
    alias: {
      "@": "/src",
    },
  },
});
vite 의 entry point 인 index.html 파일 생성
<!DOCTYPE html>
<html lang="ko">
  <head>
    <meta charset="UTF-8" />
    <meta name="viewport" content="width=device-width, initial-scale=1.0" />
    <title>Hoon-React</title>
  </head>
  <body>
    <div id="root"></div>
    <script type="module" src="/src/index.tsx"></script>
  </body>
</html>
/src 경로에 index.tsx , App.tsx 생성
// index.tsx
import React from "react";
import ReactDOM from "react-dom/client";
import App from "@/App";

const rootNode = document.getElementById("root") as HTMLElement;

ReactDOM.createRoot(rootNode).render(
  <React.StrictMode>
    <App />
  </React.StrictMode>
);
// App.tsx
function App() {
return <>Hello Hoon React !</>;
}
export default App;Prettier 설치 및 .prettierrc 설정
$ yarn add -D prettier// .prettierrc
{
"printWidth": 100,
"semi": true,
"singleQuote": true,
"tabWidth": 2,
"arrowParens": "always",
"quoteProps": "preserve",
"trailingComma": "all",
"jsxBracketSameLine": true,
"bracketSpacing": true
}ESLint 설치 및 .eslintrc 설정
$ yarn add -D eslint
$ npx eslint --init
// .eslintrc
{
"env": {
"browser": true,
"es2021": true
},
"extends": [
"eslint:recommended",
"plugin:@typescript-eslint/recommended",
"plugin:react/recommended"
],
"parser": "@typescript-eslint/parser",
"parserOptions": {
"project": "./tsconfig.json",
"ecmaVersion": "latest",
"sourceType": "module"
},
"ignorePatterns": ["dist/", "node_modules/"],
"plugins": ["@typescript-eslint", "react"],
"rules": {
"react/react-in-jsx-scope": "off"
}
}Vite Test
이제 설정들은 마쳤으니 vite script 들을 package.json 에 설정해준다음, 명령어를 실행해보자.
//package.json
...
  "scripts": {
    ...
    "dev": "vite",
    "build": "vite build",
    "preview": "vite preview",
    ...
  },
...vite로 통해서 실행 및 build가 잘 되는 것을 확인할 수 있다.
npx
npx create-react-hoon 처럼 명령어로 설치하기 위해서 위에서 만든 react boilerPlate 를 clone 받아 설치해주는 패키지 를 만들어 npm 에 올려줄것이다.
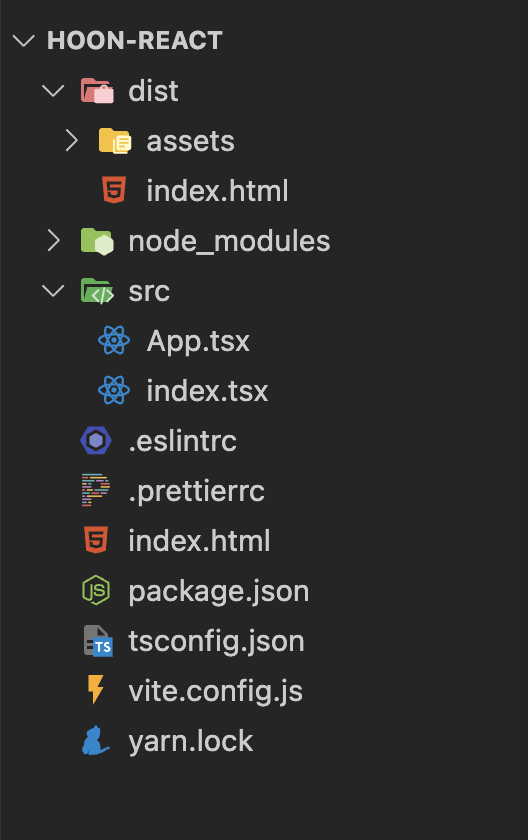
나는 package 부분과 같은 git repo 에 작성했으므로 아래와 같은 구조를 갖게 되었다.

npm 에 올릴 package.json 을 설정해준다.
아래에서 bin 부분은 해당 명령어 접근시 실행할 파일의 위치를 나타낸다.
// package.json
{
  "name": "create-react-hoon",
  "version": "1.0.0",
  "description": "create hoon-react-boilerplate",
  "bin": {
    "create-react-hoon": "./bin/generator.js"
  },
  "private": false,
  "keywords": [
    "react",
    "boilerplate"
  ]
}
bin 폴더를 생성한 뒤 위에서 설정한 generator.js 를 만들어준다.
terminal 에서 npx create-react-hoon 명령어 입력시 아래의 gernerator.js 가 실행된다. 추가로 git repo 를 클론 받아와 원하는 react boilerplate 부분만 copy 후 지워주기 위해 fs-extra 라는 라이브러리를 설치해주었다.
// generator.js
#! /usr/bin/env node
const { execSync } = require("child_process");
const path = require("path");
const fs = require("fs");
const { removeSync, copySync } = require("fs-extra");
// project-name 미입력
if (process.argv.length < 3) {
console.log("[ERROR]: Enter as in the example below");
console.log("ex) npx create-react-hoon [project-name]");
process.exit(1);
}
const projectName = process.argv[2];
const currentPath = process.cwd();
const isCurrentPathProject = projectName === ".";
const tempPath = path.join(currentPath, "temp");
const projectPath = isCurrentPathProject
? currentPath
: path.join(currentPath, projectName);
const GIT_REPO = ${YOUR_GIT_REPO_URL};
// project-name 입력시
if (!isCurrentPathProject) {
try {
fs.mkdirSync(projectPath);
} catch (err) {
if (err.code === "EEXIST") {
// 이미 해당 경로 존재
console.log(
`[ERROR]: The file ${projectName} already exist in the current directory.`
);
} else {
console.log(error);
}
process.exit(1);
}
}
async function generator() {
try {
// git clone
console.log("[INFO]: Downloading create-react-hoon...");
execSync(`git clone ${GIT_REPO} ${tempPath}`);
// 임시 폴더에서 react-boilerplate만 복사
console.log("[INFO]: Copying files...");
copySync(`${tempPath}/react-boilerplate`, projectPath);
// 임시 폴더 삭제
removeSync(tempPath);
// 현재 경로 이동
console.log("[INFO]: Moving into directory...");
if (!isCurrentPathProject) {
process.chdir(projectPath);
}
// 의존성 설치
console.log("[INFO]: install dependencies...");
execSync("npm install");
// SUCCESS !
console.log("[SUCCESS]: Success to create-react-hoon. Available now !");
} catch (error) {
console.log(error);
}
}
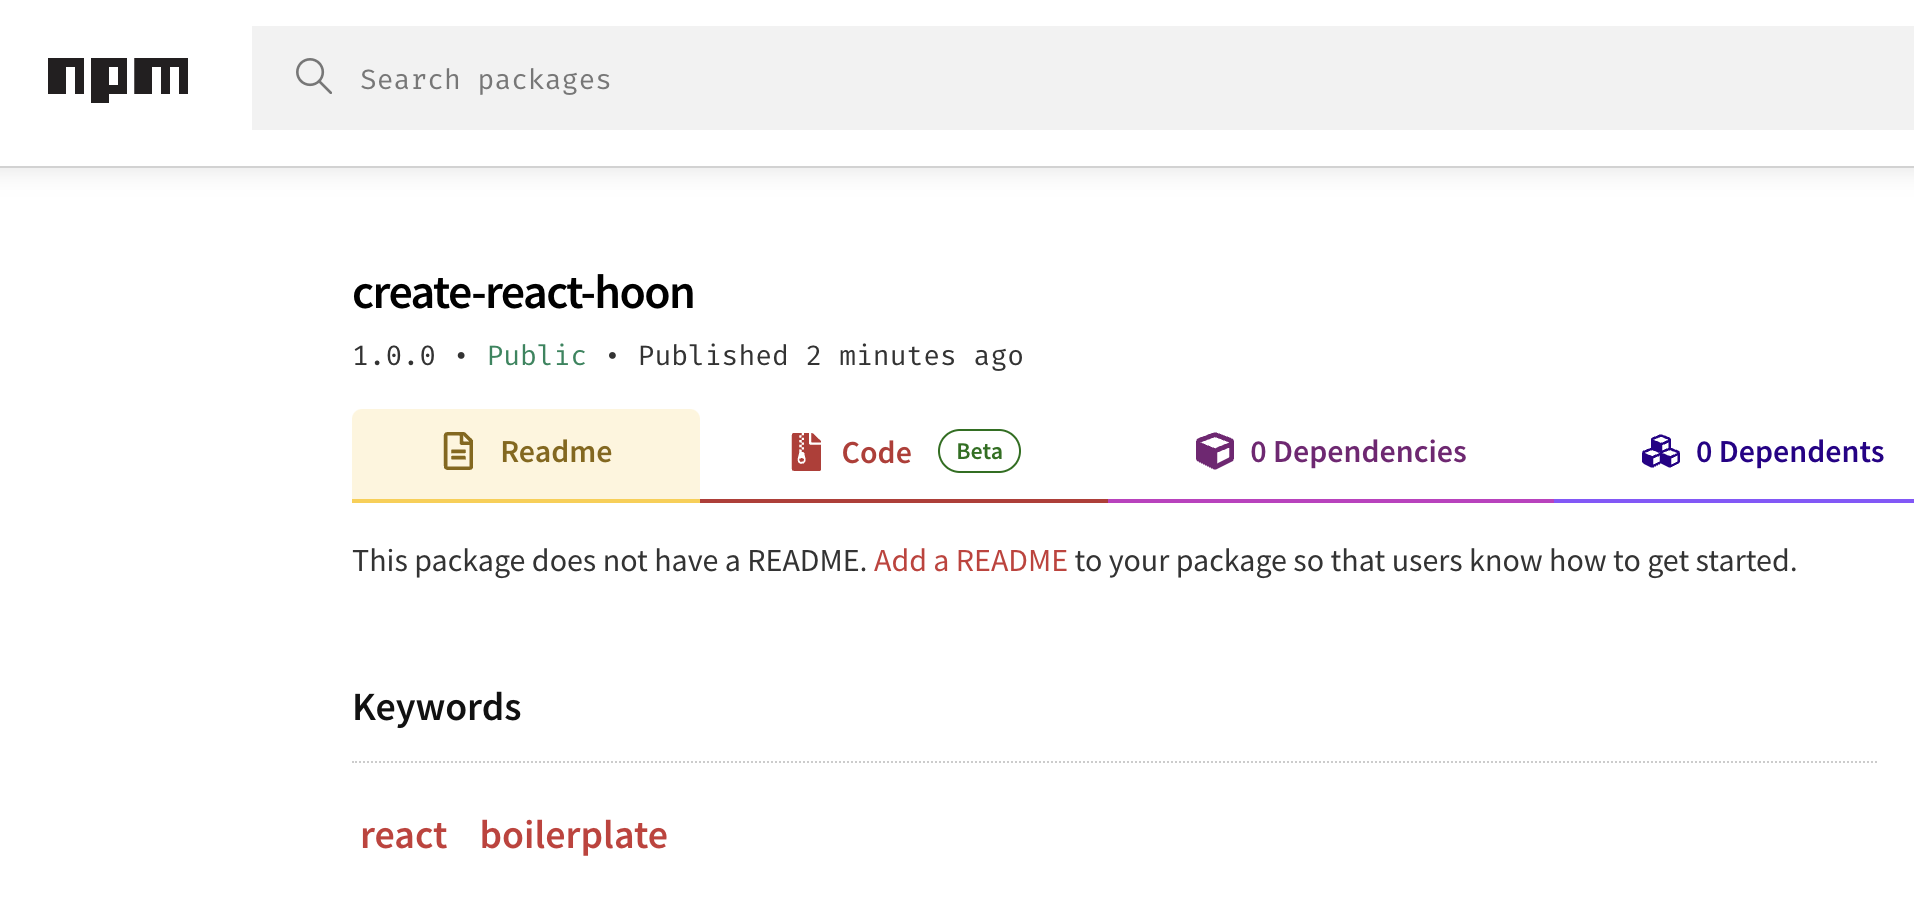
generator();이제 npm publish 명령어 를 통해 npm 에 올려준다. 아래와 같이 npm 에 올라간 것을 확인할 수 있다.
create-react-hoon Try
npx create-react-hoon 명령어를 입력하자 아래와 같이 위에서 작성한 react boilerplate project 가 성공적으로 설치된것을 확인할 수 있다.

또한 yarn dev 로 vite 개발환경 실행도 잘 되는것을 확인할 수 있다.