사용자 정보를 담을Member엔티티 관련 기본 구현SecurityConfig작성예제에서 사용할 간단한 프론트 페이지 구현- 이메일 인증 기능 추가
사용자 인증을 위한UserDetailsJWT 생성, 검출, 발급, 검증 서비스구현- 액세스 토큰
- 리프레시 토큰
- 로그인 유지
1. Introduction
오늘은 로그인을 하고 액세스 토큰과 리프레시 토큰을 받아와보자.
2. JsonUsernamePasswordAuthenticationFilter
JSON 데이터로 들어오는 이메일 및 패스워드 인증을 처리하고 액세스 토큰과 리프레시 토큰을 발급하는 필터를 만들어보자.
public class JsonUsernamePasswordAuthenticationFilter extends AbstractAuthenticationProcessingFilter {

    private static final String DEFAULT_FILTER_PROCESSES_URL= "/login";
    private static final String HTTP_METHOD = "POST";
    private static final String CONTENT_TYPE = "application/json";
    private static final String USERNAME_KEY = "username";
    private static final String PASSWORD_KEY = "password";

    public JsonUsernamePasswordAuthenticationFilter() {
        super(DEFAULT_FILTER_PROCESSES_URL);
    }

    @Override
    public Authentication attemptAuthentication(HttpServletRequest request, HttpServletResponse response) throws AuthenticationException, IOException, ServletException {

        if (!request.getMethod().equals(HTTP_METHOD)) {
            throw new AuthenticationServiceException("Authentication method not supported: " + request.getMethod());
        }
        if (!request.getContentType().equals(CONTENT_TYPE)) {
            throw new AuthenticationServiceException("Authentication content type not supported: " + request.getContentType());
        }

        String messageBody = StreamUtils.copyToString(request.getInputStream(), StandardCharsets.UTF_8);

        ObjectMapper mapper = new ObjectMapper();
        Map<String, String> usernamePasswordMap = mapper.readValue(messageBody, new TypeReference<Map<String, String>>() {});

        String username= usernamePasswordMap.get(USERNAME_KEY);
        String password = usernamePasswordMap.get(PASSWORD_KEY);

        UsernamePasswordAuthenticationToken authRequest = new UsernamePasswordAuthenticationToken(username, password);

        return this.getAuthenticationManager().authenticate(authRequest);
    }
}
이 클래스는 AbstractAuthenticationProcessingFilter를 extend하고 있다.
public abstract class AbstractAuthenticationProcessingFilter extends GenericFilterBean implements ApplicationEventPublisherAware, MessageSourceAware {
    private AuthenticationManager authenticationManager;
    private RequestMatcher requiresAuthenticationRequestMatcher;
    private AuthenticationSuccessHandler successHandler = new SavedRequestAwareAuthenticationSuccessHandler();
    private AuthenticationFailureHandler failureHandler = new SimpleUrlAuthenticationFailureHandler();
}
클래스 안을 보면 많은 필드가 있는데, 그 중 주목할 만한 것들은 위 정도가 있어 보인다.
authenticationManager: 인증을 수행requiresAuthenticationRequestMatcher: 인증이 필요한 URLsuccessHandler: 인증 성공 시 수행할 작업의 핸들러failureHandler: 인증 실패 시 수행할 작업의 핸들러
JwtUsernamePasswordAuthenticationFilter의 생성자에서는 로그인의 엔드포인트를 지정한다. 해당 엔드포인트로 요청이 들어오면 attemtAuthentication()에서 우선 요청의 메서드, 컨텐트 타입을 확인하는데, Json 데이터를 POST로 보내고 있으니, POST와 application/json이 되어야 한다.
아래는 요청으로 들어오는 JSON을 파싱해 username과 password를 가져오는 부분이다. 이렇게 얻은 username과 password를 가지고, AbstractAuthenticationProcessingFilter의 authenticationManager로 인증을 시도해본다. 만약 성공하면 Authentication 객체가 반환한 후 해당 객체로 로그인 성공 핸들러가 실행될 것이고, 그렇지 않으면 AuthenticationException이 발생할 것이다.
3. LoginSuccessHanlder 작성
@RequiredArgsConstructor
public class LoginSuccessHandler implements AuthenticationSuccessHandler {

    private final JwtService jwtService;

    @Override
    public void onAuthenticationSuccess(HttpServletRequest request, HttpServletResponse response, Authentication authentication) {
        String username = authentication.getName();
        String accessToken = jwtService.generateAccessToken(username);
        String refreshToken = jwtService.generateRefreshToken();

        response.setContentType("application/json");
        response.setCharacterEncoding("utf-8");

        jwtService.setAccessToken(response, accessToken);
        jwtService.setRefreshToken(response, refreshToken);
    }
}
로그인이 성공하면 위의 attemptAuthentication()에서 반환되는 Authentication 객체를 가지고 이 핸들러가 실행된다. 여기서 하는 일은 간단히 해당 객체에서 사용자 이름을 추출하고, 액세스 토큰과 리프레시 토큰을 만들어 응답에 담아주는 것이다.
3. SecurityConfig 수정
이제 만든 JsonUsernamePasswordAuthenticationFilter와 LoginSuccessHandler를 등록해줘야 한다. SecurityConfig를 수정하자.
@Bean
public PasswordEncoder passwordEncoder() {
    DelegatingPasswordEncoder delegatingPasswordEncoder = (DelegatingPasswordEncoder) PasswordEncoderFactories.createDelegatingPasswordEncoder();
    delegatingPasswordEncoder.setDefaultPasswordEncoderForMatches(new BCryptPasswordEncoder());
    return delegatingPasswordEncoder;
}

@Bean
public UserDetailsService userDetailsService() {
    return new CustomUserDetailsService(memberRepository);
}

@Bean
public AuthenticationManager authenticationManager() throws Exception {
    DaoAuthenticationProvider daoAuthenticationProvider = new DaoAuthenticationProvider();
    daoAuthenticationProvider.setPasswordEncoder(passwordEncoder());
    daoAuthenticationProvider.setUserDetailsService(userDetailsService());
    return new ProviderManager(daoAuthenticationProvider);
}

@Bean
public AuthenticationSuccessHandler loginSuccessHandler(){
    return new LoginSuccessHandler(jwtService);
}

public JsonUsernamePasswordAuthenticationFilter jsonUsernamePasswordAuthenticationFilter() throws Exception {
    JsonUsernamePasswordAuthenticationFilter filter = new JsonUsernamePasswordAuthenticationFilter();

    filter.setAuthenticationManager(authenticationManager());
    filter.setAuthenticationSuccessHandler(loginSuccessHandler());

    return filter;
}
맨 아래의 jsonUsernamePasswordAuthenticationFilter()에서는 인증에서 사용할 authenticationManager와 loginSuccessHandler를 지정해줬다.
authenticationManager()에서는 AuthenticationManager 인터페이스의 구현체를 지정해주고 있다. DaoAuthenticationProvider는 사용자 이름과 패스워드로 Userdetails를 가져오는 클래스다. 인증 요청으로 들어오는 패스워드를 인코딩할 때 쓸 passwordEncoder와, Userdetails를 가져올 때 사용할 userDetailsService도 설정해준다. PasswordEncoder와 관련한 내용은 여기에 있다.
이전에는 패스워드를 그냥 그대로 저장했다. 평문을 그대로 사용하는
NoOpPasswordEncoder를 사용할 수도 있겠지만, 이제는 패스워드도 암호화해서 저장하도록 한다.
public class MemberServiceImpl implements MemberService{

	// ...
    private final PasswordEncoder passwordEncoder;

    @Override
    @Transactional
    public Member joinMember(MemberJoinDto memberJoinDto) throws Exception {
        if (isDuplicatedUsername(memberJoinDto.getUsername())) throw new Exception("중복된 이메일입니다.");
        Member member = Member.builder()
                .username(memberJoinDto.getUsername())
                .password(passwordEncoder.encode(memberJoinDto.getPassword()))
                .role(Role.GUEST)
                .build();

        return memberRepository.save(member);
    }

	//...
}MemberServiceImpl에 PasswordEncoder 빈을 주입시키고, 회원가입 시 해당 인코더로 평문패스워드를 암호화해 저장하도록 변경했다.
이렇게 만든 필터는 필터 체인에 추가해줘야 한다.
@Bean
public SecurityFilterChain httpFilterChain(HttpSecurity http) throws Exception {
    http
            .httpBasic(AbstractHttpConfigurer::disable)
            .cors(cors ->
              cors.configurationSource(corsConfigurationSource()))
            .csrf(AbstractHttpConfigurer::disable)
            .formLogin(AbstractHttpConfigurer::disable)
            .sessionManagement(sessionManagement -> sessionManagement
                    .sessionCreationPolicy(SessionCreationPolicy.STATELESS))
            .authorizeHttpRequests((authorizeRequests) -> authorizeRequests
                    .requestMatchers("/login").permitAll()
                    .requestMatchers("/member/register").permitAll()
                    .anyRequest().authenticated()
            );

    http.addFilterAfter(jsonUsernamePasswordAuthenticationFilter(), LogoutFilter.class);
    return http.build();
}
저번 글과 달리 .authorizeHttpRequests(...)이 추가됐다. /login과 /member/register를 제외한 모든 요청들에 대해 인증을 요구하도록 했다.
맨 아래의 http.addFilterAfter(jsonUsernamePasswordAuthenticationFilter(), LogoutFilter.class);에서는 필터를 필터 체인에 추가해주고 있다. 필터를 LogoutFilter의 뒤에 추가해주고 있는데, 이와 관련해서는 이 글에 잘 정리되어 있다.
왜 만든 필터를 빈으로 등록하지 않을까?
스프링 부트의 경우@Component를 붙인Filter인터페이스 구현체는 기본 (서블릿) 필터체인의 뒤쪽에, 여러 개라면 (순서를 지정하지 않은 경우) 임의의 순서로 자동 등록된다.
그런데 스프링 시큐리티의 필터체인에 우리가 구현한 빈으로 등록한 필터를 추가하면 동일한 필터가 다른 순서로 2번 등록돼버린다. 같은 필터를 여러 번 거치는 경우를 피하려면 따로 설정을 해주거나, 아예 빈으로 등록하지 않으면 되는데, 보통은 후자를 많이 쓰는 것 같다.
@Bean
public CorsConfigurationSource corsConfigurationSource(){
    CorsConfiguration corsConfig = new CorsConfiguration();

    corsConfig.addAllowedOrigin("http://localhost:3000");
    corsConfig.setAllowCredentials(true);
    corsConfig.addAllowedHeader("*");
    corsConfig.addAllowedMethod("*");
    corsConfig.addExposedHeader("Authorization");
    corsConfig.addExposedHeader("Set-Cookie");
    UrlBasedCorsConfigurationSource source = new UrlBasedCorsConfigurationSource();
    source.registerCorsConfiguration("/**", corsConfig);
    return source;
}
CORS 관련 설정에서도 "Authorization", "Set-Cookie" 헤더를 노출시키도록 설정해줘야 한다.
4. 로그인 버튼 추가하고 테스트
따로 페이지는 만들지 않고, 버튼만 하나 추가해줬다.
// ./compoent/SignupForm.js

	//...

    const handleLogin = async (e) => {
        e.preventDefault();
        const body = {
            username: username,
            password: password
        };

        axios.post('http://localhost:8080/login', body,
        { withCredentials: true },
        )
             .then((res) => {
                if (res.status === 200) {
                    let accessToken = res.headers['authorization'];
                    console.log(accessToken);
                }
            })
            .catch((res) => {
                console.log(res);
            })
    }

	    return (
        <div className="formContainer">
            <form onSubmit={handleSubmit} className="form">
                <div className="formGroup">
                    <input className="formInput" onChange={e=>setUsername(e.target.value)} type="id" placeholder="이메일 입력" />
                </div>
                <div className="formGroup">
                    <input className="formInput" onChange={e=>setPassword(e.target.value)} type="password" placeholder="비밀번호 입력" />
                </div>
                <button onClick={handleSubmit} className='submitButton' type='submit'> sign up </button>
                <button onClick={handleLogin} className='submitButton' type='submit'> login </button>
            </form>
        </div>
    )
요청을 보낼 때 withCredentials: true를 추가해주는 것을 잊지 말자. 해당 옵션을 빼먹으면 쿠키 설정이 안 된다.
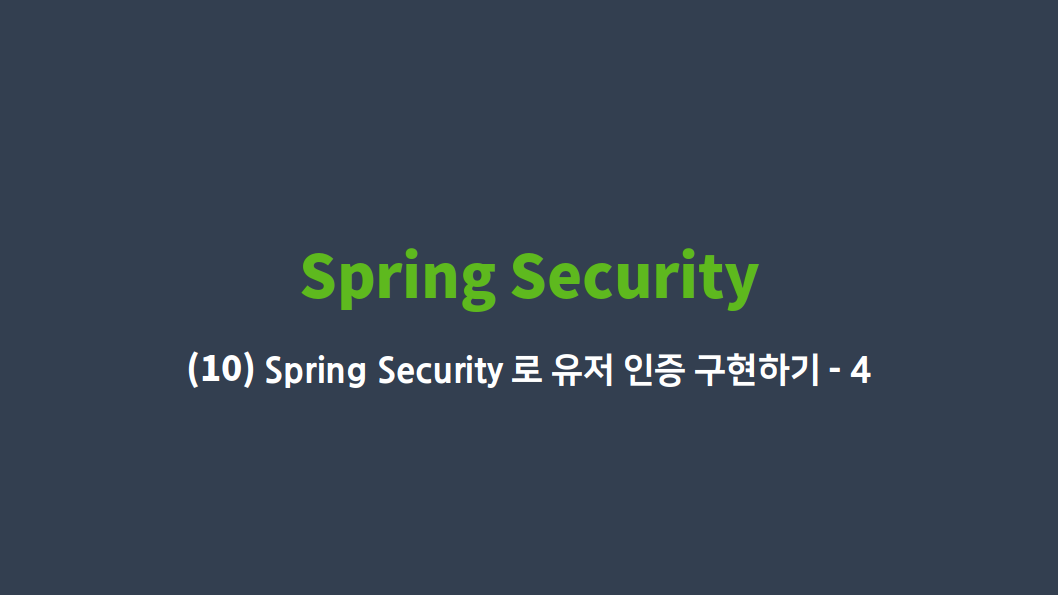
대충 아무거나 쳐서 회원가입한 후 로그인을 누르면, 콘솔에 액세스 토큰이 잘 찍혀나온다.
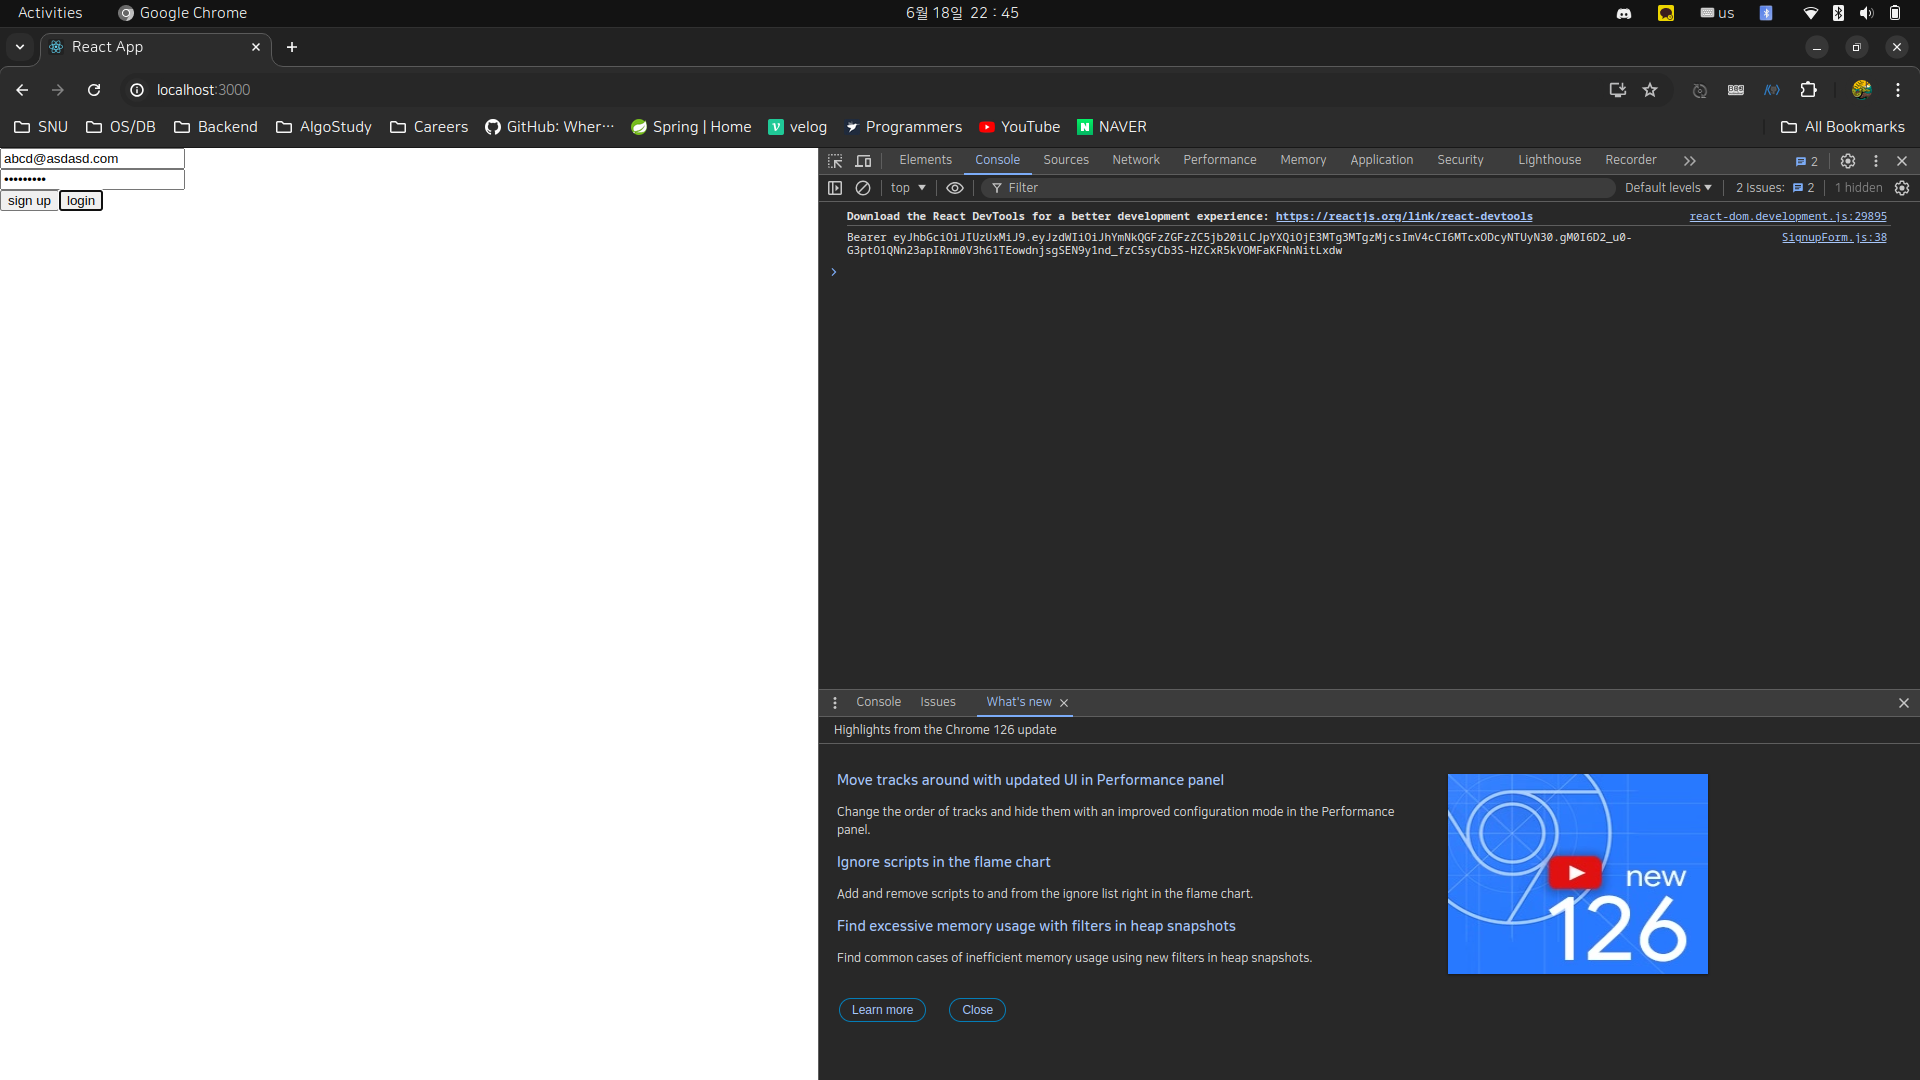
리프레시 토큰도 쿠키에 잘 들어가있다.
여담으로 블로그들을 보다가 스프링 시큐리티와 관련한 좋은 글을 찾았다. 반성을 하게 되는 글이다.