
DIARY
마지막으로 상세페이지를 구현하는 일만 남았다
비교적 쉬울 거 같다고 생각하며 시작..!
일단 diary.js 에서도 할일이 있다.
현재 조회하고자 하는 일기 데이터를 가져와야 함.
Edit에서 했던 것처럼 path variable로 받은 일기 id를 가지고
DiaryStateContext가 공급하는 일기리스트를 가지고 find 메서드를 이용해
현재 찾으려고 하는 일기의 데이터를 구현하는 과정을 또 쓰면 됨.
import { useContext, useEffect } from "react";
import { useParams } from "react-router-dom";
import { DiaryStateContext } from "../App";
const Diary = () => {
const { id } = useParams();
const diaryList = useContext(DiaryStateContext);
useEffect(() => {
if (diaryList.length >= 1) {
const targetDiary = diaryList.find(
(it) => parseInt(it.id) === parseInt(id)
);
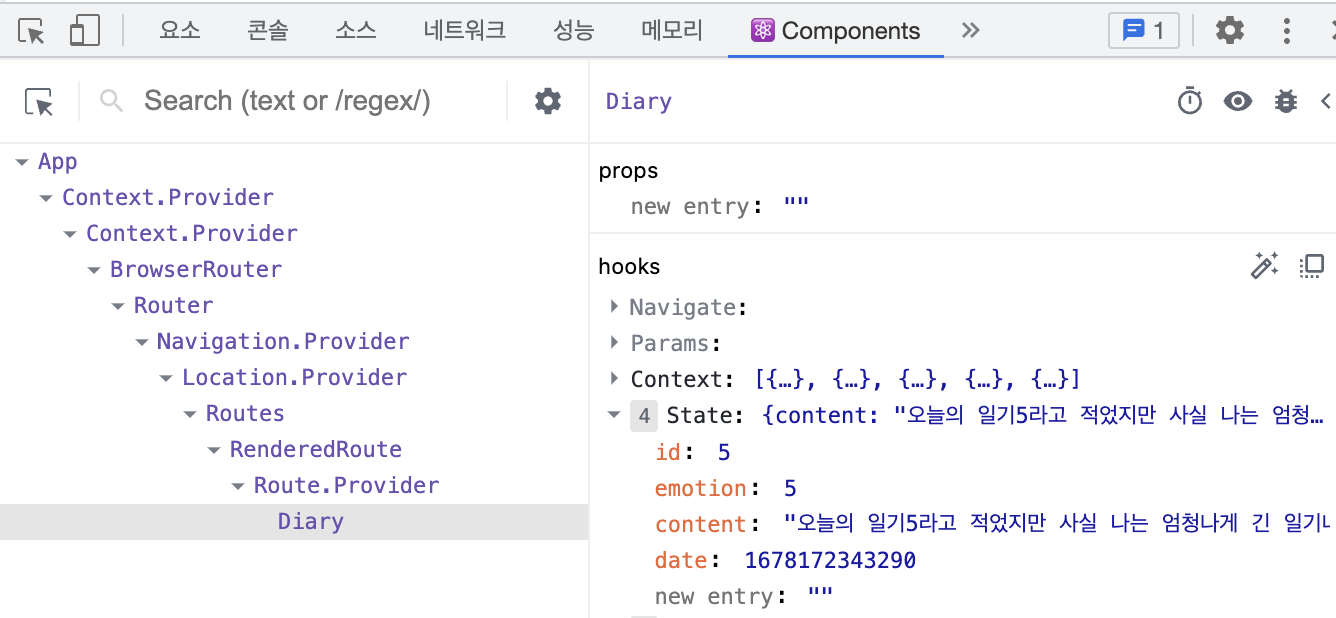
console.log(targetDiary);
}
}, [id, diaryList]);
...

마찬가지로 targetDiary가 잘 불러와 진다.
  const [data, setData] = useState();

...

	if (targetDiary) {
        setData(targetDiary);
      } else {
        alert("없는 일기입니다.");
        navigate("/", { replace: true });
      }

...
를 useEffect에 추가해 setData도 설정해주고 나면
id를 기준으로 잘 가지고 온다.
이제 데이터를 가지고 왔으니 뿌려주기만 하면 됨
header
헤더에는 해당 일기의 날짜를 넣고 싶은데, 그러려면
예전에 eidtor에서 만들었던 getStringDate 함수를 불러오면 된다.
const getStringDate = (date) => {
  return date.toISOString().slice(0, 10);
};
그래서 편하게 쓰기 위해 이것을 복사해오는데...
사실 이런 함수코드를 중복으로 쓰는건 별로 좋지 않다고함
그래서 따로 파일을 하나 만들어 준 후 export const~ 해주고,
사용할 파일에서 import 해주면 됨.
<MyHeader headtext={`${getStringDate(new Date(data.date))} 일기`} />
근데 이 모양이 마음에 안들어서
getStringDate는 쓰지 않고,
 <MyHeader
     headtext={`${new Date(data.date).getFullYear()}년
          		${new Date(data.date).getMonth() + 1}월
                ${new Date(data.date).getDate()}일 일기`}
 />
이렇게 적어서 이런 타이틀로 바꾸었당 ㅎ

조금 더 좋은 방법이 있었을까? 는 잘 모르겠지만...
아무튼 버튼들까지 넣으면 헤더 완성
        <MyHeader
          headtext={`${new Date(data.date).getFullYear()}년 ${
            new Date(data.date).getMonth() + 1
          }월 ${new Date(data.date).getDate()}일 일기`}
          leftchild={
            <MyButton text={"< 뒤로 가기"} onClick={() => navigate(-1)} />
          }
          rightchild={
            <MyButton
              text={"수정하기"}
              type={"positive"}
              onClick={() => navigate(`/edit/${id}`)}
            />
          }
        />
굳이 안 적으려다가 navigate(`/edit/${id}`) 이 부분 한 번 더 보려고 넣음!
+ 백틱 속에 또 백틱 넣으려면 백틱 세 번 쓰고 그 안에 백틱 쓰면 됨.. 지금 알았다 벨로그 짱..
emotion 불러오기
dairyEditor에서 썼던 emotion 들을 또 쓰기위해
이것들도 util로 꺼내놓고 다시 불러와서 사용한다.
util/emotion.js
export const emotionList = [
  {
    emotion_id: 1,
    emotion_img: process.env.PUBLIC_URL + `/assets/emotion1.png`,
    emotion_descript: "매우 좋음",
  },
  {
    emotion_id: 2,
    emotion_img: process.env.PUBLIC_URL + `/assets/emotion2.png`,
    emotion_descript: "좋음",
  },
  {
    emotion_id: 3,
    emotion_img: process.env.PUBLIC_URL + `/assets/emotion3.png`,
    emotion_descript: "보통",
  },
  {
    emotion_id: 4,
    emotion_img: process.env.PUBLIC_URL + `/assets/emotion4.png`,
    emotion_descript: "나쁨",
  },
  {
    emotion_id: 5,
    emotion_img: process.env.PUBLIC_URL + `/assets/emotion5.png`,
    emotion_descript: "끔찍함",
  },
];
Diary.js
import { emotionList } from "../util/emotion";

...

	if (!data) {
    return <div className="DiaryPage">로딩 중입니다...</div>;
  } else {
    const curEmotionData = emotionList.find(
      (it) => parseInt(it.emotion_id) === parseInt(data.emotion)
    );
    console.log(curEmotionData);
curEmotionData가 잘 들어오는지 확인한다

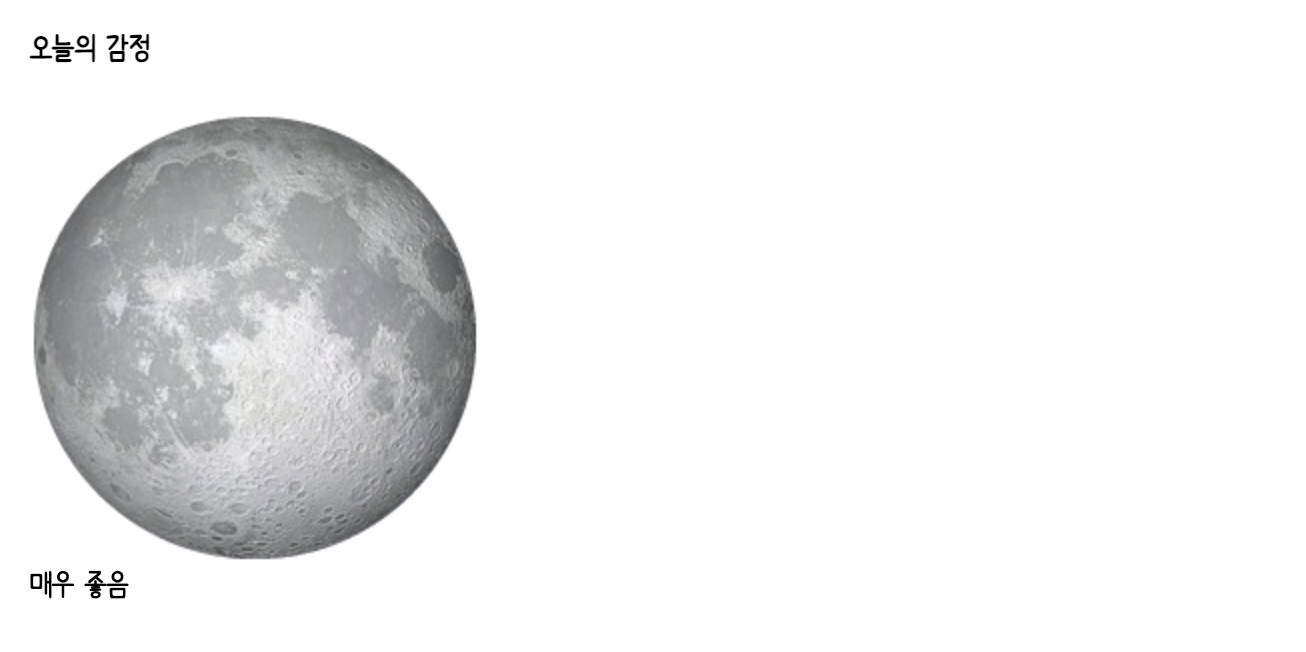
	<section>
      <h4>오늘의 감정</h4>
        <div className="diary_img_wrap">
           <img src={curEmotionData.emotion_img} />
           <div className="emotion_descript">
                {curEmotionData.emotion_descript}
           </div>
        </div>
     </section>
이제 모 대충 요래요래 뿌려주면 요래요래 나오지~
이제 css 대충 대충 살살 건드려주면
<div className={[
        "diary_img_wrap",
         `diary_img_wrap_${data.emotion}`,
                ].join(" ")}
>
.DiaryPage .emotion_descript {
font-size: 20px;
color: #c4c4c4;
font-weight: bold;
position: absolute;
top: 400px;
}
.DiaryPage .diary_img_wrap {
background-image: url("./../public/assets/back.png");
background-size: 600px 300px;
width: 600px;
height: 300px;
border-radius: 5px;
display: flex;
flex-direction: column;
align-items: center;
justify-content: center;
}
.DiaryPage .diary_img_wrap_1 img {
width: 60px;
margin: 0 0 150px 0;
}
.DiaryPage .diary_img_wrap_2 img {
width: 60px;
margin: 40px 100px 150px 0;
}
...
사실 descript 위치를 정하는데 애먹었다.
그림을 margin으로 주다보니 같은 div 내에 있던 descript가 같이 움직여서...
그래서 절대 위치로 주고 세로위치만 주었다!
그랬더니 창크기에 상관없이 같은 위치에 있었음
아주아주 만족스럽구만
내용 불러오기
	<section>
       <h4>오늘의 일기</h4>
       <div className="diary_content_wrap">
          <p>{data.content}</p>
       </div>
    </section>
.DiaryPage .diary_content_wrap p {
padding: 20px;
text-align: left;
}이렇게 해도 글들이 왼쪽 정렬로 되지 않는데,
이는 부모요소가 100%의 width를 가지지 못해서 그렇다
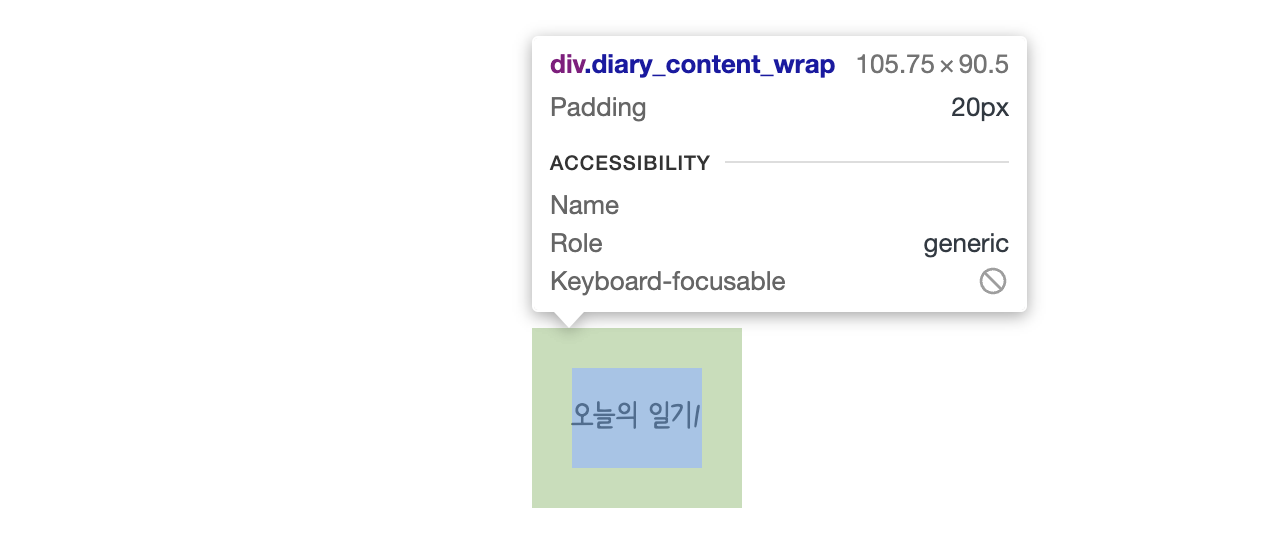
.DiaryPage .diary_content_wrap {
  width: 100%;
}
그럼 이렇게 상위 요소에 100%를 먹여주면 바로 왼쪽 정렬이 됨!
추가 css
word-break: keep-all: 텍스트가 길어져서 줄을 바꿔야하는 상황이 왔을 때 단어를 쪼개지 않는 속성overflow-wrap: break-word: 이 wrap이 너무 길어서 넘어갈 경우 줄 바꿈을 해줌line-height: 줄 간격을 정하는 속성
추가 작업
추가 작업으로 일단, 수정하고 나면 list로 가지 않고 diary detail 화면으로 가게 했다
      if (!isEdit) {
        onCreate(date, content, emotion);
        navigate("/", { replace: true });
      } else {
        onEdit(originData.id, date, content, emotion);
        navigate(`/diary/${originData.id}`, { replace: true });
      }
    }
css 적용한 거랑 수정한 것들 한 번에 보면 이런 느낌!
글쓸 때 적용해보다 띄어쓰기 수정하는 데 왜 그랬는지 모르겠지만,,
'적용해 보다'가 맞다.. 크흠.. 본용언(파생어)+보조용언이기 때문에 붙여 쓸 수 없음..


만드느라 수고많으셨습니다 !! 더글로리 오늘하네요 !!