
1. Web 3 Tier Architecture
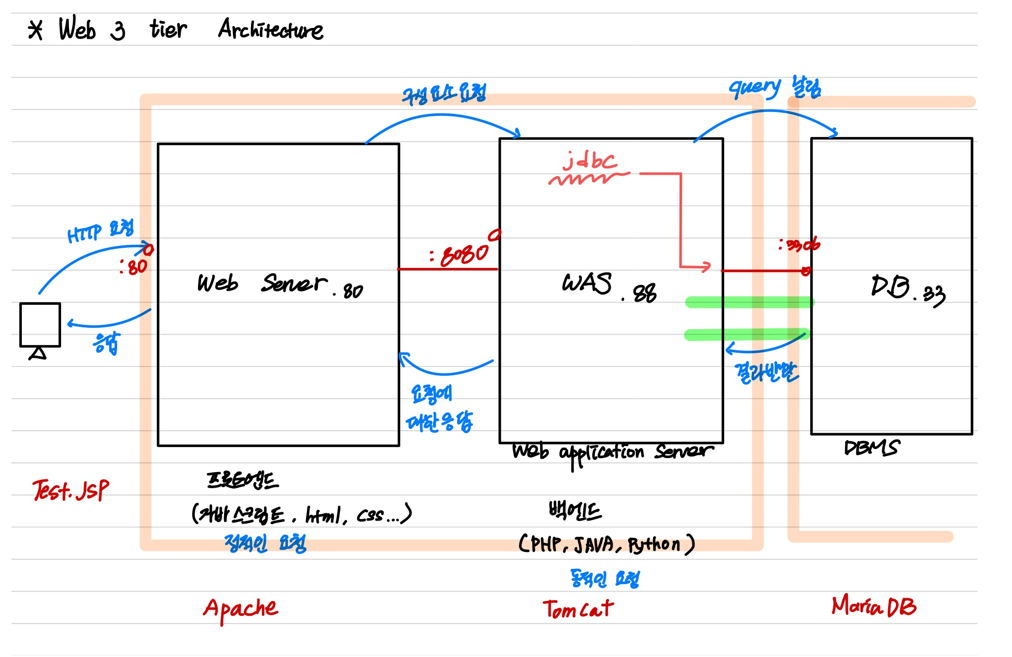
사용자 애플리케이션과 물리적 DB 계층간 분리를 통해 역할을 분담시켜 일을 효율적으로 할 수 있다.
각 계층간의 독립성이 높아져 코드에 문제가 생겼을 때, 문제가 되는 부분만 쉽게 해결할 수 있다.
각 계층별로 물리적으로 독립적이며, 각 계층의 변경이 다른 계층에 의존하지 않는다.
- 구현을 위한 사전 준비
- 서버 WEB1 이라는 CentOS7, 2core, RAM - 2GB, Disk size - 20GB, IP - 211.183.3.80 생성
- 서버 WAS 생성 - 스펙은 동일하게(IP - .88)
- 서버 DB 생성 - 스펙은 동일하게(IP - .33)
- 각 서버의 방화벽 셀리눅스 OFF 상태여야 함
- WEB server에서는 httpd 패키지 설치
- wget, unzip 패키지 설치
[root@WEB1 ~]# systemctl restart httpd
[root@WEB1 ~]# systemctl enable httpd

[root@WEB1 ~]# cd /var/www/html/

[root@WEB1 html]# touch index.html
테스트 용도!

[root@WEB1 html]# echo kakao cloud school > index.html

[root@WEB1 html]# cat index.html

[root@WEB1 html]# curl localhost
-
Go to googling
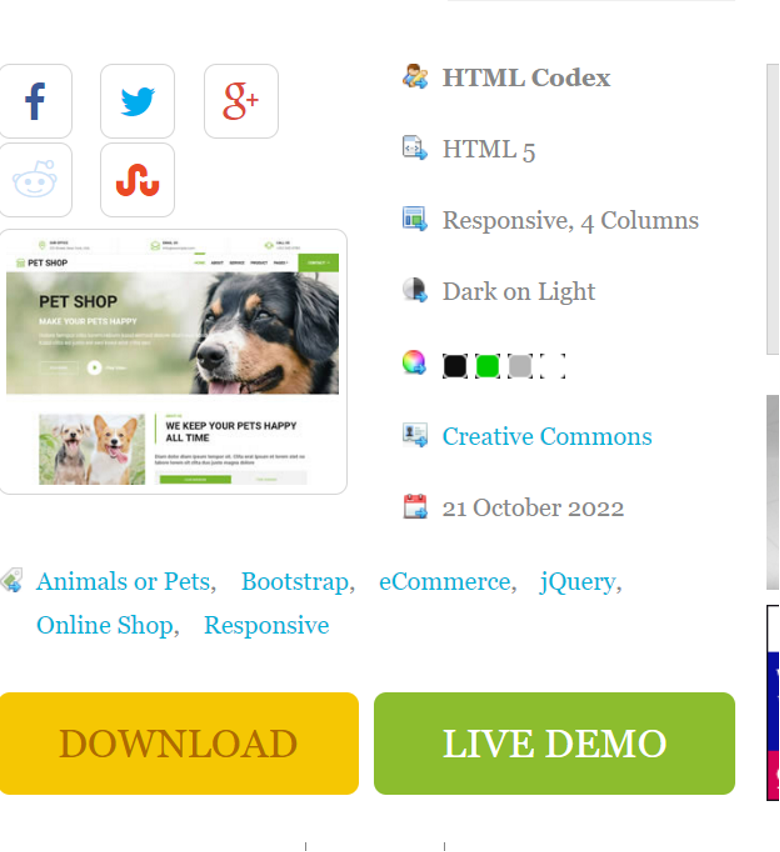
[root@WEB1 html]# unzip pet-shop.zip

[root@WEB1 html]# ls
index.html  pet-shop-website-template  pet-shop.zip

[root@WEB1 html]# rm -rf pet-shop.zip
[root@WEB1 html]# rm -rf index.html

[root@WEB1 html]# mv ./pet-shop-website-template/* .

[root@WEB1 html]# ls
about.html    js                             READ-ME.txt
blog.html     lib                            scss
contact.html  LICENSE.txt                    service.html
css           pet-shop-website-template      team.html
detail.html   pet-shop-website-template.jpg  testimonial.html
img           price.html
index.html    product.html
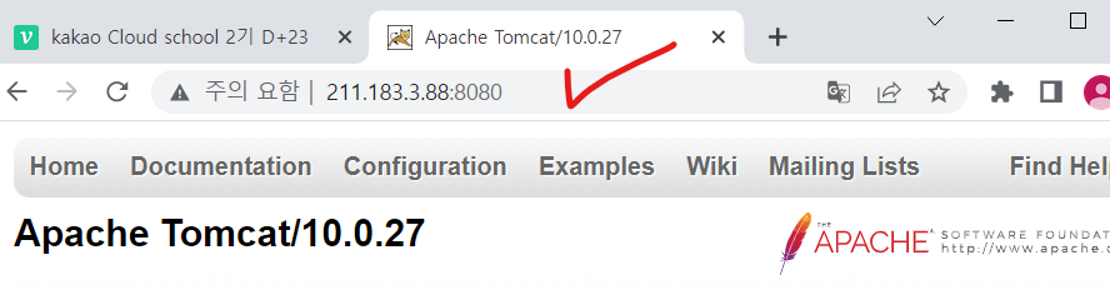
- 테스트 - 크롬 접속창에 211.183.3.80 쳐보기
- GO to WAS Server - 통합 개발 환경이 필요하다
[root@WAS ~]# yum -y install java-1.8.0-openjdk- Apache Tomcat 설치
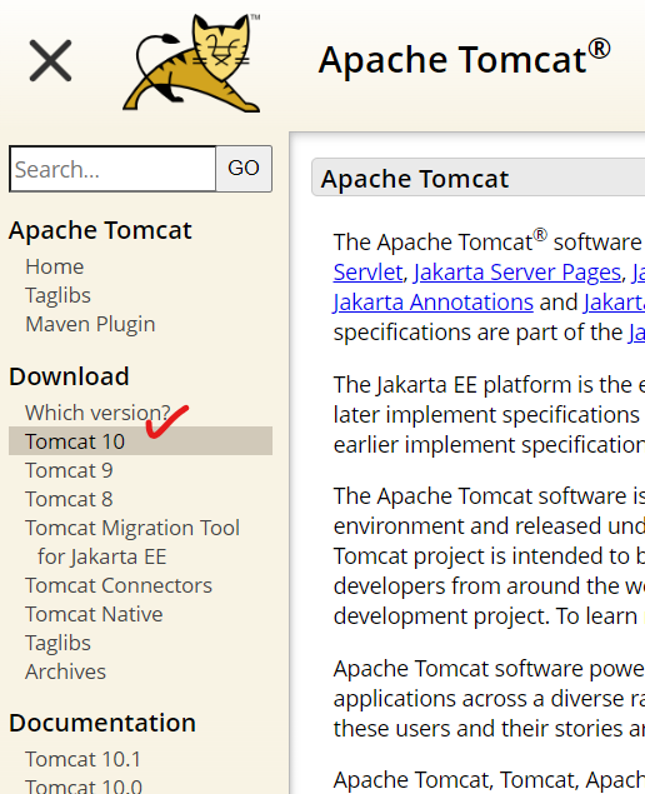
- 링크 복사하여 wget 명령어로 설치

[root@WAS ~]# unzip apache-tomcat-10.0.27.zip

[root@WAS ~]# rm -rf apache-tomcat-10.0.27.zip

[root@WAS ~]# mv apache-tomcat-10.0.27/ tomcat

[root@WAS ~]# ls
anaconda-ks.cfg  apache-tomcat-10.0.27  apache-tomcat-10.0.27.zip

[root@WAS ~]# rm -rf apache-tomcat-10.0.27.zip

[root@WAS ~]# mv apache-tomcat-10.0.27/ tomcat

[root@WAS ~]# ls
anaconda-ks.cfg  tomcat

[root@WAS ~]# pwd
/root
[root@WAS ~]# cd tomcat/
톰캣 디렉토리로 이동

[root@WAS tomcat]# ls
<톰캣의 내용물>
bin           CONTRIBUTING.md  logs       RELEASE-NOTES  webapps
BUILDING.txt  lib              NOTICE     RUNNING.txt    work
conf          LICENSE          README.md  temp

[root@WAS tomcat]# chmod -R 777 /root/tomcat
톰캣을 수정하기 위한 권한 모든 권한을 부여

- Apache Tomcat 실행
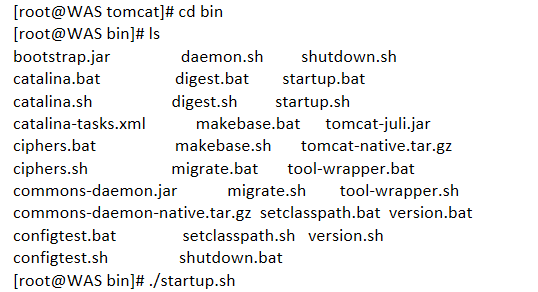
[root@WAS tomcat]# cd bin
[root@WAS bin]# ls
<Apache Tomcat 의 실행파일인 bin 의 내용>
bootstrap.jar daemon.sh shutdown.sh
catalina.bat digest.bat startup.bat
catalina.sh digest.sh startup.sh
catalina-tasks.xml makebase.bat tomcat-juli.jar
ciphers.bat makebase.sh tomcat-native.tar.gz
ciphers.sh migrate.bat tool-wrapper.bat
commons-daemon.jar migrate.sh tool-wrapper.sh
commons-daemon-native.tar.gz setclasspath.bat version.bat
configtest.bat setclasspath.sh version.sh
configtest.sh shutdown.bat
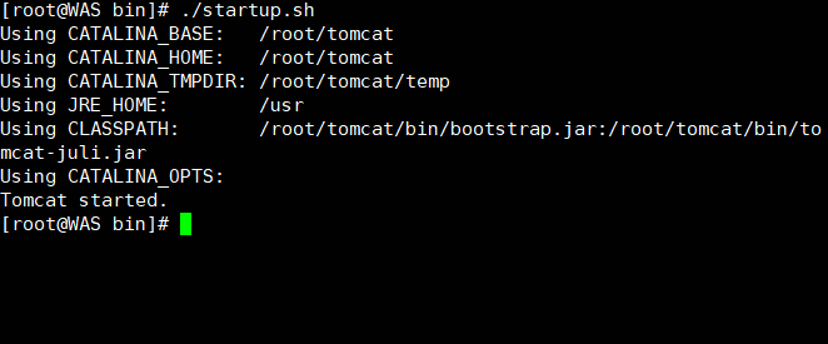
[root@WAS bin]# ./startup.sh
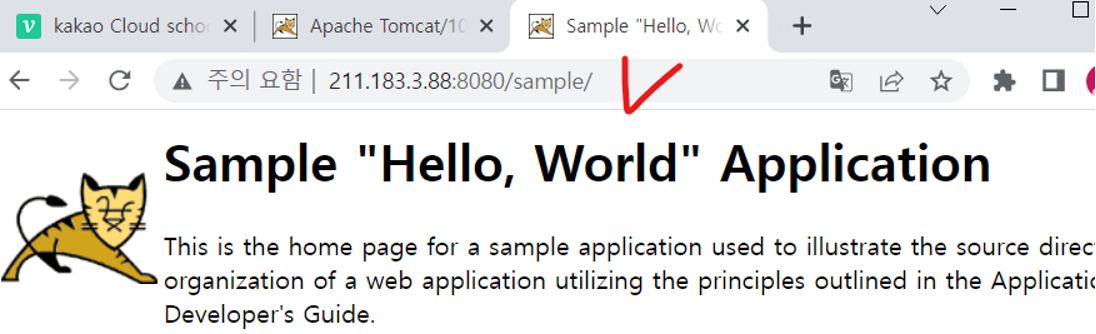
- Apache Tomcat Sample 적용
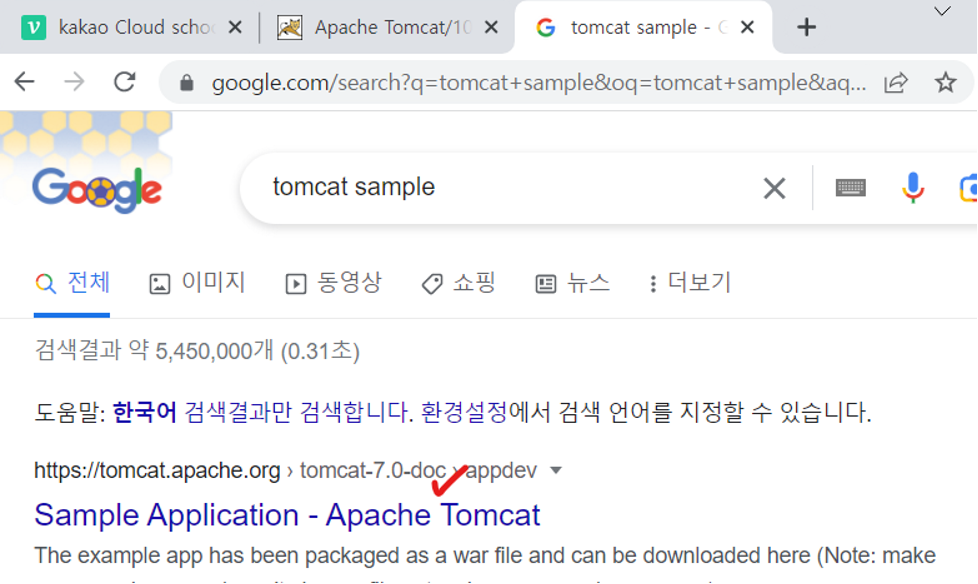
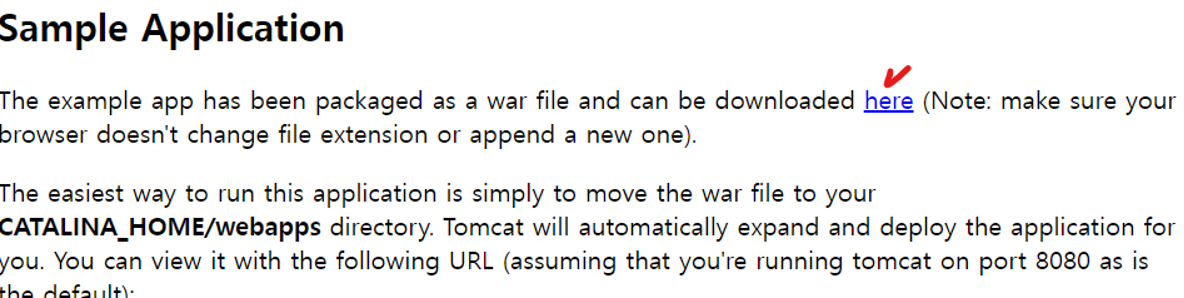
- 링크 복사
[root@WAS bin]# cd ..

[root@WAS tomcat]# cd webapps/
Tomcat 디렉토리의 webapps 에 샘플 어플리케이션 설치

[root@WAS webapps]# wget https://tomcat.apache.org/tomcat-7.0-doc/appdev/sample/sample.war --no-check-certificate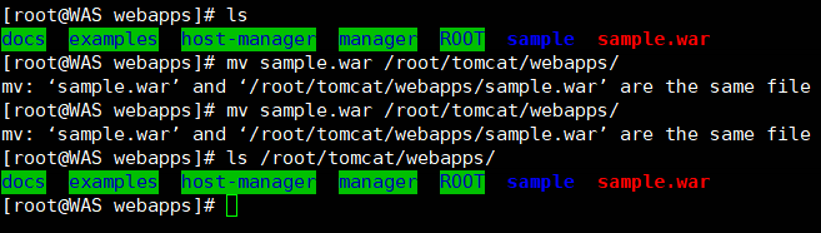
2. Web 3 Tier Architecture 연동
- Go to WEB Server
[root@WEB1 html]# vi /etc/httpd/conf/httpd.conf
웹서버의 기능과 동작에 관여하는 설정파일인 conf 파일을 수정할 것임
-> shift + g(맨 마지막 줄) -> o (수정)

<내용 추가>
LoadModule proxy_connect_module modules/mod_proxy_connect.so
LoadModule proxy_module modules/mod_proxy.so
LoadModule proxy_http_module modules/mod_proxy_http.so
<VirtualHost *:80>
        ProxyRequests On
        ProxyPreserveHost On
        <Proxy *>
                Order Deny,allow
                Allow from all
                SetEnv force-proxy-request-1.0.1
                SetEnv proxy-nokeepalive 1
                SetEnv proxy-initial-not-pooled 1
        </Proxy>
        ProxyPassMatch "^/.*\.(jsp|do)$" "http://211.183.3.88:8080/" # WAS Server IP : Apache Server port
        Timeout 120
</VirtualHost>
- Go to WAS Server
[root@WAS webapps]# cd /root/tomcat/webapps/ROOT/
ROOT 디렉토리로 이동
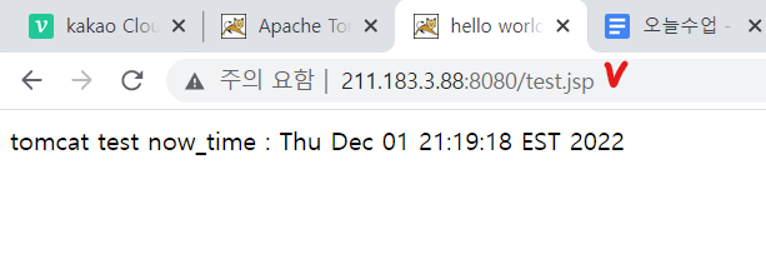
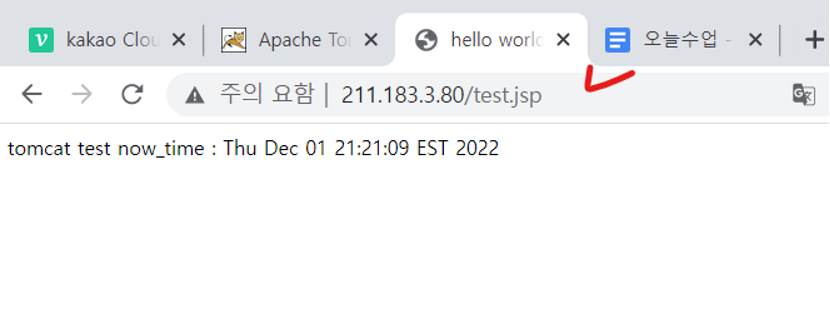
<test.jsp 파일 생성>
<추가>
<%@ page contentType="text/html; charset=UTF-8"%>
<html>
<head><title>hello world</title></head>
<body>
tomcat test
now_time : <%= new java.util.Date()%>
</body>
</html>
크롬에서 확인
-
WAS 서버에 요청
-
WEB 서버에 요청
-
Go to DB Server
[root@DB ~]# yum -y install mariadb
maria DB 설치

[root@DB ~]# mysql_secure_installation
초기 Secure installation 설정할 것

<DB 서버 접속>

MariaDB [(none)]> create database testDB;
Query OK, 1 row affected (0.00 sec)
데이터 베이스 생성 완료

MariaDB [(none)]> grant all privileges on testDB.* to testUSER@211.183.3.88 identified by '1234';
Query OK, 0 rows affected (0.00 sec)
권한 부여 완료- Go to WAS Server
DB 연동을 확인하기 위해서 sql 명령어를 적용시킬 수 있는 mysql 패키지 설치해야 함
[root@WAS ROOT]# mysql -u testUSER -p1234 -h 211.183.3.33
Welcome to the MariaDB monitor.  Commands end with ; or \g.
Your MariaDB connection id is 9
Server version: 5.5.68-MariaDB MariaDB Server

Copyright (c) 2000, 2018, Oracle, MariaDB Corporation Ab and others.

Type 'help;' or '\h' for help. Type '\c' to clear the current input statement.

MariaDB [(none)]>

접속이 가능하면 일단 성공- JDBC maven 설치하여 DB WAS 연동을 확인해보자

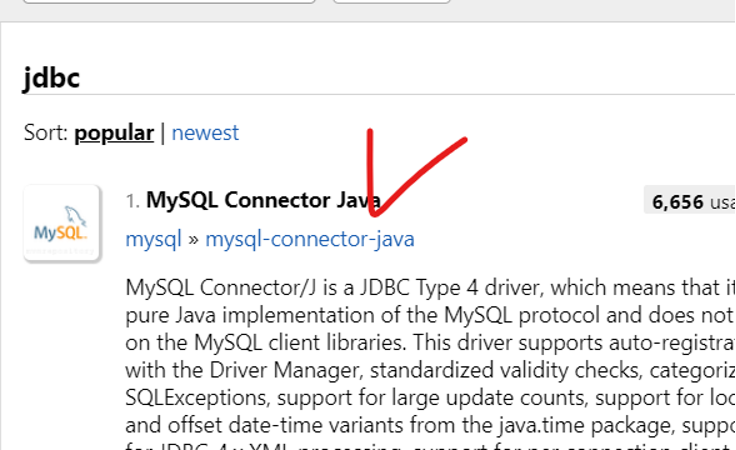
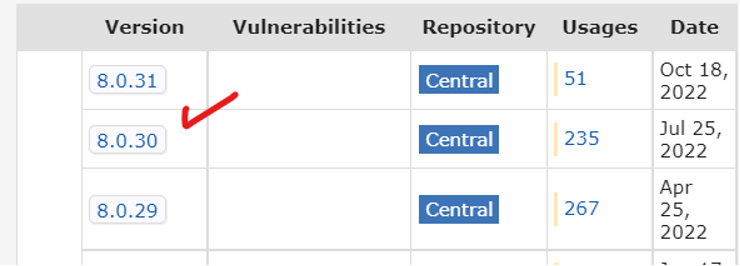
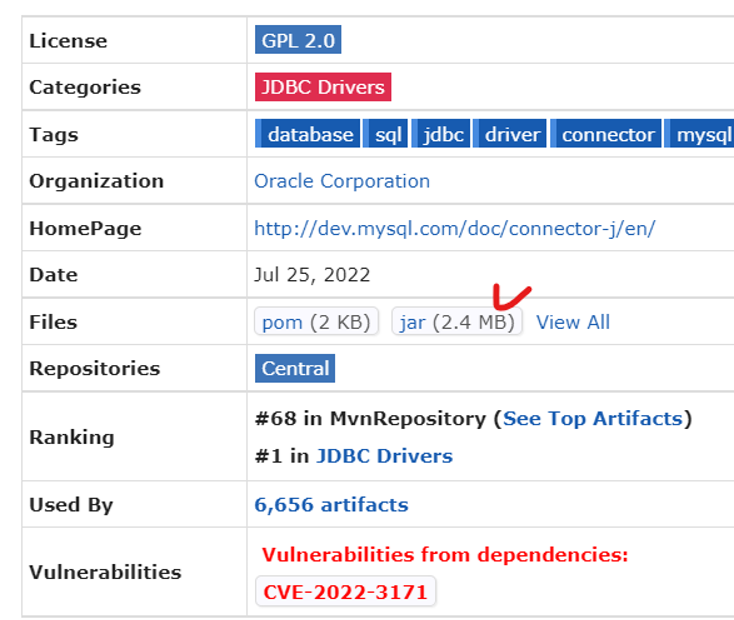
- 링크 복사해서 /root/tomcat/lib 디렉토리에 Download
[root@WAS ROOT]# cd /root/tomcat/lib/
[root@WAS lib]# wget https://repo1.maven.org/maven2/mysql/mysql-connector-java/8.0.30/mysql-connector-java-8.0.30.jar
[root@WAS lib]# cd /root/tomcat/webapps/ROOT/
<dbtest.jsp 파일 생성>
[root@WAS ROOT]# vi dbtest.jsp
<추가>
<%@ page language="java" contentType="text/html; charset=UTF-8" pageEncoding="UTF-8"%>
<%@ page import="java.sql.*"%>
<h1>DB</h2>
<%
Connection conn=null;
try{
String Url="jdbc:mysql://<DB주소>/db";
String Id="<DB유저>";
String Pass="<암호>";
Class.forName("com.mysql.jdbc.Driver");
conn=DriverManager.getConnection(Url,Id,Pass);
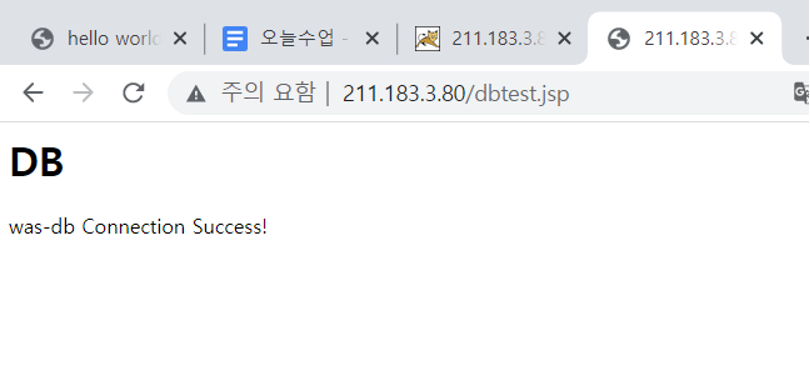
out.println("was-db Connection Success!");
}catch(Exception e) {
e.printStackTrace();
}
%>
[root@WAS ROOT]# cd ..
[root@WAS webapps]# cd ..
[root@WAS tomcat]# cd bin
<톰캣서버를 재시작>
[root@WAS bin]# ./shutdown.sh
[root@WAS bin]# ./startup.sh
- WAS 서버와 DB 연동

- WEB 과 DB 연동
3. 연습문제
<본사> : 211.183.3.100
web존에(192.168.10.0/24)에 web서버와 was서버가 존재.
<지사> : 211.183.3.200
db존(192.168.30.0/24)에 db 서버가 존재.
VyOS로 site-to-site VPN을 사용하여 3 tier를 구성 후 테스트 해보세요!
- Tunneling
<Head VyOS>
et vpn ipsec esp-group head-esp compression disable
set vpn ipsec esp-group head-esp lifetime 1800
set vpn ipsec esp-group head-esp mode tunnel
set vpn ipsec esp-group head-esp pfs enable
set vpn ipsec esp-group head-esp proposal 1 encryption aes256
set vpn ipsec esp-group head-esp proposal 1 hash sha256
set vpn ipsec ike-group head-ike ikev2-reauth no
set vpn ipsec ike-group head-ike key-exchange ikev1
set vpn ipsec ike-group head-ike lifetime 3600
set vpn ipsec ike-group head-ike proposal 1 encryption aes256
set vpn ipsec ike-group head-ike proposal 1 hash sha256
set vpn ipsec ipsec-interfaces interface eth0
set vpn ipsec site-to-site peer 211.183.3.200 authentication mode pre-shared-secret
set vpn ipsec site-to-site peer 211.183.3.200 authentication pre-shared-secret rapa
set vpn ipsec site-to-site peer 211.183.3.200 ike-group head-ike
set vpn ipsec site-to-site peer 211.183.3.200 local-address 211.183.3.100
set vpn ipsec site-to-site peer 211.183.3.200 tunnel 0 allow-nat-networks disable
set vpn ipsec site-to-site peer 211.183.3.200 tunnel 0 allow-public-networks disable
set vpn ipsec site-to-site peer 211.183.3.200 tunnel 0 esp-group head-esp
set vpn ipsec site-to-site peer 211.183.3.200 tunnel 0 local prefix 192.168.10.0/24
set vpn ipsec site-to-site peer 211.183.3.200 tunnel 0 remote prefix 192.168.30.0/24

<Branch VyOS>
set vpn ipsec esp-group branch-esp compression disable
set vpn ipsec esp-group branch-esp lifetime 1800
set vpn ipsec esp-group branch-esp mode tunnel
set vpn ipsec esp-group branch-esp pfs enable
set vpn ipsec esp-group branch-esp proposal 1 encryption aes256
set vpn ipsec esp-group branch-esp proposal 1 hash sha256
set vpn ipsec ike-group branch-ike ikev2-reauth no
set vpn ipsec ike-group branch-ike key-exchange ikev1
set vpn ipsec ike-group branch-ike lifetime 3600
set vpn ipsec ike-group branch-ike proposal 1 encryption aes256
set vpn ipsec ike-group branch-ike proposal 1 hash sha256
set vpn ipsec ipsec-interfaces interface eth0
set vpn ipsec site-to-site peer 211.183.3.100 authentication mode pre-shared-secret
set vpn ipsec site-to-site peer 211.183.3.100 authentication pre-shared-secret rapa
set vpn ipsec site-to-site peer 211.183.3.100 ike-group branch-ike
set vpn ipsec site-to-site peer 211.183.3.100 local-address 211.183.3.200
set vpn ipsec site-to-site peer 211.183.3.100 tunnel 0 allow-nat-networks disable
set vpn ipsec site-to-site peer 211.183.3.100 tunnel 0 allow-public-networks disable
set vpn ipsec site-to-site peer 211.183.3.100 tunnel 0 esp-group branch-esp
set vpn ipsec site-to-site peer 211.183.3.100 tunnel 0 local prefix 192.168.30.0/24
set vpn ipsec site-to-site peer 211.183.3.100 tunnel 0 remote prefix 192.168.10.0/24- PAT
<Head VyOS>
vyos@vyos# set nat source rule 9 destination address 192.168.30.0/24

vyos@vyos# set nat source rule 9 exclude

vyos@vyos# set nat source rule 9 outbound-interface eth0

vyos@vyos# set nat source rule 9 source address 192.168.10.0/24

vyos@vyos# set nat source rule 10 outbound-interface eth0

vyos@vyos# set nat source rule 10 source address 192.168.10.0/24

vyos@vyos# set nat source rule 10 translation address masquerade

<Branch VyOS>
vyos@vyos# set nat source rule 9 destination address 192.168.10.0/24

vyos@vyos# set nat source rule 9 exclude

vyos@vyos# set nat source rule 9 outbound-interface eth0

vyos@vyos# set nat source rule 9 source address 192.168.30.0/24

vyos@vyos# set nat source rule 10 outbound-interface eth0

vyos@vyos# set nat source rule 10 source address 192.168.30.0/24

vyos@vyos# set nat source rule 10 translation address masquerade
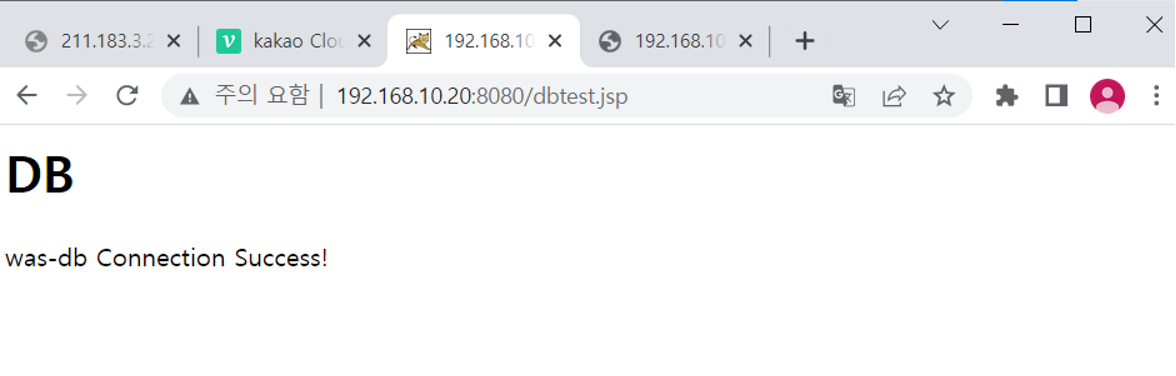
-
WAS 서버와 DB 서버
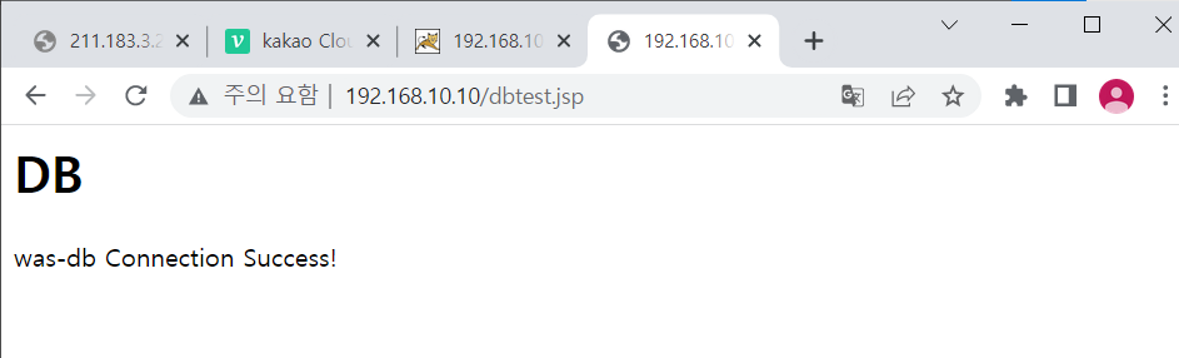
-
WEB 서버와 DB 서버

무럭무럭 자라볼까