
1. Open Vswitch
- Srv3 에서 /shared 디렉토리에 cirros 파일이 있는 상태여야함
- cirros VM 이 삭제 되어 있는 상태여야 함
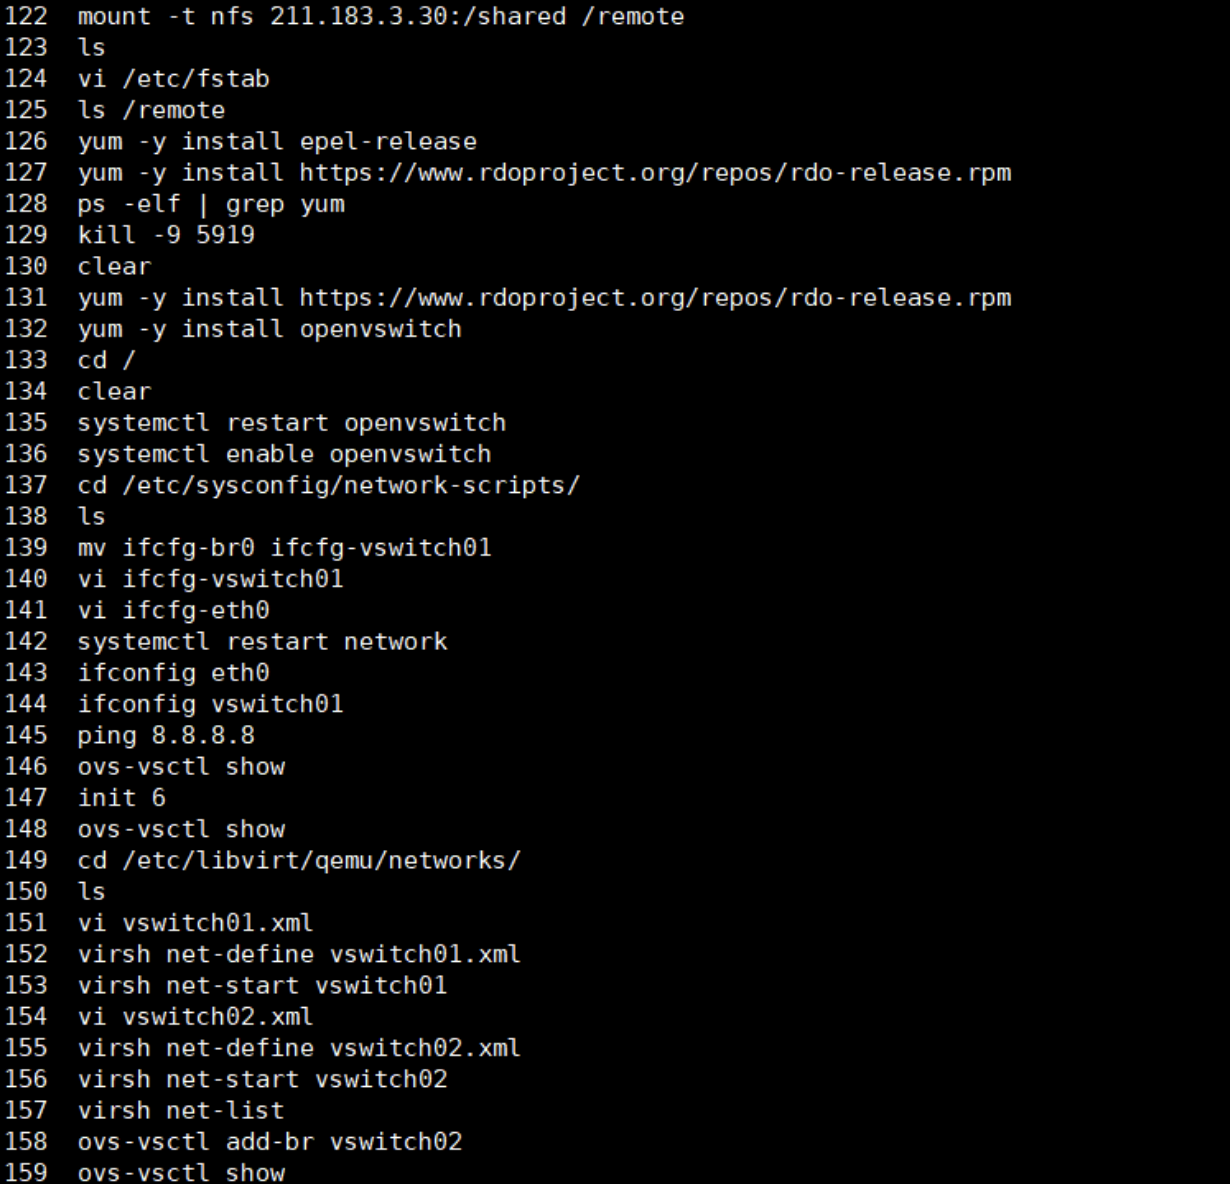
<패키지 설치>
> yum -y install epel-release
> yum -y install https://www.rdoproject.org/repos/rdo-release.rpm
> yum -y install openvswitch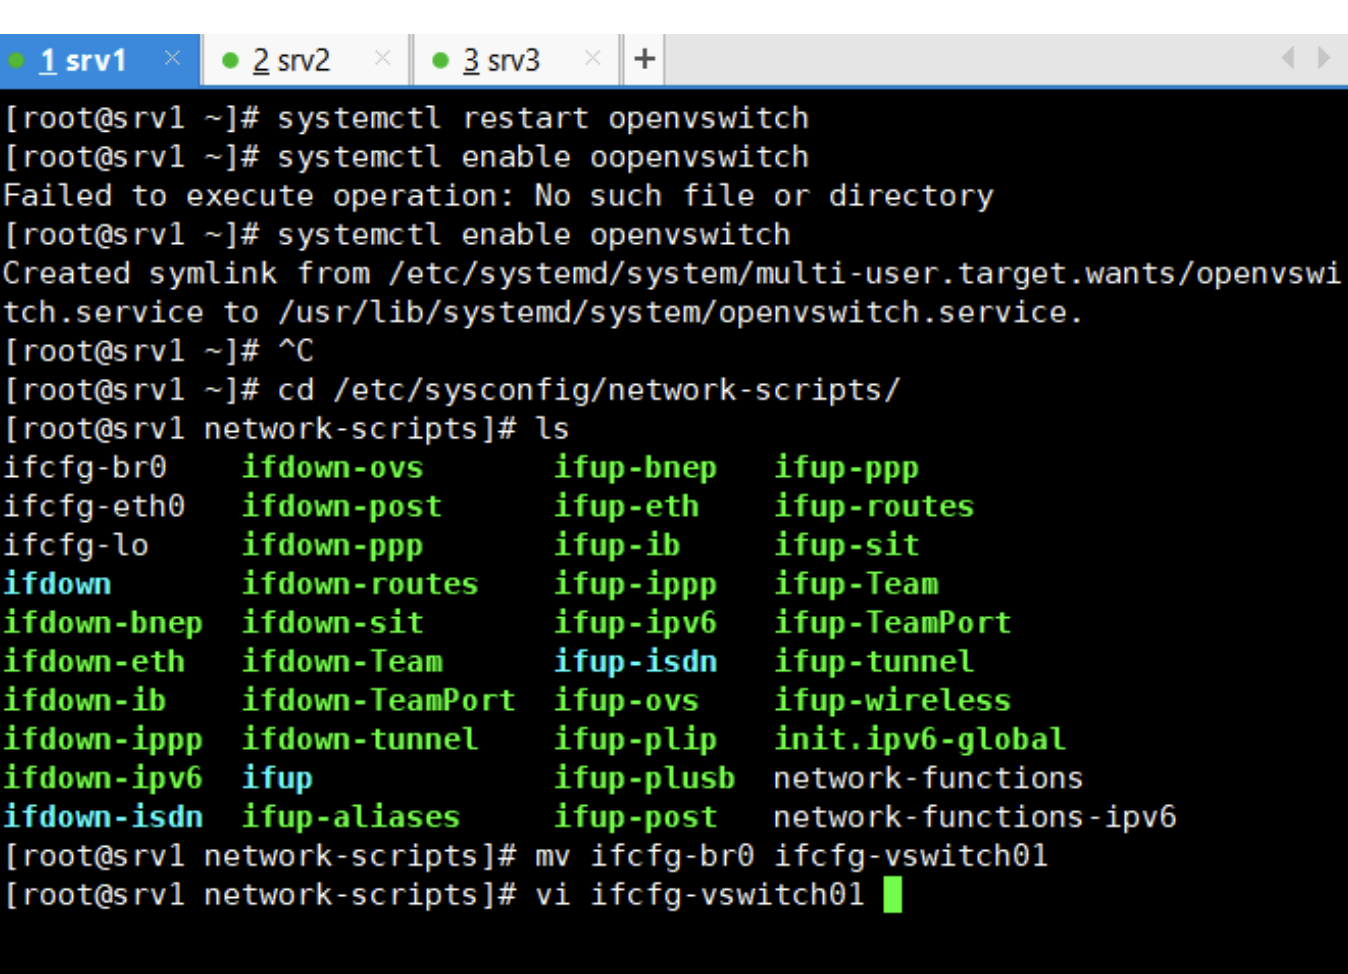
> vi ifcfg-vswitch01
**************************************************************************************************
<수정>
DEVICE=vswitch01
DEVICETYPE=ovs
TYPE=OVSBridge
BOOTPROTO=none
NAME=vswitch01
ONBOOT=yes
DNS1=8.8.8.8
IPADDR=211.183.3.10
PREFIX=24
GATEWAY=211.183.3.2
NM_CONTROLLED=no
**************************************************************************************************
> vi ifcfg-eth0
**************************************************************************************************
<수정>
DEVICE=eth0
NAME=eth0
DEVICETYPE=ovs
TYPE=OVSPort
ONBOOT=yes
OVS_BRIDGE=vswitch01
NM_CONTROLLED=no
**************************************************************************************************
> systemctl restart network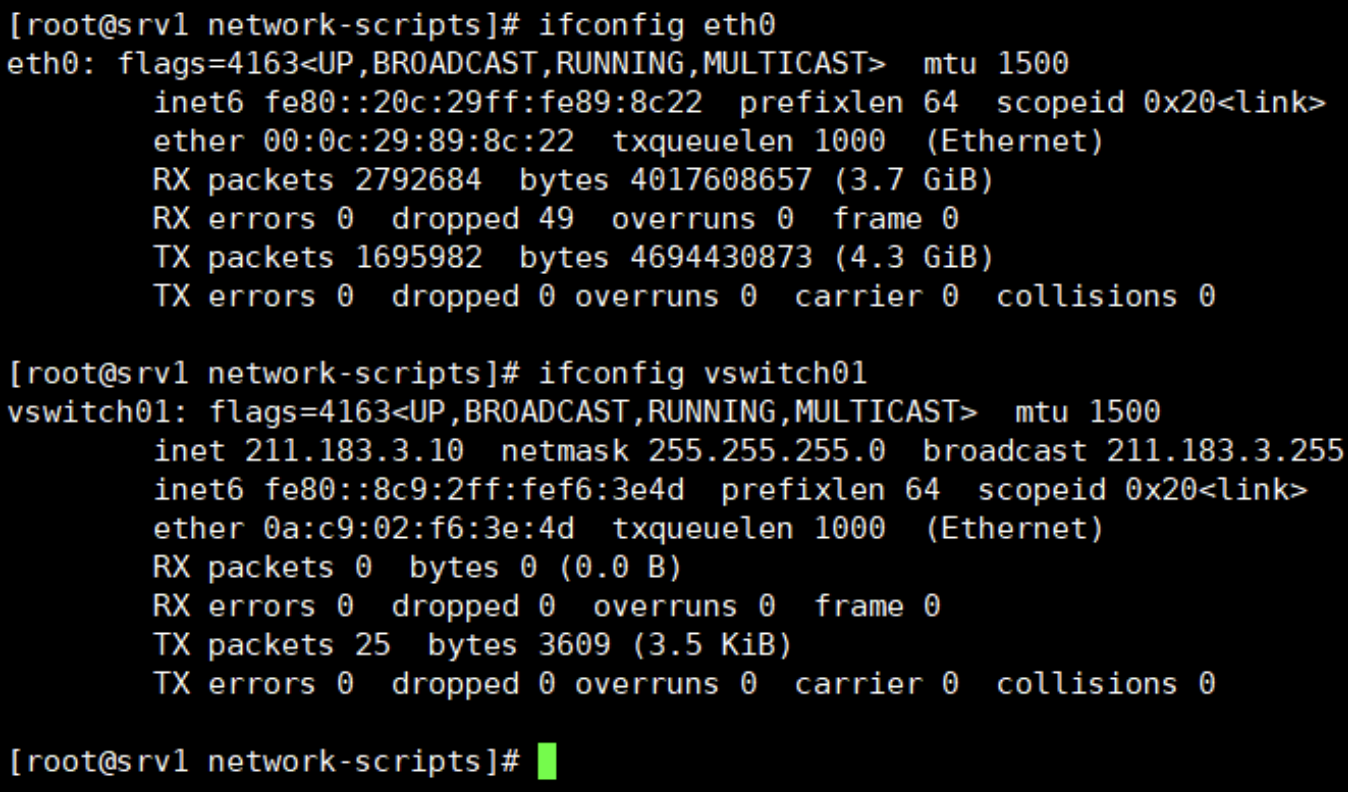

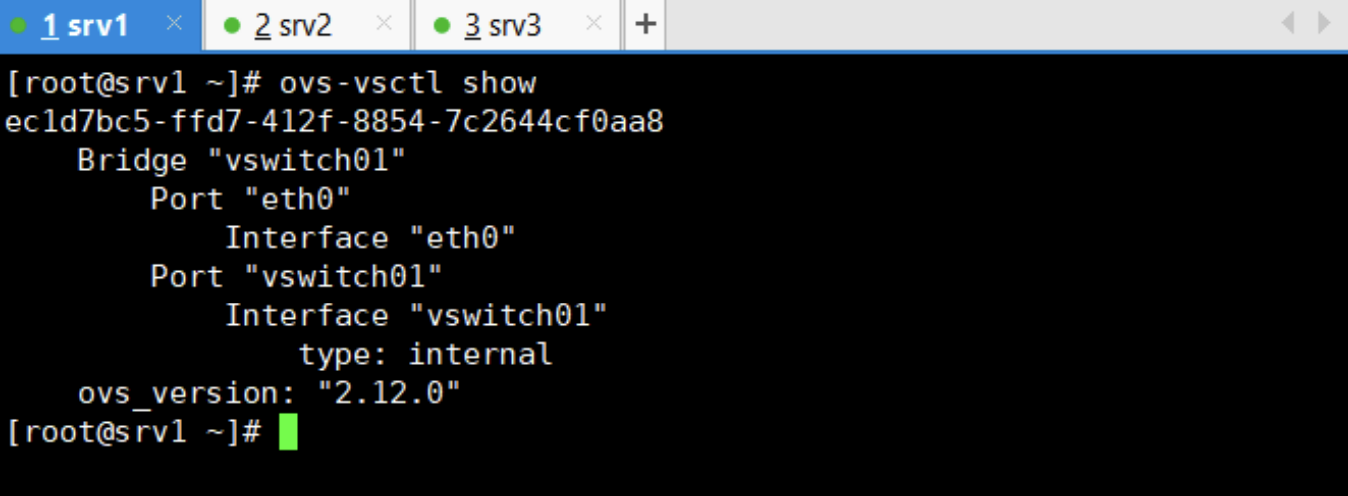
- ovs-vsctl show
- 정상적인 결과 - busy 의 오류를 뿜는다면 reboot 도 하나의 방법이다.
> cd /etc/libvirt/qemu/networks/
디렉토리 이동
> vi vswitch01.xml
<추가>
<network>
<name>vswitch01</name>
<forward mode='bridge'/>
<bridge name='vswitch01'/>
<virtualport type='openvswitch'/>
</network>
> virsh net-define vswitch01.xml
네트워크 정의
> virsh net-start vswitch01
네트워크 start
> vi vswitch02.xml
<추가>
<network>
<name>vswitch02</name>
<forward mode='bridge'/>
<bridge name='vswitch02'/>
<virtualport type='openvswitch'/>
</network>
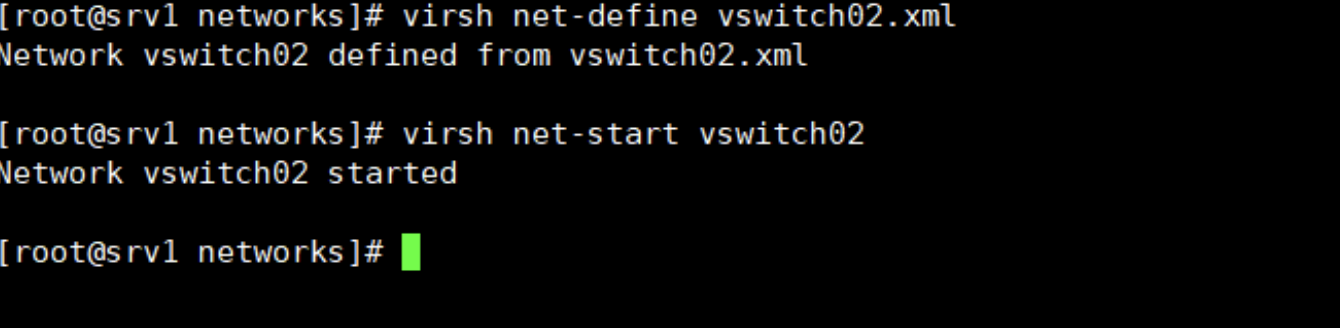
> virsh net-define vswitch02.xml
> virsh net-start vswitch02
> virsh net-list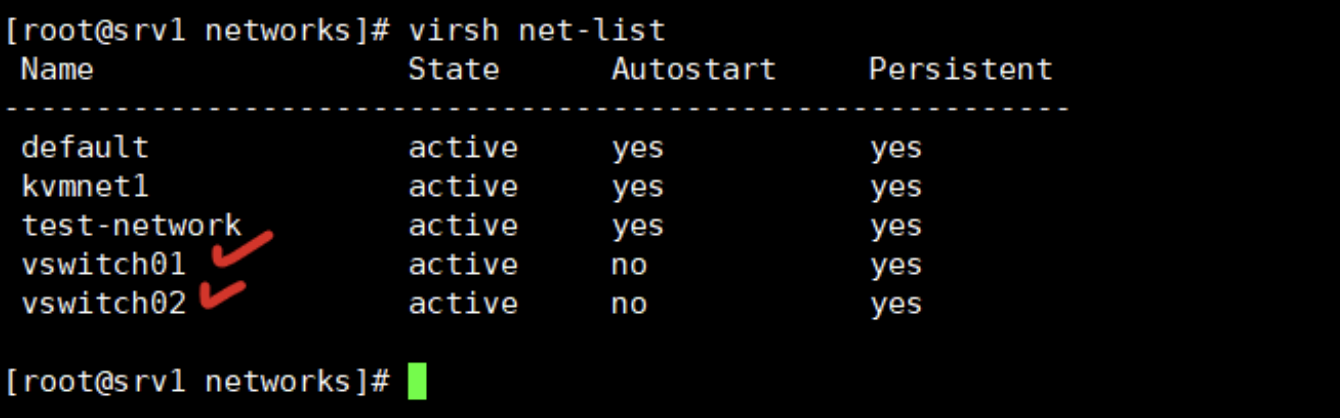
> ovs-vsctl add-br vswitch02
> ovs-vsctl show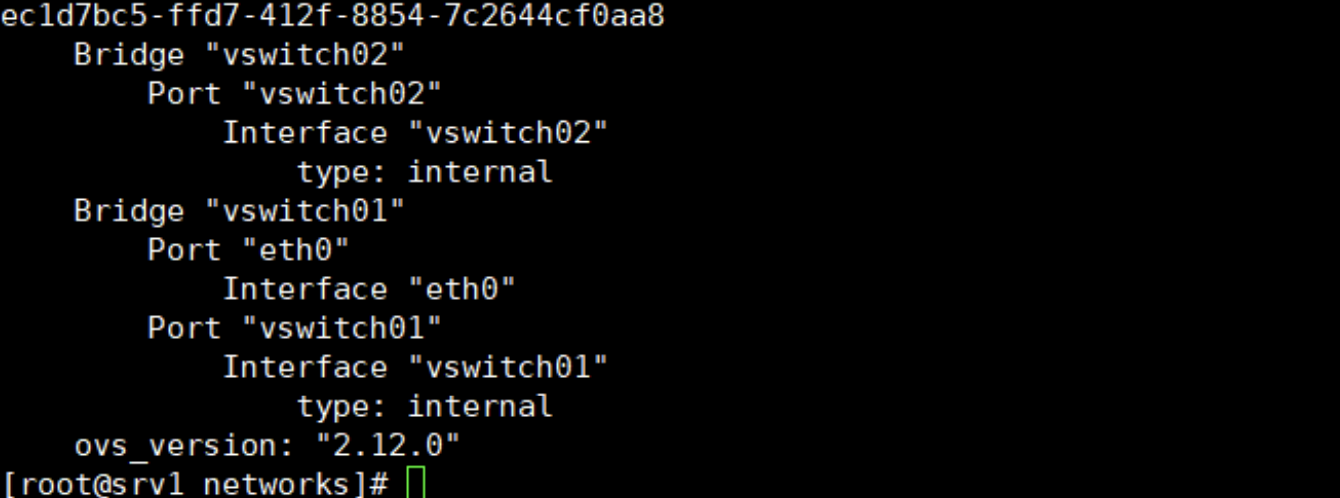
- go to srv3
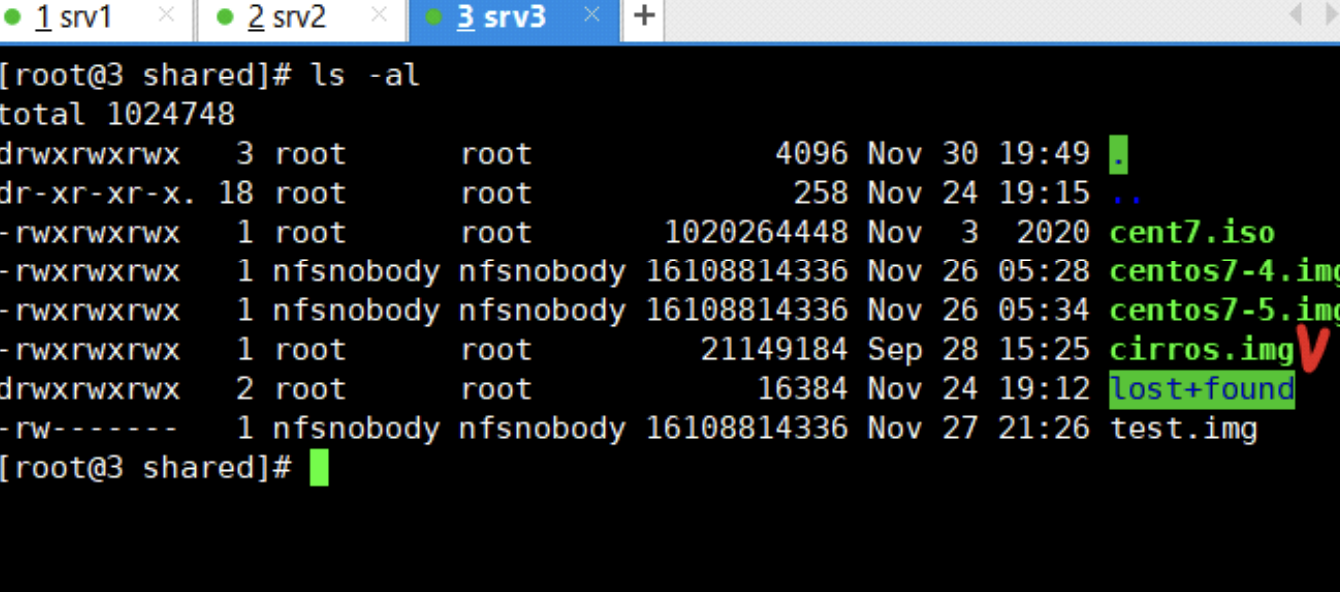
- 소유권 권한까지 승계해서 복사하곘다.
> cp -p cirros.img cirros1.img
> cp -p cirros.img cirros2.img
> cp -p cirros.img cirros3.img
> cp -p cirros.img cirros4.img
- go to srv1
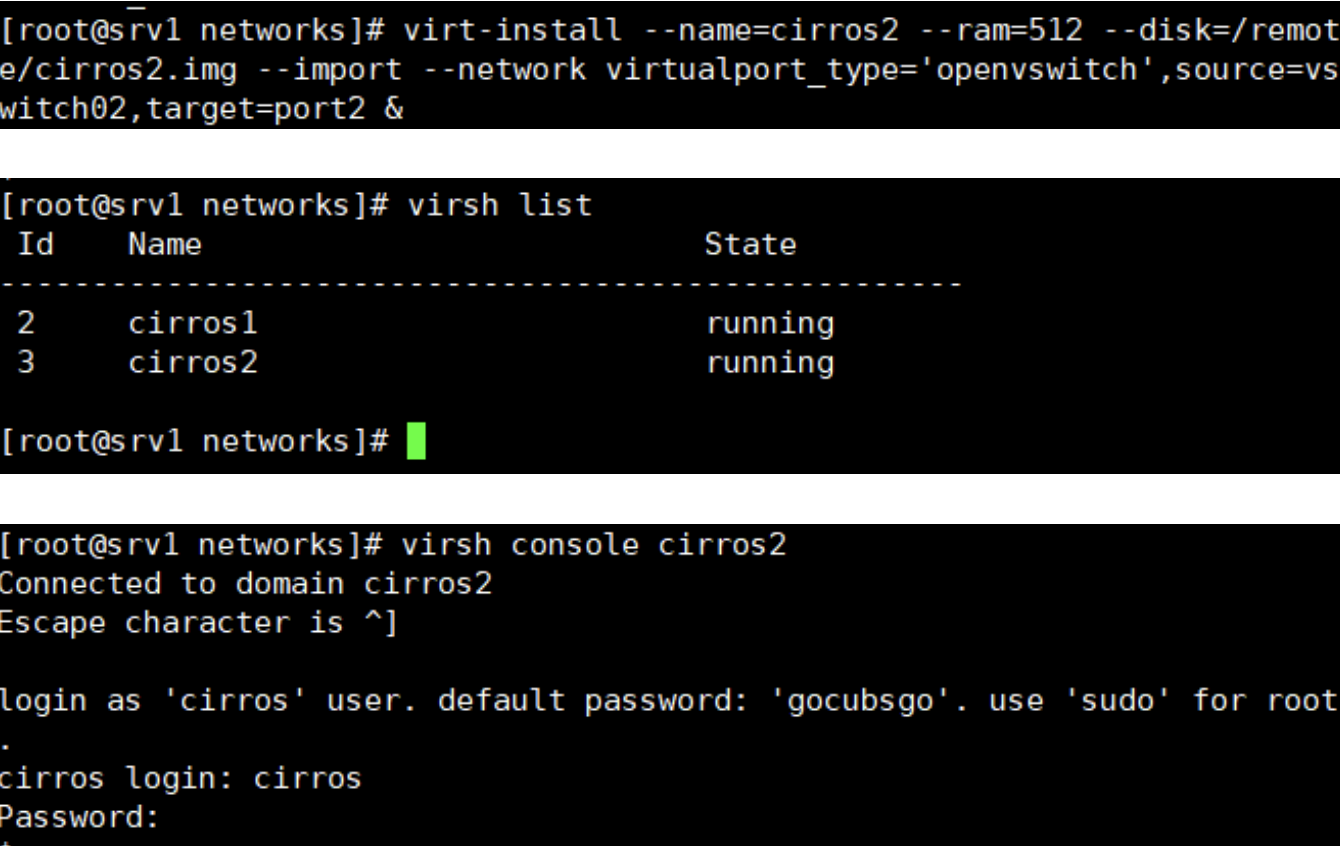
> virt-install --name=cirros1 --ram=512 --disk=/remote/cirros1.img --import --network
virtualport_type='openvswitch',source=vswitch02,target=port1 &

> virsh console cirros1
ID , PW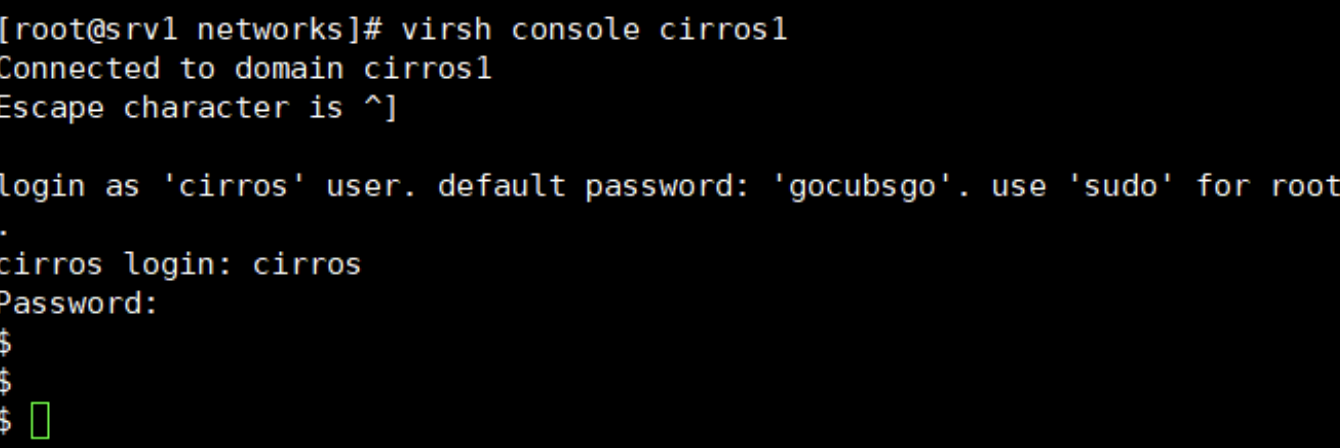

<추가: 띄어쓰기 까지 상세히 면밀히 볼 것>
auto eth0
iface eth0 inet static
 address 172.16.101.10
 netmask 255.255.255.0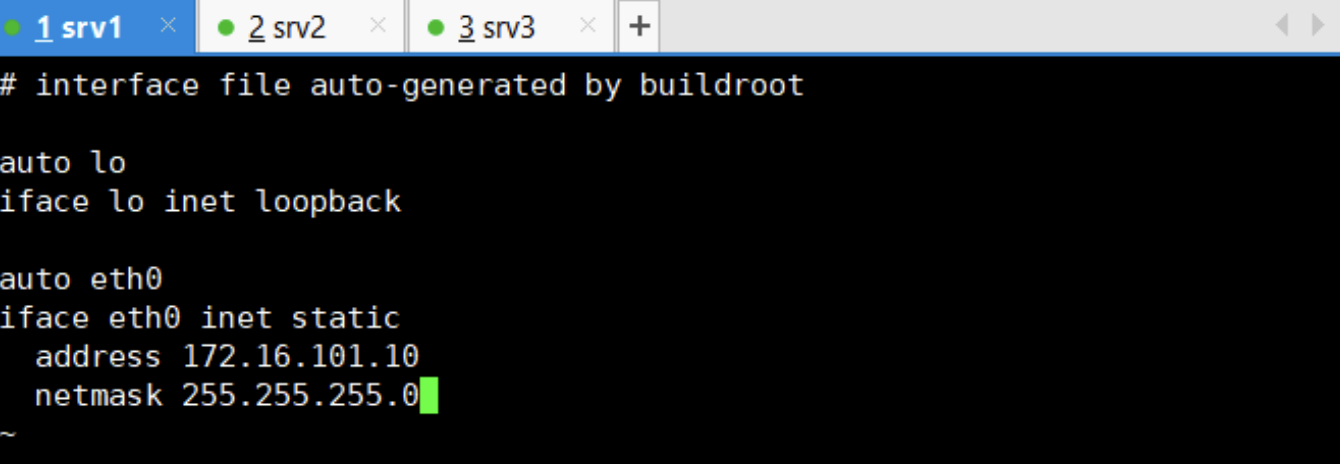
- 수정 반영


- cirros 빠져 나와서 ovs-vsctl show
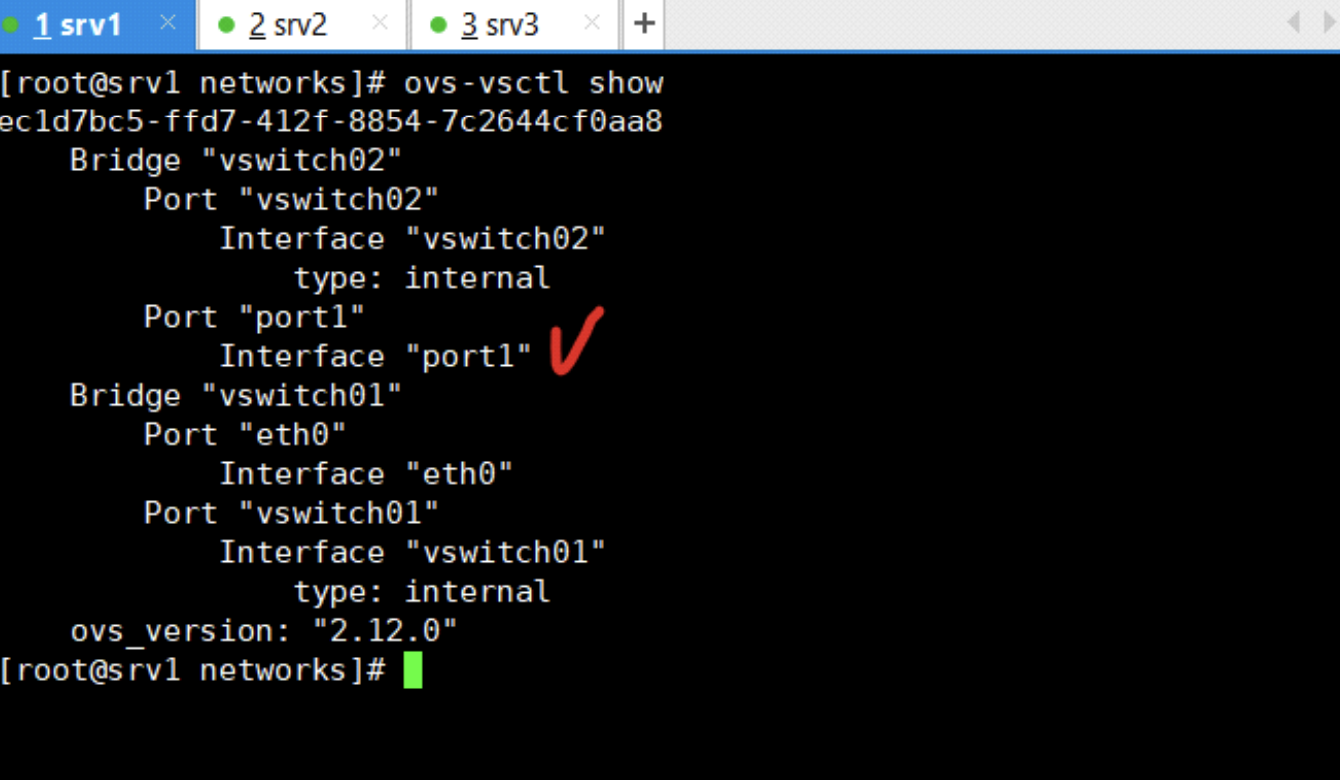
- 정상적으로 반영 됐음!
- PORT 2로 Cirros (.20)으로 하나 더 만들어 보시오!

- 핑때리면 잘간다!

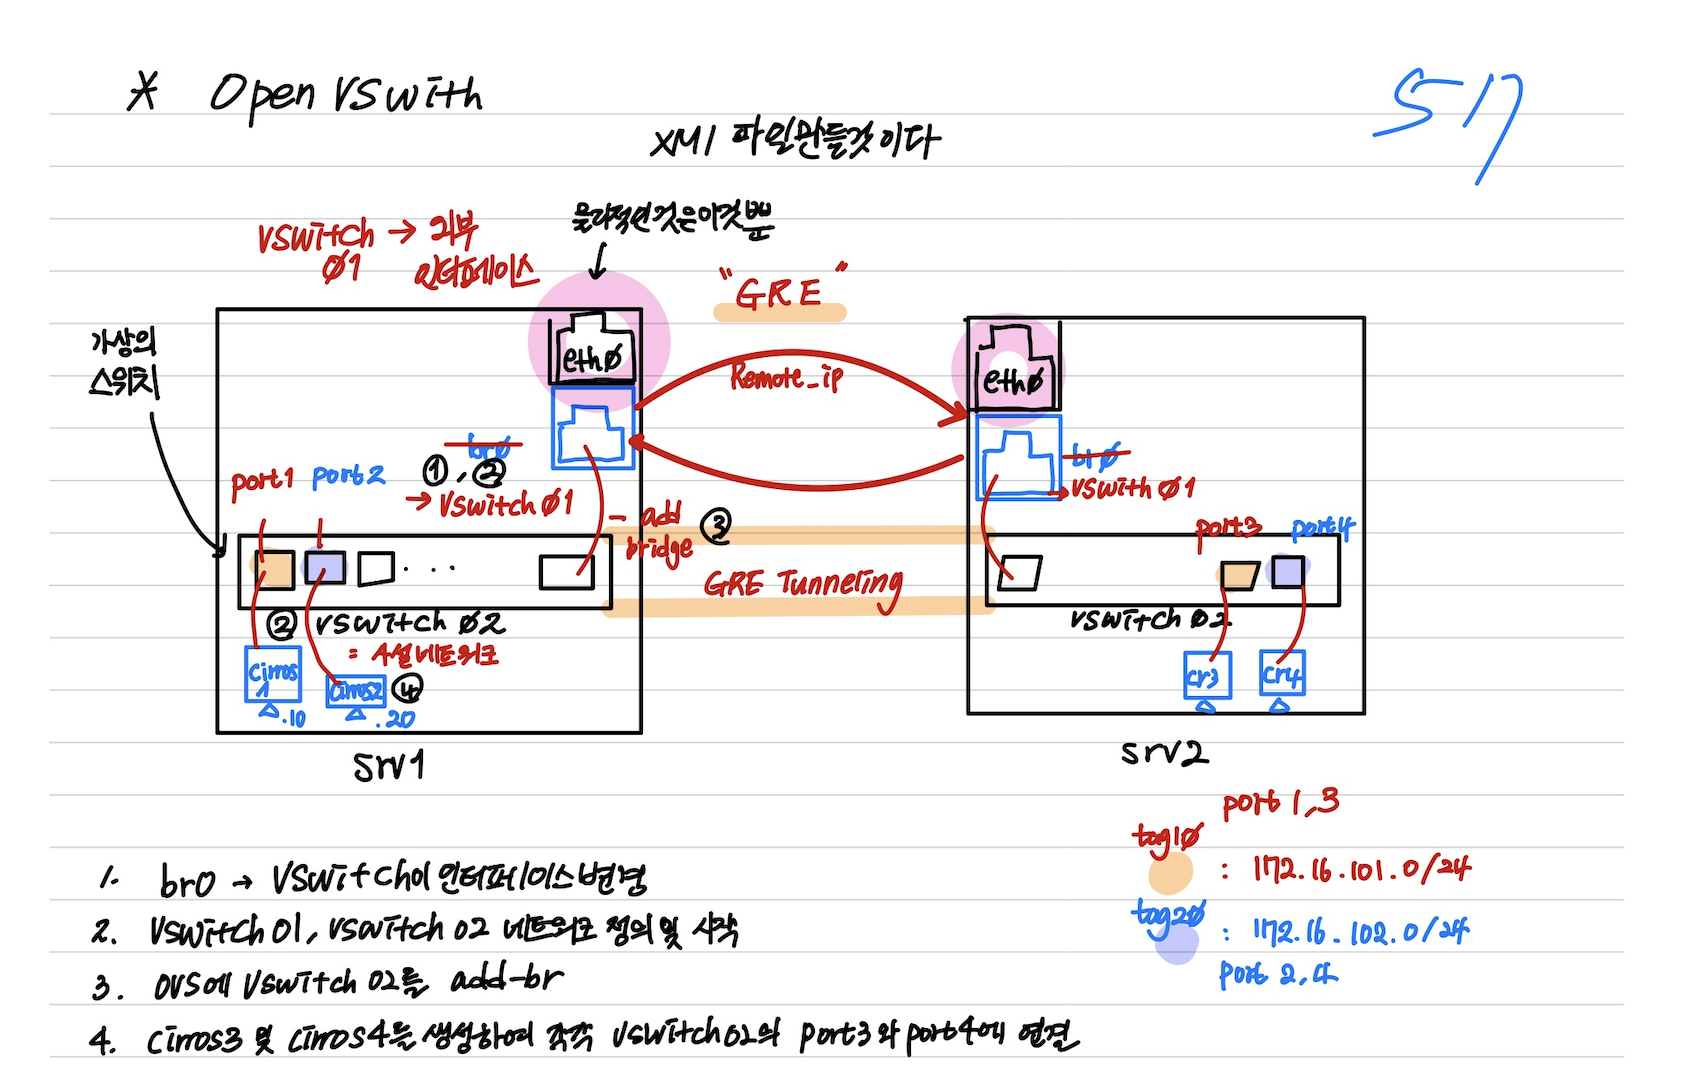
2. Vswitch Mission
br0 를 vswitch01 로 인터페이스를 변경하고
vswitch 01, vswitch 02 의 네트워크를 정의하고 시작하시오
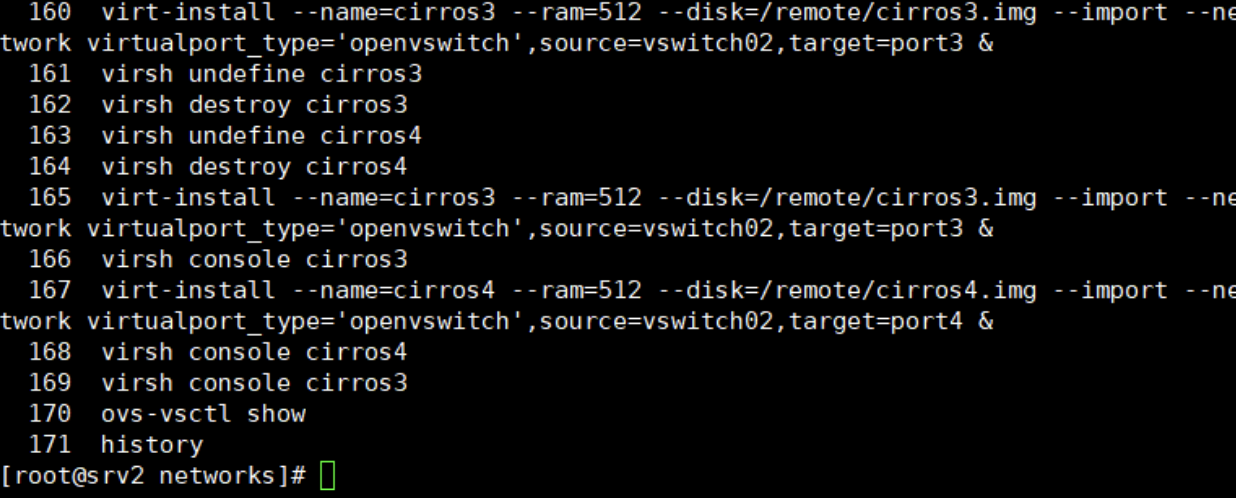
또한, ovs에 vswitch 02를 add-br 하고 cirros3,4 를 생성하여 각각 vswitch 02의 포트
3과 4에 연결하세요!
-
Go to srv2
-
cirros 3 접속


-
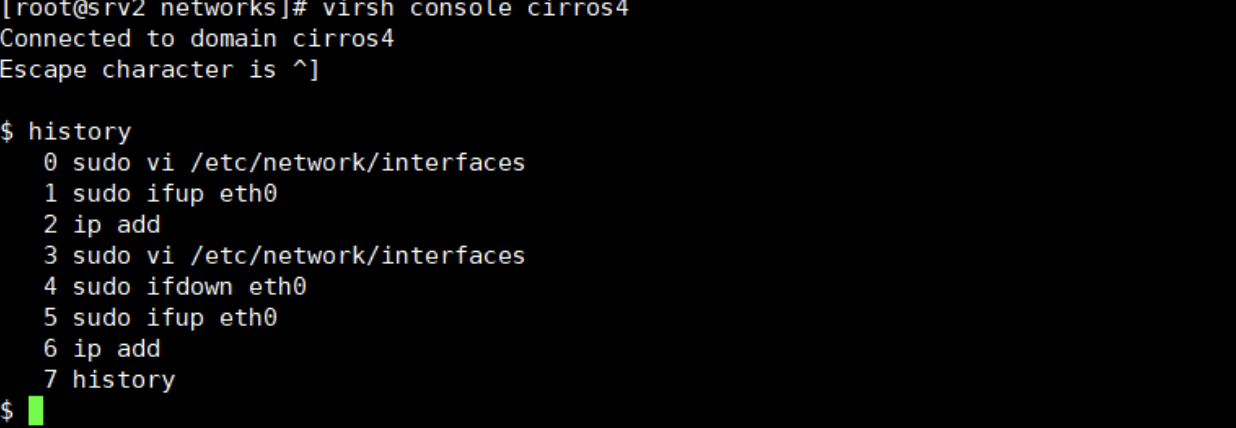
cirros 4 접속

당연히 cirros 2와 cirros 3 은 통신이 불가능 하다.
3. GRE Tunneling (Tagging)
<srv1>
> ovs-vsctl add-port vswitch02 gre12 -- set interface gre12 type=gre option:remote_ip=211.183.3.20

<srv2>
> ovs-vsctl add-port vswitch02 gre21 -- set interface gre21 type=gre option:remote_ip=211.183.3.10-
Go to cirros 1

-
확실하게 검증 하는 법
-
Go to cirros 3
$ sudo tcpdump -i eth0 -nn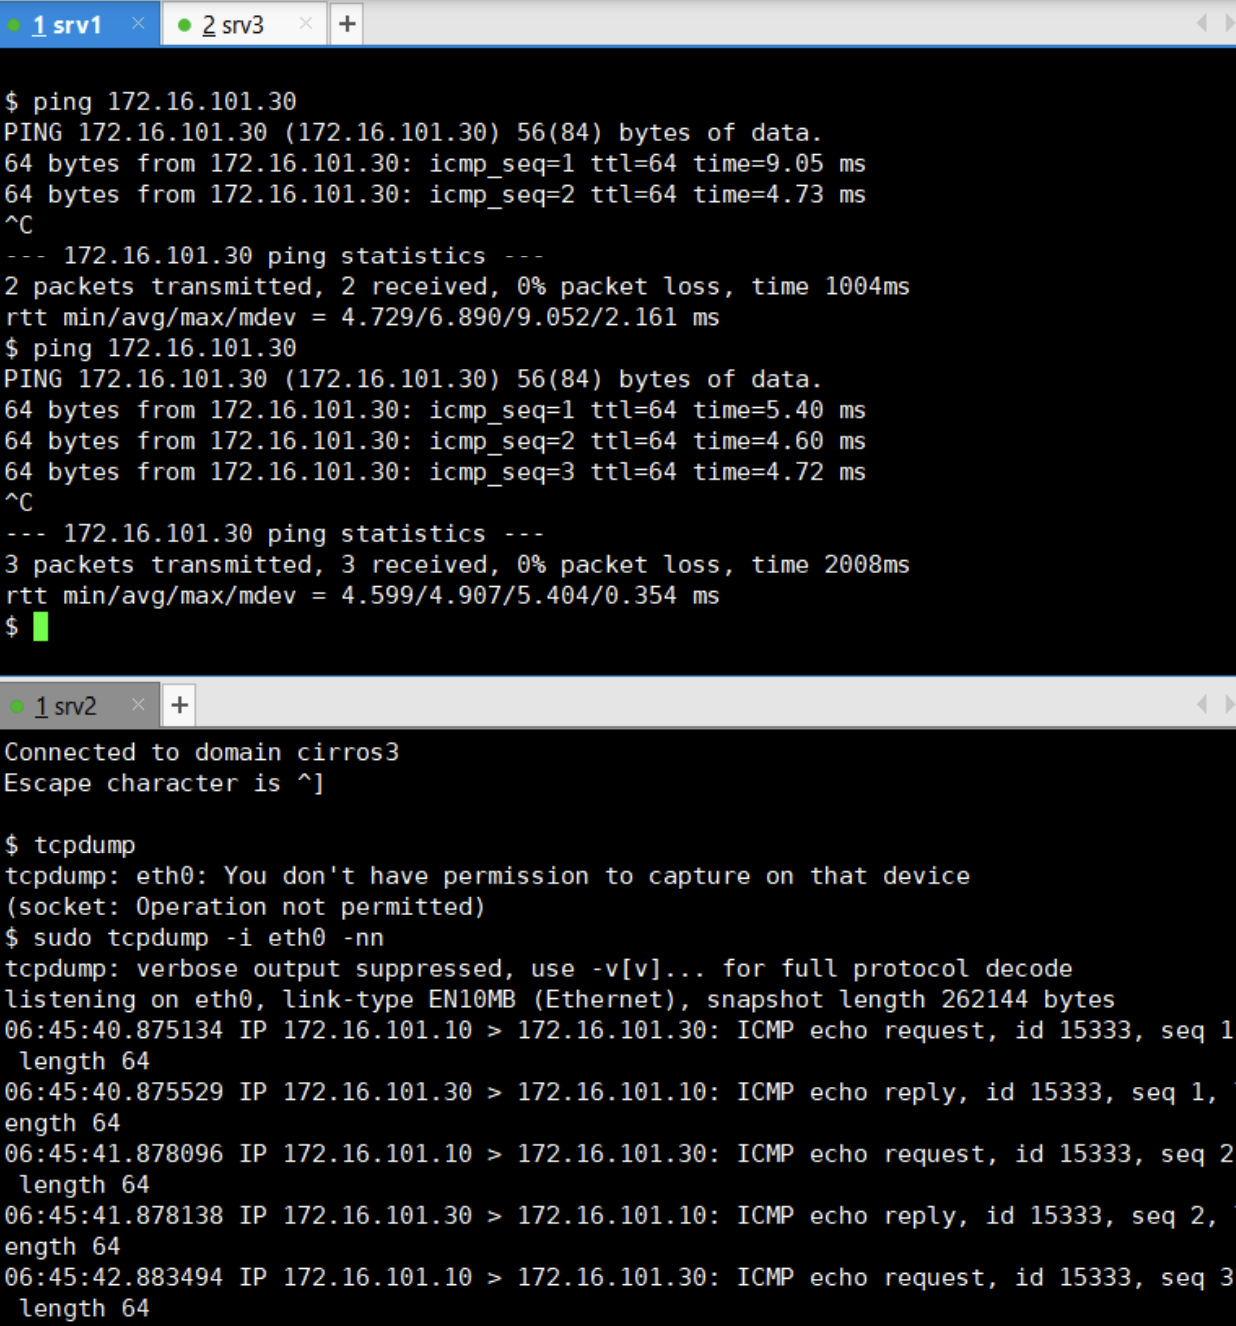
4. 태깅
- Go to srv1
> ovs-vsctl set port port1 tag=10
> ovs-vsctl set port port2 tag=20
> ovs-vsctlshow- Go to srv2
> ovs-vsctl set port port3 tag=10
> ovs-vsctl set port port4 tag=20
> ovs-vsctlshow- Go to cirros4
$ sudo vi /etc/network/interfaces
$ sudo ifdown eth0
$ sudo ifup eth0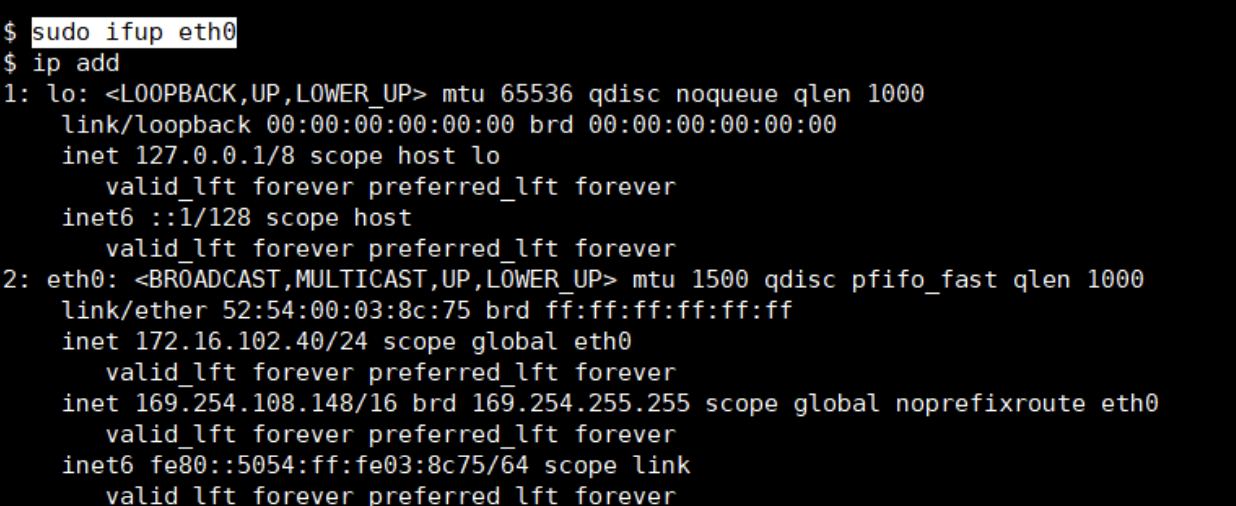
!! srv1 의 cirros 2 번으로 가서 마찬가지로 IP 바꿔주기 !!

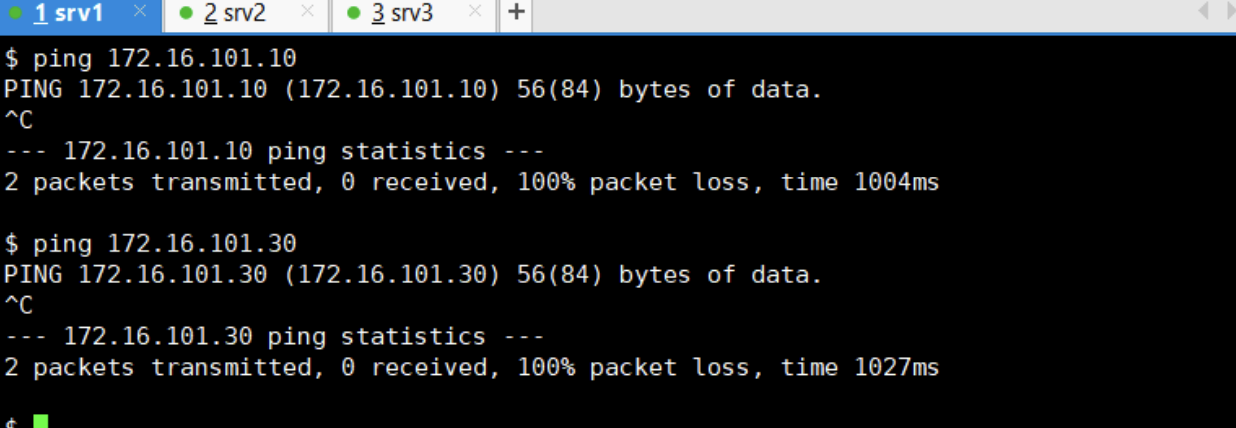
cirros 2에서 ping 쳐보기 cirros 1, 3 (폐쇄된 네트워크)
아래와 같이 cirros2 에서 cirros1과 cirros3은 다른대역에 있기때문에 통신이 안됨

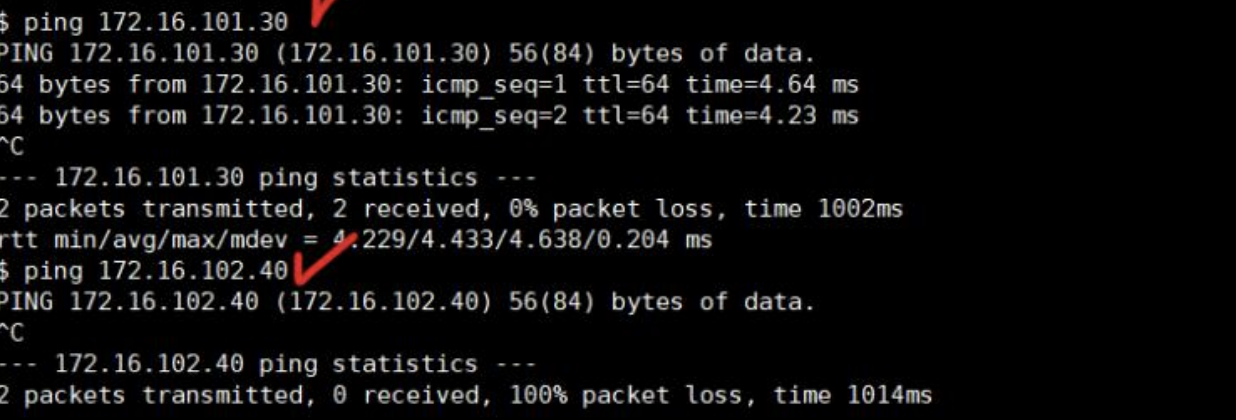
cirros 1 로가서 마찬가지로 ping 쳐보기
5. 팀 문제
srv3 공유할 필요 없음
서로 openvswitch 의 gre 터널을 통해 overlay 네트워크를 구성하시오
조원 1 : srv1
조원 2 : srv2
사설대역 1 : 10.10.10.0 /24
사설대역 2 : 10.10.20.0 /24
cirros를 최소 4개를 구성해서 각각의 통신을 확인
무럭무럭 자라볼까