서버에 POST 요청을 전송하는 대신 Client side routing을 사용해보자.
root.jsx 에서 action 함수를 export 함으로써, route config에 연결한다.
그리고 <form> 엘리먼트를 React Router의 컴포넌트인 <Form> 로 바꾼다.
Create the action and change "<form>" to "<Form>"
// 📄src/routes/root.jsx

import {
  Outlet,
  Link,
  useLoaderData,
  Form,
} from "react-router-dom";
import { getContacts, createContact } from "../contacts";

export async function action() {
  const contact = await createContact();
  return { contact };
}

/* other code */

export default function Root() {
  const { contacts } = useLoaderData();
  return (
    <>
      <div id="sidebar">
        <h1>React Router Contacts</h1>
        <div>
          {/* other code */}
          <Form method="post">
            <button type="submit">New</button>
          </Form>
        </div>

        {/* other code */}
      </div>
    </>
  );
}
Import and set the action on the route
// 📄src/main.jsx

/* other imports */

import Root, {
  loader as rootLoader,
  action as rootAction,
} from "./routes/root";

const router = createBrowserRouter([
  {
    path: "/",
    element: <Root />,
    errorElement: <ErrorPage />,
    loader: rootLoader,
    action: rootAction,
    children: [
      {
        path: "contacts/:contactId",
        element: <Contact />,
      },
    ],
  },
]);
이제 "New" 버튼을 누르면 새 레코드가 목록에 표시된다.
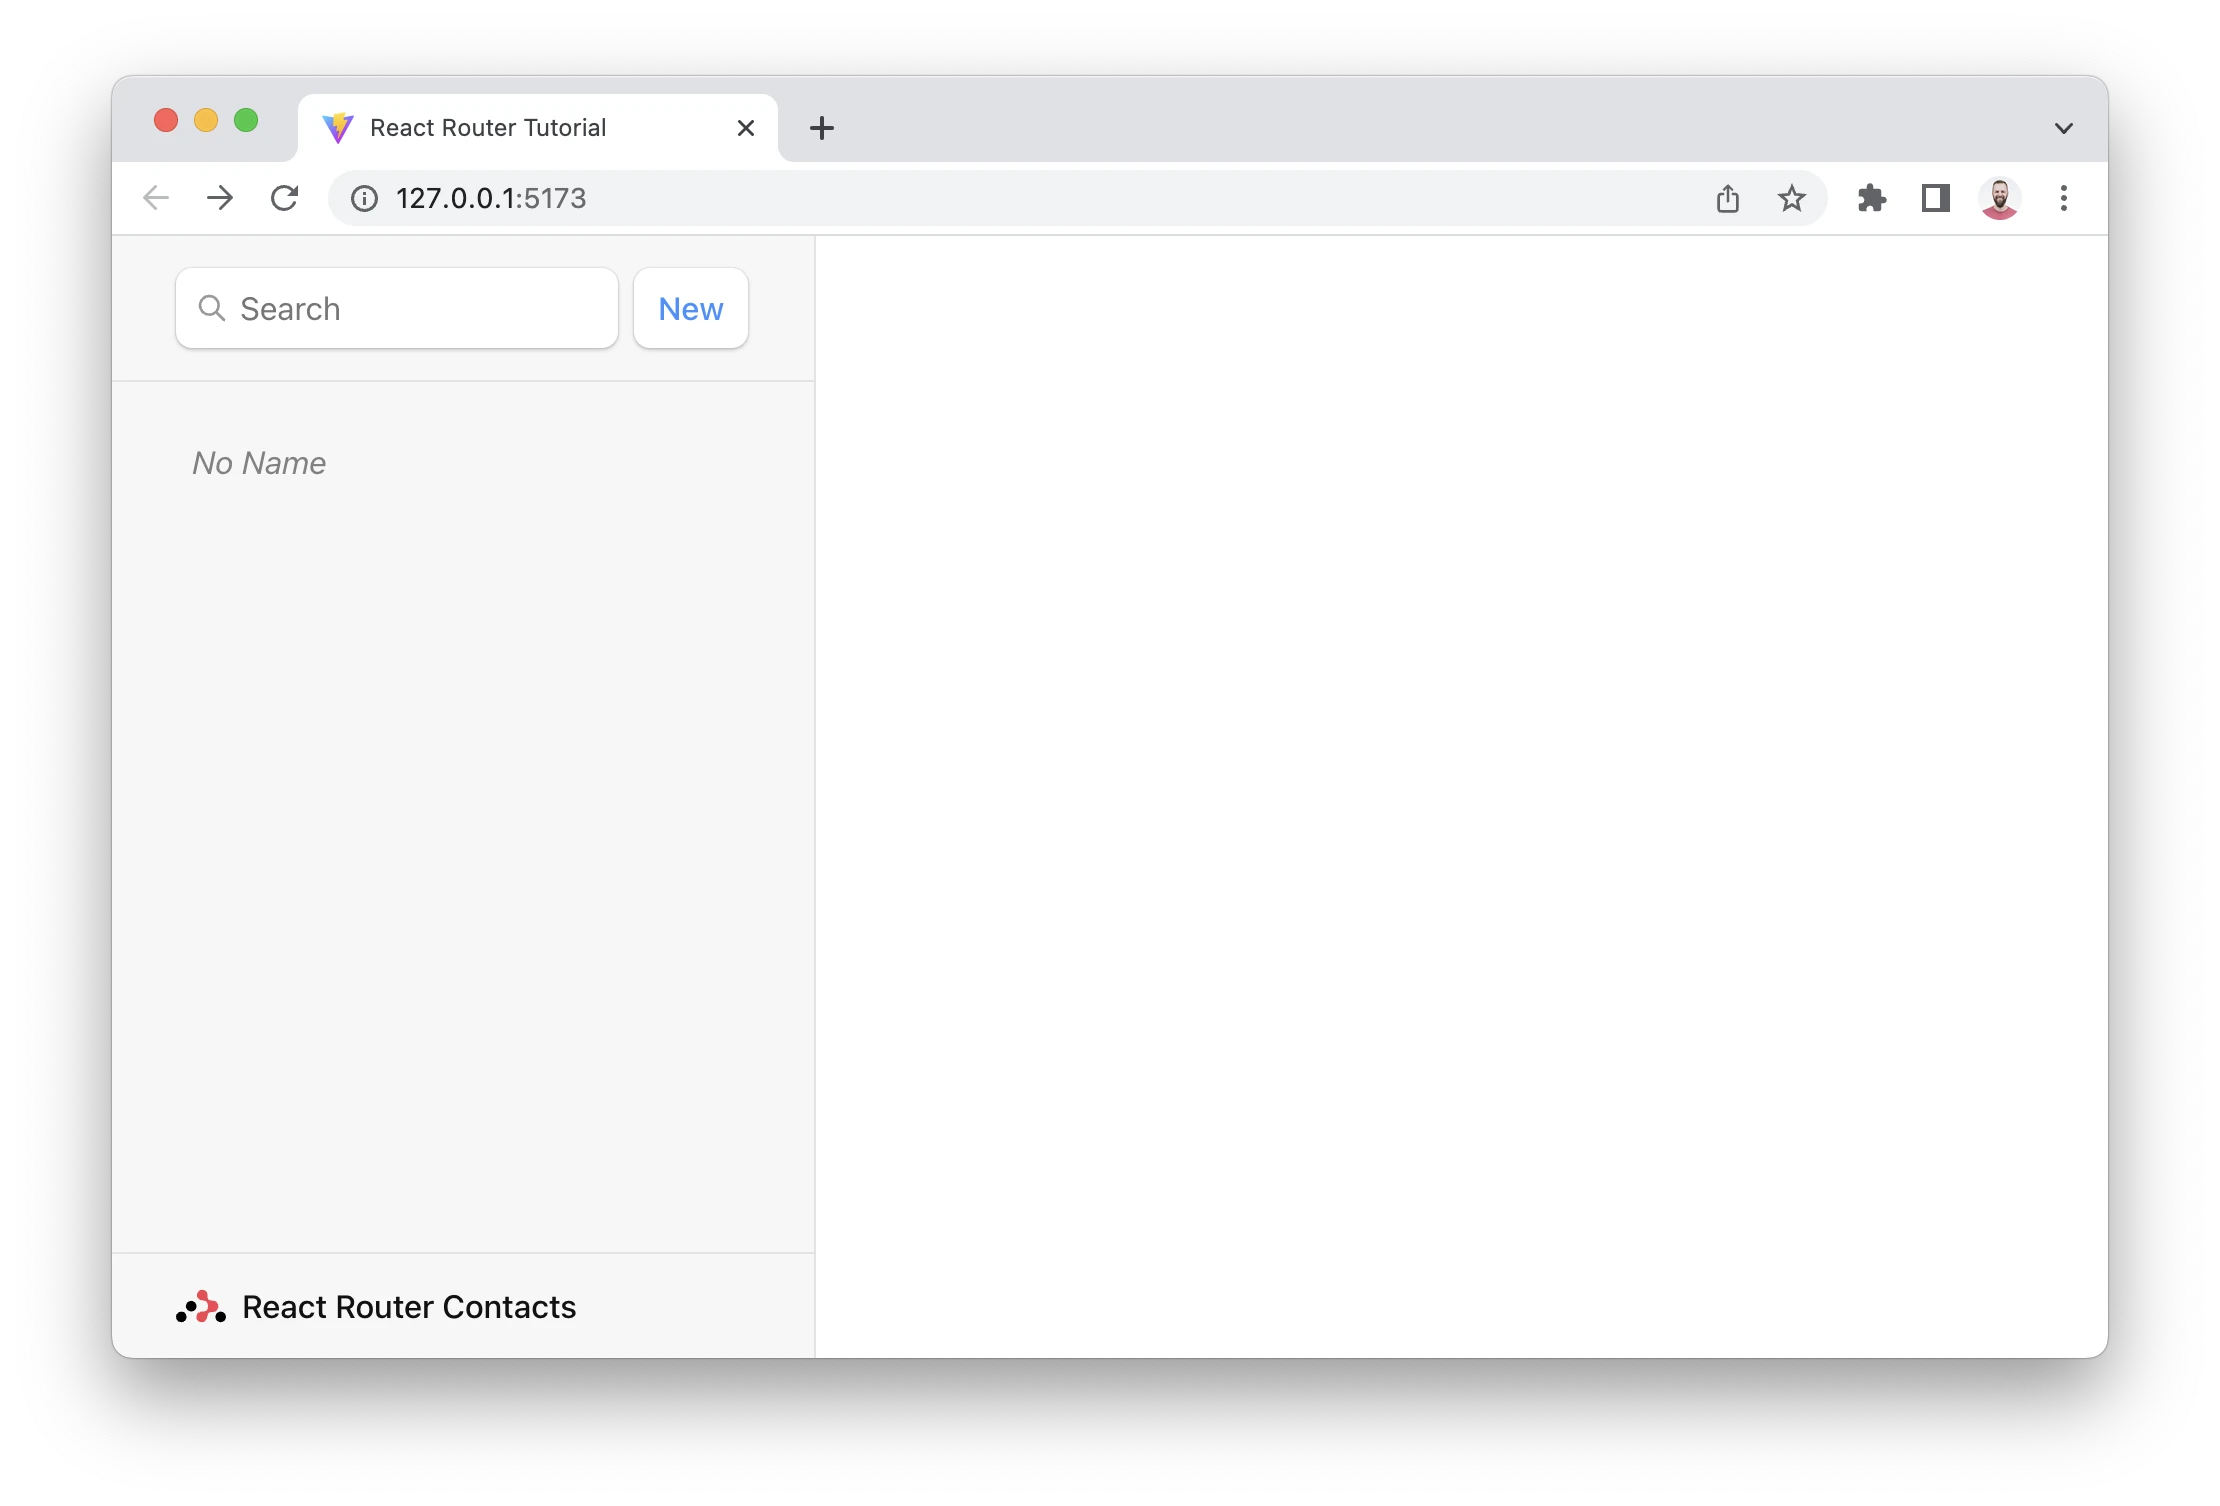
action() 함수에서 사용한 createContact() 함수는 튜토리얼에서 사용하기 위해 React Router 팀이 만든 contacts.jsx 에서 import한 함수이다.
이 함수는 이름이나 데이터가 없는 빈 contact를 만든다.
위의 왼쪽 사이드바를 보면 "No Name" 이라는 레코드가 생성된 것을 확인할 수 있다.
<Form> 컴포넌트는 브라우저가 서버로 request 하는 것을 막는 대신, route action 으로 request 한다.
웹 의미론적으로, POST 요청은 데이터가 변경될 것임을 의미한다.
따라서, 일반적으로 React Router는 이러한 사실을 힌트로 사용하여 action 이 완료된 후 페이지의 데이터를 자동으로 재검증한다.
즉, 모든 useLoaderData hook이 다시 실행되고 UI와 데이터가 자동으로 동기화된다.
출처 : 리액트 라우터 공식 홈페이지➡️

프론트에_가까운_풀스택_개발자