1. 싱글 스레드와 멀티 스레드
- 싱글 스레드 : 사용자가 값을 입력할 때까지 기다린다.
import javax.swing.JOptionPane;

class JavaPractice {

	public static void main(String[] args) throws Exception {
		String input = JOptionPane.showInputDialog("아무 값이나 입력하세요.");
		System.out.println("입력한 값은 : " + input);

		for (int i = 10; i > 0; i--) {
			System.out.println(i);
			try {
				Thread.sleep(1000);
				/* 단위 : ms / 1000ms = 1s */
			} catch (Exception e) {
				e.printStackTrace();
			}
		}
	}
}- 멀티 스레드 : 값을 입력받는 프로세스와 카운트다운하는 프로세스는 별도로 이루어진다.
import javax.swing.JOptionPane;

class MyThread extends Thread {
	@Override
	public void run() {
		for (int i = 10; i > 0; i--) {
			System.out.println(i);
			try {
				Thread.sleep(1000);
			} catch (Exception e) {
				e.printStackTrace();
			}
		}
	}
}

class JavaPractice {

	public static void main(String[] args) throws Exception {
		Thread th = new MyThread();
		th.start();

		String input = JOptionPane.showInputDialog("아무 값이나 입력하세요.");
		System.out.println("입력한 값은 : " + input);

	}
}
Thread 클래스 >> sleep(long ms)
- 자신의 스레드를 해당 시간 동안 지연시킨다.
- 해당 시간 동안 다른 스레드에게 CPU를 양보한다.
public static native void sleep(long millis) throws InterruptedException;2. Thread 동기화
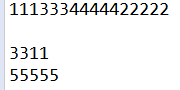
2-1. 스레드의 기본 동작
- 스레드는 부여받는대로 아무렇게나 출력한다.
class StringPrint {
	void display(String s) {
		for (int i = 0; i < 5; i++) {
			System.out.print(s);
		}
		System.out.println();
	}
}

class PrintThread extends Thread {
	private StringPrint sp = new StringPrint();
	private String str;

	public PrintThread(String str) {
		this.str = str;
	}

	@Override
	public void run() {
		sp.display(str);
	}
}

class JavaPractice {

	public static void main(String[] args) throws Exception {
		Thread th1 = new PrintThread("1");
		Thread th2 = new PrintThread("2");
		Thread th3 = new PrintThread("3");
		Thread th4 = new PrintThread("4");
		Thread th5 = new PrintThread("5");

		th1.start();
		th2.start();
		th3.start();
		th4.start();
		th5.start();
	}
}
[Console] (나오는 순서는 실행할 때마다 랜덤, 뒤죽박죽 나올때도 있다)
2-2. 스레드가 돌아가는 모습을 확인하기
// StringPrint 클래스 >> display() >> for문 내용 변경
System.out.print(Thread.currentThread().getName() + ":");
System.out.print(s);
System.out.println();
[Console] (나오는 순서는 실행할 때마다 랜덤)
Thread-0:1
Thread-0:1
Thread-0:1
Thread-4:5
Thread-4:5
Thread-4:5
Thread-4:5
Thread-4:5
- 프로세스는 메인 스레드를 하나 가진다.
public static void main(String[] args) throws Exception {
		System.out.println(Thread.currentThread().getName() + ":");
/* 후략 */
}
[Console]
main:
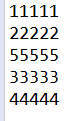
2-3. 스레드의 동기화
- display 앞에 synchronized를 추가한다.
(synchronized를 이용하여 스레드가 섞이지 않도록 하며, 스레드가 안전하게 실행될 수 있도록 한다.)
class StringPrint {
	public synchronized void display(String s) {
		for (int i = 0; i < 5; i++) {
			System.out.print(s);
		}
		System.out.println();
	}
}

class PrintThread extends Thread {
	private StringPrint sp;
	private String str;

	public PrintThread(String str, StringPrint sp) {
		this.str = str;
		this.sp = sp;
	}

	@Override
	public void run() {
		sp.display(str);
	}
}

class JavaPractice {

	public static void main(String[] args) throws Exception {
		StringPrint sp = new StringPrint();

		Thread th1 = new PrintThread("1", sp);
		Thread th2 = new PrintThread("2", sp);
		Thread th3 = new PrintThread("3", sp);
		Thread th4 = new PrintThread("4", sp);
		Thread th5 = new PrintThread("5", sp);

		th1.start();
		th2.start();
		th3.start();
		th4.start();
		th5.start();
	}
}
[Console] (나오는 순서는 실행할 때마다 랜덤, 뒤죽박죽 없이 출력한다 - 동기화 적용)
11111
33333
55555
44444
22222

3. 자바 네트워크
3-1. 네트워크에서 주로 사용되는 Class
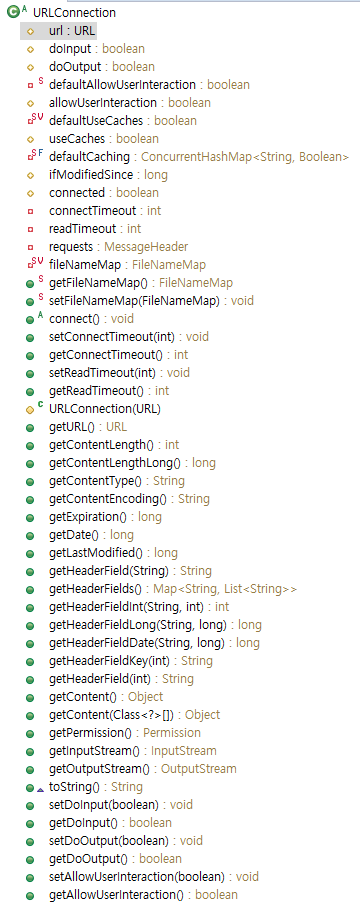
- URLConnection : URL에 연결하는 것과 관련된 것을 수행한다.
(위치 : java.net.URLConnection.class)

-
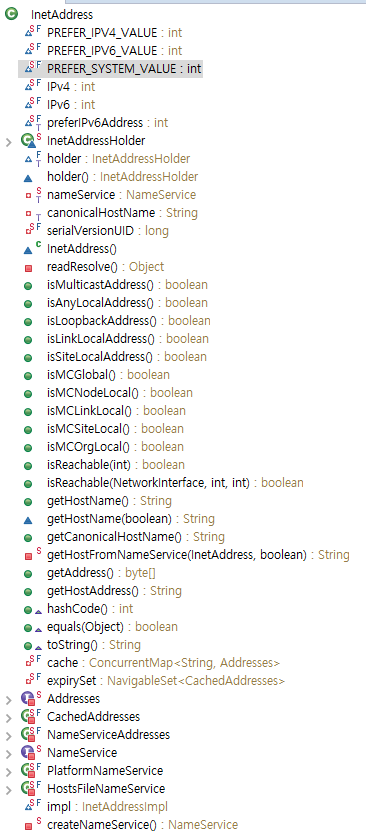
InetAdrress : IP 주소를 다루는 것을 수행한다.
(위치 : java.net.InetAddress.class)

-
Socket : 서버와 소통하기 위해 데이터 통/수신을 한다. 소켓은 클라이언트 소켓을 다룬다.
(위치 : java.net.Socket.class)


-
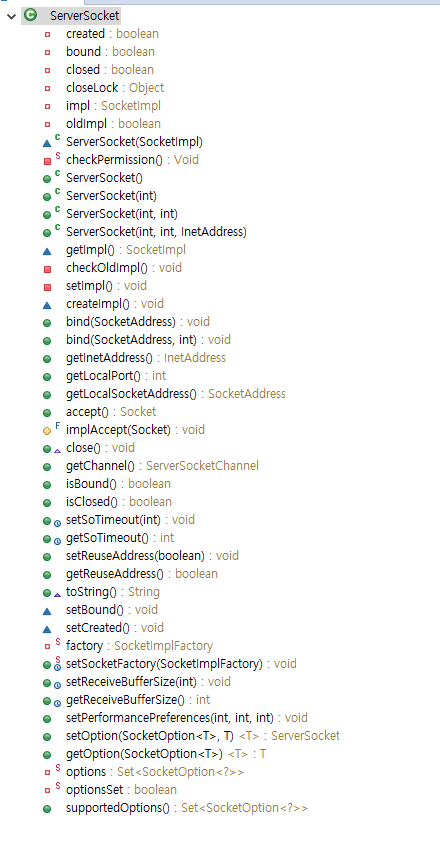
SeverSocket : 클라이언트와 소통하기 위해 서버 측에서 설정하는 소켓.
((위치 : java.net.ServerSocket.class))
3-2. 컴퓨터 Host 주소를 입력하면 이름과 IP를 얻어오는 예제 코드
import java.net.InetAddress;
import java.util.Scanner;

class InetAdressEx {
	Scanner scan;

	public InetAdressEx() {
		System.out.println("Host 이름을 입력하세요");
		scan = new Scanner(System.in);

		try {
			InetAddress inetAddress = InetAddress.getByName(scan.next());

			System.out.println("Computer Name : " + inetAddress.getHostName());
			System.out.println("Computer IP : " + inetAddress.getHostAddress());

		} catch (Exception e) {
			e.getMessage();
		}
	}
}

public class Hello {
	public static void main(String[] args) {
		new InetAdressEx();
	}
}
[Console]
Host 이름을 입력하세요
(입력 >>) www.naver.com
Computer Name : www.naver.com
Computer IP : 223.130.200.107

4. 은행 계좌 클래스의 동기화 사용
4-1. 기본 코드
class Hello {
	public static void main(String args[]) {
		Runnable r = new RunnableEx12();
		new Thread(r).start();
		new Thread(r).start();
	}
}

class Account {
	private int balance = 1000;

	public int getBalance() {
		return balance;
	}

	public void withdraw(int money) {
		if (balance >= money) {
			try {
				Thread.sleep(1000);
			} catch (InterruptedException e) {
			}
			balance -= money;
		}
	} // withdraw
}

class RunnableEx12 implements Runnable {
	Account acc = new Account();

	public void run() {
		while (acc.getBalance() > 0) {
			// 100, 200, 300중의 한 값을 임으로 선택해서 출금(withdraw)
			int money = (int) (Math.random() * 3 + 1) * 100;
			acc.withdraw(money);
			System.out.println("balance:" + acc.getBalance());
		}
	} // run()
}
[Console]
balance:700
balance:700
balance:600
balance:300
balance:-100
balance:-100
(계좌 잔액은 음의 값이 나올 수 없는데, 어느새 잔고가 -100이 되어버렸다.)
4-2. 수정한 코드
- withdraw()에 synchronized를 추가하여 동기화를 진행한다.
(잔고가 빼려는 금액보다 클 경우에만 출금을 진행한다.)
class Hello {
	public static void main(String args[]) {
		Runnable r = new RunnableEx12();
		new Thread(r).start();
		new Thread(r).start();
	}
}

class Account {
	private int balance = 1000;

	public int getBalance() {
		return balance;
	}

	public synchronized void withdraw(int money) {
		if (balance >= money) {
			try {
				Thread.sleep(1000);
			} catch (InterruptedException e) {
			}
			balance -= money;
		}
	}
}

class RunnableEx12 implements Runnable {
	Account acc = new Account();

	public void run() {
		while (acc.getBalance() > 0) {
			int money = (int) (Math.random() * 3 + 1) * 100;
			acc.withdraw(money);
			System.out.println("balance:" + acc.getBalance());
		}
	}
}
[Console]
balance:700
balance:500
balance:400
balance:100
balance:100
balance:100
balance:100
balance:0
balance:0