머스테치로 화면 구성하기
머스테치란
머스테치는 수많은 언어를 지원하는 가장 심플한 템플릿 엔진입니다.
머스테치의 장점
- 로직 코드를 사용할 수 없어 View의 역활과 역할이 명확하게 분리된다.
- Mustache.js, Mustache.java 2가지가 다 있어 하나의 문법으로 클라이언트/서버 템플릿을 모두 사용 가능합니다.
머스테치 플러그인 설치
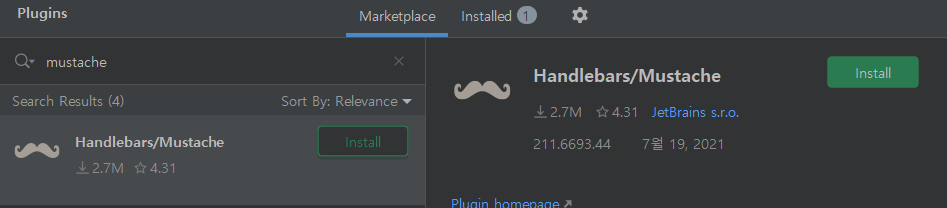
인텔리제이 플러그인 설치 후 재시작을 해줍니다.
재시작 후 머스테치 스타터 의존성을 build.gradle에 등록하고 빌드를 다시 해줍니다.
compile('org.springframework.boot:spring-boot-starter-mustache')머스테치 파일 생성

머스테치 파일 위치는 기본적으로
src -> main -> resources -> templates에 생성합니다.
index.mustache를 생성해주세요
1. index.mustache 작성
<!DOCTYPE HTML>
<html>
<head>
    <title>스프링 부트 웹 서비스</title>
    <meta http-equiv="Content-Type" content="text/html; charset=UTF-8"/>
</head>
<body>
    <h1>스프링 부트로 시작하는 웹 서비스</h1>
</body>
</html>
2. URL 매핑 해주기
web패키지에 IndexController를 생성 합니다.

아래와 같이 코드를 작성해 주세요
package com.momenting.book.springboot.web;

import org.springframework.stereotype.Controller;
import org.springframework.web.bind.annotation.GetMapping;

@Controller
public class IndexController {

    @GetMapping("/")
    public String index() {
        return "idnex";
    }
}
매핑을 해주고, Application.java의 main 매소드를 실행 후 웹 브라우저에서 http://localhost:8080으로 접속을 해봅니다.
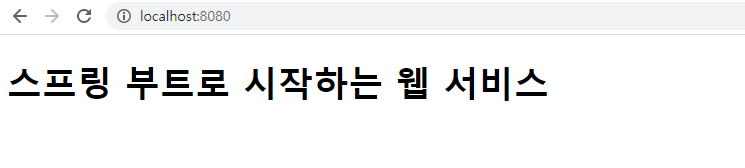
위와 같이 index에서 작성한 내용이 노출되는것이 확인됩니다.
게시글 등록 화면 만들기
공통부분 나누기
templates 디렉토리에 layout 디렉토리 추가 생성 하기
layout 디렉토리에 header.mustache와 footer.mustache를 생성 합니다.

header.mustache 작성
<!DOCTYPE HTML>
<html>
<head>
    <title>스프링부트 웹서비스</title>
    <meta http-equiv="Content-Type" content="text/html; charset=UTF-8" />

    <link rel="stylesheet" href="https://stackpath.bootstrapcdn.com/bootstrap/4.3.1/css/bootstrap.min.css">
</head>
<body>
footer.mustache 작성
<script src="https://code.jquery.com/jquery-3.3.1.min.js"></script>
<script src="https://stackpath.bootstrapcdn.com/bootstrap/4.3.1/js/bootstrap.min.js"></script>

</body>
</html>
index.mustache 변경하기
{{>layout/header}}
<h1>스프링부트로 시작하는 웹 서비스 Ver.2</h1>
<div class="col-md-12">
    <div class="row">
        <div class="col-md-6">
            <a href="/posts/save" role="button" class="btn btn-primary">글 등록</a>
        </div>
    </div>
</div>
{{>layout/footer}}
IndexController에 글 등록 API 매핑 하기
@GetMapping("/posts/save")
    public String postsSave() {
        return "posts-save";
    }
posts-save.mustache 생성 및 작성

{{>layout/header}}
<h1>게시글 등록</h1>
<div class="col-md-12">
<div class="col-md-4">
<form>
<div class="form-group">
<label for="title">제목</label>
<input type="text" class="form-control" id="title" placeholder="제목을 입력하세요">
</div>
<div class="form-group">
<label for="author"> 작성자 </label>
<input type="text" class="form-control" id="author" placeholder="작성자를 입력하세요">
</div>
<div class="form-group">
<label for="content"> 내용 </label>
<textarea class="form-control" id="content" placeholder="내용을 입력하세요"></textarea>
</div>
</form>
<a href="/" role="button" class="btn btn-secondary">취소</a>
<button type="button" class="btn btn-primary" id="btn-save">등록</button>
</div>
</div>
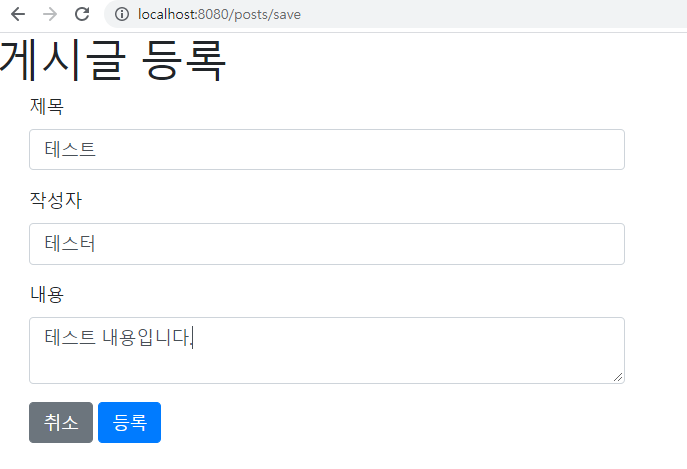
{{>layout/footer}}이제 다시 프로젝트를 실행하고 http://localhost:8080 로 접근하여 확인해봅시다.
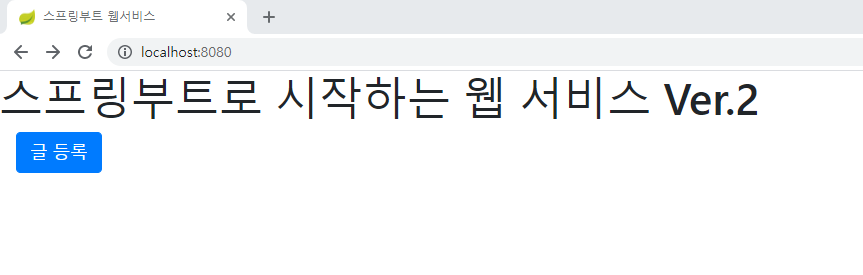
글 등록 버튼을 누르면 게시글을 쓸 수 있는 화면으로 이동이 되는지 확인해봅시다.
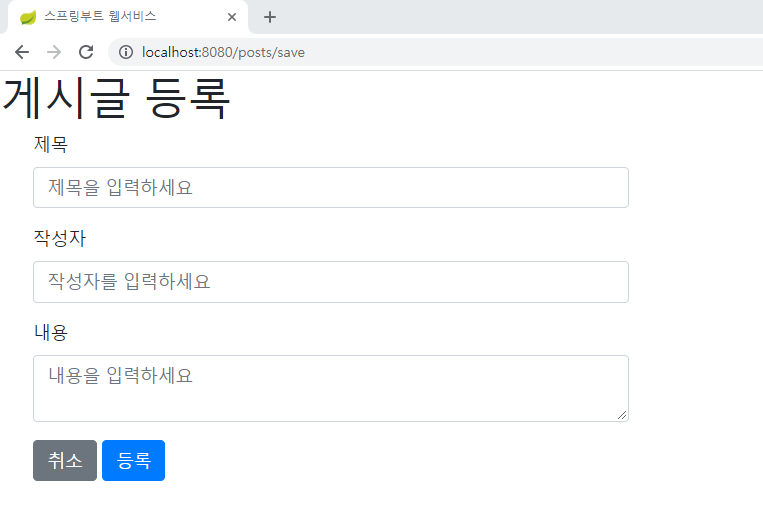
정상적인 페이지 이동이 됩니다. 이제 등록 버튼에 기능을 넣어 봅시다.
게시글 등록 API 호출 기능 만들기
index.js 생성 및 작성
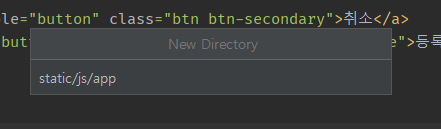
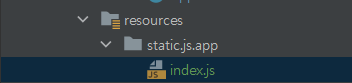
- resources 디렉토리에 static/js/app디렉토리 생성 후 index.js파일 생성
- index.js 작성
var main = {
    init : function () {
        var _this = this;
        $('#btn-save').on('click', function () {
            _this.save();
        });

        $('#btn-update').on('click', function () {
            _this.update();
        });

        $('#btn-delete').on('click', function () {
            _this.delete();
        });
    },
    save : function () {
        var data = {
            title: $('#title').val(),
            author: $('#author').val(),
            content: $('#content').val()
        };

        $.ajax({
            type: 'POST',
            url: '/api/v1/posts',
            dataType: 'json',
            contentType:'application/json; charset=utf-8',
            data: JSON.stringify(data)
        }).done(function() {
            alert('글이 등록되었습니다.');
            window.location.href = '/';
        }).fail(function (error) {
            alert(JSON.stringify(error));
        });
    }
};
main.init();
footer.mustache에 index.js 추가

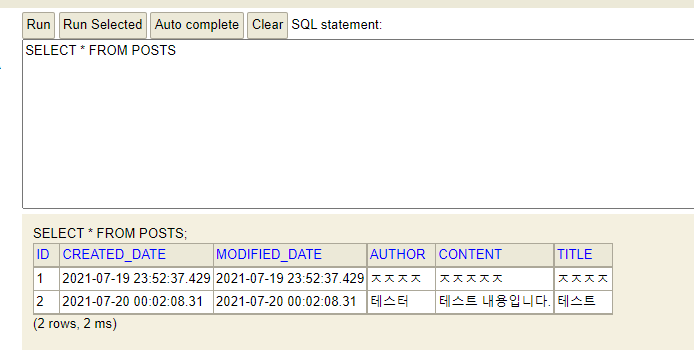
브라우저에서 테스트 해보기
내용 작성 후 등록 버튼을 누르면
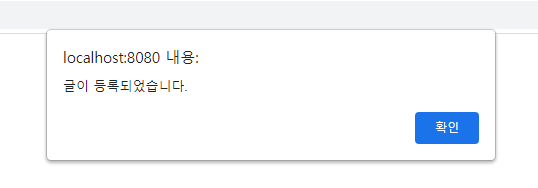
alert확인 후 h2-console에서 확인해 보면 잘 삽입된 것을 확인할 수 있습니다.

순간을 기록하는 개발자