
2023.11.22(수)
🖌️CSS (Cascading Style Sheets)
-
HTML 태그를 element 단위로 꾸며줌
-
HTML에 CSS를 적용하는 방법 3가지
-
인라인 스타일(Inline style)
- HTML 태그 내에 style 속성을 이용하여 CSS를 지정
<!DOCTYPE html> <html> <head> <meta charset="UTF-8"> <title>Login</title> </head> <body> <h1 style="color: #2d489a; text-align: center;">Login</h1> <form> ID : <input type="text" style="font-size: 20px;"> <br> PW : <input type="password" style="font-size: 20px;"> <br> <input type="button" value="Login" style="font-size: 25px; width: 100px; height: 40px"> </form> </body> </html> -
내부 스타일 시트(Internal style sheet)
- HTML 문서의
<head>태그 내에<style>태그를 삽입하고 해당 태그 사이에 CSS 문법을 작성해 스타일을 지정 (해당 HTML 문서에만 style 적용됨)class(반) : 중복 Oid(학번) : 중복 X
<!DOCTYPE html> <html> <head> <meta charset="UTF-8"> <title>Login</title> <style> /* tag에 적용 */ h1 { color: #2d489a; text-align: center; } /* class(중복 O)에 적용 */ .login_inputs { font-size: 20px; } /* id(중복 X)에 적용 */ #btn_login { font-size: 25px; width: 100px; height: 40px; } </style> </head> <body> <h1>Login</h1> <form> ID : <input class="login_inputs" type="text"> <br> PW : <input class="login_inputs" type="password"> <br> <input id="btn_login" type="button" value="Login"> </form> </body> </html> - HTML 문서의
-
외부 스타일 시트(External style sheet)
-
HTML 문서의
<head>태그 내에<link>태그를 삽입하여 HTML 문서에 CSS를 연결-
login.html
<!DOCTYPE html> <html> <head> <meta charset="UTF-8"> <title>Login</title> <link rel="stylesheet" href="login.css"> </head> <body> <h1>Login</h1> <form> ID : <input class="login_inputs" type="text"> <br> PW : <input class="login_inputs" type="password"> <br> <input id="btn_login" type="button" value="Login"> </form> </body> </html> -
login.css
/* tag에 적용 */
h1 {
    color: #2d489a;
    text-align: center;
}
/* class(중복 O)에 적용 */
.login_inputs {
    font-size: 20px;
}
/* id(중복 X)에 적용 */
#btn_login {
    font-size: 25px;
    width: 100px;
    height: 40px;
}
-
-
-
🪄JavaScript
- 특정 HTML element를 선택하여 제어할 수 있는 스크립트 언어 (backend에서도 쓰임)
- 스크립트 언어란? 🔗
- 독립적인 프로그램을 개발할 수 있는 프로그래밍 언어가 아닌 “(프로그램 내부의 구성 요소 중 하나로) 프로그램을 제어하는 스크립트 역할을 하는 언어”
-
HTML에 JavaScript를 적용하는 방법 3가지 (CSS와 동일)
-
인라인 스크립트(Inline script)
-
HTML 태그 내에 event handler 속성을 지정 (사용자와의 상호작용이 있을 때만 가능)
event handler = on + “event”
- Event 종류
-
Mouse event
event 설명 click 요소에 마우스를 클릭했을 때 이벤트가 발생 dbclick 요소에 마우스를 더블클릭했을 때 이벤트가 발생 mouseover 요소에 마우스를 오버했을 때 이벤트가 발생 mouseout 요소에 마우스를 아웃했을 때 이벤트가 발생 mousedown 요소에 마우스를 눌렀을 때 이벤트가 발생 mouseup 요소에 마우스를 떼었을 때 이벤트가 발생 mousemove 요소에 마우스를 움직였을 때 이벤트가 발생 contextmenu context menu(마우스 오른쪽 버튼을 눌렀을 때 나오는 메뉴)가 나오기 전에 이벤트 발생 -
Key event
event 설명 keydown 키를 눌렀을 때 이벤트가 발생 keyup 키를 떼었을 때 이벤트가 발생 keypress 키를 누른 상태에서 이벤트가 발생 -
Form event
event 설명 focus 요소에 포커스가 이동되었을 때 이벤트 발생 blur 요소에 포커스가 벗어났을 때 이벤트 발생 change 요소에 값이 변경 되었을 때 이벤트 발생 submit submit 버튼을 눌렀을 때 이벤트 발생 reset reset 버튼을 눌렀을 때 이벤트 발생 select input이나 textarea 요소 안의 텍스트를 드래그하여 선택했을 때 이벤트 발생 -
load 및 기타 event
event 설명 load 페이지의 로딩이 완료되었을 때 이벤트 발생 abort 이미지의 로딩이 중단되었을 때 이벤트 발생 unload 페이지가 다른 곳으로 이동될 때 이벤트 발생 resize 요소에 사이즈가 변경되었을 때 이벤트 발생 scroll 스크롤바를 움직였을 때 이벤트 발생
-
<!DOCTYPE html> <html> <head> <meta charset="UTF-8"> <title>Login</title> <link rel="stylesheet" href="login.css"> </head> <body> <h1>Login</h1> <form> ID : <input class="login_inputs" type="text"> <br> PW : <input class="login_inputs" type="password"> <br> <input id="btn_login" type="button" value="Login" onclick="alert('clicked!')"> </form> </body> </html> - Event 종류
-
-
내부 스크립트(Internal script)
-
HTML 문서의
<head>또는<body>태그 내에<script>태그를 삽입하고 해당 태그 사이에 JavaScript를 작성 (해당 HTML 문서에만 script 적용됨)- JavaScript에서 특정 태그를 찾을 때
- tag 이름으로 찾기 :
document.getElementsByTagName('tag name') - class 이름으로 찾기 :
document.getElementsByClassName('class name') - id로 찾기 :
document.getElementById('id')
- tag 이름으로 찾기 :
<!DOCTYPE html>
<html>
    <head>
        <meta charset="UTF-8">
        <title>Login</title>
        <link rel="stylesheet" href="login.css">
    </head>
    <body>
        <h1>Login</h1>
        <form>
            ID : <input id="txt_id" class="login_inputs" type="text">
            <br>
            PW : <input class="login_inputs" type="password">
            <br>
            <input id="btn_login" type="button" value="Login" onclick="popId()">
        </form>
        <script>
            // ID란에 입력된 값을 팝업창에 띄우기
            function popId() {
                let userId = document.getElementById("txt_id").value;
                if (!userId) {
                    alert("아이디를 입력해주세요.");
                } else {
                    alert(userId);
                }
            }
        </script>
    </body>
</html>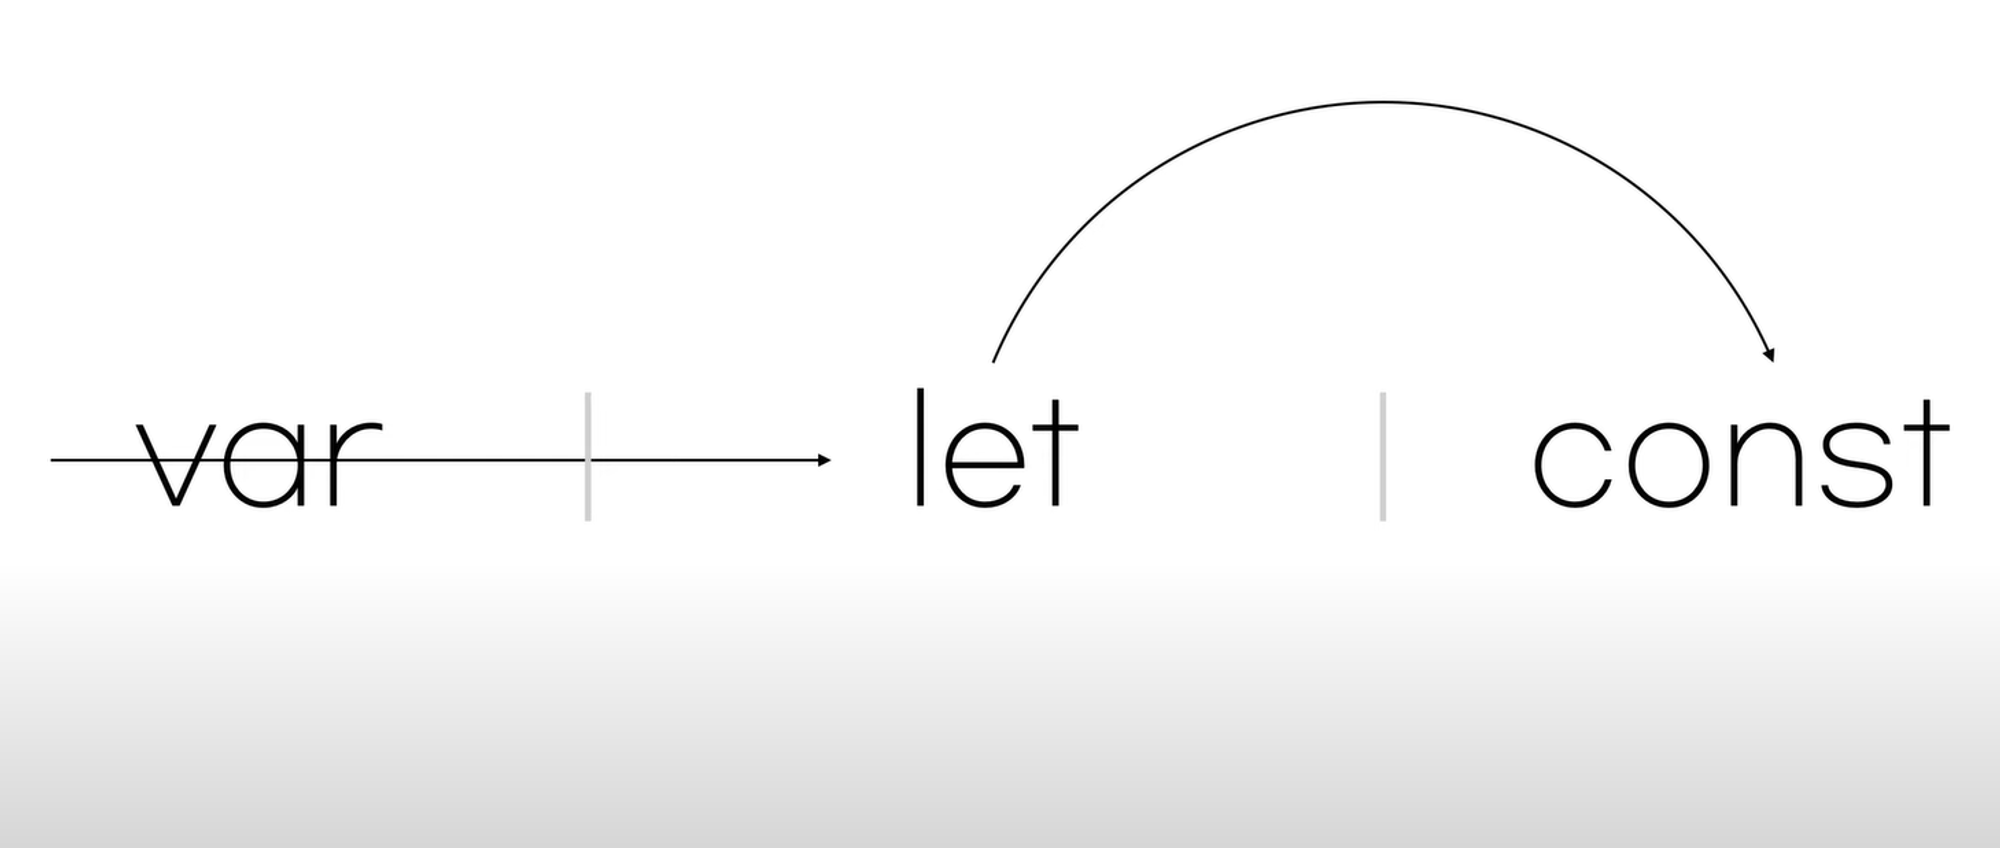
var let const global scope O X X script scope X O O function local scope O O O block scope X O O 재선언 O X X 재할당 O O X - var은 let과 const가 추가되기 전에 쓰이던 변수 선언문
- 그냥 var은 쓰지 말고 변하는 값은 let, 변하지 않는 값은 const를 쓰자
- JavaScript에서 특정 태그를 찾을 때
-
-
외부 스크립트(External script) : HTML 문서의
<head>또는<body>태그 내에<script>태그를 삽입하여 HTML 문서에 JavaScript를 연결- login.html
<!DOCTYPE html>
<html>
    <head>
        <meta charset="UTF-8">
        <title>Login</title>
        <link rel="stylesheet" href="login.css">
        <script type="text/javascript" src="login.js"></script>
    </head>
    <body>
        <h1>Login</h1>
        <form>
            ID : <input id="txt_id" class="login_inputs" type="text">
            <br>
            PW : <input class="login_inputs" type="password">
            <br>
            <input id="btn_login" type="button" value="Login" onclick="popId()">
        </form>
    </body>
</html>
- login.js
// ID란에 입력된 값을 팝업창에 띄우기
function popId() {
    let userId = document.getElementById("txt_id").value;
    if (!userId) {
        alert("아이디를 입력해주세요.");
    } else {
        alert(userId);
    }
}
- login.html
-

이것저것 관심 많은 개발자👩💻