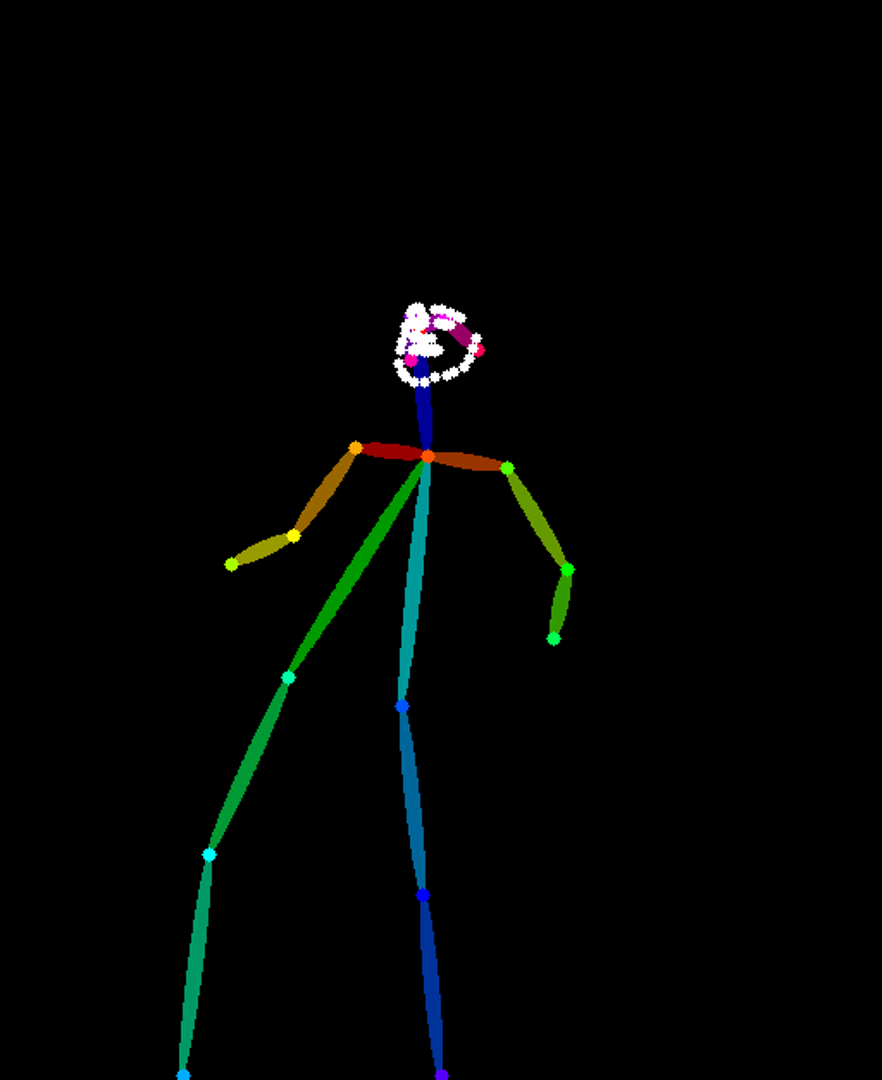
이미지 뽑기
Openpose, Depth를 추출했으니, 이제 이 사진들을 이용해서 이미지를 만들어 보려한다.
기존의 WebUI에서 만들어 놓은 prompt를 이용해서 txt2img를 위한 파이프라인을 만들었다.
ControlNet을 이용해야 하기 때문에, StableDiffusionPipeline이 아닌, StableDiffusionControlNetPipeline을 이용한다.
pipe 만들기
controlnet = ControlNetModel.from_pretrained("fusing/stable-diffusion-v1-5-controlnet-openpose", torch_dtype=torch.float16)

model_id = "andite/pastel-mix"

pipe = StableDiffusionControlNetPipeline.from_pretrained(
    model_id,
    controlnet=controlnet,
    torch_dtype=torch.float16,
)

pipe.scheduler = UniPCMultistepScheduler.from_config(pipe.scheduler.config)
pipe.enable_model_cpu_offload()
pipe.enable_xformers_memory_efficient_attention()
이미지 불러오기
# 이미지 목록 불러오기
img_files = glob('./pose_imgs/*')
# 이미지 정렬
img_files.sort()
# 이미지 처리
poses = [load_image(img) for img in img_files]
이미지 출력하기
pose = poses[0]
generator = torch.Generator(device="cpu").manual_seed(random.randint(1, 100000))
lora_path = "./lora/standingFullBodyWithBackgroundStyle_v10Offset.safetensors"
prompt = ""
negative_prompt = ""
output = pipe(
    prompt,
    pose,
    negative_prompt=negative_prompt,
    generator=generator,
    num_inference_steps=20,
    width=880,
    height=1088
)

output.images[0].save('sample.png')
결과
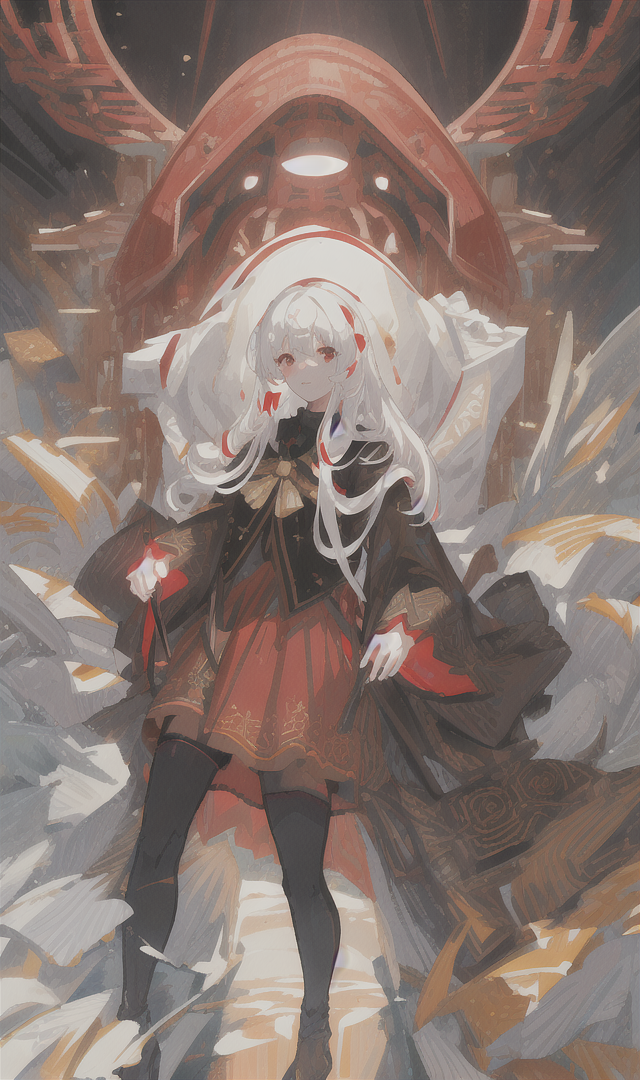
동영상으로 만들기
이제 사진을 만들었으니, 동영상으로 만들어야 한다.
먼저, 기존 동영상의 프레임을 알아야 한다.
original = './111.mp4'
vidcap = cv2.VideoCapture('111.mp4')
fps = vidcap.get(cv2.CAP_PROP_FPS)
59.94005994005994
이제 만들어 놓은 이미지들을 프레임 수에 맞게 영상으로 만들어 준다.
files = glob('./output/*')
img_array = []

for file in files:
    img = cv2.imread(file)
    height, width, layers = img.shape
    size = (width, height)
    img_array.append(img)

out = cv2.VideoWriter('test.avi',cv2.VideoWriter_fourcc(*'DIVX'), fps, size)

for i in range(len(img_array)):
    out.write(img_array[i])
out.release()
결과
생각한 것 보다 너무 빠르다.
20 프레임으로 줄여보자.
느려졌지만, 이미지가 일정하지 않아서 그런지, 뭔가 휙 휙 지나간다.
좀 더 정확한 이미지를 위해, 다른 ControlNet을 추가해야 한다.

코딩 공부하는 사람