쿠키
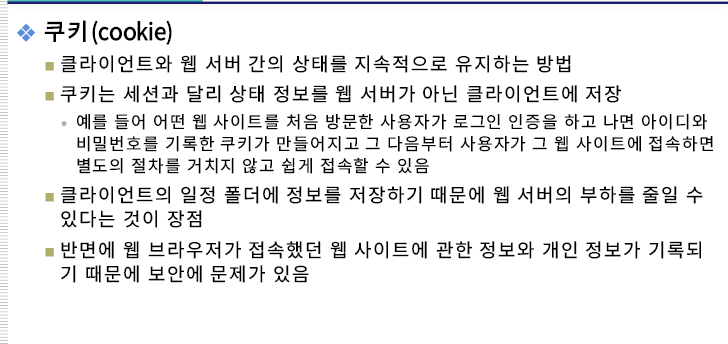
웹 서버가 아니라 클라이언트에 저장하는 방법.


쿠키 예제 cookie01, cookie01_process
<%--
  Created by IntelliJ IDEA.
  User: admin
  Date: 2022-10-27
  Time: 오전 9:40
  To change this template use File | Settings | File Templates.
--%>
<%@ page contentType="text/html;charset=UTF-8" language="java" pageEncoding="UTF-8" %>
<!DOCTYPE html>
<html>
<head>
    <title>Title</title>
    <link rel="stylesheet" href="https://cdn.jsdelivr.net/npm/bootstrap@5.2.2/dist/css/bootstrap.min.css">
    <script src="https://ajax.googleapis.com/ajax/libs/jquery/3.6.1/jquery.min.js"></script>
    <script src="https://cdn.jsdelivr.net/npm/bootstrap@5.2.2/dist/js/bootstrap.bundle.min.js"></script>
</head>
<body>
<form action="cookie01_process.jsp" method="post">
    <label for="user-id">아이디 :</label>
    <input type="text" id="user-id" name="userId" placeholder="아이디를 입력해주세요"><br>
    <label for="user-pw">비밀번호 : </label>
    <input type="password" id="user-pw" name="userPw" placeholder="비밀번호를 입력해주세요"><br>
    <button type="submit">전송</button>
</form>
</body>

</html>
<%--
Created by IntelliJ IDEA.
User: admin
Date: 2022-10-27
Time: 오전 9:45
To change this template use File | Settings | File Templates.
--%>
<%@ page contentType="text/html;charset=UTF-8" language="java" pageEncoding="UTF-8" %>
<!DOCTYPE html>
<html>
<head>
<title>내가 만든 쿠키</title>
<link rel="stylesheet" href="https://cdn.jsdelivr.net/npm/bootstrap@5.2.2/dist/css/bootstrap.min.css">
<script src="https://ajax.googleapis.com/ajax/libs/jquery/3.6.1/jquery.min.js"></script>
<script src="https://cdn.jsdelivr.net/npm/bootstrap@5.2.2/dist/js/bootstrap.bundle.min.js"></script>
</head>
<body>
<%
String userId = request.getParameter("userId");
String userPw = request.getParameter("userPw");
if(userId.equals("admin") && userPw.equals("1234")){
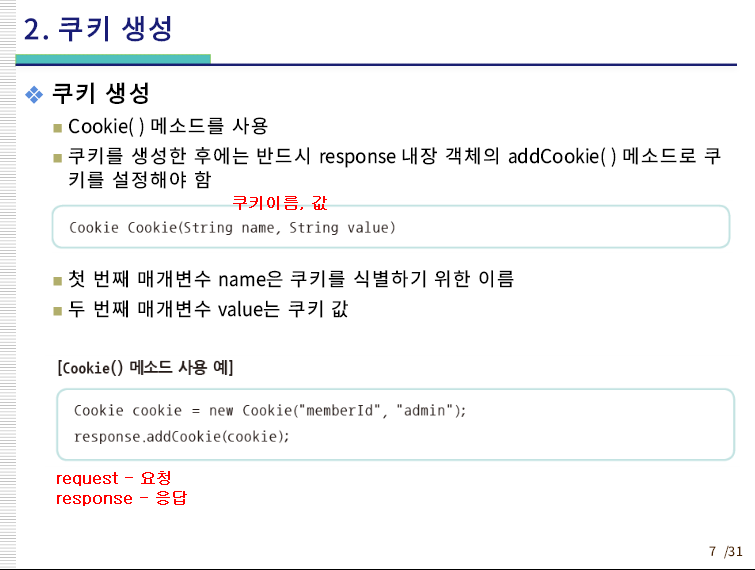
Cookie cookieId = new Cookie("userId",userId);
Cookie cookiePw = new Cookie("userPw", userPw);
response.addCookie(cookieId);
response.addCookie(cookiePw);
out.println("쿠기 생성이 성공하였습니다.");
out.println(userId + "님 환영합니다.");
}
else{
out.println("쿠키생성이 실패하였습니다.");
}
%>
</body>
</html>


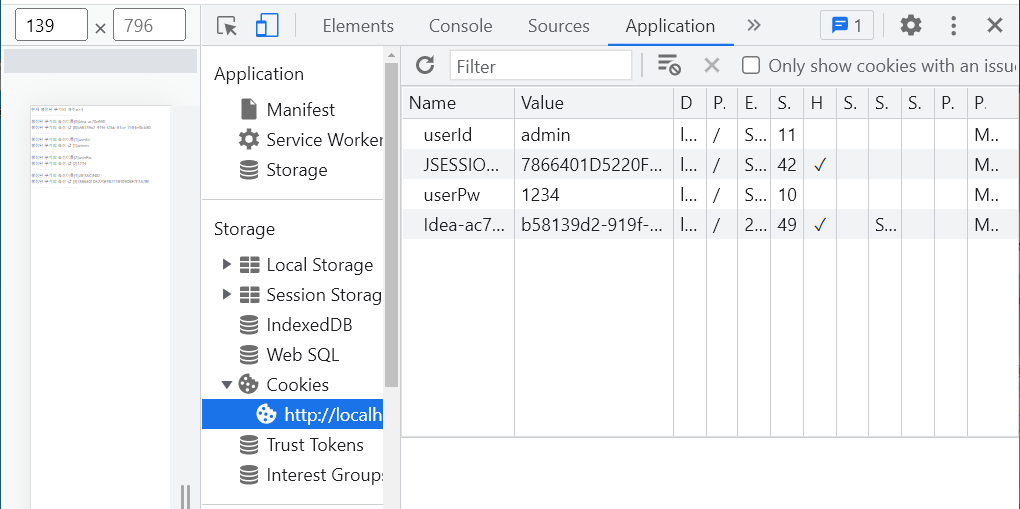
쿠키 객체 정보 얻어오기 예제-cookie02
<%--
Created by IntelliJ IDEA.
User: admin
Date: 2022-10-27
Time: 오전 10:09
To change this template use File | Settings | File Templates.
--%>
<%@ page contentType="text/html;charset=UTF-8" language="java" pageEncoding="UTF-8" %>
<!DOCTYPE html>
<html>
<head>
<title>내가 만든 쿠키222222</title>
<link rel="stylesheet" href="https://cdn.jsdelivr.net/npm/bootstrap@5.2.2/dist/css/bootstrap.min.css">
<script src="https://ajax.googleapis.com/ajax/libs/jquery/3.6.1/jquery.min.js"></script>
<script src="https://cdn.jsdelivr.net/npm/bootstrap@5.2.2/dist/js/bootstrap.bundle.min.js"></script>
</head>
<body>
<%
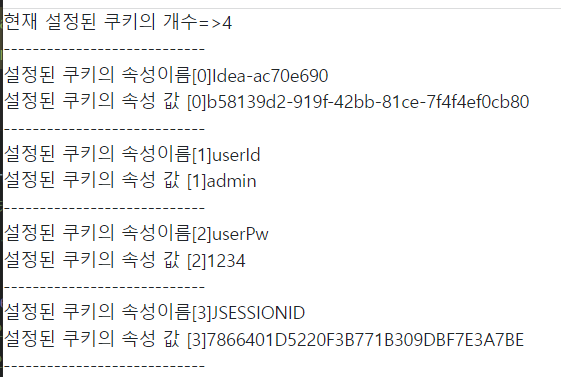
Cookie[] cookies = request.getCookies();
out.println("현재 설정된 쿠키의 개수=>" + cookies.length +"<br>");
out.println("----------------------------<br>");
for(int i=0; i< cookies.length; i++){
out.println("설정된 쿠키의 속성이름[" + i + "]" + cookies[i].getName() + "<br>");
out.println("설정된 쿠키의 속성 값 [" + i + "]" + cookies[i].getValue() +"<br>");
out.println("----------------------------<br>");
}
%>
</body>
</html>
쿠키 삭제 예제 cookie03

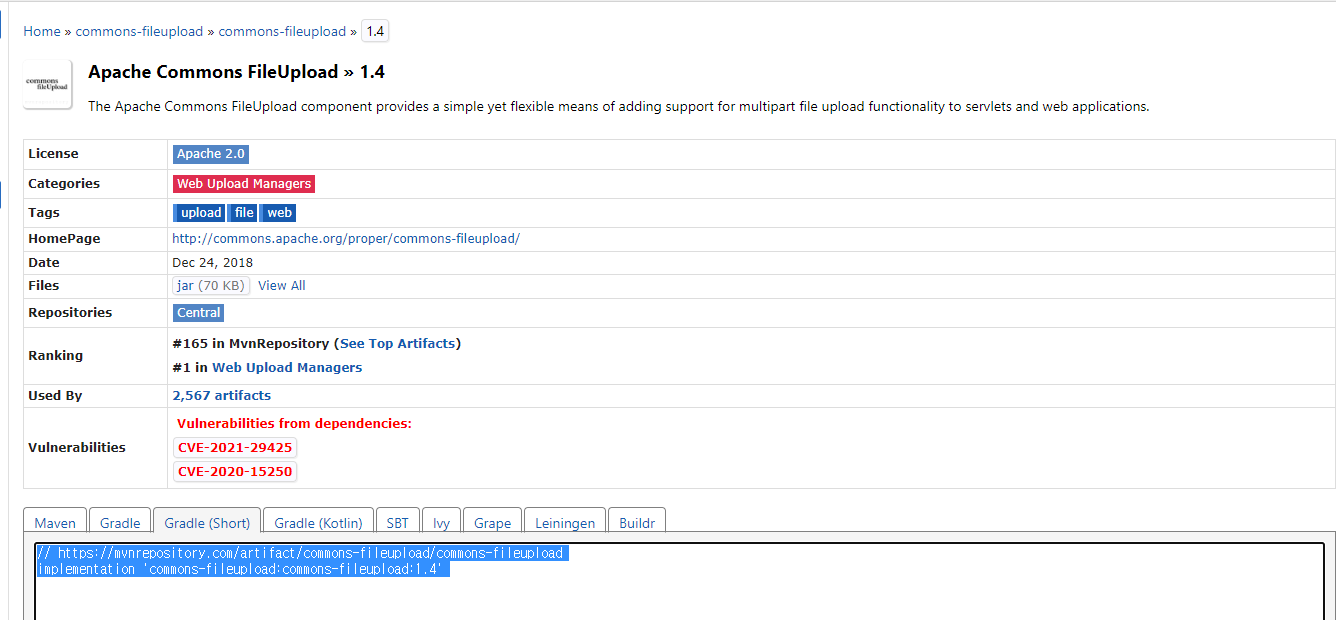
아파치 commons
웹 프로그래밍 할 때 필요한 라이브러리 사용하기 위해
https://commons.apache.org/
https://mvnrepository.com/artifact/commons-io/commons-io
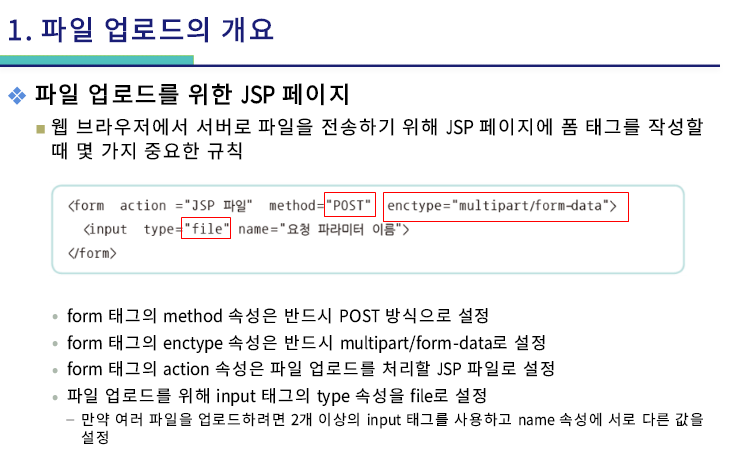
파일 업로드
- 웹 프라우저에서 서버로 파일 전송하여 서버에 저장
웹 브라우저에서 서버로 파일을 전송하기 위해 jsp페이지에 폼태그 사용
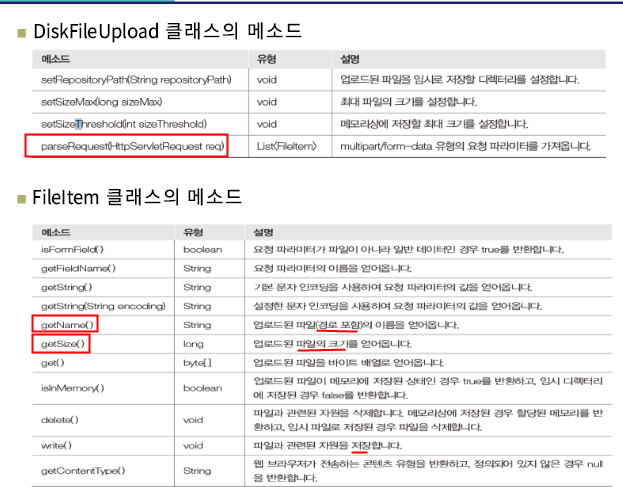
Commons-FileUpload
단순하게 올리기 fileupload01 fileupload_process
<%--
  Created by IntelliJ IDEA.
  User: admin
  Date: 2022-10-27
  Time: 오전 11:15
  To change this template use File | Settings | File Templates.
--%>
<%@ page contentType="text/html;charset=UTF-8" language="java" pageEncoding="UTF-8" %>
<!DOCTYPE html>
<html>
<head>
    <title>파일 업로드</title>
    <link rel="stylesheet" href="https://cdn.jsdelivr.net/npm/bootstrap@5.2.2/dist/css/bootstrap.min.css">
    <script src="https://ajax.googleapis.com/ajax/libs/jquery/3.6.1/jquery.min.js"></script>
    <script src="https://cdn.jsdelivr.net/npm/bootstrap@5.2.2/dist/js/bootstrap.bundle.min.js"></script>
</head>
<body>
<form action="fileUpload01_process.jsp" method="post" enctype="multipart/form-data">
<%--  위에 것들 enctype 지정해야 한다.--%>
  <label for="file">파일 : </label>
  <input type="file" id="file" name="fileName"><br>
  <button type="submit">파일업로드</button>
</form>
</body>

</html>
<%@ page import="org.apache.commons.fileupload.DiskFileUpload" %>
<%@ page import="java.util.List" %>
<%--
Created by IntelliJ IDEA.
User: admin
Date: 2022-10-27
Time: 오전 11:18
To change this template use File | Settings | File Templates.
--%>
<%@ page contentType="text/html;charset=UTF-8" language="java" pageEncoding="UTF-8" %>
<%@ page import="org.apache.commons.fileupload.*"%>
<%@ page import="java.util.*"%>
<%@ page import="java.io.*" %>
<!DOCTYPE html>
<html>
<head>
<title>파일업로드</title>
<link rel="stylesheet" href="https://cdn.jsdelivr.net/npm/bootstrap@5.2.2/dist/css/bootstrap.min.css">
<script src="https://ajax.googleapis.com/ajax/libs/jquery/3.6.1/jquery.min.js"></script>
<script src="https://cdn.jsdelivr.net/npm/bootstrap@5.2.2/dist/js/bootstrap.bundle.min.js"></script>
</head>
<body>
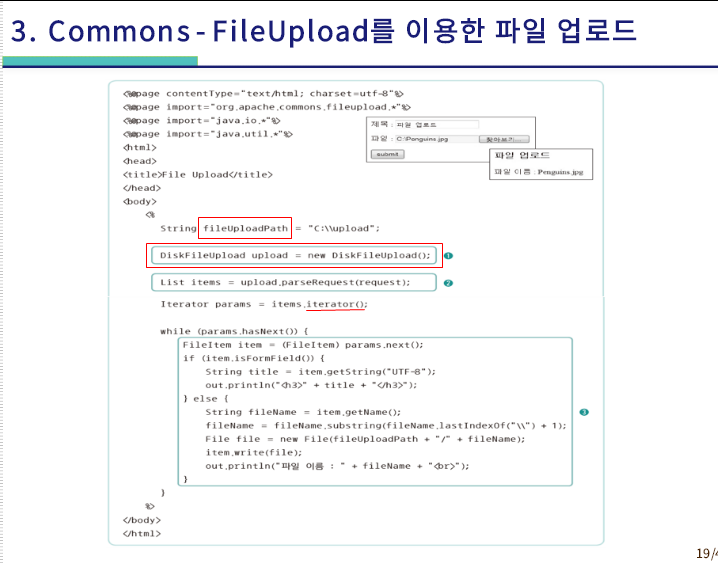
<%
request.setCharacterEncoding("UTF-8");
String fileUploadPath = "C:\\java505\\upload";
// 파일 올라갈위치 지정
DiskFileUpload upload = new DiskFileUpload();
List items = upload.parseRequest(request);
// 반복 가능한 객체로 생성
// List는 java.util로 클래스 가져온다.
Iterator params = items.iterator();
// hasNext() 다음 데이터가 존재하는지 확인
while (params.hasNext()) {
// next() 다음 데이터를 가져옴 밑에는 (fileitme)으로 가져옴.
FileItem fileItem = (FileItem) params.next();
// isFormFiled가 맞는지 확인
if(!fileItem.isFormField()) {
String fileName = fileItem.getName(); //파일객체의 이름 가져옴
fileName = fileName.substring(fileName.lastIndexOf("\\") + 1); //lastIndexOf제일 뒤에서 \\가 두 개있는거 확인하고 가져옴
File file = new File(fileUploadPath+"/"+ fileName);//fileUploadPath(서버에 저장할 경로이름)까지 가져오고 0번 부터 가져옴. 전체경로.
fileItem.write(file); //write를 써야 실제 파일 저장한다.
}
}
%>
</body>
</html>
비슷하지만 fileUpload 진화버전
fileupload02
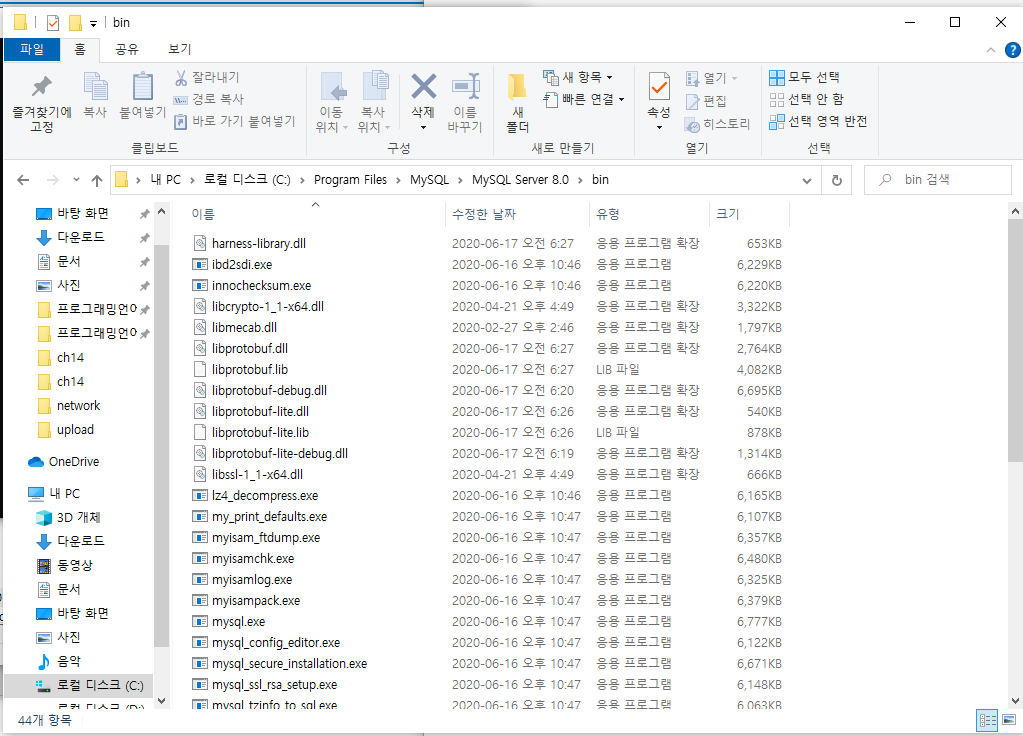
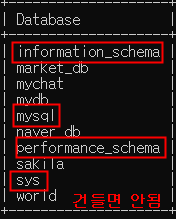
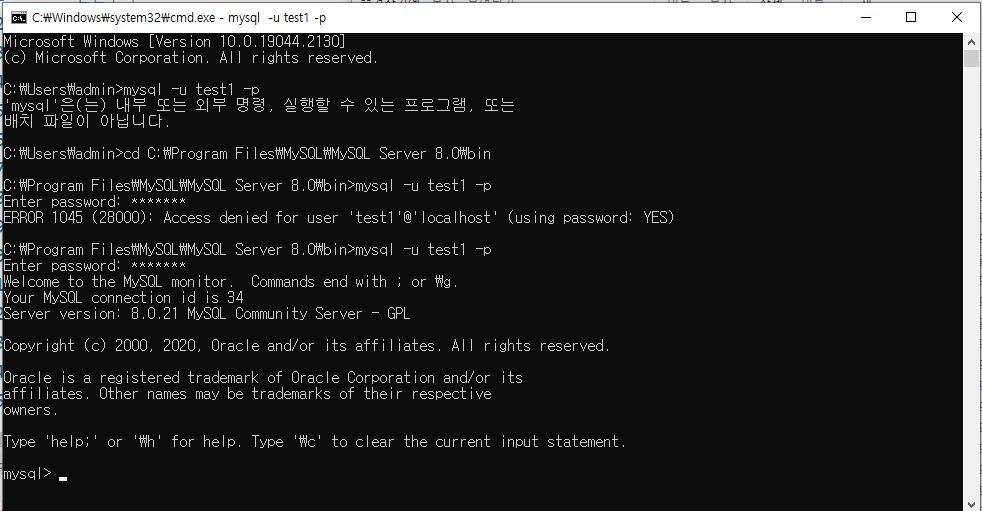
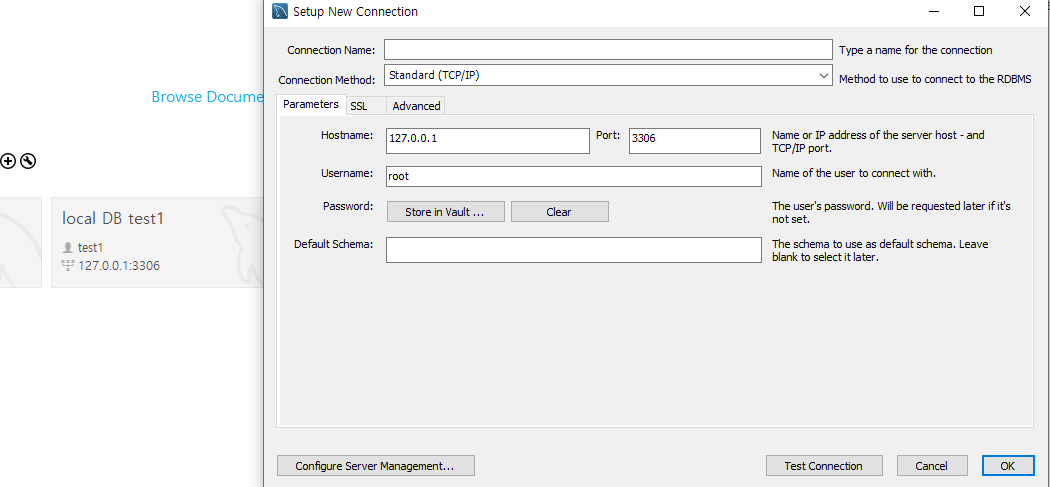
mysql
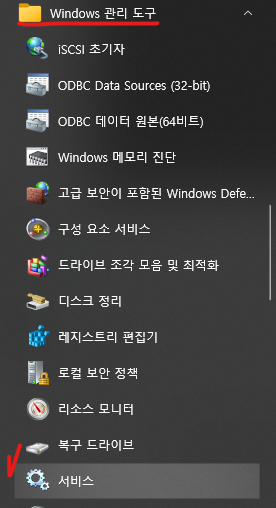

windows로 설치되어서 동작되고 있는게 확인된다.


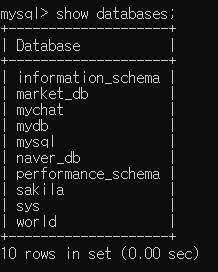
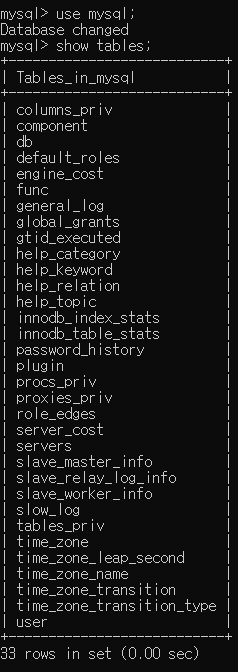
use mysql;
show tables;
select * from user;

host, user, authentication_string

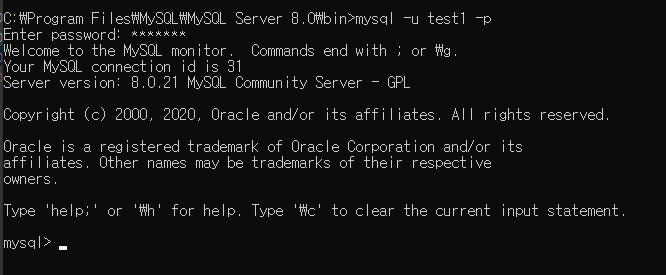
여기까지 하다가 워크밴치로 감(exit)


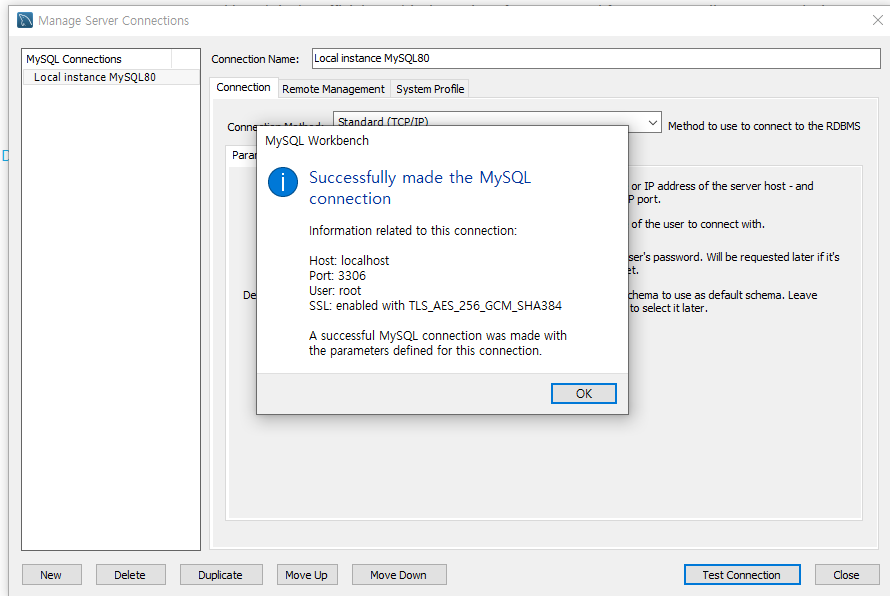
test connetion


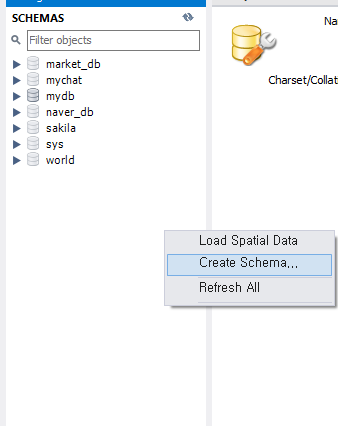
데이터베이스만들기
비밀번호 변경
메이븐 레파지토리가서

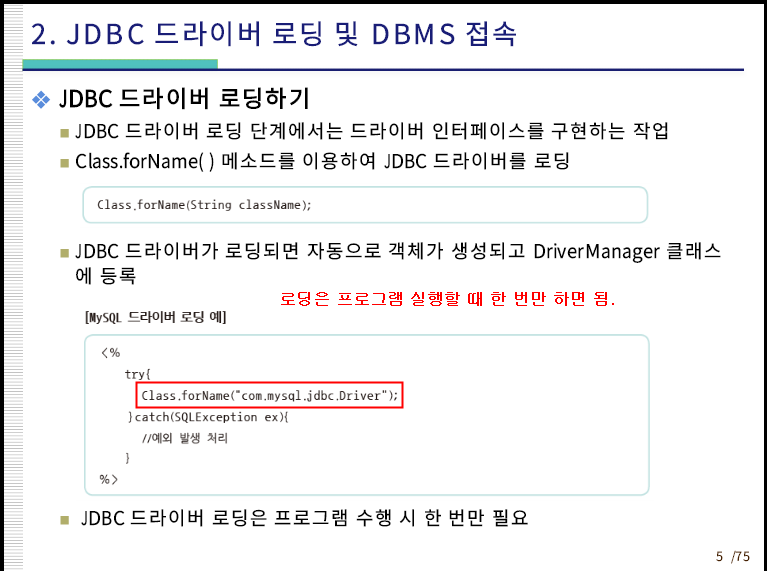
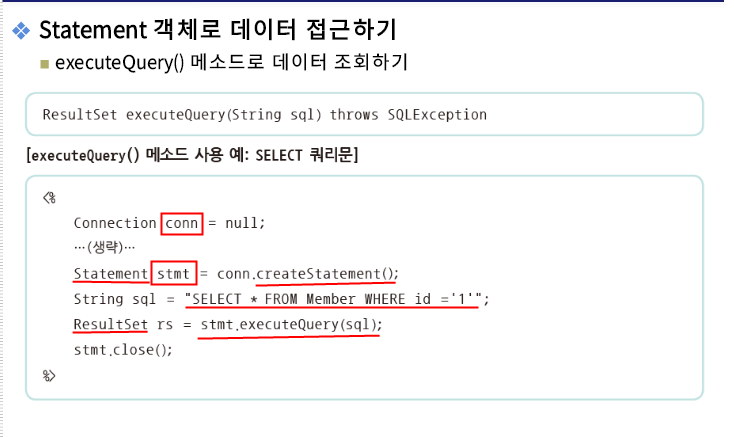
# JDBC

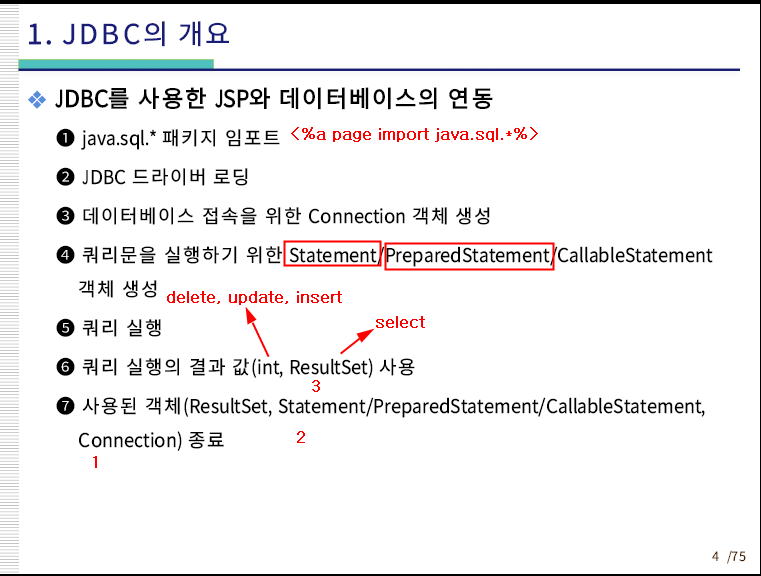


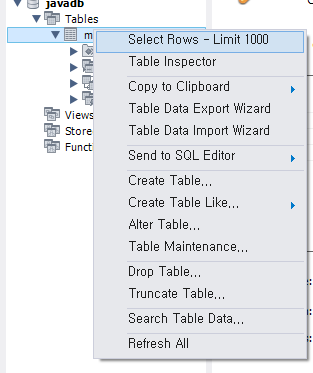
데이터베이스 쿼리 실행


create table

insert01
<%--
  Created by IntelliJ IDEA.
  User: admin
  Date: 2022-10-27
  Time: 오후 4:05
  To change this template use File | Settings | File Templates.
--%>
<%@ page contentType="text/html;charset=UTF-8" language="java" pageEncoding="UTF-8" %>

<!DOCTYPE html>
<html>
<head>
    <title>db사용하기</title>
    <link rel="stylesheet" href="https://cdn.jsdelivr.net/npm/bootstrap@5.2.2/dist/css/bootstrap.min.css">
    <script src="https://ajax.googleapis.com/ajax/libs/jquery/3.6.1/jquery.min.js"></script>
    <script src="https://cdn.jsdelivr.net/npm/bootstrap@5.2.2/dist/js/bootstrap.bundle.min.js"></script>
</head>
<body>
<form action="insert01_process.jsp" method="post">
    <label for="user-id">아이디 : </label>
    <input type="text" id="user-id" name="userId"><br>
    <label for="user-pw">비밀번호 : </label>
    <input type="text" id="user-pw" name="userPw"><br>
    <label for="user-name">이름 : </label>
    <input type="text" id="user-name" name="userName"><br>
    <button type="submit">전송</button>
</form>
</body>

</html>
insert01_process
<%--
Created by IntelliJ IDEA.
User: admin
Date: 2022-10-27
Time: 오후 4:09
To change this template use File | Settings | File Templates.
--%>
<%@ page contentType="text/html;charset=UTF-8" language="java" pageEncoding="UTF-8" %>
<%@ page import="java.sql.*"%>
<!DOCTYPE html>
<html>
<head>
<title>Title</title>
<link rel="stylesheet" href="https://cdn.jsdelivr.net/npm/bootstrap@5.2.2/dist/css/bootstrap.min.css">
<script src="https://ajax.googleapis.com/ajax/libs/jquery/3.6.1/jquery.min.js"></script>
<script src="https://cdn.jsdelivr.net/npm/bootstrap@5.2.2/dist/js/bootstrap.bundle.min.js"></script>
</head>
<body>
<%
Connection conn = null;
Statement stmt = null;
try {
String url = "jdbc:mysql://localhost:3306/javadb";
String user = "test1";
String passwd = "java505";
Class.forName("com.mysql.cj.jdbc.Driver");
conn = DriverManager.getConnection(url, user, passwd);
request.setCharacterEncoding("UTF-8");
String userId = request.getParameter("userId");
String userPw = request.getParameter("userPw");
String userName = request.getParameter("userName"); //받아주는 부분
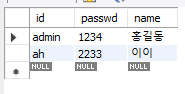
String sql = "INSERT INTO member(id,passwd,name)";
sql += "VALUES ('" + userId + "','" + userPw + "','" + userName + "')";
stmt = conn.createStatement();
stmt.executeUpdate(sql);
out.println("member 테이블에 추가가 성공했습니다.");
}
catch(SQLException e) {
out.println("Member테이블 추가가 실패했습니다.");
out.println("SqlException : " + e.getMessage());
}
finally {
if(stmt != null) {stmt.close();}
if(conn != null){conn.close();}
}
%>
</body>
</html>

이렇게 테이블만들고 나서 해야한다.