
리액트네이티브 스플래쉬스크린 적용하기편에 이어서 다크모드, 라이트모드에서 각 다른 스크린을 보여주기 위해서 분리를 해보았다.
분리하는 과정에서 특히 안드로이드는 구글링, 깃허브, 스택오버플로우, 유튜브를 뒤져서 갖은 방법을 다 써봤는데 스플래시스크린의 변화가 없어서 엄청나게 헤맸다.. 나처럼 RN 프로젝트를 하면서 같은 문제를 겪고 있는 사람들에게 조금이나마 도움이 되었으면 한다..!
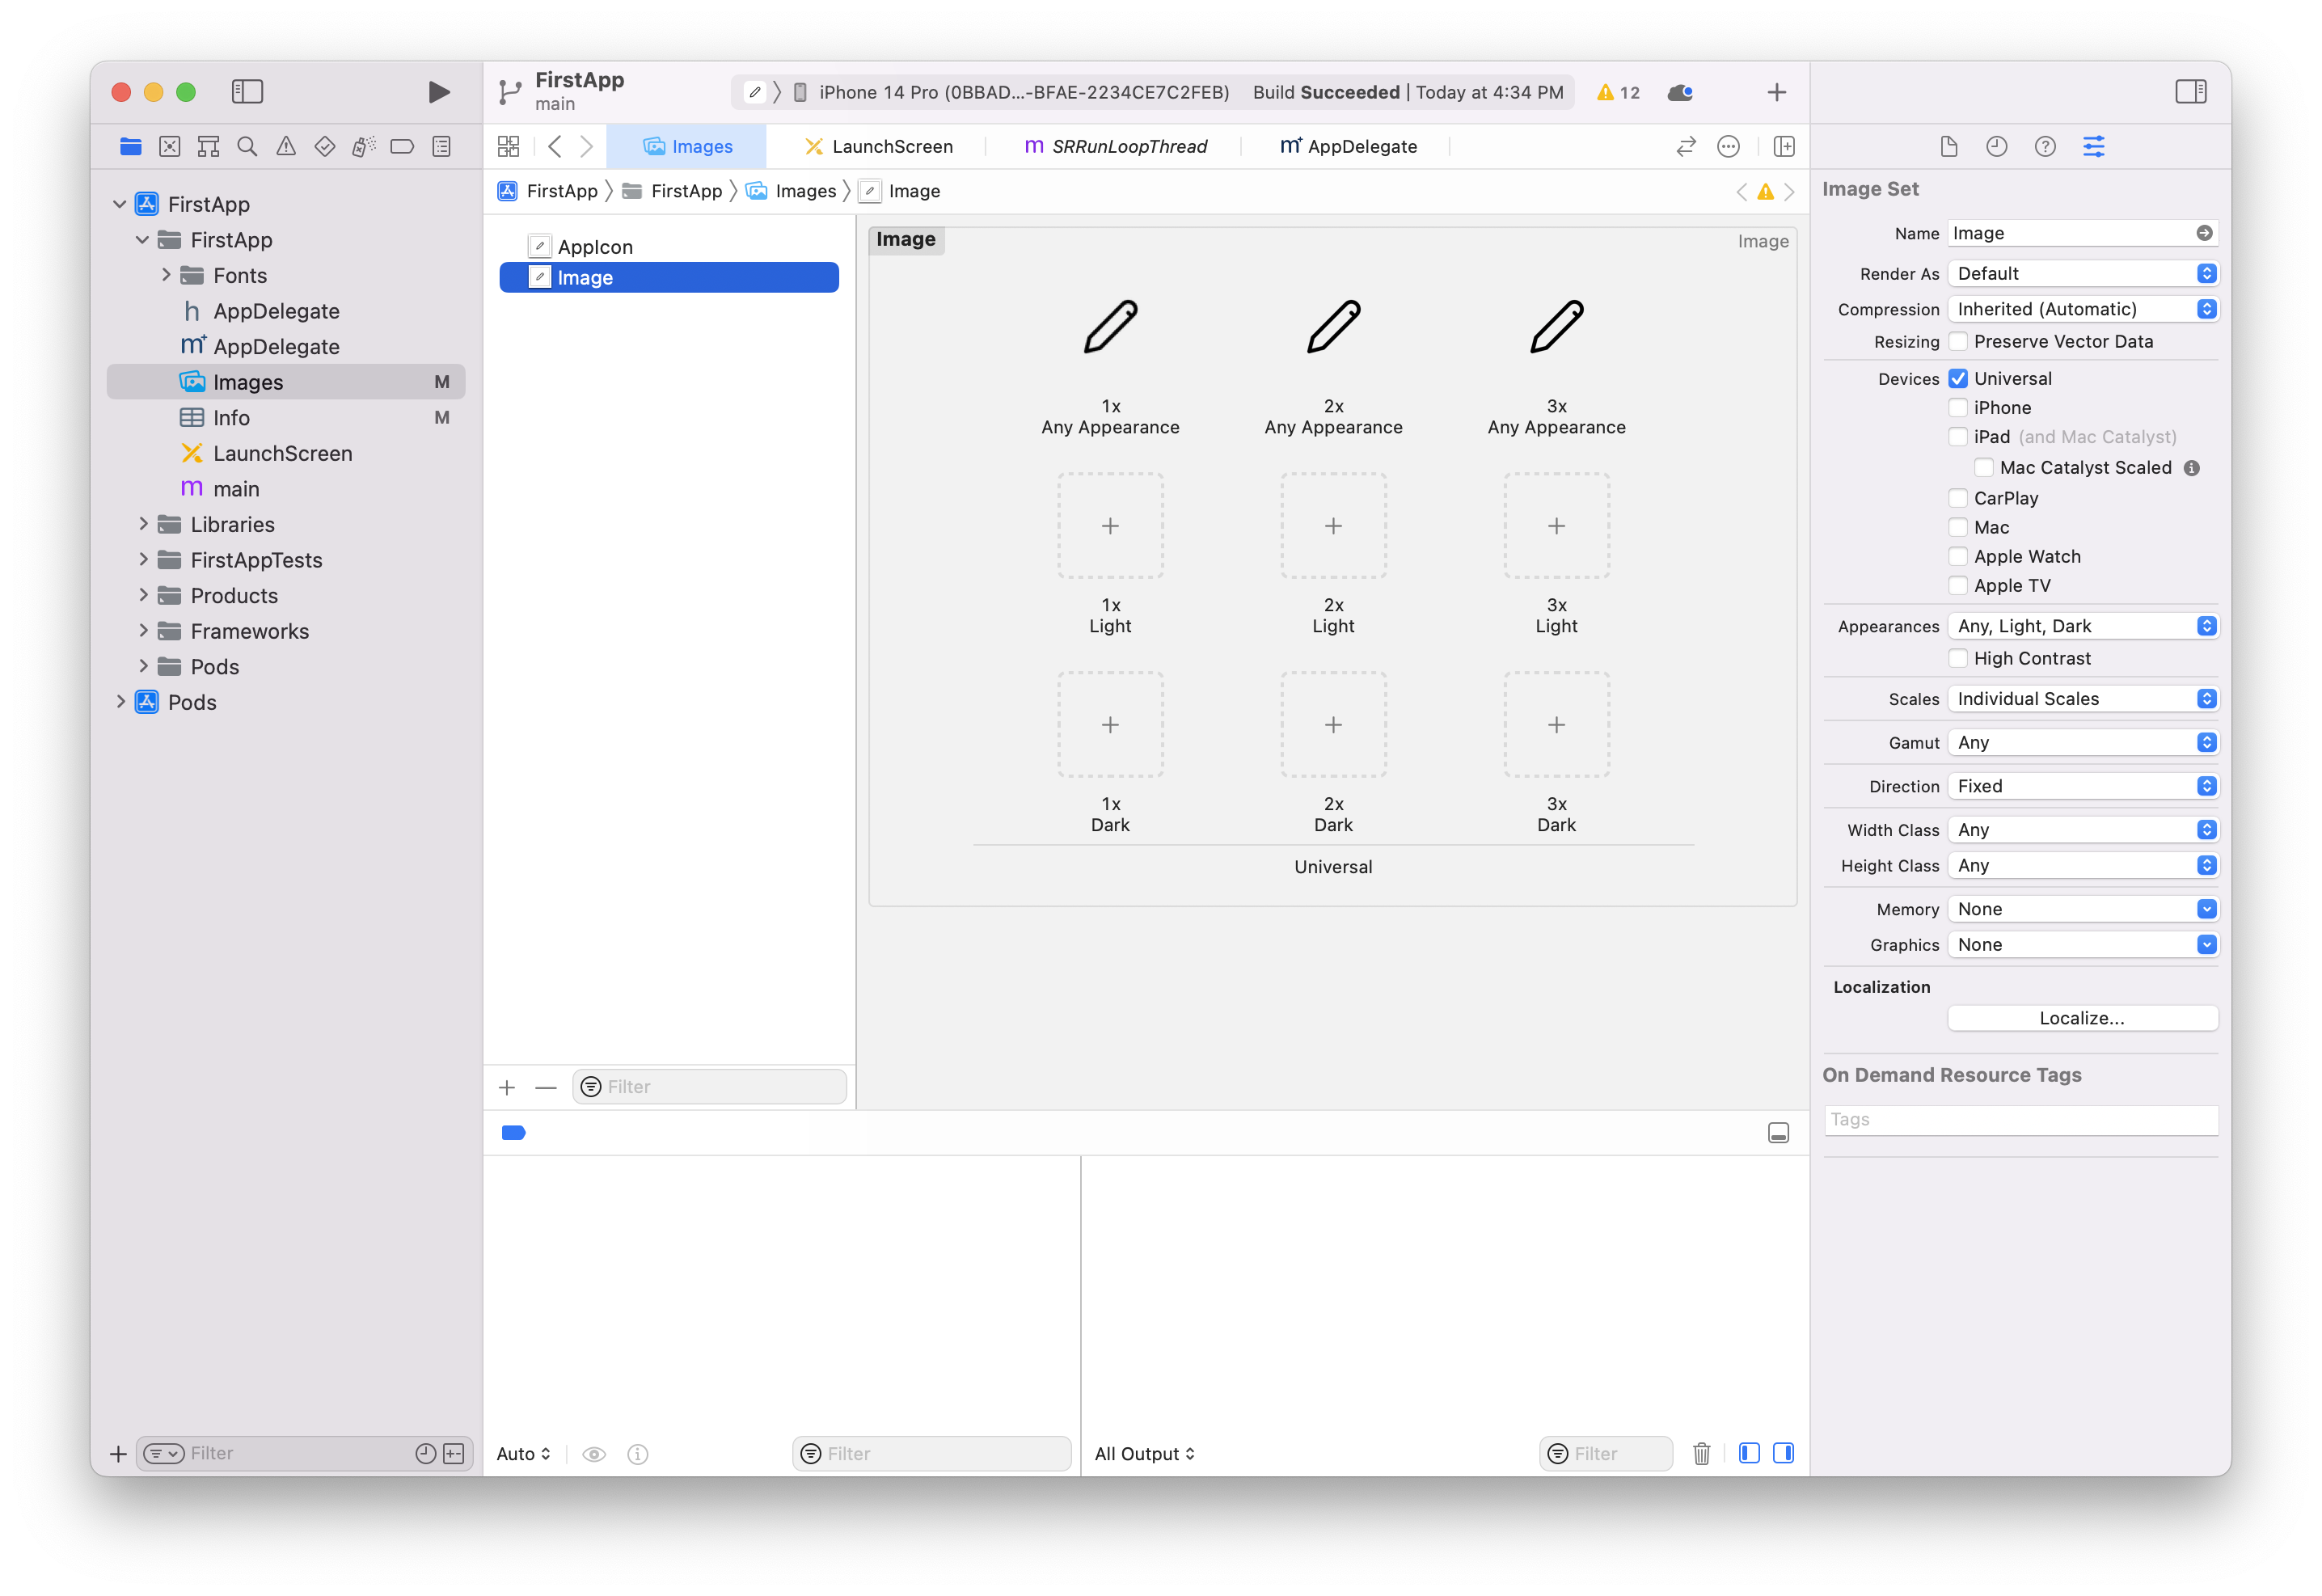
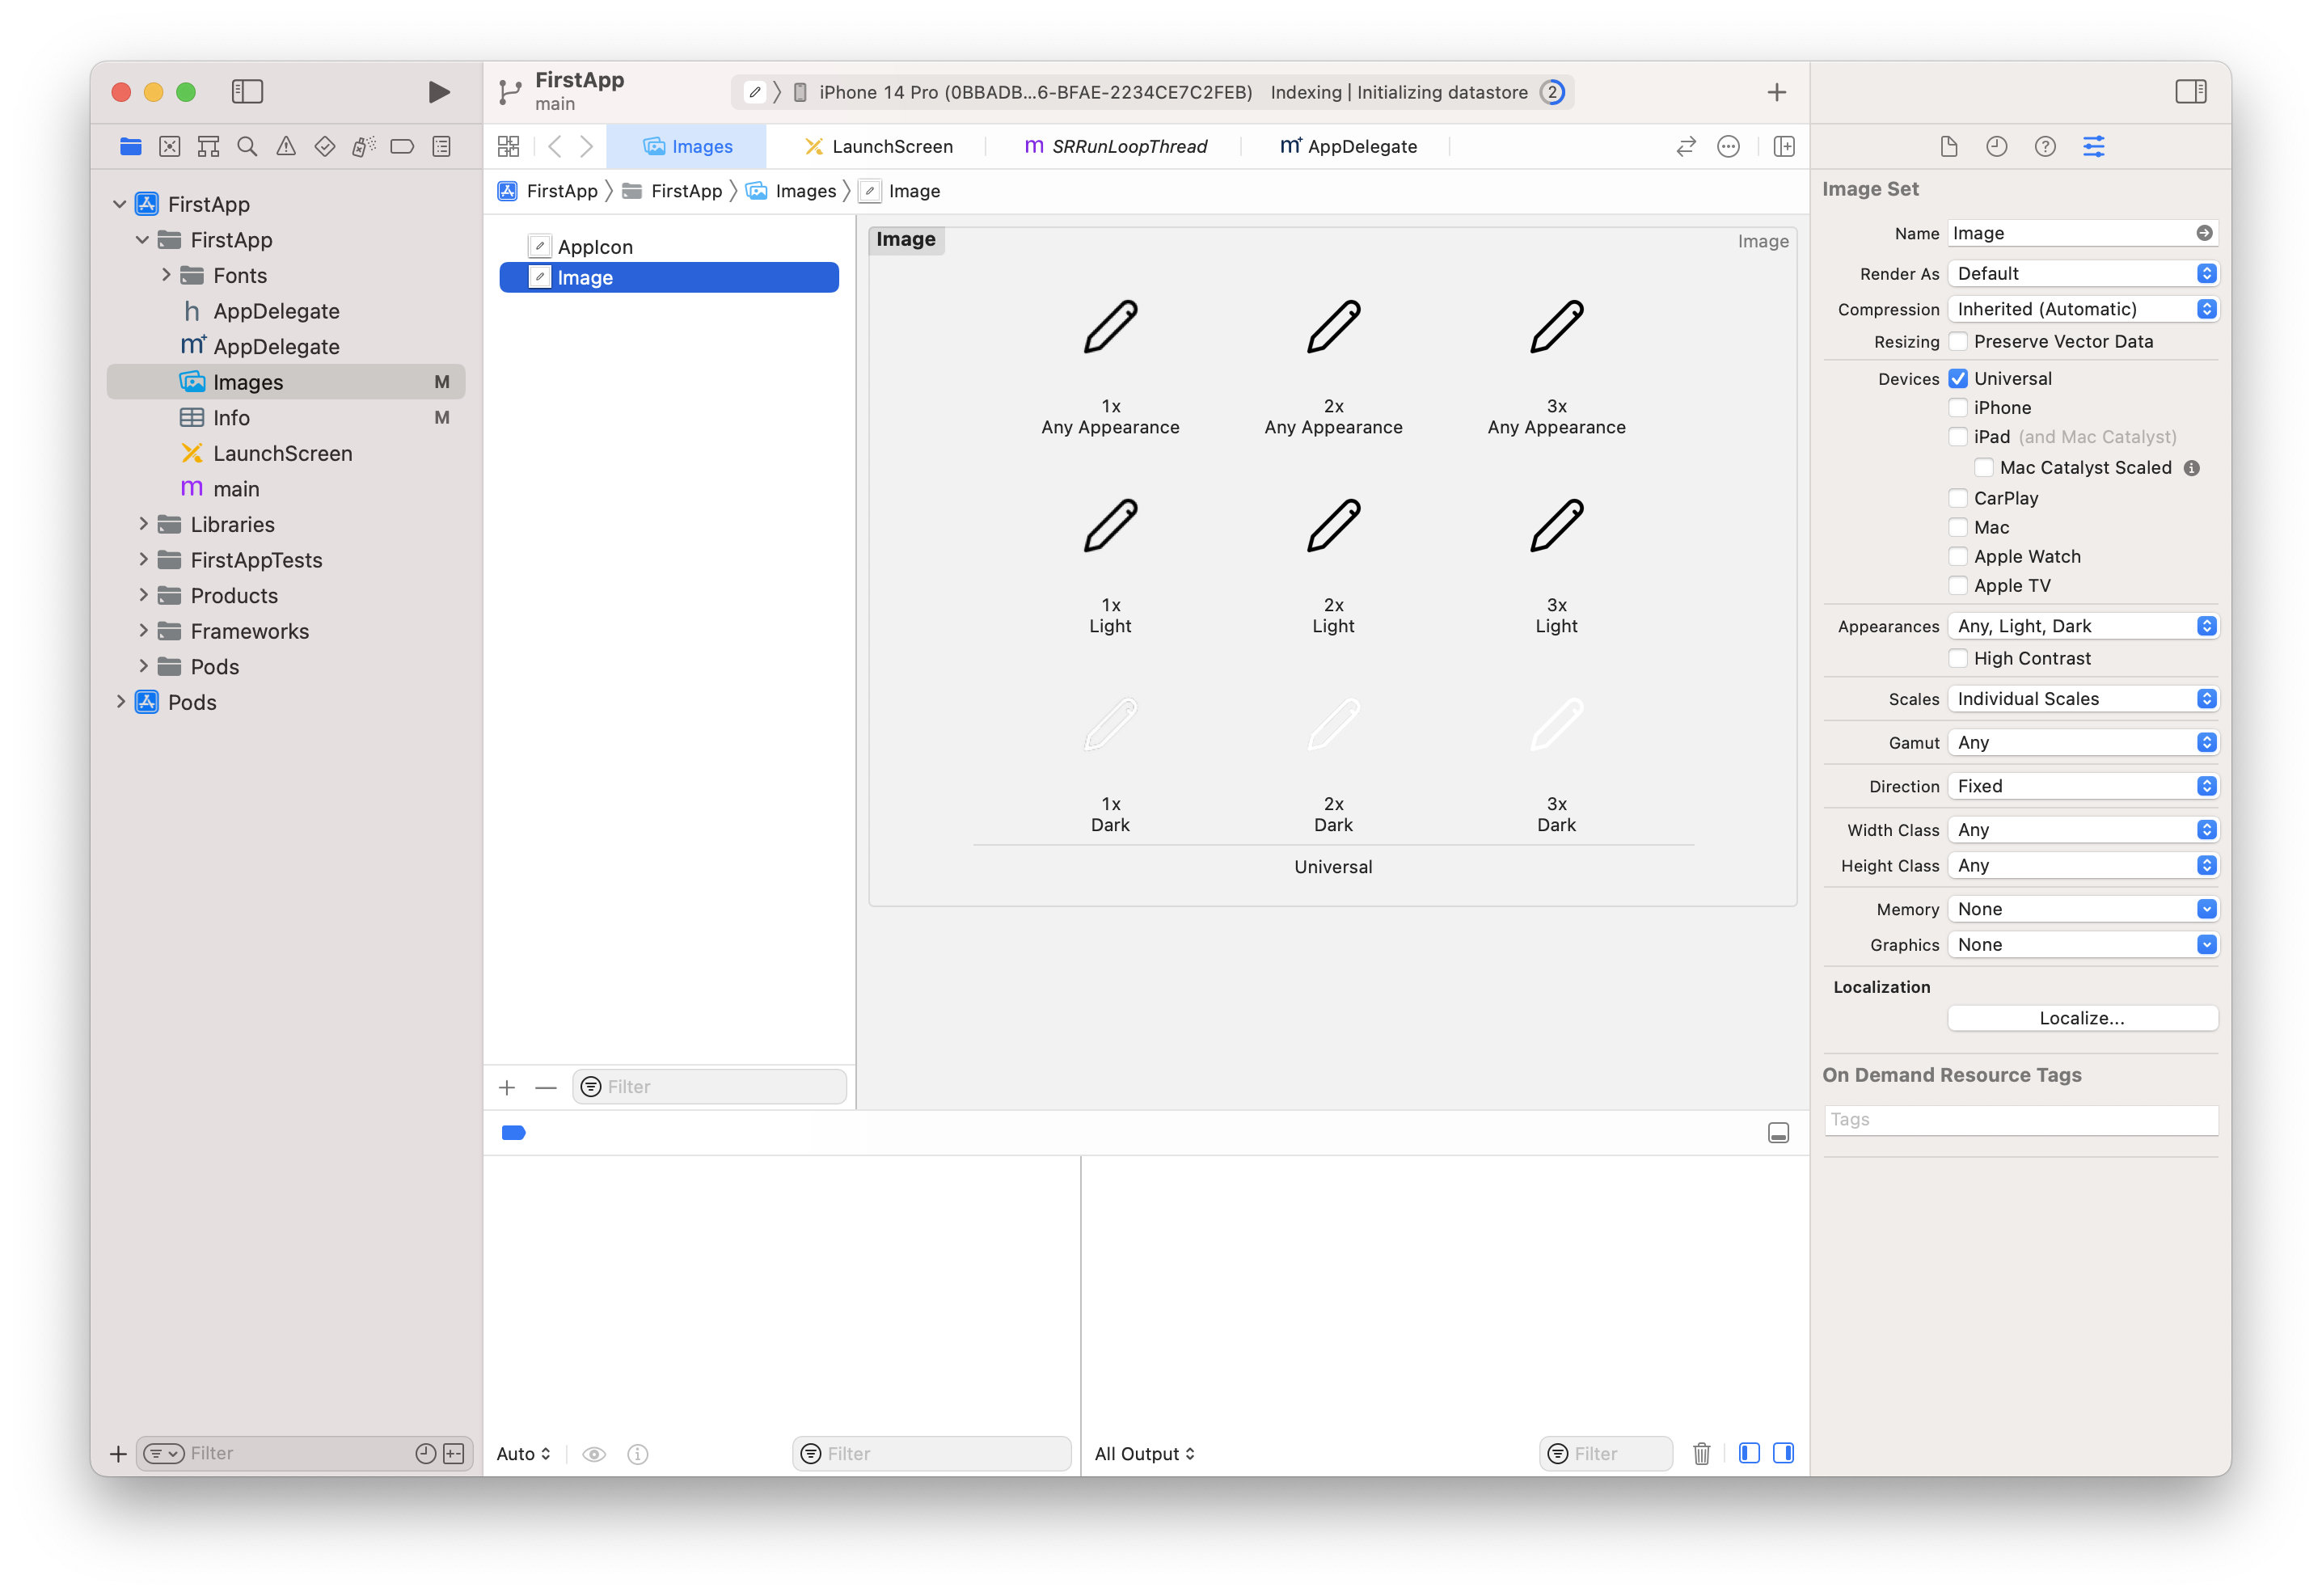
iOS
iOS에서 스플래시 스크린을 분리하는법은 굉장히 간단하다.
해당 프로젝트에서
xcode 실행하기
xed ./iosImages -> Appearance 변경하기
오른쪽 사이드바에 Appearance를 Any, Light, Dark로 변경하고 준비한 이미지들을 light모드 dark에 맞게 넣어주면 된다.
Android
styles.xml
[프로젝트명]/android/app/src/main/res/values/styls.xml 로 이동한다. 아래와 같이 Light mode와 Dark mode 스타일을 추가한다.
이미지는 drawable 폴더에 이미지를 두개 준비했다.
    res/
      drawable-xxxhdpi/
        dark_splash.png
        light_splash.png
      drawable-xxhdpi/
        dark_splash.png
        light_splash.png
      drawable-xhdpi/
        dark_splash.png
        light_splash.png
      drawable-hdpi/
        dark_splash.png
        light_splash.png
      drawable-mdpi/
        dark_splash.png
light_splash.png<resources>
<!-- Base application theme. -->
<style name="AppTheme" parent="Theme.AppCompat.DayNight.NoActionBar">
<!-- Customize your theme here. -->
<item name="android:editTextBackground">@drawable/rn_edit_text_material</item>
<item name="android:textColor">#000000</item>
<item name="colorAccent">#1e9f21</item>
<!-- 기존 안드로이드 배경 투명하게 바꾸기 -->
<item name="android:windowIsTranslucent">true</item>
</style>
<!-- Light mode -->
<style name="LightTheme" parent="AppTheme">
<item name="textColor">#000000</item>
<item name="colorAccent">#1e9f21</item>
<item name="backgroundColor">#ffffff</item>
<item name="launchImage">@drawable/light_splash</item>
</style>
<!-- Dark mode -->
<style name="DarkTheme" parent="AppTheme">
<item name="textColor">#ffffff</item>
<item name="colorAccent">#1e9f21</item>
<item name="backgroundColor">#000000</item>
<item name="launchImage">@drawable/dark_splash</item>
</style>
</resources>theme.xml 생성
styles.xml 와 같은 경로에 theme.xml 파일을 생성한다.
<?xml version="1.0" encoding="utf-8"?>
<resources>
    <attr name="textColor" format="color"/>
    <attr name="colorAccent" format="color"/>
    <attr name="backgroundColor" format="color"/>
    <attr name="splashBackgroundColor" format="color" />
    <attr name="launchImage" format="reference"/>
</resources>
MainActivity.java (Android 12 이상)
import android.os.Bundle; // add
import android.content.res.Configuration; // add
import org.devio.rn.splashscreen.SplashScreen; // add

public class MainActivity extends ReactActivity {

  @Override
  protected void onCreate(Bundle savedInstanceState) {
    // android 12
    androidx.core.splashscreen.SplashScreen.installSplashScreen(this);

    switch (
      getResources().getConfiguration().uiMode &
      Configuration.UI_MODE_NIGHT_MASK
    ) {
      case Configuration.UI_MODE_NIGHT_YES:
        setTheme(R.style.DarkTheme);

        break;
      case Configuration.UI_MODE_NIGHT_NO:
        setTheme(R.style.LightTheme);
        break;
      default:
        setTheme(R.style.LightTheme);
    }

    SplashScreen.show(this, true);
    super.onCreate(savedInstanceState);
  }
}
📌 안드로이드 12버전이상부터 스플래시스크린이 디폴트로 필수적인 기능이 되었다. 스플래시 스크린을 설정하지 않아도 기존 앱아이콘으로 스플래시스크린을 보여준다. 커스텀스플래시스크린을 사용한다면 디폴트로 나오는 스크린을 보이지 않게 설정해줘야 한다.
[프로젝트명]/android/app/build.gradle에 코드를 추가한다.dependencies { (...) // splashscreen implementation 'androidx.core:core-splashscreen:1.0.0-beta01' (...) }
MainActivity.java에 코드 추가 (위 MainActivity.java 복사하면 된다.)// android 12 androidx.core.splashscreen.SplashScreen.installSplashScreen(this);수정 전
수정 후
launch_screen.xml
theme.xml에서 만들어줬던 attr name으로 라이트/다크모드에 따라 설정해두었던 배경색과 이미지를 넣어준다.
중앙 정렬
android:gravity="center"
android:layout_gravity="center"
<?xml version="1.0" encoding="utf-8"?>
<RelativeLayout xmlns:android="http://schemas.android.com/apk/res/android"
android:layout_width="match_parent"
android:layout_height="match_parent"
android:gravity="center"
android:orientation="vertical"
android:background="?attr/backgroundColor">
<ImageView
android:layout_width="wrap_content"
android:layout_height="wrap_content"
android:layout_centerInParent="true"
android:layout_gravity="center"
android:scaleType="centerCrop"
android:src="?attr/launchImage" />
</RelativeLayout>AndroidManifest.xml
android:configChanges를 통해 uiMode configuration change를 감지한다. 이후 모두가 변경되면 onConfigurationChanged() 메소드가 호출된다. MainActivity.java에서 추가한 코드가 실행되면서 style이 변경된다.
<manifest xmlns:android="http://schemas.android.com/apk/res/android">

    <uses-permission android:name="android.permission.INTERNET" />

    <application
      android:name=".MainApplication"
      android:label="@string/app_name"
      android:icon="@mipmap/ic_launcher"
      android:roundIcon="@mipmap/ic_launcher_round"
      android:allowBackup="false"
      android:theme="@style/AppTheme">

      <activity
        android:name=".MainActivity"
        android:label="@string/app_name"
        android:configChanges="keyboard|keyboardHidden|orientation|screenLayout|screenSize|smallestScreenSize|uiMode"
        android:launchMode="singleTask"
        android:windowSoftInputMode="adjustResize"
        android:exported="true">
        <intent-filter>
            <action android:name="android.intent.action.MAIN" />
            <category android:name="android.intent.category.LAUNCHER" />
        </intent-filter>
      </activity>
    </application>
</manifest>
Result
Light mode
Dark mode
Reference
Dark mode Splash Screen
Android Studio
Dynamic splash screens