필요한 로직들을 다 추가한 줄 알았지만, 회의 후 아직 안 되어 있는 게 많았었다..
여러 이유들이 겹쳐 명세서를 꼼꼼히 작성하지 못한 탓인 것 같다
ㄴ 어라.. 명세서 다시 보니 있네.. 명세서를 꼼꼼히 확인하지 못한 탓이었닷..
만들어야 할 API
각 게임 데이터 clear
controller
controller에서는 header에 있는 값을 받아서 user를 service로 넘겨준다.
  @Delete()
  @ApiOperation({ summary: '자신의 상담 페이지 채팅 전체 삭제' })
  @UseGuards(AuthGuard('jwt'))
  @ApiBearerAuth('access-token')
  async clearChatting(@Req() request): Promise<boolean> {
    const user = request.user;

    return this.counselingService.deleteAllCounselings(user);
  }
service.ts
service에서는 controller에서 받아온 User로 id를 찾아준 후, deleteMany 해주었다!
  // 전체 삭제
  async deleteAllCounselings(user) {
    await this.prismaService.counseling.deleteMany({
      where: {
        user_id: user.id,
      },
    });

    return true;
  }
다른 데이터들에도 똑같이 적용해주면 끝!!

각 변경 데이터들
기존에는 비밀번호 변경만 있었는데, 스코어, 닉네임 등 더 많은 변경 데이터들이 필요하였다.
하지만 이미 구현되어 있던 비밀번호 변경 마저도 id, password 값을 받아와서 변경하는 식으로 구현이 되어 있어서 header에 보내주는 값을 이용하여 처리하는 로직으로 변경해주었다!
다 똑같은 로직이라 비밀번호 수정 로직만 투척!
스코어는 요청할 때마다 +1 하는 로직으로 구현하였다.
  // 비밀번호 수정
  async updateUserPassword(user: User, password: string): Promise<boolean> {
    const hashedPassword = bcrypt.hashSync(password, 10);
    await this.prismaService.user.update({
      where: { id: Number(user.id) },
      data: {
        password: hashedPassword,
      },
    });

    return true;
  }

  // 스코어 수정
  async updateUserScore(user: User): Promise<User | null> {
    return this.prismaService.user.update({
      where: { id: Number(user.id) },
      data: {
        score: user.score + 1,
      },
    });
  }
자주 대화한 키워드
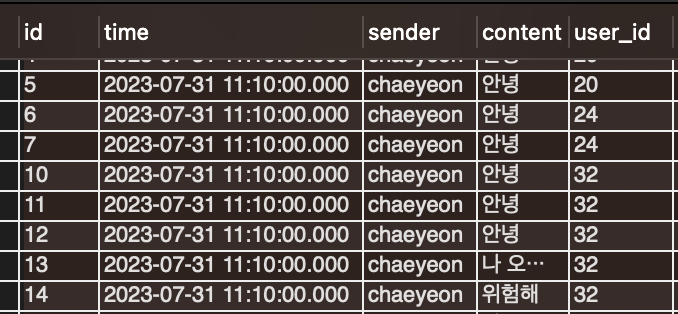
자주 대화한 키워드는 counseling에서 해당하는 user_id를 먼저 추출하고 거기에서 content를 뽑아 빈도수를 return 해주어야 했다!
살짝.. 아니 사실 조금 많이 GPT의 도움을 빌려보았다
지금까지는 where밖에 쓸 일이 없었는데 이번에 해당하는 컬럼을 가져와야 하여, select가 있는 것도 새롭게 알았다
service.ts
    const keywords = await this.prismaService.counseling.findMany({
      where: {
        user_id: user.id,
      },
      select: { content: true },
    });
=> counseling에서 user.id에 해당하는 애의 content 컬럼을 가져오는 코드이다.
    const keywordFrequencyMap: { [keyword: string]: number } = {};

    for (const counseling of keywords) {
      const words = counseling.content.split(/\s+/);

      for (const word of words) {
        const normalizedWord = word.toLowerCase();
        if (normalizedWord && normalizedWord.length > 1) {
          keywordFrequencyMap[normalizedWord] =
            (keywordFrequencyMap[normalizedWord] || 0) + 1;
        }
      }
}- keyword를 반복해서 돌리고, 공백들도 각각 구분하여 단어로 만든 후 그 단어들도 반복해서 돌린다.
- 그 이후 소문자로 변경해주고, 2글자 이상인 것들만 넣도록 한다.
- 배열에 해당하는 값이 없으면 0으로 바꾸고 +1, 있으면 그 값에 +1을 해준다.
    const sortedKeywords = Object.keys(keywordFrequencyMap).sort(
      (a, b) => keywordFrequencyMap[b] - keywordFrequencyMap[a],
    );

    const topKeywords = sortedKeywords.slice(0, 5);
    const keywordsWithCount = topKeywords.map((keyword) => ({
      keyword,
      count: keywordFrequencyMap[keyword],
    }));

    return keywordsWithCount;
=> 이후, 내림차순 정렬 해준 후 상위 5개만 잘라 { keyword: string; count: number }[] 타입으로 return!
controller.ts
controller에서 호출해주면 진짜 끝이다!!
  @Get('most-frequent')
  @ApiOperation({ summary: '자신의 상담 페이지 자주 등장한 키워드' })
  @UseGuards(AuthGuard('jwt'))
  @ApiBearerAuth('access-token')
  async getMostFrequentKeywords(
    @Req() request,
  ): Promise<{ keyword: string; count: number }[]> {
    const user = request.user;
    return this.counselingService.getMostFrequentKeywords(user);
  }