Swagger 정리
그동안 기능구현에 정신 팔려있어 Swagger 정리는 뒷전으로 미뤄놨었다
이렇게 되면 프론트가 보기 힘들테니 서치해보며 스웨거를 정리해봅시다
(+ token 싣기)
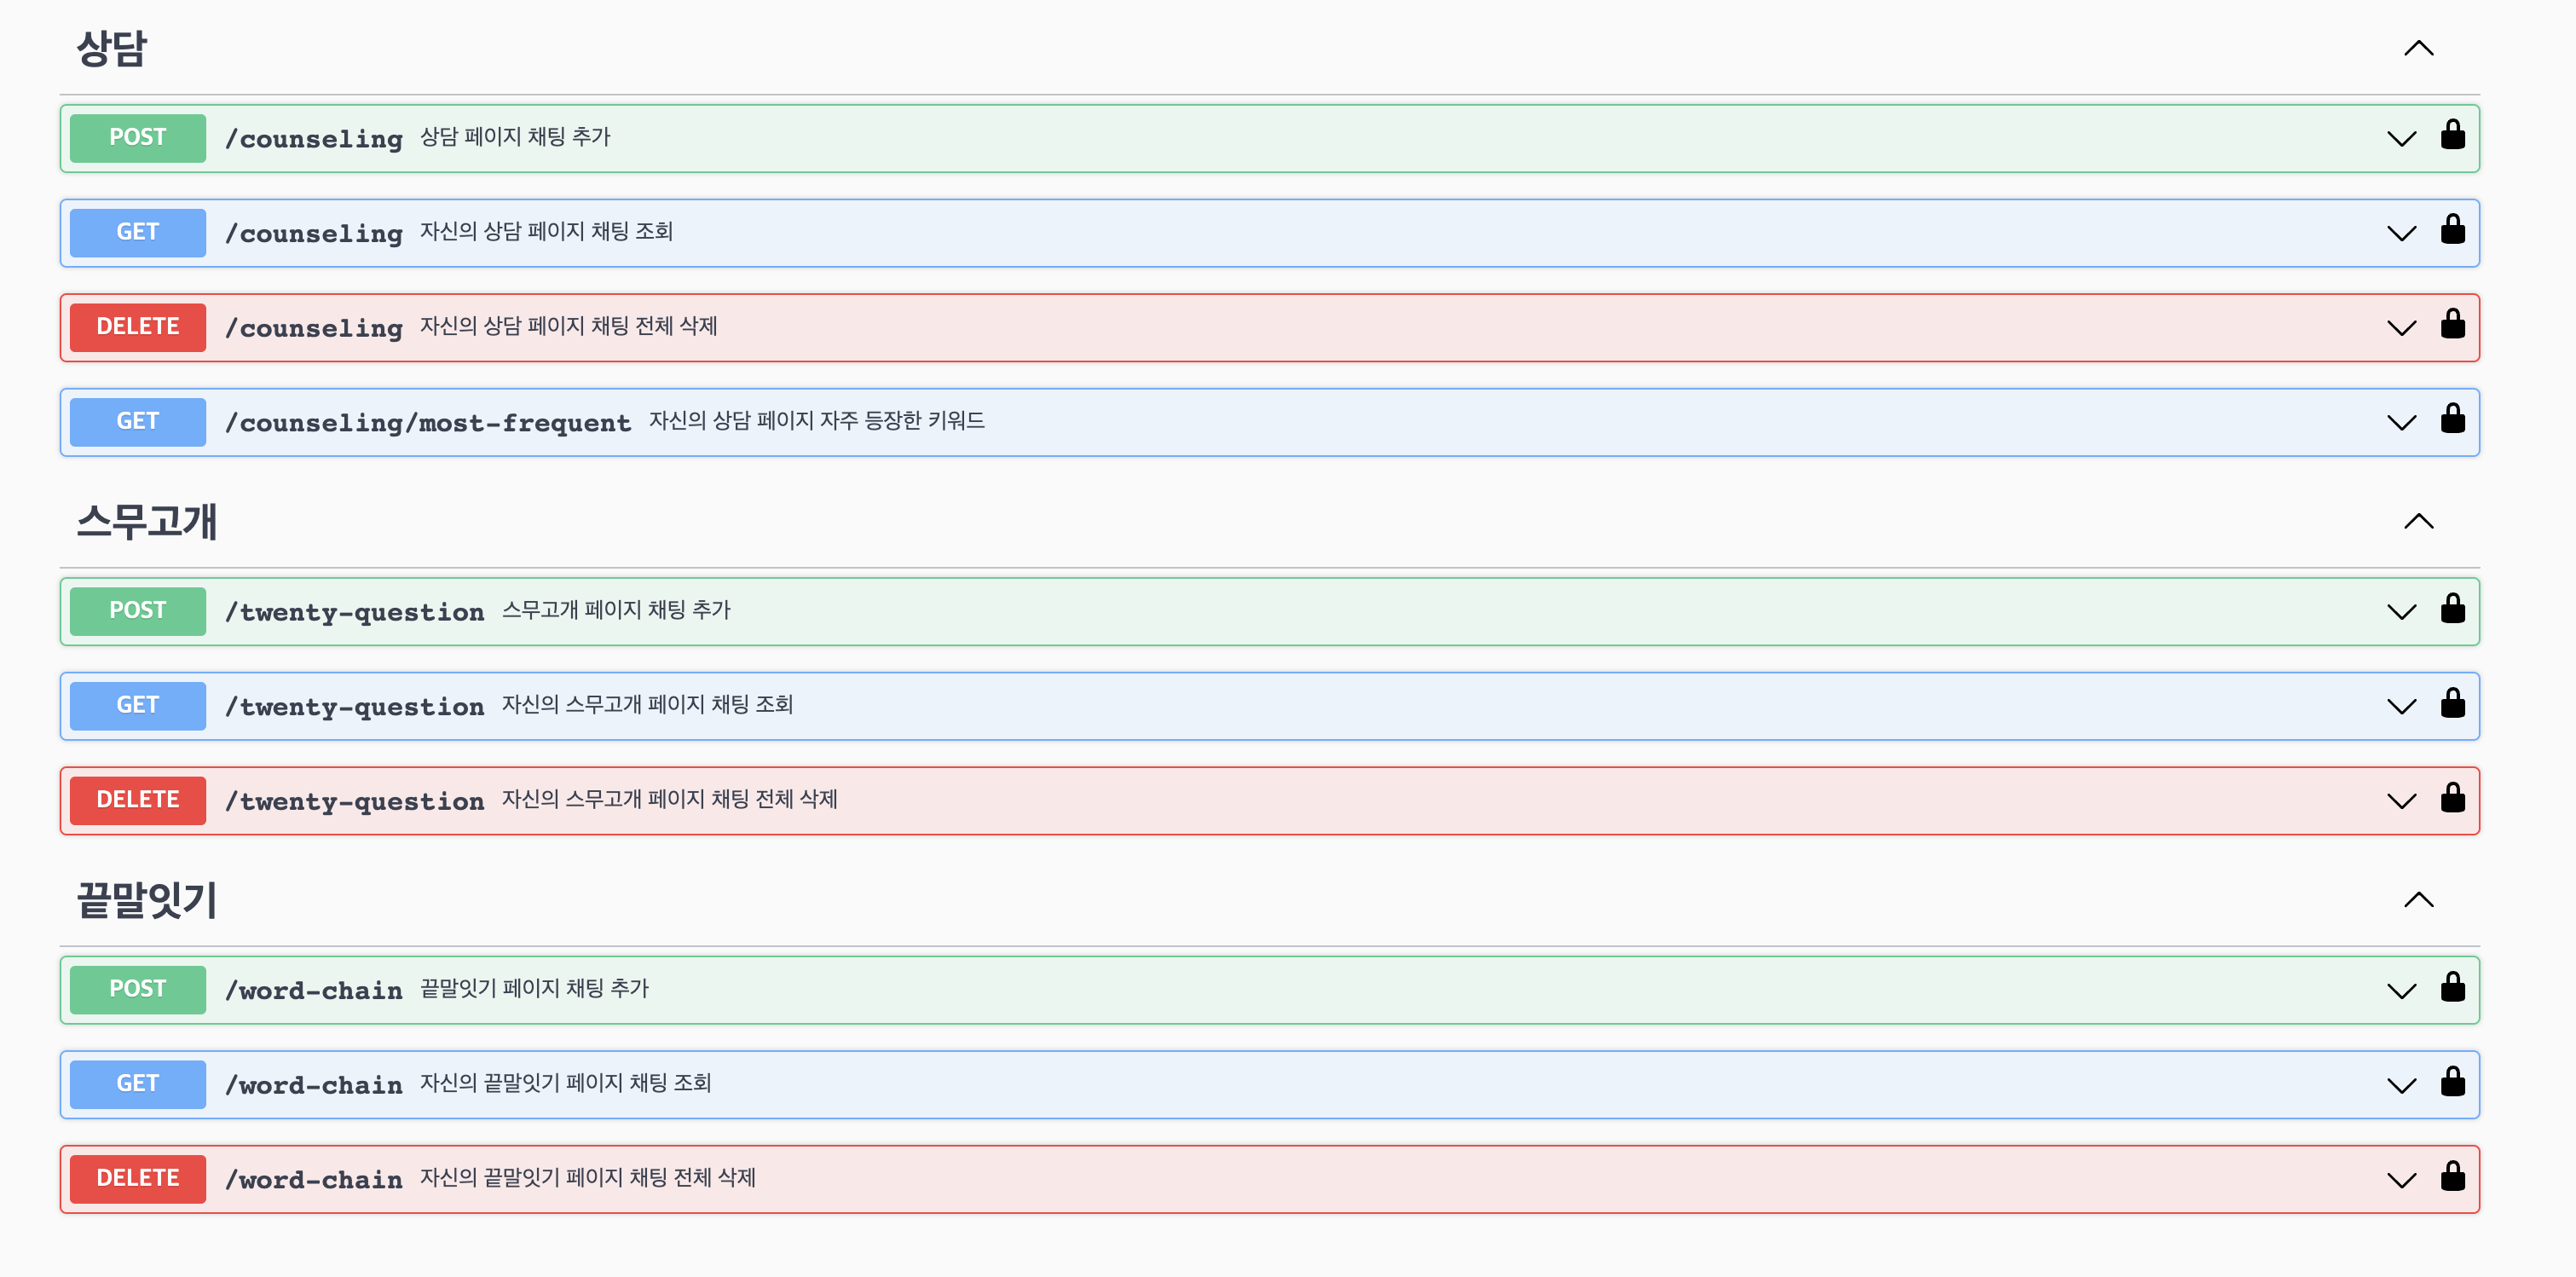
1. @ApiOperation
각 Api에 설명을 적게 도와준다
  @Post()
  @ApiOperation({ summary: '상담 페이지 채팅 추가' })
  @ApiBody({ type: CreateChatDto }
  async addChatting(
    @Body() data: Counseling,
  ): Promise<Counseling> {
    return this.counselingService.addChatting(data);
  }
이렇게 각 함수 위에 @ApiOperation을 달아주면

짜잔 이렇게 설명이 적힌다!!
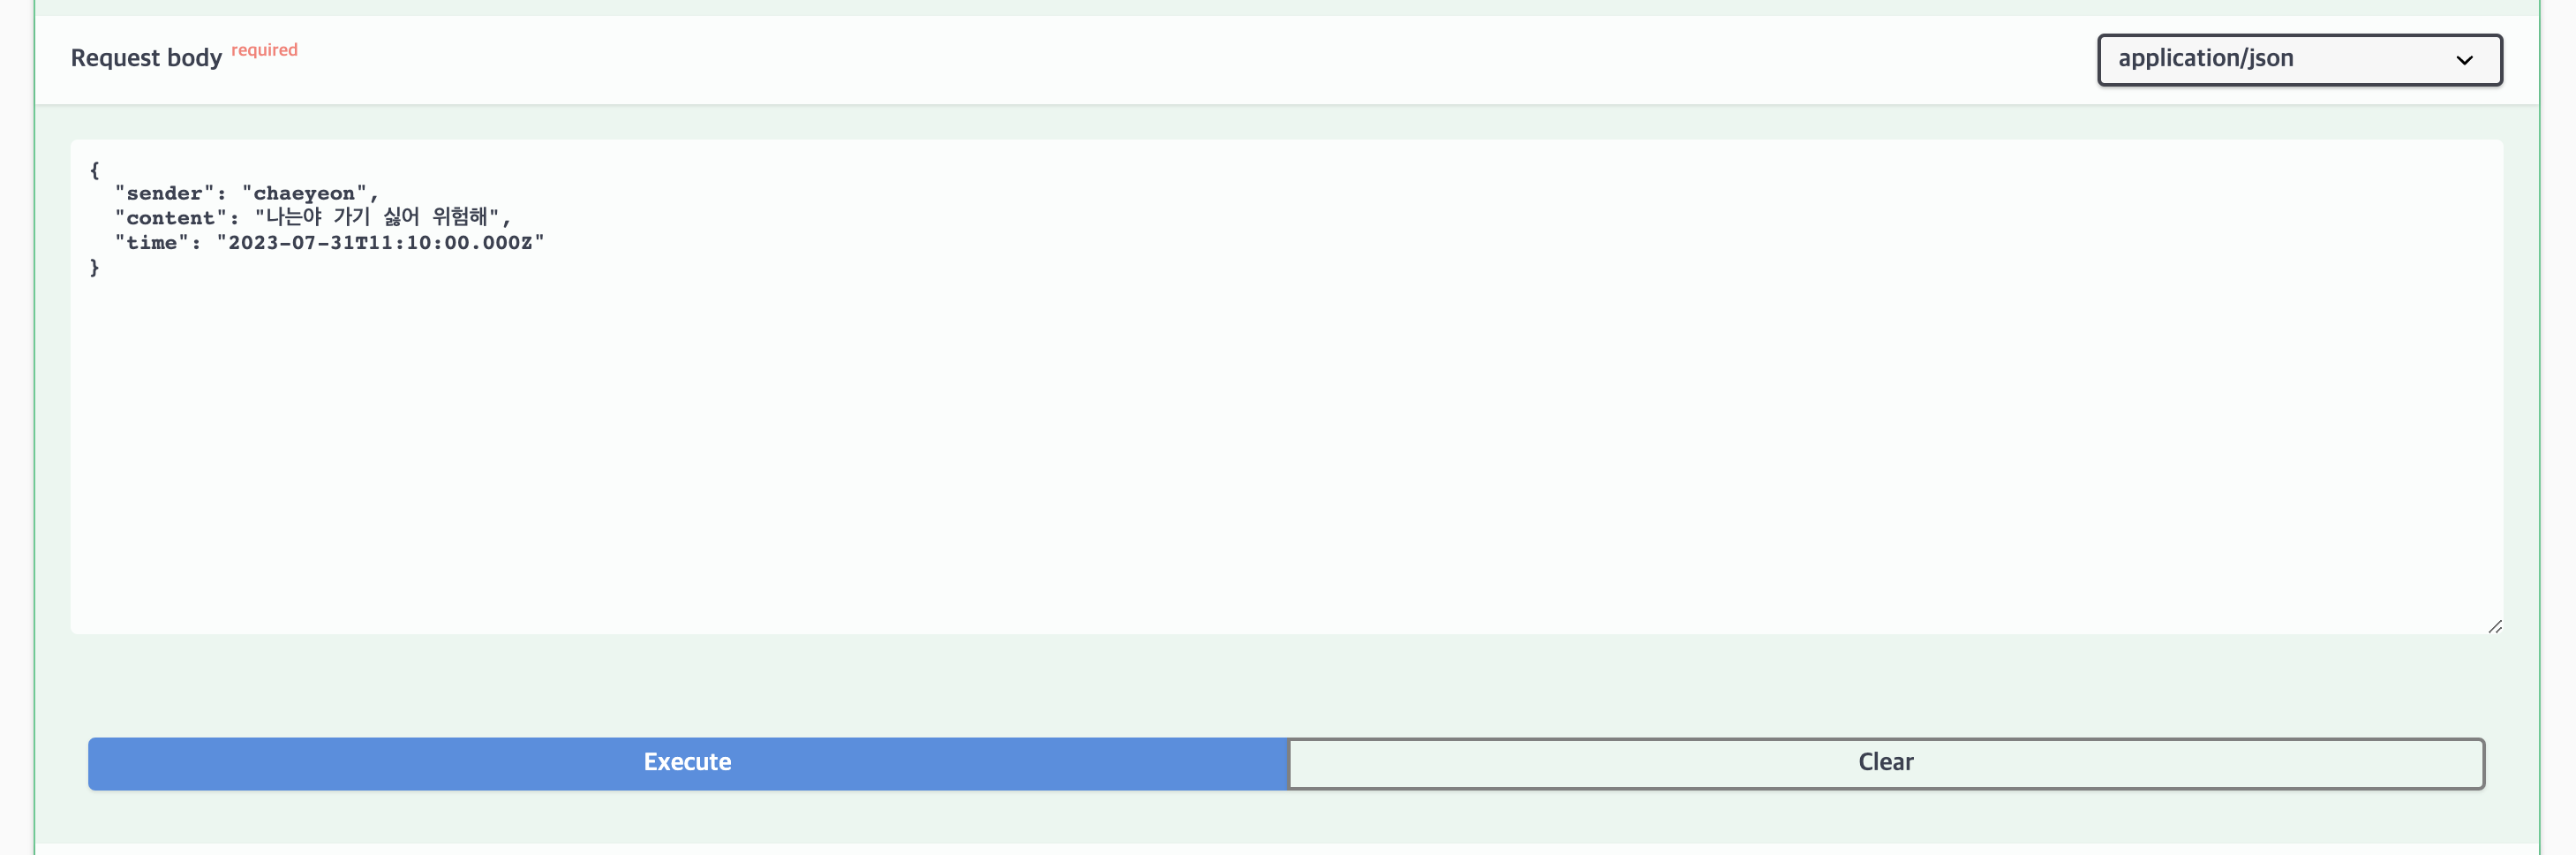
2. @ApiBody
Body에 값을 적어준다.
  @Post()
  @ApiOperation({ summary: '상담 페이지 채팅 추가' })
  @ApiBody({ type: CreateChatDto })
  async addChatting(
    @Body() data: Counseling,
    @Req() request,
  ): Promise<Counseling> {
    return this.counselingService.addChatting(data);
  }
나는 Dto 파일로 빼서 적어두었다
export class CreateChatDto {
  @ApiProperty({ description: 'sender', default: 'chaeyeon', required: true })
  sender: string;

  @ApiProperty({ description: '내용', default: '안녕', required: true })
  content: string;

  @ApiProperty({
    description: '시간',
    default: '2023-07-31T11:10:00.000Z',
    required: true,
  })
  time: Date;
}
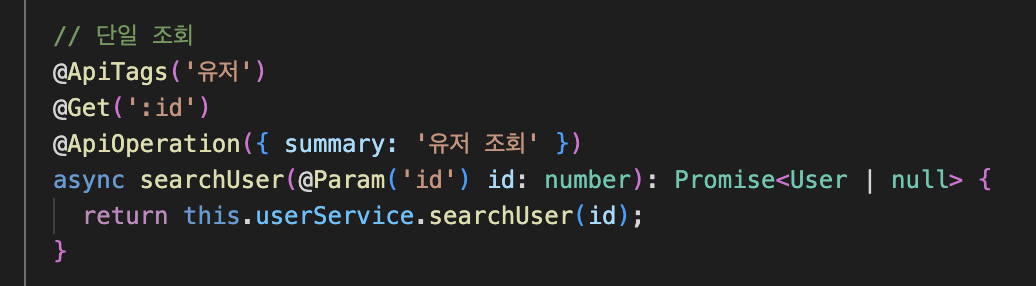
3. @ApiTags
tag 붙이고 싶은 거 위에 @ApiTags('상담') 적어주면 된다!
@Controller 위에도 적용된다!

당연히 각 메소드들 위에도 적용 가능
4. swagger에서 헤더에 토큰 추가하기
swagger 세팅 해놓은 사람들은 main.ts에 가면 이런 걸 볼 수 있을 것이다!
여기에 .addBearerAuth를 추가하고 뒤에 토큰 내용들을 적어준 후
  const config = new DocumentBuilder()
    .setTitle('Chaeyeon API')
    .setDescription('The cats API description')
    .setVersion('1.0')
    .addBearerAuth(
      {
        type: 'http',
        scheme: 'bearer',
        name: 'JWT',
        in: 'header',
      },
      'access-token',
    )
    .build();
사용할 Controller 위에
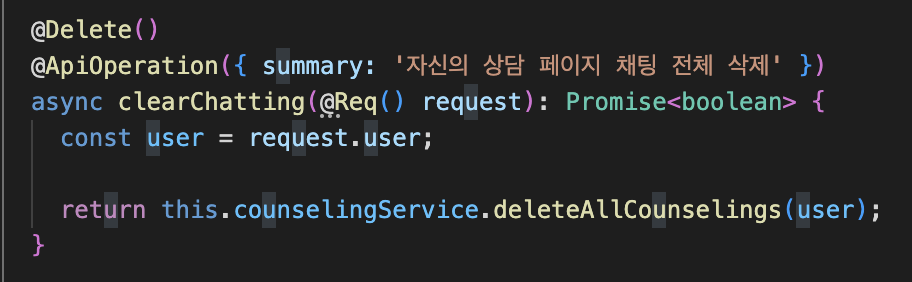
  @Post()
  @ApiOperation({ summary: '상담 페이지 채팅 추가' })
  @ApiBody({ type: CreateChatDto })
  @UseGuards(AuthGuard('jwt'))
  @ApiBearerAuth('access-token')
  async addChatting(
    @Body() data: Counseling,
    @Req() request,
  ): Promise<Counseling> {
    const user = request.user; // 현재 로그인된 사용자 정보

    return this.counselingService.addChatting(data, user);
  }
@ApiBearerAuth('access-token') 를 적어주면 완성!!

Hello Velog