서론
쓰게 된 이유
이전에 yarn berry 기반의 모노레포 구축하기라는 글을 간단하게 쓴 적이 있다.
그러나 yarn berry의 단점을 느끼며 pnpm으로 전환하게 되었다. 그 과정에 대해 간단하게 서술해보고자 한다.
전환 이유
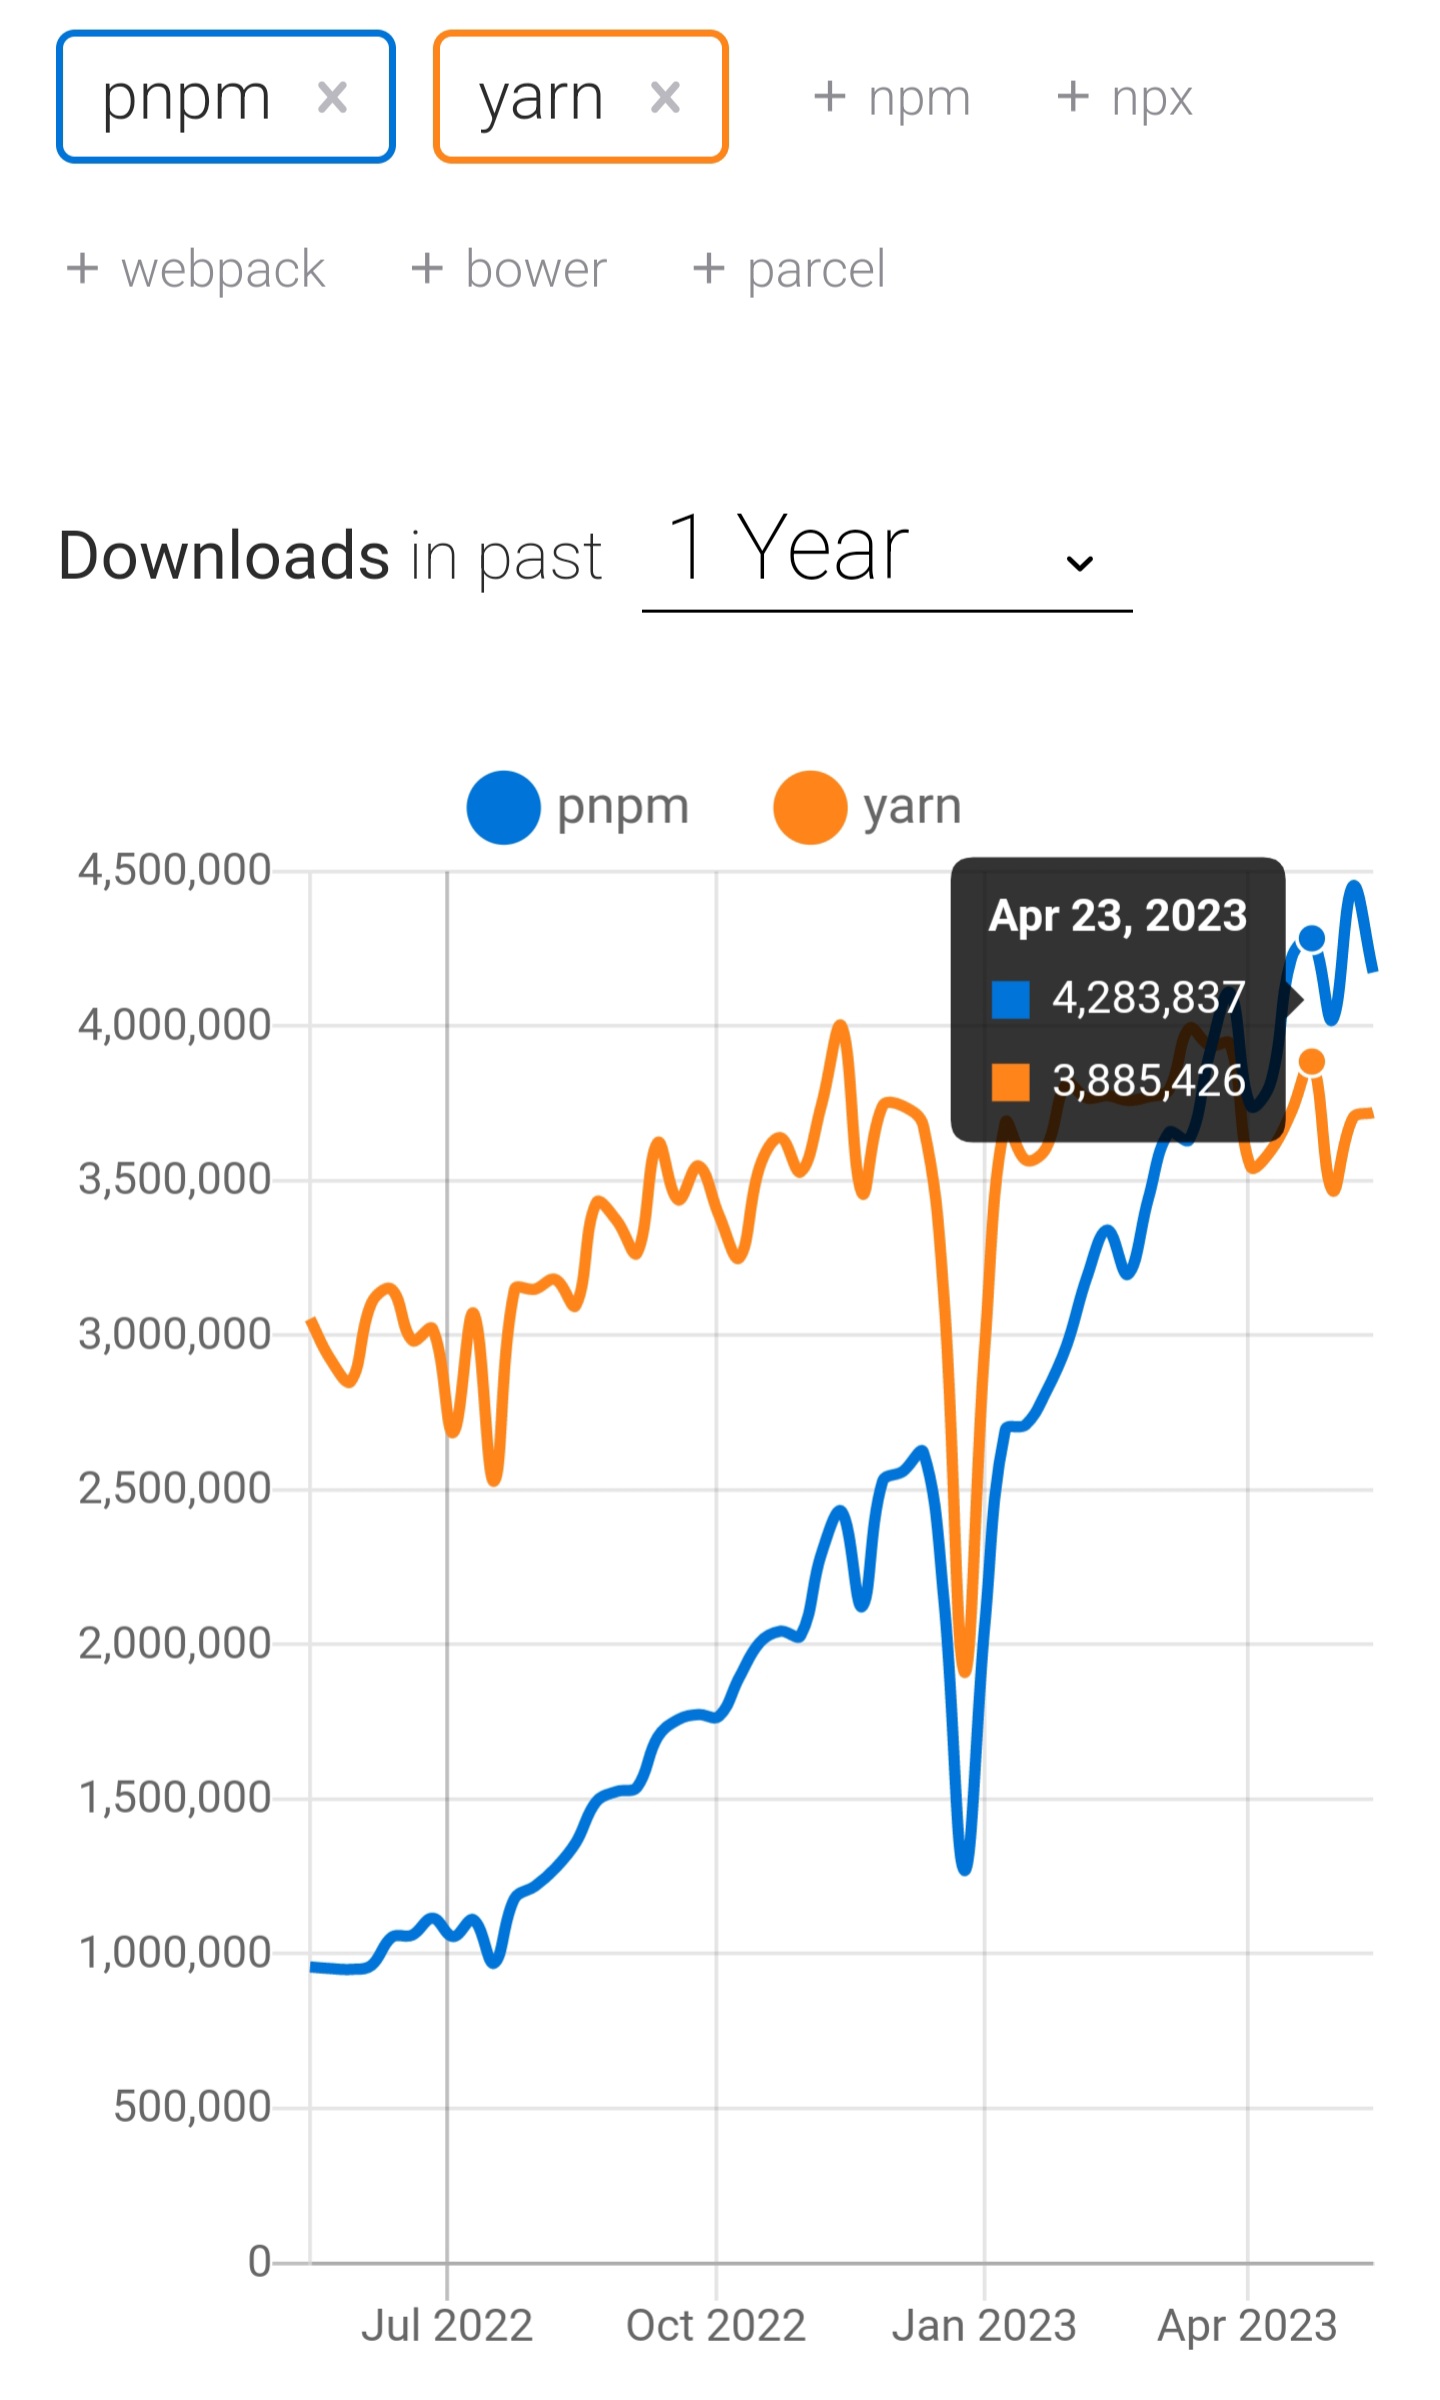
자세한 내용은 https://engineering.ab180.co/stories/yarn-to-pnpm 참조
레퍼런스 부족
자료가 너무 부족하다.
yarn보다 인기 있다!
호환성 문제
호환성 문제 때문에 nodeLinker: node-modules로 설정해 사용함. (사실 호환성 문제인지, 설정의 문제인지는 자세히 파악하지 못했는데, 레퍼런스가 너무 적었다.) 아무튼, 이렇게 쓸거면 굳이 yarn berry를 쓰는 이유가 있나 싶었음.
유령의존성
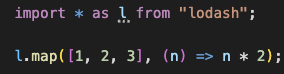
내가 설치하지 않은 lodash가 정상적으로 import되는 모습.
목표
그래서 pnpm 기반으로 간단하게 모노 레포를 구성해보고, vite 환경에서 만든 라이브러리를 next에서 import해보는 간단한 예쩨를 제작할 것이다.
프로젝트 구성
pnpm 설치
https://pnpm.io/ko/installation
공식 문서 보고 설치.
루트 구성
mkdir pnpm-mono-repo
cd pnpm-mono-repo
pnpm init
이렇게하면 package.json의 내용이 다음과 같이 구성된다.
{
  "name": "pnpm-mono-repo",
  "version": "1.0.0",
  "description": "",
  "main": "index.js", // 삭제
  "packageManager": "pnpm@8.5.1", // 추가
  "scripts": {
    "test": "echo \"Error: no test specified\" && exit 1"
  },
  "keywords": [],
  "author": "",
  "license": "ISC"
}main은 필요 없으니 지워주자. "packageManager": "pnpm@8.5.1"을 추가해주자.,
패키지 구성
루트에 pnpm-workspace.yaml을 만들고 다음과 같이 내용을 채워주자.
packages:
  # packages 폴더 하위 폴더를 전부 패키지로 본다.
  - 'packages/*'
packages 폴더도 만들어주자. 현재 폴더 구성은 다음과 같다.
.
├── package.json
├── packages
└── pnpm-workspace.yaml
next 환경 구축
cd packages
pnpx create-next-app@latest
설정은 이렇게 해주었다.
✔ What is your project named? … web
✔ Would you like to use TypeScript with this project? … No / Yes
✔ Would you like to use ESLint with this project? … No / Yes
✔ Would you like to use Tailwind CSS with this project? … No / Yes
✔ Would you like to use `src/` directory with this project? … No / Yes
✔ Use App Router (recommended)? … No / Yes
✔ Would you like to customize the default import alias? … No / Yes
✔ What import alias would you like configured? … @web/*
여기서 path alias를 @web/*으로한 이유는 추후 타 패키지를 가져와서 사용 시 절대 경로를 구분하기 위함이다.
vite 환경 구축
pnpm create vite core --template react-ts환경 구축 완료
의존성을 설치해주자. 어디서 사용하든 패키지 전체의 의존성을 설치해준다!!.
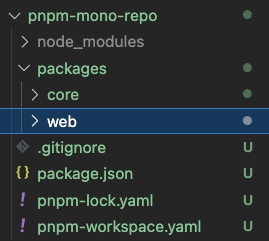
pnpm install폴더 구조는 다음과 비슷할 것이다.
.
├── package.json
├── packages
│   ├── core
│   │   ├── index.html
│   │   ├── package.json
│   │   ├── public
│   │   ├── src
│   │   ├── tsconfig.json
│   │   ├── tsconfig.node.json
│   │   └── vite.config.ts
│   └── web
│       ├── README.md
│       ├── next-env.d.ts
│       ├── next.config.js
│       ├── package.json
│       ├── public
│       ├── src
│       └── tsconfig.json
└── pnpm-workspace.yaml
core 패키지 개발
설치
path alias 및 d.ts 파일을 빌드 시 포함해주는 패키지 설치
pnpm add -D vite-tsconfig-paths vite-plugin-dtsvite.config.ts 구성
빌드 설정을 lib으로 해주고, ssr을 true로 만들어준다(next에서 사용할 것이기 때문!).
사실 이 부분은 별도의 라이브러리로 낼 게 아니면 필요가 없다. 만약 그런 경우라면 tsconfig만 추가하자.
import { defineConfig } from 'vite'
import react from '@vitejs/plugin-react'
import tsconfigPaths from 'vite-tsconfig-paths'
import dts from 'vite-plugin-dts'

// https://vitejs.dev/config/
export default defineConfig({
  plugins: [react(),tsconfigPaths(),dts()],
  build: { // optional
    ssr:true,
    lib: {
      entry: 'src/index.ts',
      name: 'index',
      formats: ['es']
    },

    rollupOptions: {
      external: ['react', 'src/stories/*','react-dom'],
      output: {
        globals: {
          react: 'React',
          'react-dom': 'ReactDOM'
        }
      }
    }
  }
})
tsconfig.json 수정
추가
"paths": {
      "@core/*": [
        "./src/*"
      ]
    }
package.json 수정
{
  "name": "@pnpm-test/core", // 수정
  "private": true,
  "version": "0.0.0",
  "type": "module",
  "main": "src/index.ts", // 추가
  "scripts": {
    "dev": "vite",
    "build": "tsc && vite build",
    "lint": "eslint src --ext ts,tsx --report-unused-disable-directives --max-warnings 0",
    "preview": "vite preview"
  },
  "dependencies": {
    "react": "^18.2.0",
    "react-dom": "^18.2.0"
  },
  "devDependencies": {
    "@types/react": "^18.0.28",
    "@types/react-dom": "^18.0.11",
    "@typescript-eslint/eslint-plugin": "^5.57.1",
    "@typescript-eslint/parser": "^5.57.1",
    "@vitejs/plugin-react": "^4.0.0",
    "eslint": "^8.38.0",
    "eslint-plugin-react-hooks": "^4.6.0",
    "eslint-plugin-react-refresh": "^0.3.4",
    "typescript": "^5.0.2",
    "vite": "^4.3.2",
    "vite-plugin-dts": "^2.3.0",
    "vite-tsconfig-paths": "^4.2.0"
  }
}
패키지 명도 수정해주고, 진입점을 추가해주자. 현재는 next js의 개발환경에서 사용할 것이므로 빌드 경로를 해줄 필요가 없다.
만약 별도의 라이브러리로 분리한다면 이렇게 되야할듯.
"main": "dist/index.js",
"types": "dist/index.d.ts",
삭제
초심으로 public과 src폴더의 내용을 지우자.
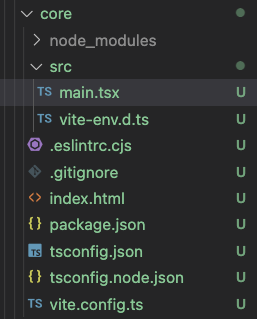
요렇게만 남겨 주었다. 사실 index.html과 main.tsx도 필요가 없긴 한데 storybook으로 테스트하기 귀찮아서 간단히 추가
나의 첫번째 모듈
색상
src/color.tsx
export const primary = '#0f62fe';버튼
src/Button.tsx
import { ReactElement } from "react";

export const Button = () : ReactElement => {
  return <button>Click Me</button>
}
내보내기 작성
src/index.ts
import { ReactElement } from "react";
import { primary } from "@core/color"; // 일부러 절대경로 예시를 보여주기 위해 작성

export const Button = () : ReactElement => {
  return <button style={{backgroundColor: primary}}>Click Me</button>
}
main.ts에서 예시 보기
src/main.ts
import React from 'react'
import ReactDOM from 'react-dom/client'
import { Button } from '.'

ReactDOM.createRoot(document.getElementById('root') as HTMLElement).render(
  <React.StrictMode>
    <Button/>
  </React.StrictMode>,
)
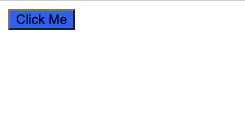
pnpm dev로 확인해보자.
web 개발
설치 및 구성
web패키지로 이동!!
pnpm add @pnpm-test/core이렇게 설치하면
{
  "name": "@pnpm-test/web", // 생각난김에 수정
  "version": "0.1.0",
  "private": true,
  "scripts": {
    "dev": "next dev",
    "build": "next build",
    "start": "next start",
    "lint": "next lint"
  },
  "dependencies": {
    "@pnpm-test/core": "workspace:^", // 추가됨
    "@types/node": "20.2.1",
    "@types/react": "^18.0.28",
    "@types/react-dom": "^18.0.11",
    "eslint": "^8.38.0",
    "eslint-config-next": "13.4.3",
    "next": "13.4.3",
    "react": "^18.2.0",
    "react-dom": "^18.2.0",
    "typescript": "^5.0.2"
  }
}
@pnpm-test/core가 추가됨을 확인 가능하다.
개발
이제 src/app/page.tsx로 이동해서 import 해보자!
내용을 대충 지워줬다.
import Image from 'next/image'
import styles from './page.module.css'
import { Button } from '@pnpm-test/core'
export default function Home() {
  return (
    <main className={styles.main}>
      <Button/>
    </main>
  )
}
경로 설정 추가
이 상태에서 실행하면 @core라는 경로를 읽지 못해 에러가 난다.
web의 tsconfig.json을 수정해주자
{
  "compilerOptions": {
    "target": "es5",
    "lib": [
      "dom",
      "dom.iterable",
      "esnext"
    ],
    "allowJs": true,
    "skipLibCheck": true,
    "strict": true,
    "forceConsistentCasingInFileNames": true,
    "noEmit": true,
    "esModuleInterop": true,
    "module": "esnext",
    "moduleResolution": "node",
    "resolveJsonModule": true,
    "isolatedModules": true,
    "jsx": "preserve",
    "incremental": true,
    "plugins": [
      {
        "name": "next"
      }
    ],
    "paths": {
      "@web/*": [
        "./src/*"
      ],
      "@core/*": [ // 추가
        "../core/src/*"
      ],
    }
  },
  "include": [
    "next-env.d.ts",
    "**/*.ts",
    "**/*.tsx",
    ".next/types/**/*.ts"
  ],
  "exclude": [
    "node_modules"
  ]
}
실행
pnpm dev로 실행해보자

결과
소스코드는 여기 참조
https://github.com/bluejoyq/react-examples/tree/master/pnpm-mono-repo
맞다. 사실 쓰다가 귀찮아서 좀 대충 쓴 면이 있따.