WebView 설정
인터넷 사용 허가 받기
- info에서 Supported interface orientation에서 Enter를 누르고 App Transport Security Settings를 입련한다.
- App Transport Security Settings 옆에 화살표를 누르고 Enter를 다시 누르고 Allow Arbitrary Loads를 입력하고 Value값을 YES로 변경한다.

WebView 띄우기
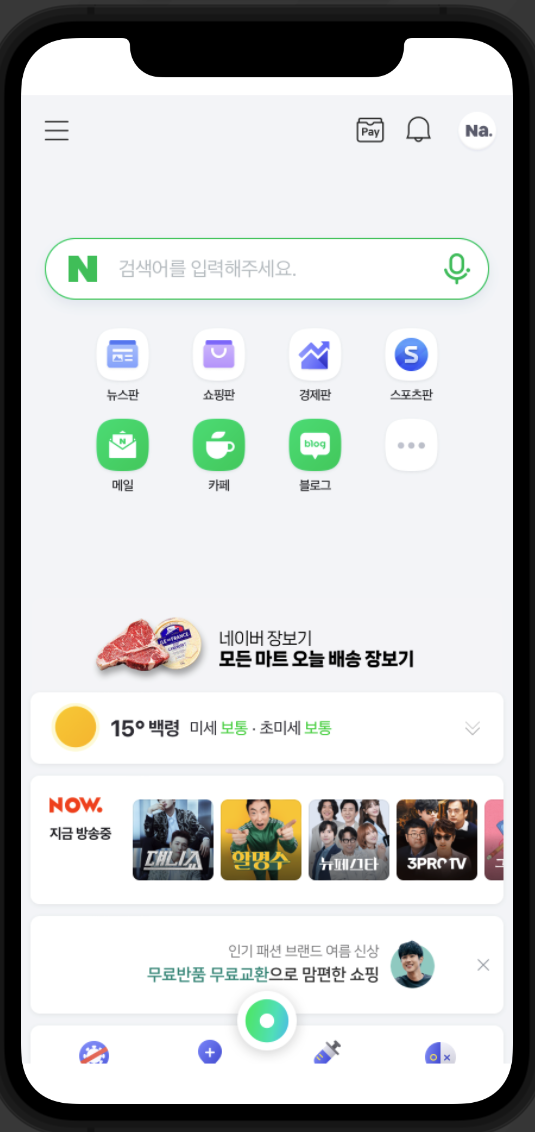
- Naver를 화면에 띄우기
\
struct MyWebView: UIViewRepresentable { // UIKit의 UIView를 사용할수 있도록 한다
    var urlToLoad: String
    // UI View 만들기
    func makeUIView(context: Context) -> WKWebView {
        guard let url = URL(string: self.urlToLoad) else { // unwrapping: self.urlToLoad 값이 없다면 WKWebView()를 반환 하고 아니면 url 인스턴스를 만들어준다.
            return WKWebView()
        }
        let webview = WKWebView() // 웹뷰 인스턴스 생성
        webview.load(URLRequest(url: url)) // 웹뷰를 로드
        return webview // 웹뷰를 반환
    }
    //업데이트 UI View
    func updateUIView(_ uiView: WKWebView, context: UIViewRepresentableContext<MyWebView>) {
    }
}
버튼을 이용하여 WebView띄우기
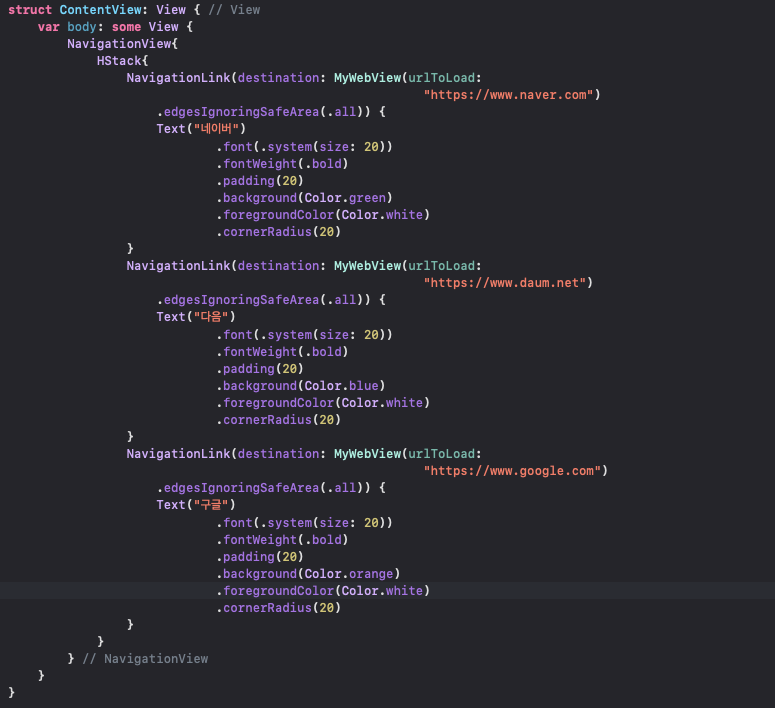
- 네비게이션을 이용하여 버튼을 생성한다
struct ContentView: View { // View
    var body: some View {
        NavigationView{
            HStack{
                NavigationLink(destination: MyWebView(urlToLoad:
                                                        "https://www.naver.com")
                    .edgesIgnoringSafeArea(.all)) {
                    Text("네이버")
                            .font(.system(size: 20))
                            .fontWeight(.bold)
                            .padding(20)
                            .background(Color.green)
                            .foregroundColor(Color.white)
                            .cornerRadius(20)
                }
                NavigationLink(destination: MyWebView(urlToLoad:
                                                        "https://www.daum.net")
                    .edgesIgnoringSafeArea(.all)) {
                    Text("다음")
                            .font(.system(size: 20))
                            .fontWeight(.bold)
                            .padding(20)
                            .background(Color.blue)
                            .foregroundColor(Color.white)
                            .cornerRadius(20)
                }
                NavigationLink(destination: MyWebView(urlToLoad:
                                                        "https://www.google.com")
                    .edgesIgnoringSafeArea(.all)) {
                    Text("구글")
                            .font(.system(size: 20))
                            .fontWeight(.bold)
                            .padding(20)
                            .background(Color.orange)
                            .foregroundColor(Color.white)
                            .cornerRadius(20)
                }
            }
        } // NavigationView
    }
}

끝없이 탐구하는 iOS 개발자 유재우입니다!