
📍 Express
#1. Express란?
Node.js의 프레임워크이다. 자바스크립트 프레임워크로 React, 자바 프레임워크로 Spring 등등이 있는 것처럼 Express는 Node.js를 빠르고 간결하게 사용할 수 있게 해준다.
#2. Express의 특징
- Express는 서버 사이드 프레임워크로 Node.js의 API를 단순화하고 유용한 기능을 추가해 쉽게 서버를 구축할 수 있게 해준다.
- 코드의 양을 줄여주고 유지 보수가 쉽게 해준다.
- 확장성을 지향한다. 불필요한 간섭이 없고 사용자가 필요한 라이브러리를 추가해서 확장 가능하다.
- HTTP request와 response를 컨트롤할 수 있다.
#3. Express 시작하기
#3.1. 설치
npm init
//package.json 파일을 작성한다.
npm install express --D
//디렉토리에 Express를 설치하고 dependencies 목록에 추가한다.
#3.2. 기본 Express 예제
// app.js
const express = require('express')
const app = express()
const port = 3000
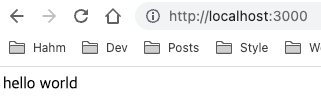
app.get('/', (req, res) => {
res.send('hello world');
})
app.listen(port, () => {
console.log(`Example app listening on port ${port}`)
})node app.js
http://localhost:3000/ 로 서버가 실행된다.
📍 Express에서 라우팅하기
🧐 라우팅이란?
URI 및 특정한 HTTP 요청 메소드의 특정 엔드포인트에 대해 애플리케이션이 응답하는 방법을 결정하는 것이다.
각 라우트는 하나 이상의 핸들러 함수를 가질 수 있다.
#1. Express 라우팅
#1.1. 라우트 정의
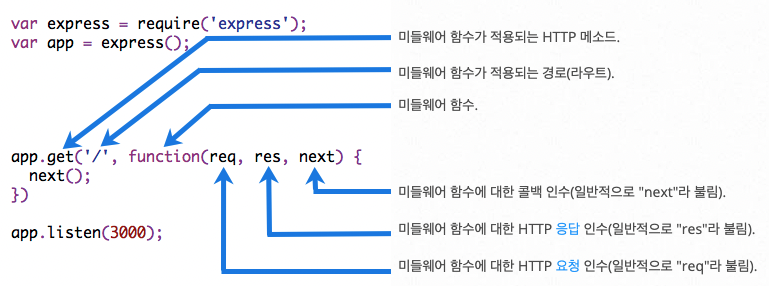
app.METHOD(PATH, HANDLER)**
- app: Express의 인스턴스
- METHOD: HTTP 요청 메서드
- PATH: 서버에서의 경로
- HANDLER: 라우트가 일치할 때 실행되는 함수
#1.2. 기본적인 라우팅
const express = require('express');
const app = express();
const port = 8080;

app.get('/', function (req, res) {
    res.send('Hello world!');
})

app.post('/', function (req, res) {
    res.send('Got a post request');
})

app.delete('/', function (req, res) {
    res.send('Got a delete request');
})

app.listen(port);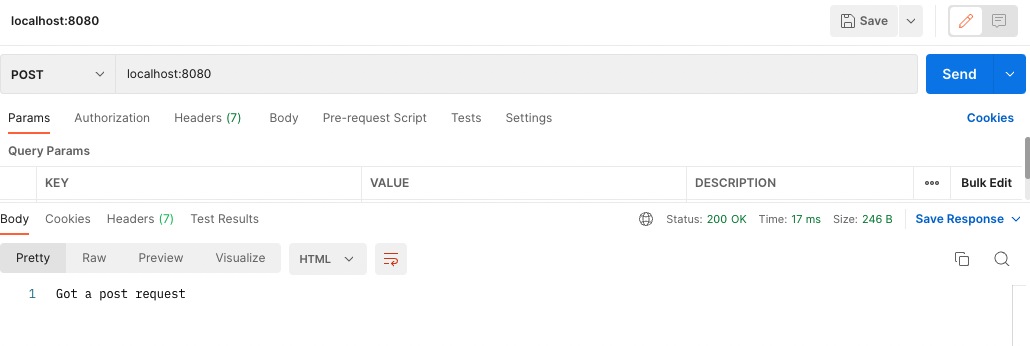
라우트할 경로와 메서드를 지정해서 일치할 경우 콜백함수를 실행한다.
#1.3 라우트 핸들러에서 여러 개의 콜백 함수 사용
let respond;
app.get('/example/a', function (req, res, next) {
    respond = 'the response will be sent by the next function ...';
    next();
}, function (req, res) {
    res.send(respond + '\nHello from a!');
});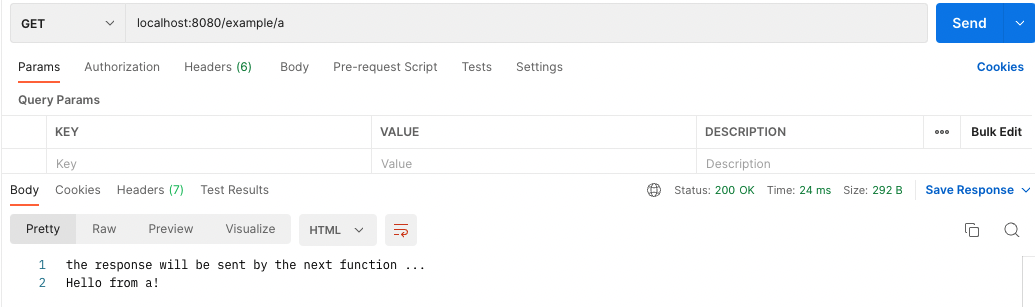
- 주의할 점은 next 오브젝트를 반드시 지정해야 한다.
res.send()
let respond;
app.get('/example/a', function (req, res, next) {
    respond = 'the response will be sent by the next function ...';
    res.send("end");
}, function A (req, res) {
    res.send(respond + '\nHello from a!');
});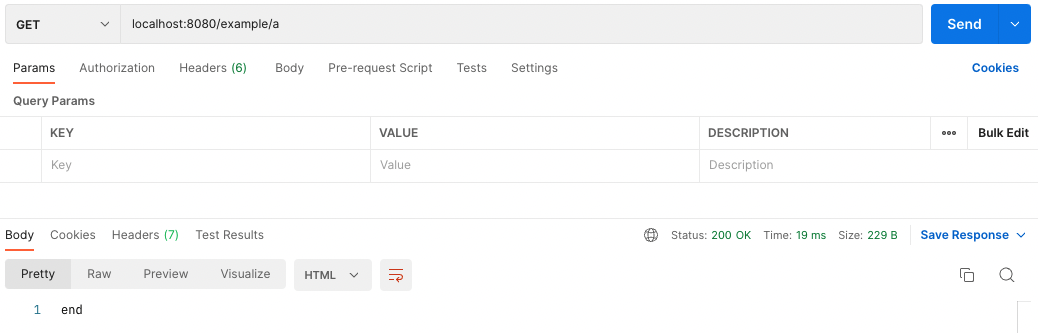
위 코드처럼 response를 먼저 보내주는 경우 다음 콜백함수가 실행되지 않는다.
const a = function (req, res, next) {
    console.log('a');
    next();
}
const b = function (req, res, next) {
    console.log('b');
    next();
}
const c = function (req, res, next) {
    console.log('c');
    res.send('hello from c!');
}

app.get('/example', [a, b, c]);
콜백 함수들을 배열 형태로 사용할 수도 있다.
app.route()
app.route('/book')
    .get(function (req, res) {
        res.send("get a random book");
    })
    .post(function (req, res) {
        res.send("add a book");
    })
    .put(function (req, res) {
        res.send("update the book");
    });
하나의 라우트에 여러개의 핸들러를 지정할 수 있다.
express.Router()
//app.js
const express = require('express');
const birds_router = require('./birds_router');
const birds_app = express();

birds_app.use('/birds', birds_router);
birds_app.listen(8080);
//birds_router.js
const express = require('express');
const router = express.Router();
router.use(function timeLog(req, res, next) { //middleware
console.log('Time: ', Date.now());
next();
})
router.get('/', function (req, res) {
res.send('birds home page');
})
router.get('/about', function (req, res) {
res.send('about birds');
})
module.exports = router;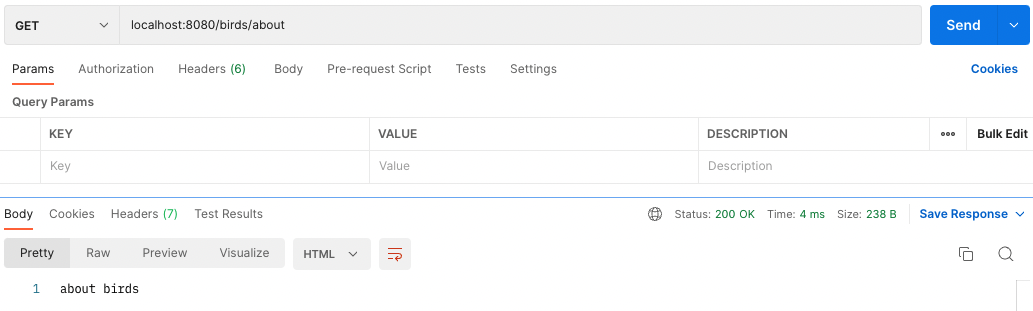
- localhost:8080/birds 는 birds home page를 보여주고,
- localhost:8080/birds/about 은 about birds를 보여준다.
express.Router 클래스를 사용해서 라우팅을 분리하고 코드를 가독성있게 작성할 수 있다.
📍 Middleware
#1. 미들웨어란?
'서로 다른 애플리케이션이 통신하는데 사용되는 소프트웨어'라고 말한다. Express 서버에서는 애플리케이션 요청에 응답하기 전 중간(middle)에서 목적에 맞게 처리하는 함수들을 말한다.
#1.1. 미들웨어의 특징
- 여러 미들웨어가 있으면 순차적으로 실행된다.
- res, req 객체를 변경할 수 있다.
#1.2. 미들웨어를 사용하는 상황
- POST 요청 등에 포함된 body를 쉽게 얻고자 할 때 (express 내장 미들웨어인 jsonParser를 사용한다.)
- 모든 응답/요청에 CORS 헤더를 붙여야 할 때
- 모든 요청에 대해 url이나 메서드를 확인할 때
- 요청 헤더에 사용자 인증 정보가 담겨있는지 확인할 때
#2. express 미들웨어 사용하기
#2.1. 애플리케이션 레벨 미들웨어
const myLogger = function (req, res, next) {
    console.log('LOGGED');
    next();
}
app.use(myLogger);

app.get('/', function (req, res) {
    res.send('hello world!');
})
myLogger는 모든 요청에 대해 실행되는 미들웨어 함수이다. request가 들어올 때마다 콘솔창에는 'LOGGED'가 출력된다.
app.use()
모든 요청에 대해 실행할 미들웨어 함수는 app.use()를 사용한다.
next()
위의 코드들에서도 보았듯이 미들웨어 함수에서 응답을 보내는 것이 아니라면 next()를 호출해서 다음 미들웨어 함수를 실행할 수 있도록 해야 한다.
#2.2. 미들웨어의 로드 순서
const myLogger = function (req, res, next) {
    console.log('LOGGED');
    next();
}

app.get('/', function (req, res) {
    res.send('hello world!');
})

app.use(myLogger);
만약 미들웨어 함수 myLogger의 로드를 바꾼다면 라우트 핸들러에서 이미 res.send()로 response를 보낸 다음 로드되었기 때문에 myLogger가 실행되지 않는다. 따라서 미들웨어 함수의 로드 순서를 신경써주어야 한다.
#2.3. 라우터 레벨 미들웨어
//birds_router.js
router.use(function timeLog(req, res, next) {
    console.log('Time: ', Date.now());
    next();
})

router.get('/', function (req, res) {
    res.send('birds home page');
})

router.get('/about', function (req, res) {
    res.send('about birds');
})
라우터에서 보았던 코드를 다시보면 애플리케이션 레벨이 아니라 라우터 레벨에서도 미들웨어를 사용할 수 있다.
express.json()
미들웨어를 사용하는 상황 [POST 요청 등에 포함된 body를 쉽게 얻고자 할 때]에서 express 내장 미들웨어를 사용한다고 했다.
원래는 body-parser 미들웨어를 사용했지만 따로 설치해주어야 하는 번거로움이 있어 Express v4.16.0 부터는 express.json()을 사용한다.
const jsonParser = express.json({strict: false});

app.use(jsonParser);
app.get('/', function (req, res) {
  res.json(`user is ${req.body.user}.`);
})
미들웨어 express.json()을 로드하고 라우트를 하면 request 객체의 body를 쉽게 가져올 수 있다.
- strict: false로 설정하면 JSON.parse 메서드가 parse할 수 있는 것이면 accept한다.
- default 값인 true일때는 array나 object만 accept한다.
app.get('/', function (req, res) {
    res.json(`user is ${req.body}.`);
})
예를 들어 request의 body로 "hello"를 보낸다면 strict: false일 때는 에러 없이 응답을 보낸다.
#3. Express로 CORS 설정하기
const cors = require("cors");
const app = express();

//모든 도메인에 대해 설정
app.use(cors());

//특정 도메인에 대해 설정
const options = {
  origin: "https://naver.com", //접근 권한을 부여할 도메인
  credentials: true, //응답 헤더에 Access-Control-Allow-Credentials를 추가
  optionSuceessStatus: 200, //응답 상태를 결정
};
app.use(cors(options));

//특정 요청에 대해 설정
app.get("/users/:id", cors(), function(req, res, next) {
  res.json({msg: "example" });
});
express에서는 cors 미들웨어를 사용해서 비교적 간단하게 cors 설정을 할 수 있다.
