mongoose
npm install mongoose --save공식문서의 설명에 따르면 elegant mongodb object modeling for node.js 라고 한다.
Mongoose provides a straight-forward, schema-based solution to model your application data. It includes built-in type casting, validation, query building, business logic hooks and more, out of the box.
schema, model
- schema(스키마) : 데이터에 대한 blue print
- model : 스키마를 바탕으로 구축되어 프로젝트에서 해당 스키마를 사용할 수 있게 해줌
스키마를 생성하자
react에서 atom을 설계해줬듯이 스키마를 설계해주자. 스키마를 설계하는 자세한 방법은 mongoose 공식문서를 참고하면 된다. 자료형을 설정하거나, 기본값 설정, 필수값으로 지정 등 다양한 옵션이 존재한다.
폴더 내에 새로운 파일을 생성해주었다. 이름은 todo.js로 작성.
const mongoose = require("mongoose");

const todoSchema = new mongoose.Schema({
  text: { type: String, required: true },
  isDone: { type: Boolean, required: true },
  groupId: { type: Number, required: true },
  dueDate: { type: Date, required: true },
  createDate: { type: Date, required: true },
});
위와 같이 스키마를 설계해준 다음 실제로 코드에서 사용할 수 있도록 모델에 스키마를 전달해야한다. model() 메서드에 넘겨주는 인자는 (컬렉션이름, 스키마)로 첫번째 문자열은 대문자로 시작할 필요는 없다. mongoose는 나중에 컬렉션이름 문자열(ex. Todo)를 소문자로 시작하는 복수형을 바꿔 연결한다. (-> todos 컬렉션)
module.exports = mongoose.model("Todo", todoSchema);다른 파일에서도 사용할 수 있도록 잊지말고 exports 해주자. 이제 mongodb 드라이버를 사용해서 직접 연결해주었던 로직을 mongoose를 사용하여 해보자.
DB에 데이터 삽입하기
const mongoose = require("mongoose");

const Todo = require("./models/todo");

mongoose
  .connect(
    "mongodb+srv://yeji:<비밀번호>@willing-db.ppf64bo.mongodb.net/todos_test?retryWrites=true&w=majority"
  )
  .then(() => console.log("Connected to database!"))
  .catch(() => console.log("Connection failed..."));

const createTodo = async (req, res, next) => {
  const newTodo = new Todo({
    text: req.body.text,
    isDone: req.body.isDone,
    groupId: req.body.groupId,
    dueDate: req.body.dueDate,
    createDate: req.body.createDate,
  });

  const result = await newTodo.save();

  res.json(result);
};

exports.createTodo = createTodo;mongoose.connect()는 연결하는 작업 외에 promise를 반환하므로 then()을 추가하자.
자세한 mongoDB와 연결은 Mongoose connecting 페이지를 참고
mongoose는 DB와 연결하는 커넥션 풀을 자동으로 생성해서 연결을 관리해준다. 따라서 모델로 객체를 만들어준 뒤, model 내에서 제공하는 save() 기능을 사용하여 DB에 데이터를 넣어주자.
모델에서 사용 가능한 기능에 대해서는 Mongoose model 페이지를 참고.
(나는 Date 객체를 직접 넣어주는 작업을 POSTMAN으로 하기 번거로워 스키마 내에 기본값을 설정해주었다.)
const todoSchema = new mongoose.Schema({
  text: { type: String, required: true },
  isDone: { type: Boolean, required: true },
  groupId: { type: Number, required: true },
  dueDate: { type: Date, required: true, default: Date.now },
  createDate: { type: Date, required: true, default: Date.now },
});
app.js에서도 라우팅을 설정해주자.
const express = require("express");
const app = express();
const mongoDB = require("./database/mongoose");
app.use(express.json());
app.post("/todos", mongoDB.createTodo);
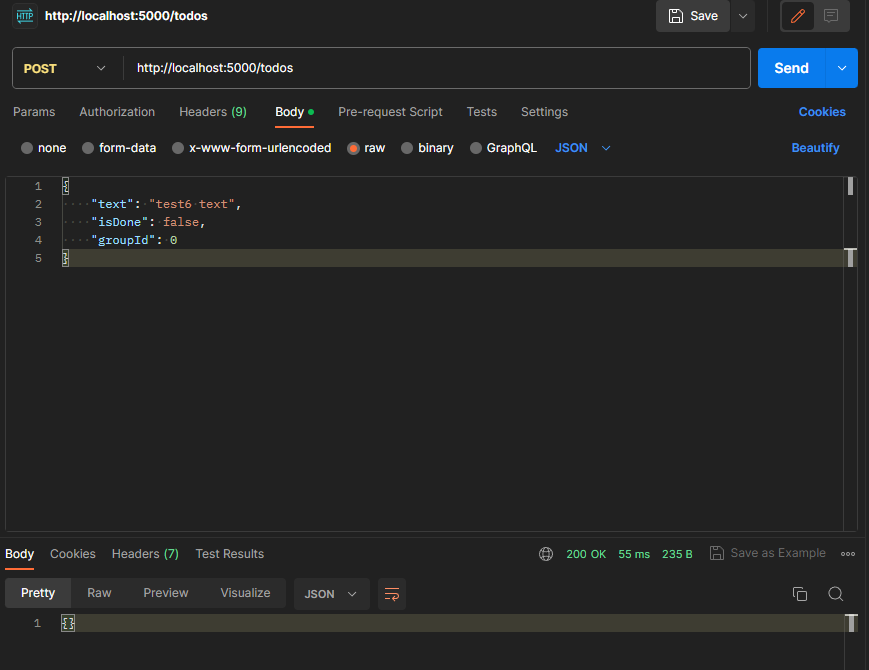
app.listen(5000, () => console.log("Server is running at 5000 ✨"));mongoDB 내에 존재하는 collection을 지우고 POSTMAN으로 post 요청을 보내보니 잘 들어가는 것을 확인할 수 있다.

DB에서 데이터 불러오기
const getTodos = async (req, res, next) => {
    const todos = await Todo.find().exec();
    res.json(todos);
}

exports.getTodos = getTodos;
모델 내에 static한 메서드 find()를 사용하여 데이터를 불러올 수 있다. mongoDB driver로 연결할 때와 달리, mongoose의 find() 메서드는 기본적으로 배열을 반환한다. 만약 한줄한줄 커서로 실행하고 싶다면 cursor 메서드를 호출하면 된다.
그리고 find() 메서드는 async/await를 사용할 수는 있으나 실제 프로미스 객체를 반환하는 것은 아니므로 exec() 메서드를 통해 확실하게 프로미스 객체를 반환하도록 설정해주자.
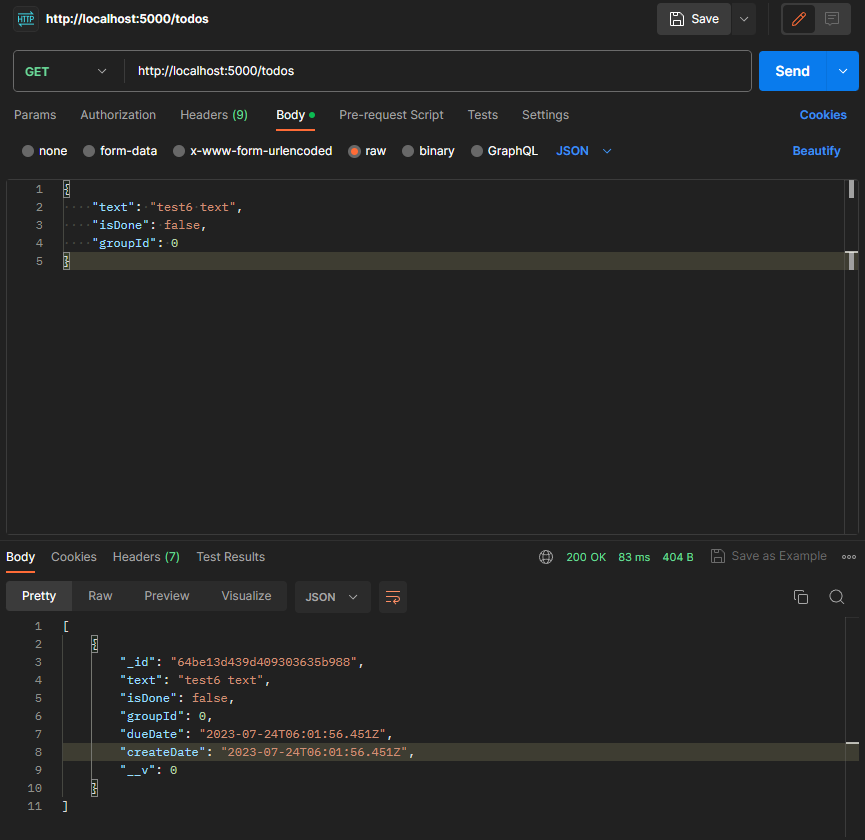
다른 파일에서 사용할 수 있도록 exports를 통해 내보낸 뒤 app.js에서 연결하고 POSTMAN을 통해 테스트해보면 잘 반환되는 것을 확인할 수 있다.
const express = require("express");
const app = express();
const mongoDB = require("./database/mongoose");
app.post("/todos", mongoDB.createTodo);

app.get("/todos", mongoDB.getTodos);

app.listen(5000, () => console.log("Server is running at 5000 ✨"));
DB에 자동으로 생성되는 id값?
mongoose나 mongoDB는 데이터를 DB에 삽입할 때 구분을 위해 ObjectID 형태의 데이터를 함께 삽입한다. Javascript에서도 이 데이터를 가져다 쓸 수 있도록 문자열로 변환해보자.
new Todo() 를 통해 객체를 생성하면 자동으로 _id값이 추가된다.
console.log(typeof newTodo.id, typeof newTodo._id);위 코드를 실행해보면 string, object가 출력된다. 만약 id 속성에 접근해서 값을 가져오려고 하면, 모델에서 제공하는 getter 함수가 실행되어 object형태의 자료를 string으로 변환한 뒤 반환한다.