
Ensure your Next.js app's performance is top-notch with Lighthouse CI and GitHub Actions을 읽고 따라해보며 겪은 이슈
Error: No URLs provided to collect
    at startServerAndDetermineUrls (/Users/minjukim/futurama.vercel.com/node_modules/@lhci/cli/src/collect/collect.js:149:36)
해당 글을 무작정 따라하다가 다음과 같은 에러가 생겼다🥲 그래서 제대로 공식문서 : Google Chrome Lighthouse ci 읽으면서 따라해본 방법 정리
설치 방법
1. @lhci/cli 설치
npm i --save-dev @lhci/cli
yarn add @lhci/cli --dev
2. lighthouserc.js 파일 생성
module.exports = {
  ci: {
    collect: {
      startServerCommand: "npm run start",
      startServerReadyPattern: "ready on",
      url: ["http://localhost:3000"],
    },
    upload: {
      target: "temporary-public-storage",
    },
  },
};
기본적으로 lighthouse 검사를 3번 실행하게 된다. 만약 횟수를 정하고 싶다면
"numberOfRuns": 1(횟수)설정을 추가해주면 된다."collect": { "startServerCommand": "npm run start", "startServerReadyPattern": "ready on", "url": [ "http://localhost:3000" ], "numberOfRuns": 1, }
3. Secret key 발급 받기
Lighthouse ci market에 접속해 LHCI_GITHUB_APP_TOKEN를 발급받는다.
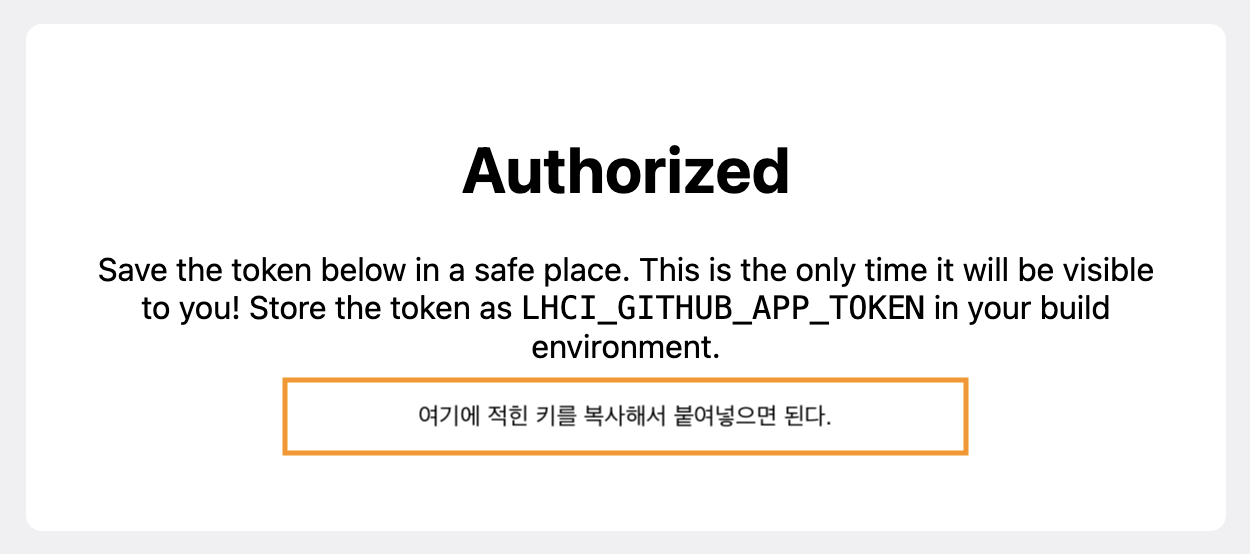
발급 받은 키를 잘 복사해 해당 프로젝트 레포지토리의 Settings > Secrets > Actions 에 들어가 new repository secret 버튼을 클릭한뒤

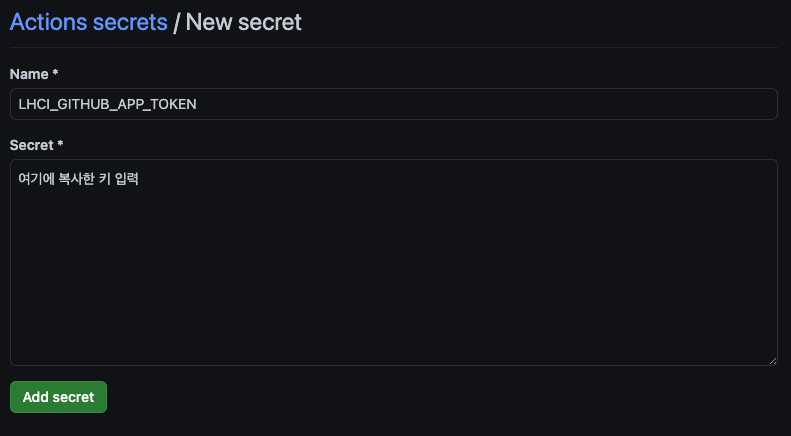
복사한 키를 입력해 저장한다.
4. 프로젝트에 ci 파일 생성
.github/workflows 에 ci.yml 파일을 생성한다.
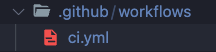
.github 폴더는 프로젝트 파일의 최상위에 생성하면 된다.
ci.yml에 다음과 같이 작성해준다
name: CI
on: [push]
jobs:
  lighthouseci:
    runs-on: ubuntu-latest
    steps:
      - uses: actions/checkout@v2
      - uses: actions/setup-node@v1
        with:
          node-version: 16
      - run: npm install && npm install -g @lhci/cli@0.8.x
      - run: npm run build
      - run: lhci autorun
        env:
          LHCI_GITHUB_APP_TOKEN: ${{ secrets.LHCI_GITHUB_APP_TOKEN }}
5. gitignore 수정
로컬에서 lhci 명령어를 돌리게 되면 .lighthouseci라는 폴더가 생성되면서 로그가 찍히게 된다. 이 파일이 깃헙에 올라가는 걸 막기 위해 .gitignore 파일에 .lighthouseci/를 추가해준다.
6. 끝!
요렇게 돌아가면서
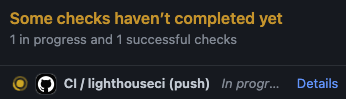
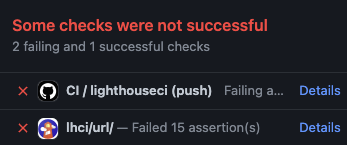
실패시 다음과 같이 뜨고
성공시에는 다음과 같이 뜬다.

성공 여부와 관계없이 lhci/url 이 생긴걸 확인할 수 있는데, details를 클릭하면

이렇게 lighthouse 결과지 페이지를 생성해준다.
lighthouserc.js 파일 설명
왜 언급된 글에서는 .lighthouserc.json 파일을 생성하라고 했는데, lighthouserc.js가 제대로 동작했을까?
Lighthouse CI가 configuration 파일을 다음과 같은 우선순위로 찾는다고 한다.
.lighthouserc.jslighthouserc.js.lighthouserc.jsonlighthouserc.json.lighthouserc.ymllighthouserc.yml.lighthouserc.yamllighthouserc.yaml
최상위에 파일이 존재하는게 아니라 다른 곳에 파일을 두고 싶다면
lhci명령어 옆에 항상--config=./대충/파일/위치를 붙여 파일 위치를 알려주기!
여기서 주의할 점은 어떤 파일이던 상관없지만 파일 확장자에 따라 형식을 맞춰 작성해주어야 한다.
js
module.exports = {
  ci: {
    collect: {
      // collect options here
    },
    assert: {
      // assert options here
    },
    upload: {
      // upload options here
    },
    server: {
      // server options here
    },
    wizard: {
      // wizard options here
    },
  },
};
json
{
  "ci": {
    "collect": {
      // collect options here
    },
    "assert": {
      // assert options here
    },
    "upload": {
      // upload options here
    },
    "server": {
      // server options here
    },
    "wizard": {
      // wizard options here
    }
  }
}
yml
ci:
  collect:
    # collect options here

  assert:
    # assert options here

  upload:
    # upload options here

  server:
    # server options here

  wizard:
    # wizard options here
lighthouserc의 다양한 설정들
위에 파일을 보면 알겠지만 lighthouserc에는 다양한 설정들이 있다. 기본적으로 collect와 upload만 사용하긴 했지만, 공식문서에서는 assert 사용도 권장하고 있다. (assert 이외의 설정 설명이나 디테일한 설명은 여기 참고하기!)
assert는 lighthouse 실행 결과에서 낮은 점수가 나오는 경우 CI 단계에서 에러가 나도록 해주는 설정이다.
assert 설정 안에서도 preset, assertion 등 세부설정이 있다.
preset은 "lighthouse:all", "lighthouse:recommended", "lighthouse:no-pwa" 중 선택할 수 있다.
| preset | 설정 |
|---|---|
lighthouse:all | 100점 맞지 않는 이상 에러 (난이도 : 완전 어려움 ⭐️⭐️⭐️⭐️⭐️) |
lighthouse:recommended | 퍼포먼스 제외 모든 검사 100점 (난이도는 어렵지만 가장 추천) |
lighthouse:no-pwa | lighthouse:recommended 와 똑같지만 PWA 검사를 하지 않음 |
assertion 은 검사 항목들의 기준을 수정할 수 있다. 검사항목 : level | [level, options]의 형식으로 작성된다. 검사항목들은 여기에서 확인 할 수 있다. level 설정은 세가지로 나뉜다.
| level | 설정 |
|---|---|
off | 해당 검사를 진행하지 않음 |
warn | 검사를 진행하고 결과도 출력하지만 에러로 내뱉지는 않음 |
error | 에러 발생 |
option의 기본값은 {"aggregationMethod": "optimistic", "minScore": 1} 이다. aggregationMethod는 검사 점수 측정 방법으로 세가지 항목으로 이뤄져 있다.
| aggregationMethod | 설정 |
|---|---|
median | 실행 평균값 |
optimistic | 실행 점수 최대값 |
pessimistic | 실행 점수 최솟값 |
{
  "ci": {
    "assert": {
      "assertions": {
        "first-contentful-paint": "off",
        "installable-manifest": ["warn", {"minScore": 1}],
        "uses-responsive-images": ["error", {"maxLength": 0}]
      }
    }
  }
}
🍀 TMI
모든 Clickable한 요소의 크기는 48*48 이상이어야 한다.


정리 감사해요~~ 잘 봤습니다~! 😇