개요
구글 스프레드 시트에 있는 내용을 Apps Script를 활용해서 JSON으로 변환 후, 우리 서버로 요청을 보내 해당 내용들을 데이터베이스에 저장해야하는 작업을 진행한 적 있다.
해당 과정을 통해 겪은 이슈 중 하나는 스프레드 시트의 모든 내용을 JSON으로 변환해, request body에 담아 HTTP 요청을 하다 보니, 사이즈가 너무 커서 서버가 처리를 하지 않았던 것이다.
해당 이슈는 nginx의 요청 크기를 늘리는 과정을 통해 간단히 해결하게 되었다.
또 하나의 문제점은 이미지 업로드 시간으로 인한, 504 timeout 이었다.
해당 스프레드 시트는 약 350행 정도로 이루어져있었는데, 각 행마다 이미지 링크가 기입되어있었다.
서버에서는 이미지 링크를 통해 이미지를 다운로드 받아 AWS S3에 업로드 하는 작업을 진행했어야 했다.
하지만 해당 작업은 시간을 너무 잡아먹어, 우리는 해결책을 고안할 필요가 있었다.
해결책 고민
가장 처음으로 생각해낸 해결책은 단순히 서버의 timeout 시간을 늘리는 것이었다.
하지만 온전히 해당 기능을 위해 timeout을 늘리는 방법은 좋은 방법이 아니라는 생각이 들었다.
이때, AWS SQS를 활용해 비슷한 문제를 해결했던 타 서비스의 경험이 떠올랐고, 해당 방법을 통해 이미지 업로드 기능을 고안하게 되었다.
Nestjs -> AWS SQS -> AWS Lambda -> AWS S3
Nestjs Sqs Service
import { Injectable } from '@nestjs/common';
import { SQS } from 'aws-sdk';
import { ConfigService } from '@nestjs/config';

@Injectable()
export class SqsService {
  private readonly sqs: SQS;
  private readonly AWS_SQS_URL =
    this.configService.getOrThrow<string>('AWS_SQS_URL');

  constructor(private readonly configService: ConfigService) {
    this.sqs = new SQS({
      accessKeyId: configService.getOrThrow('AWS_ACCESS_KEY'),
      secretAccessKey: configService.getOrThrow('AWS_SECRET_ACCESS_KEY'),
      region: configService.getOrThrow('AWS_REGION'),
    });
  }

  async sendMessage(messageBody: any): Promise<string> {
    const params = {
      MessageBody: JSON.stringify(messageBody),
      QueueUrl: this.AWS_SQS_URL,
    };

    const { MessageId } = await this.sqs.sendMessage(params).promise();

    if (!MessageId) throw new Error('SQS 요청 실패');

    return MessageId;
  }
}
Nestjs Sqs로 요청
private async uploadAndGetContentId(
    imageUrl: string,
    word: string,
  ): Promise<number> {
    const contentId = await this.contentsService.createContent({
      name: word,
      scope: ViewScope.PUBLIC_READ,
      type: '',
    });

    await this.sqsService.sendMessage({ imageUrl, contentId });

    return contentId;
  }
이때 content라는 테이블을 사용하게 되는데 S3에 올라갈 컨텐츠의 키 값을 설정해주는 것이다.
절대 중복을 허용하지 않는 값을 사용하기 위해 데이터베이스를 활용하고 해당 PK값이 S3 컨텐츠의 키값 외에도 여러 곳에서 사용된다.
AWS Sqs는 별다른 설정 없이 가장 표준으로 생성했으므로 이에 대한 설명은 생략한다.
image upload lambda code
const AWS = require('aws-sdk');
const axios = require('axios');
const s3 = new AWS.S3({
region: process.env.AWS_REGION_,
credentials: {
accessKeyId: process.env.AWS_KEY,
secretAccessKey: process.env.AWS_SECRET,
},
});
exports.handler = async (event) => {
const s3BucketName = process.env.S3_BUCKET_NAME;
for (const record of event.Records) {
const { imageUrl, contentId } = JSON.parse(record.body);
const res = await axios.get(imageUrl, { responseType: 'stream' });
const params = {
Bucket: s3BucketName,
Key: contentId.toString(),
Body: res.data,
ACL: 'public-read',
ContentType: res.headers['content-type'],
ContentLength: res.headers['content-length'],
};
await s3.putObject(params).promise();
}
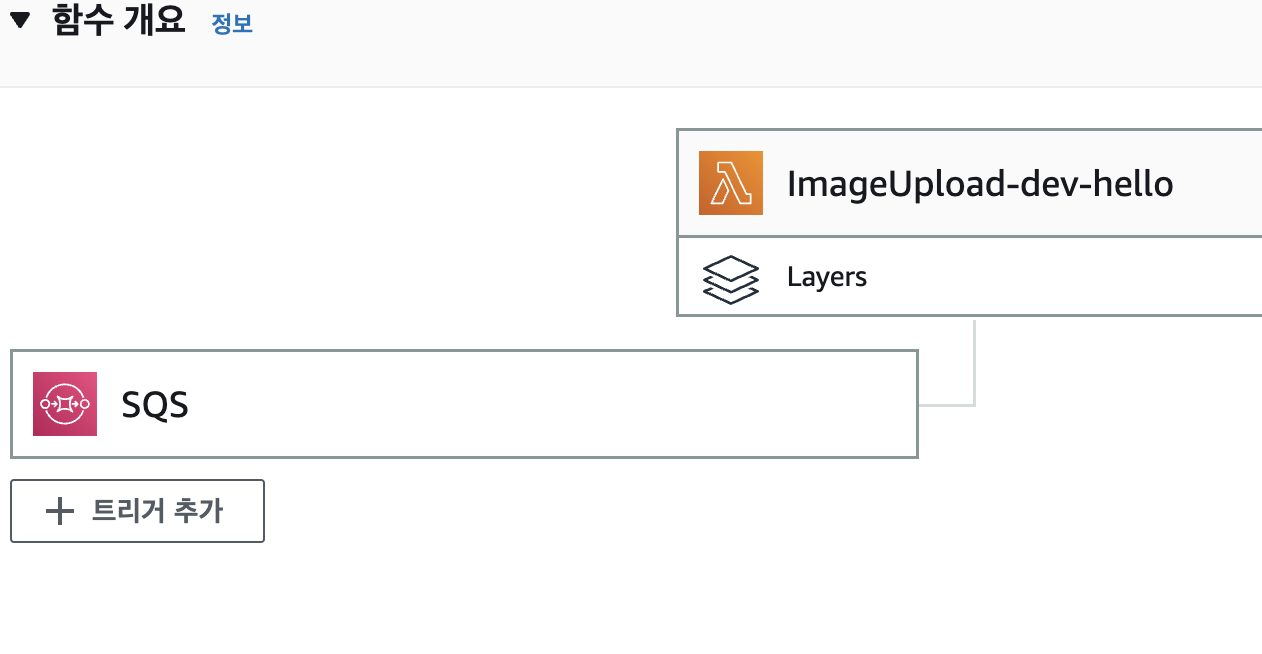
};AWS SQS로 온 요청을 AWS Lambda가 어떻게 확인할까?
이는 AWS Lambda의 트리거를 AWS SQS로 설정하면 된다.