이메일 링크 클릭하면 이메일 인증 절차를 진행해주자.
key라는 값이 들어왔을 때
email_verification_keys테이블에 있는 key와 들어온 key를 비교하고expires_at가 현재보다 미래일 것이고expired_flag이 0인 것을 확인한 후expired_flag의 값을 1로 바꿔주자.
전송된 이메일 양식에서 사용자가 이메일 인증 버튼을 클릭하면 get요청이 들어오게 된다. 즉, get메서드가 필요한 것이다.
→ getVerifyEmail 메서드를 UserController에 만들어주자.
그전에 로그인부터 완성하자.
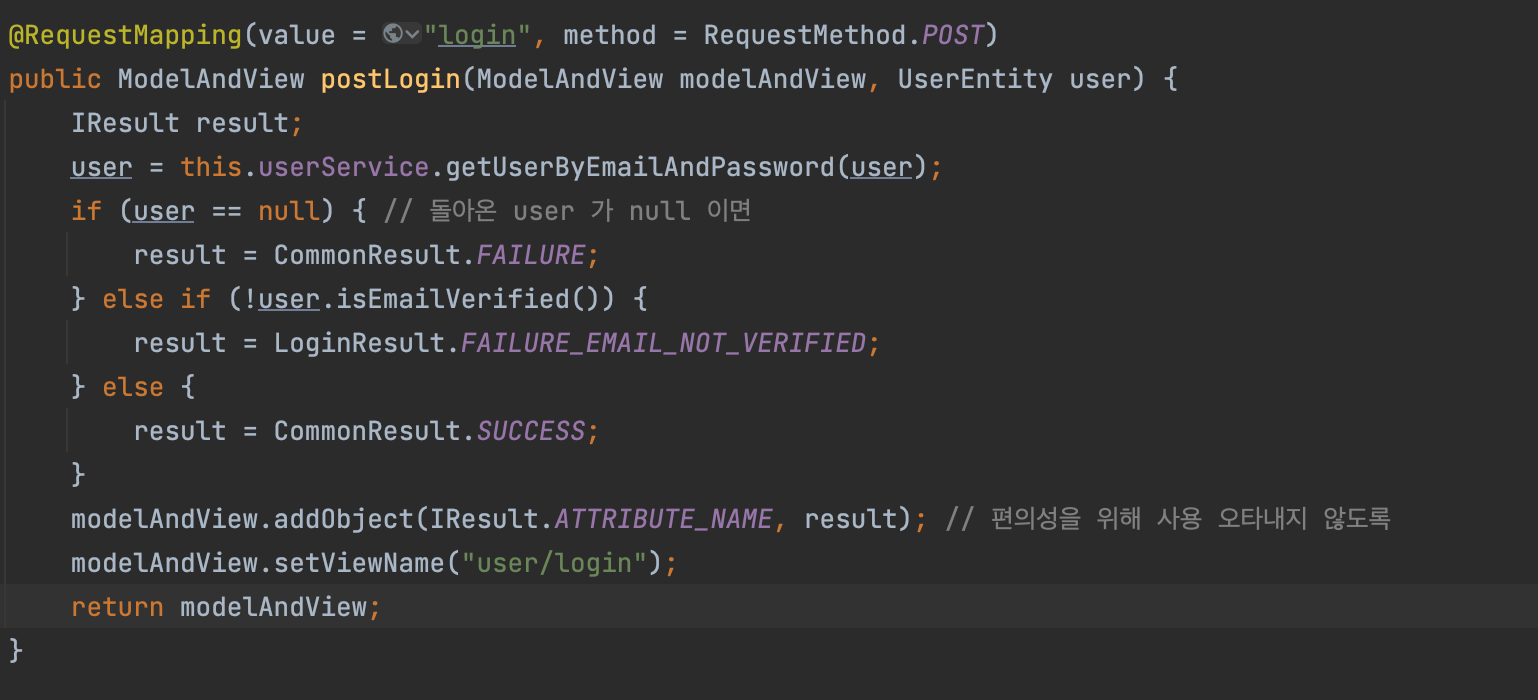
로그인하려고 했을 떄 이메일 인증이 되지 않았으면 alert를 띄워주기 위함이다.
UsesService에 있는 getUser 메서드 getUserByEmailAndPassword 로 이름 변경하였음.
-> IUserMapper selectUserByEmailAndPassword
- 유저의 이메일과 비밀번호를 받아온다.

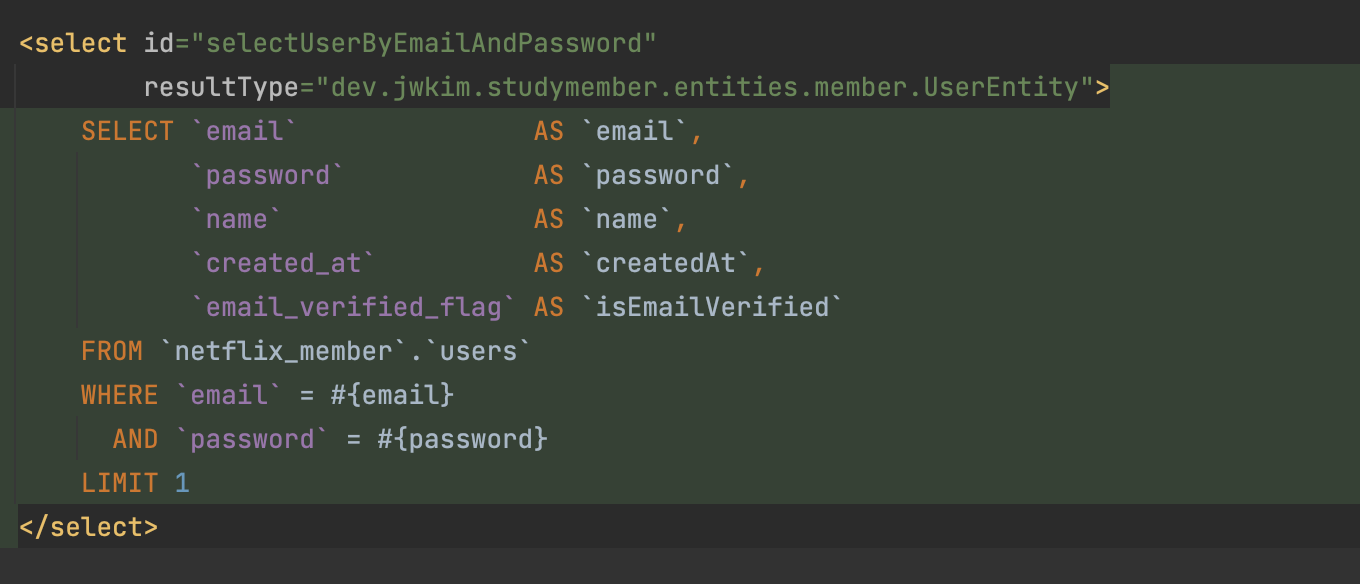
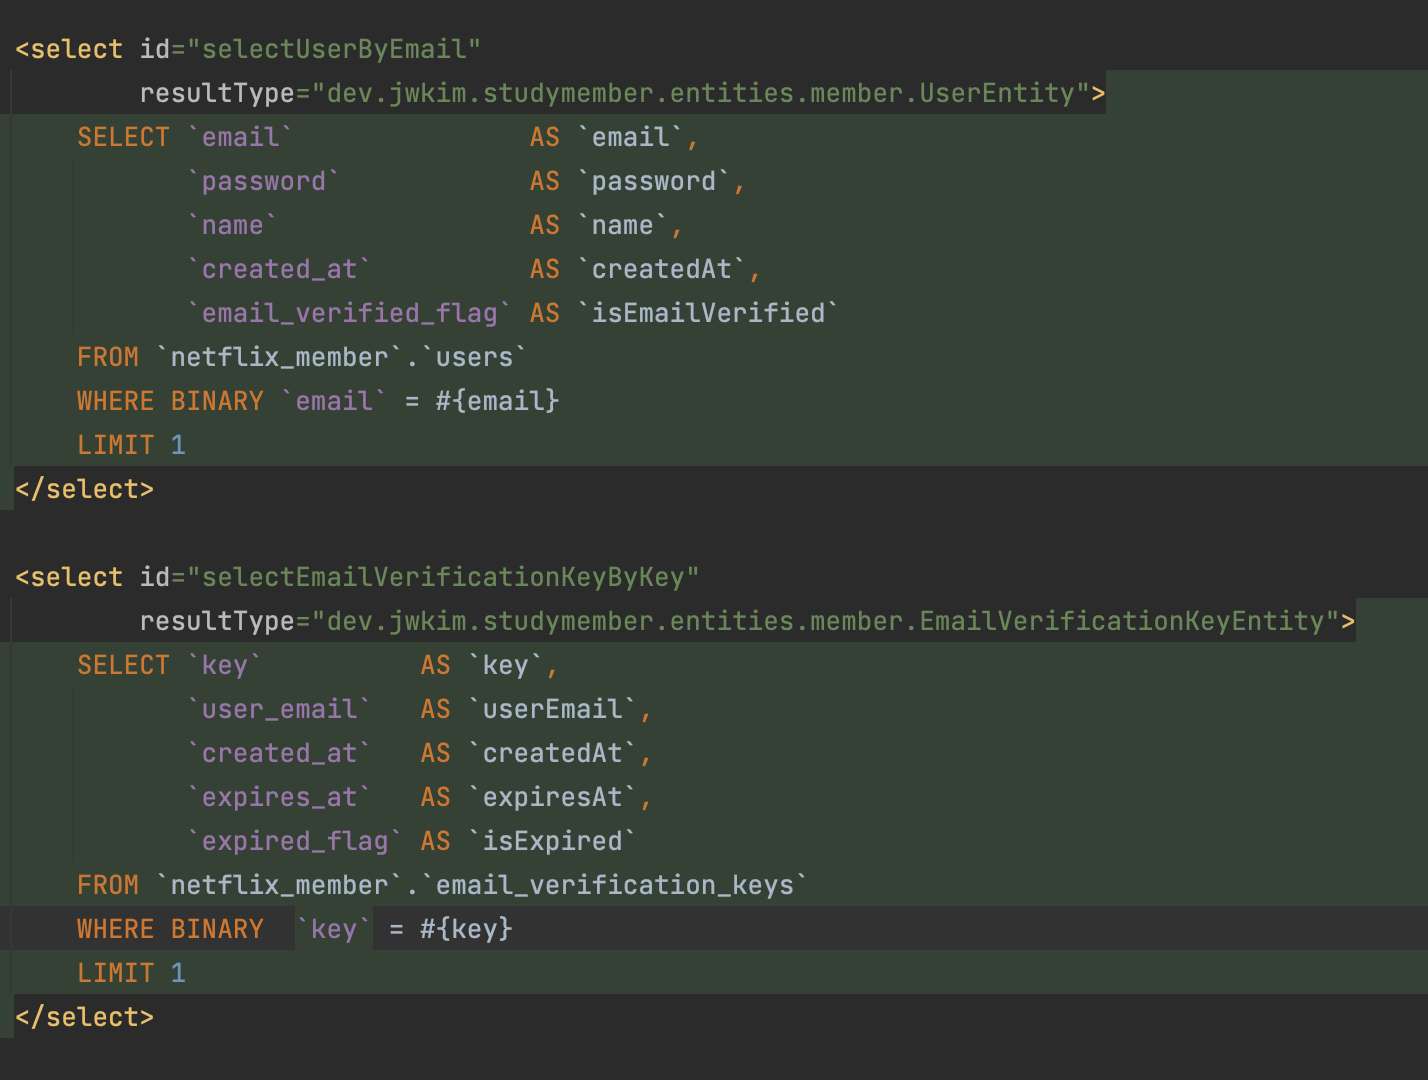
-> UserMapper.xml SELECT
- 요청이 들어온 유저의 이메일과 패스워드가 일치하는 유저의 레코드를 뽑아온다.
@Param어노테이션이 있다면parameterType을 적어주지 않는다.
-> UserService getUserByEmailAndPassword
user.getEmail(), user.getPassword()을 Mapper를 통해 반환해준다.

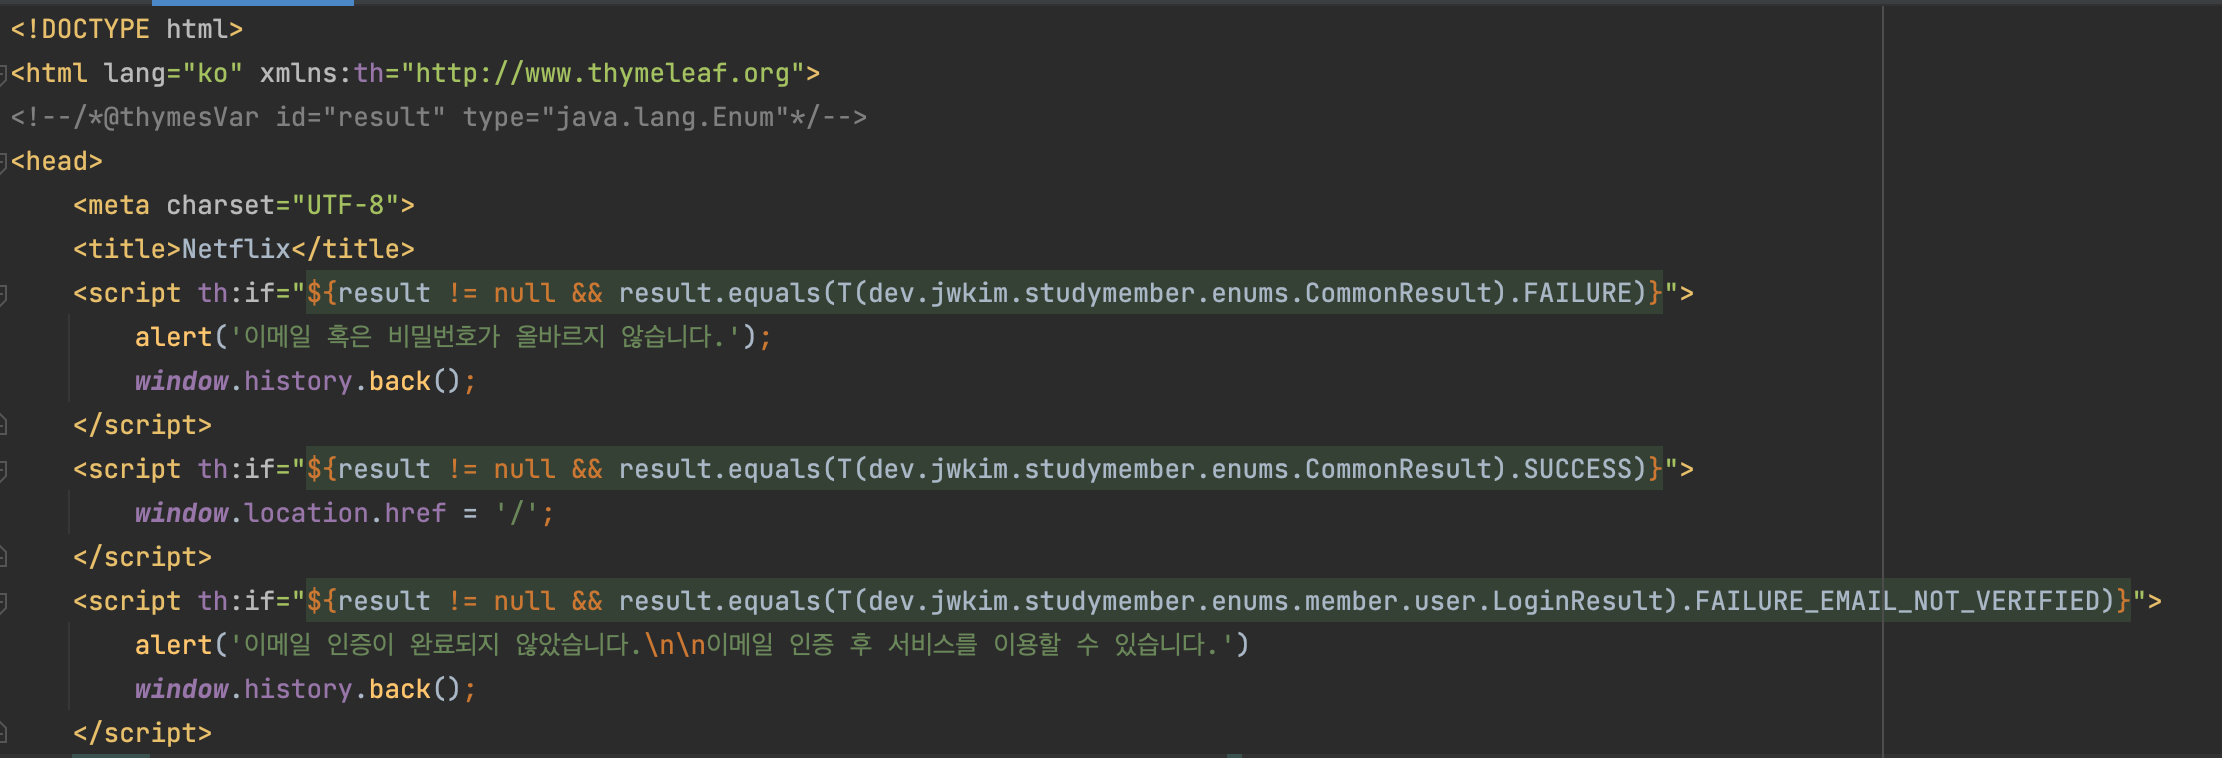
-> login.html
- html에서 script를 추가해서 이메일 인증 여부에 대한 alert를 지정해준다.
- 이메일 인증을 하지 않았으니 이런 alert가 뜬다.
- 컨트롤러를 거쳐서 검사를 해온다.

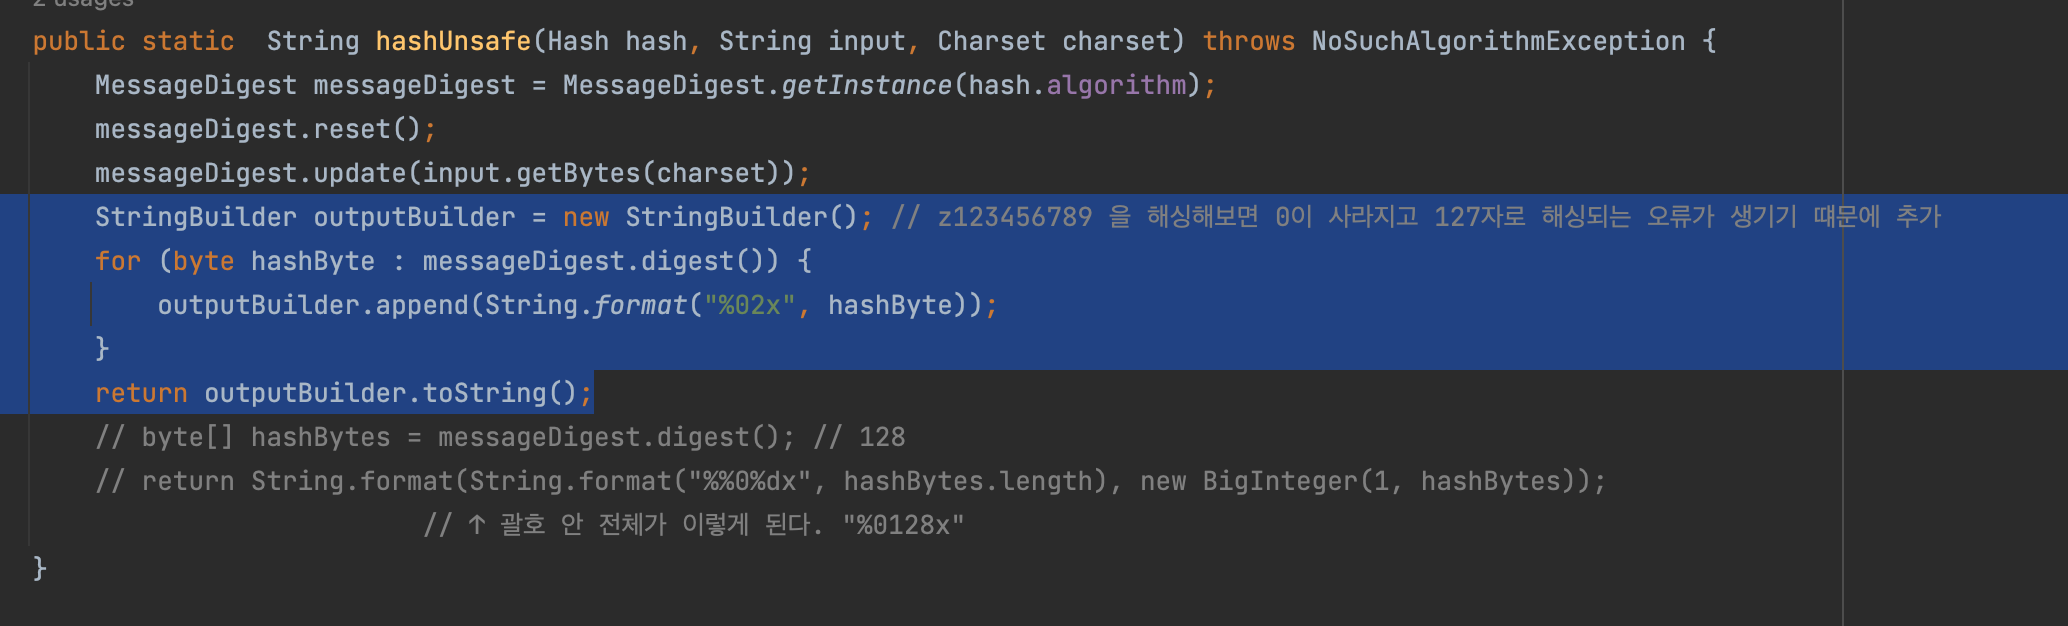
-> CryptoUtils 오류 발생으로 수정
z012345678을 해싱해보면 0이 사라지고 127자로 해싱되는 오류를 발견했다.
- 이전에 사용한
new BigInteger(1, hashBytes)은BigInteger가 정수임으로 앞에 0을 숫자로 취급을 하지 않아 날리게 되서 127자가 된다.
String.format("%02x", hashByte)이 방식을 사용하면 0이 날아가지 않고 16진수로 바꿔주고("%02x") Interger을 사용하지 않음으로 정수취급을 하지 않는다. 한원소 원소로 따지기 때문에 0을 취급해주게 된다.
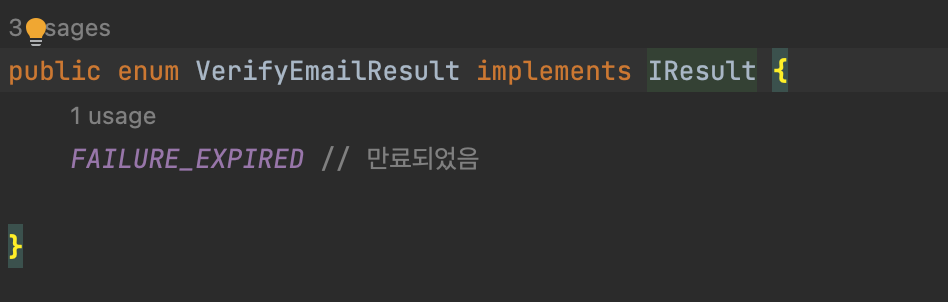
-> VerifyEmailResult
-> IUserMapper
selectEmailVerificationKeyByKey
selectUserByEmail
updateEmailVerificationKey
updateUser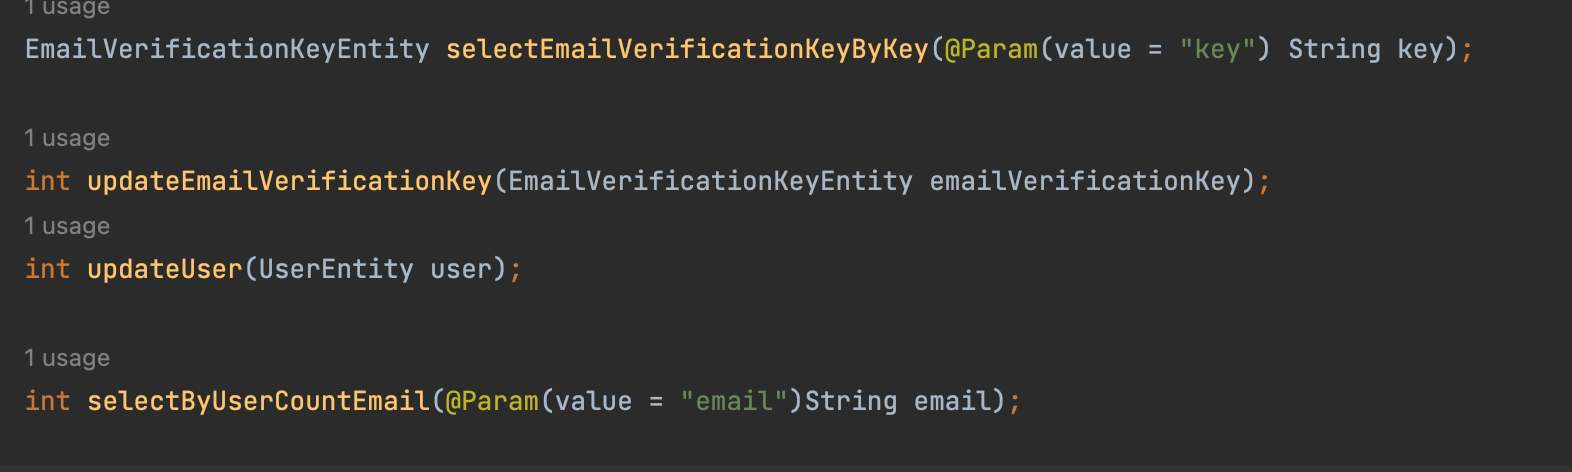
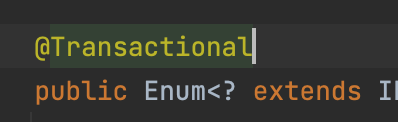
-> UserService verifyEmail
- 이메일에 존재하는 Key값을 기준으로 비교해서 같은 레코드를 긁어와서 비교한다.
@Transactional
public Enum<? extends IResult> verifyEmail(EmailVerificationKeyEntity emailVerificationKey) {
    emailVerificationKey = this.userMapper.selectEmailVerificationKeyByKey(emailVerificationKey.getKey());
    if (emailVerificationKey == null) {
        return CommonResult.FAILURE;
    }
    if (emailVerificationKey.isExpired() || new Date().compareTo(emailVerificationKey.getExpiresAt()) > 0) { // 만료된 키
        return VerifyEmailResult.FAILURE_EXPIRED;
    }
    emailVerificationKey.setExpired(true); // 여기까지 내려온 거라면 이미 사용을 한것이니 update 시켜야함
    if (this.userMapper.updateEmailVerificationKey(emailVerificationKey) == 0) {
        return CommonResult.FAILURE;
    }
    UserEntity user = this.userMapper.selectUserByEmail(emailVerificationKey.getUserEmail()); // 이메일 기준으로 받아온다.
    user.setEmailVerified(true);
    if(this.userMapper.updateUser(user) == 0) {
        return CommonResult.FAILURE;
    }
    return CommonResult.SUCCESS;
}

Date 비교 방식
dt1.compareTo(dt2)
0 : dt1가 dt2보다 미래다.
< 0 : dt1가 dt2보다 과거다.
= 0 : dt1과 dt2가 같다.
@Transactional
- 아래의 쿼리문중 하나라도 실패한다면 이때까지 진행한 전체 변경사항을 취소한다는 어노테이션이다.
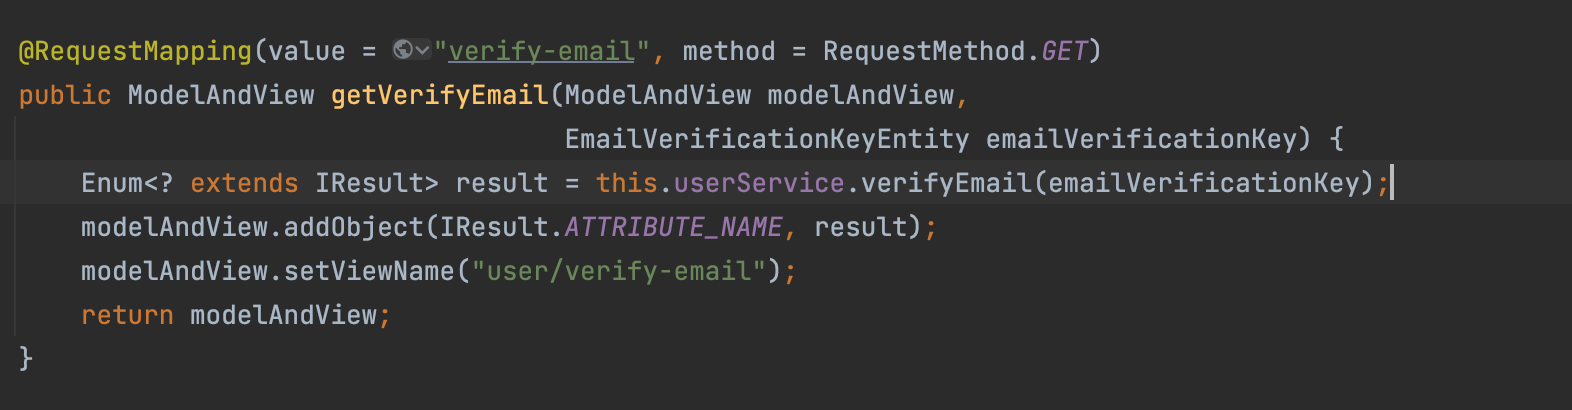
-> UserController
- 서비스에서 처리를 해주었기 떄문에 컨트롤러에서는 간단하게 작성이 된다.
-> UserMapper.xml SELECT → selectUserByEmail selectEmailVerificationKeyByKey
-> UserMapper.xml UPDATE updateEmailVerificationKey updateUser

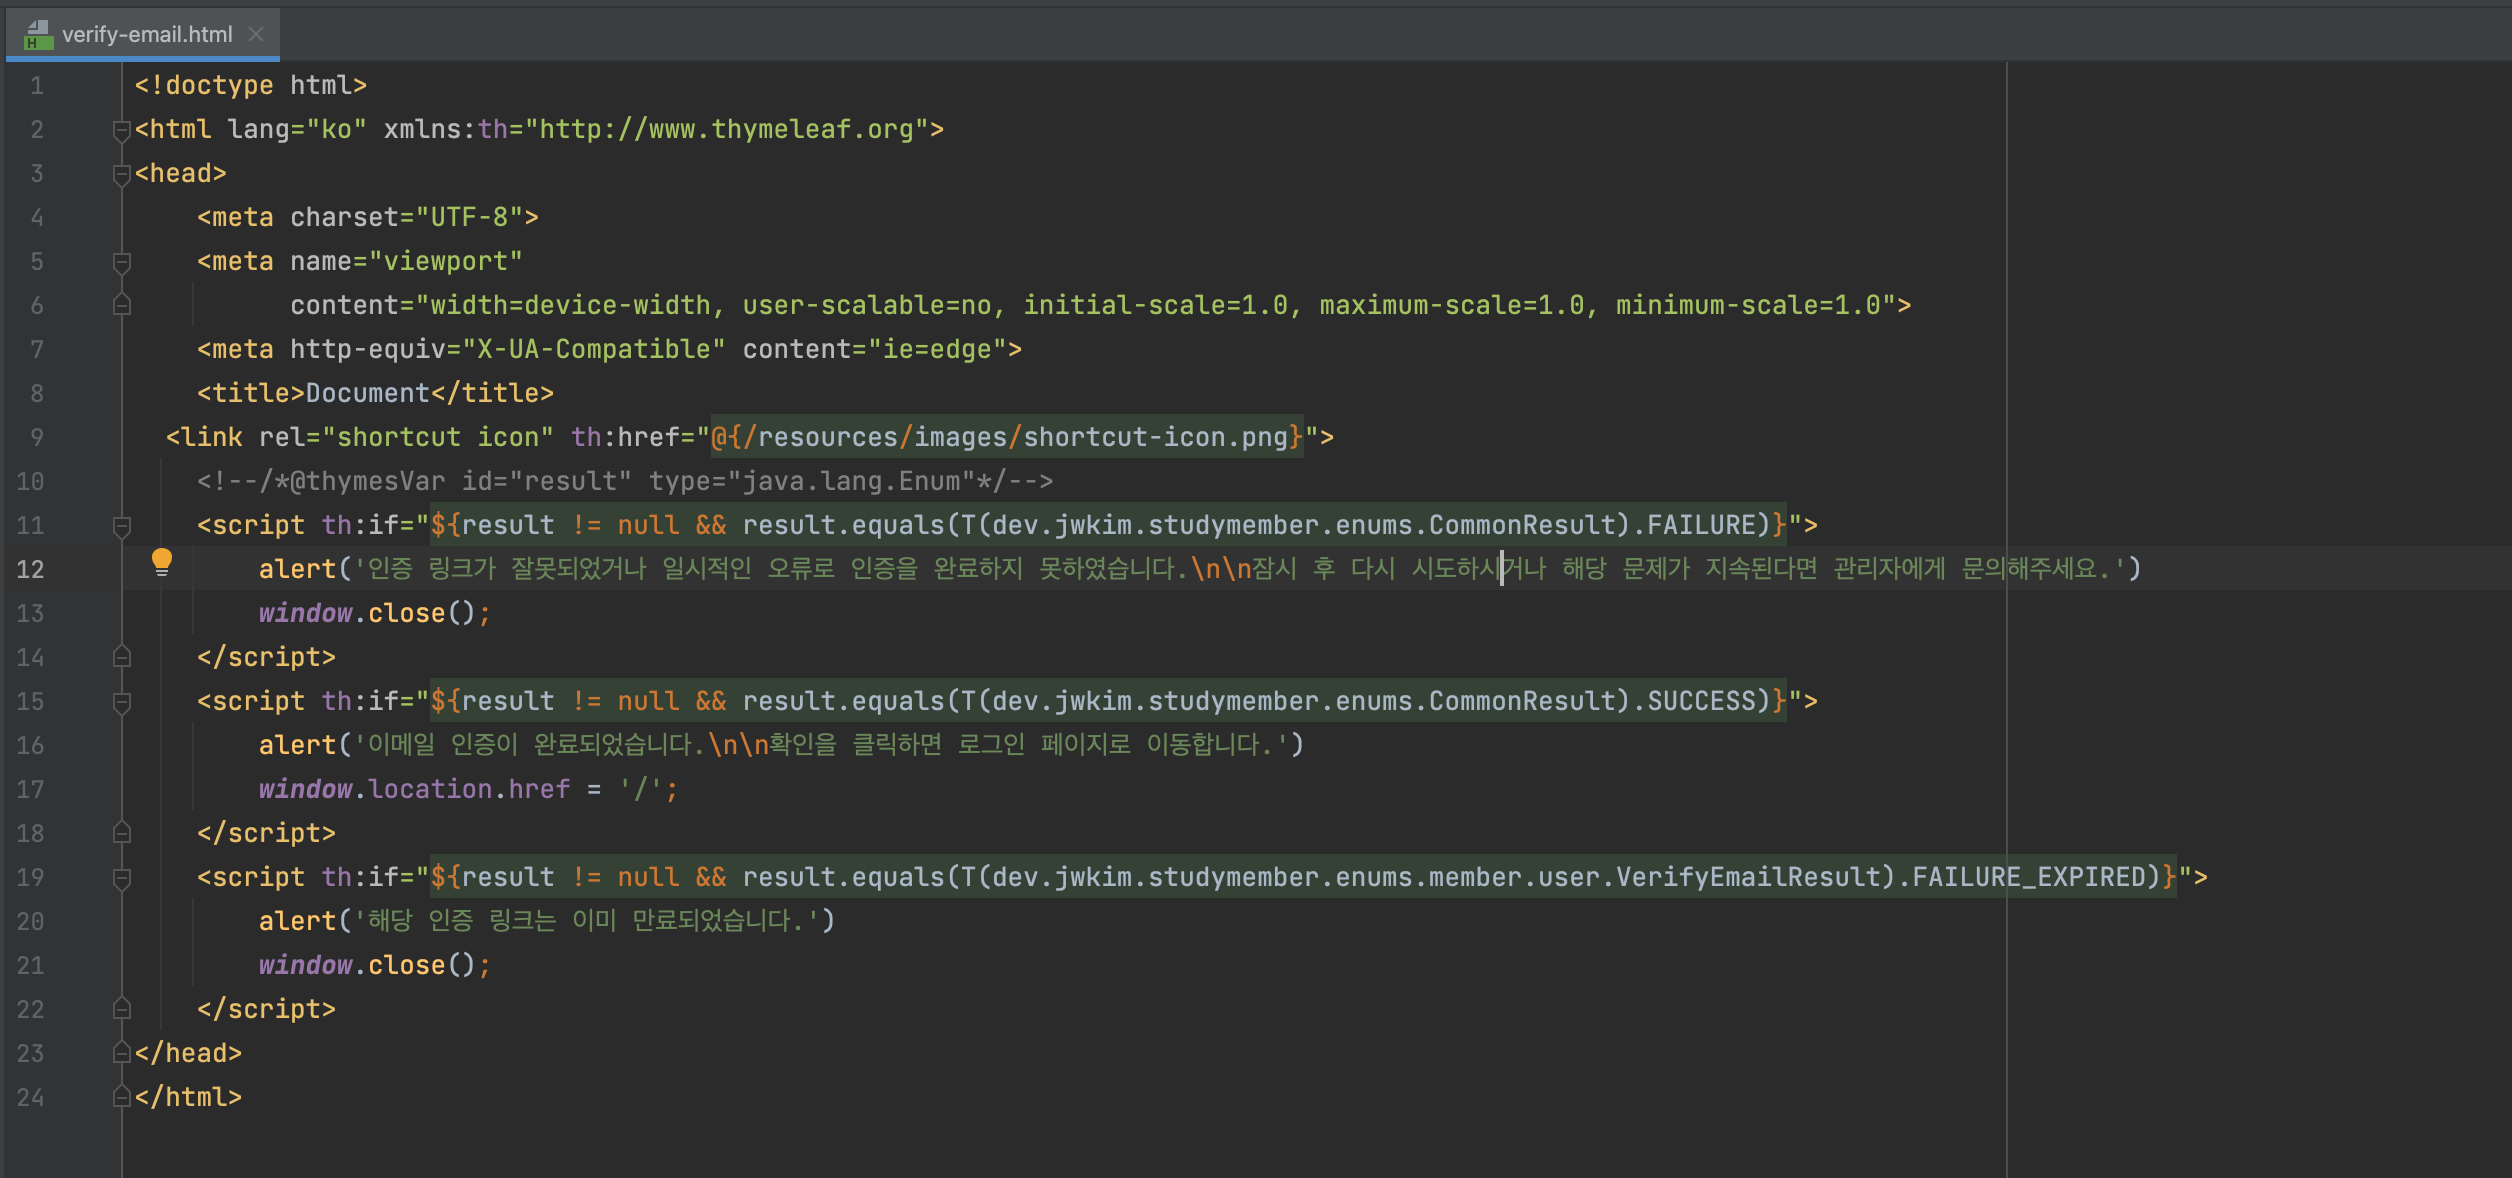
-> verify-email.html
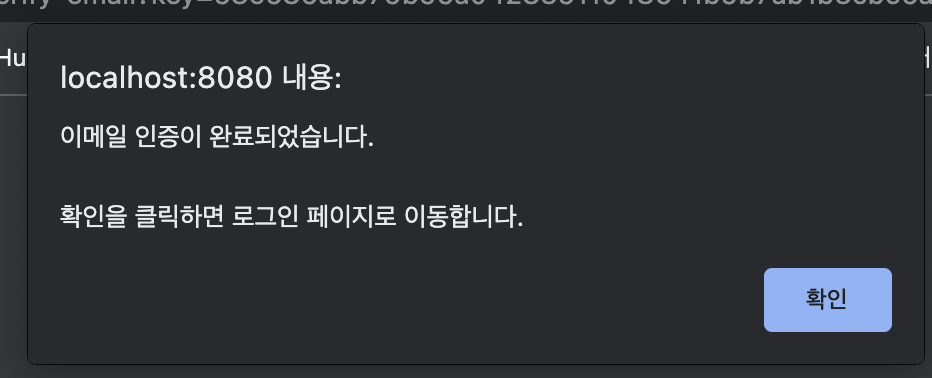
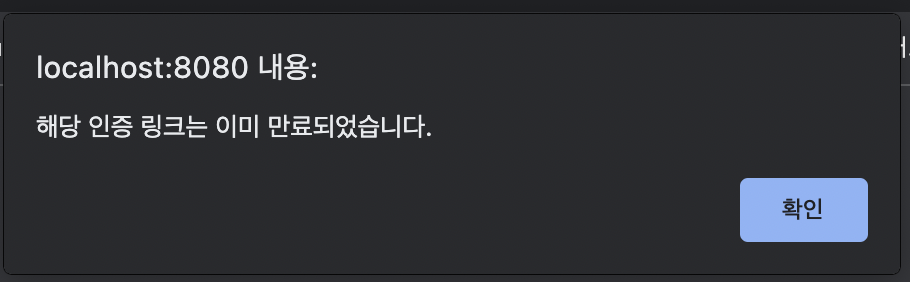
<script th:if="${result != null && result.equals(T(dev.jwkim.studymember.enums.CommonResult).FAILURE)}">
    alert('인증 링크가 잘못되었거나 일시적인 오류로 인증을 완료하지 못하였습니다.\n\n잠시 후 다시 시도하시거나 해당 문제가 지속된다면 관리자에게 문의해주세요.')
    window.close();
</script>
<script th:if="${result != null && result.equals(T(dev.jwkim.studymember.enums.CommonResult).SUCCESS)}">
    alert('이메일 인증이 완료되었습니다.\n\n확인을 클릭하면 로그인 페이지로 이동합니다.')
    window.location.href = '/';
</script>
<script th:if="${result != null && result.equals(T(dev.jwkim.studymember.enums.member.user.VerifyEmailResult).FAILURE_EXPIRED)}">
    alert('해당 인증 링크는 이미 만료되었습니다.')
    window.close();
</script>

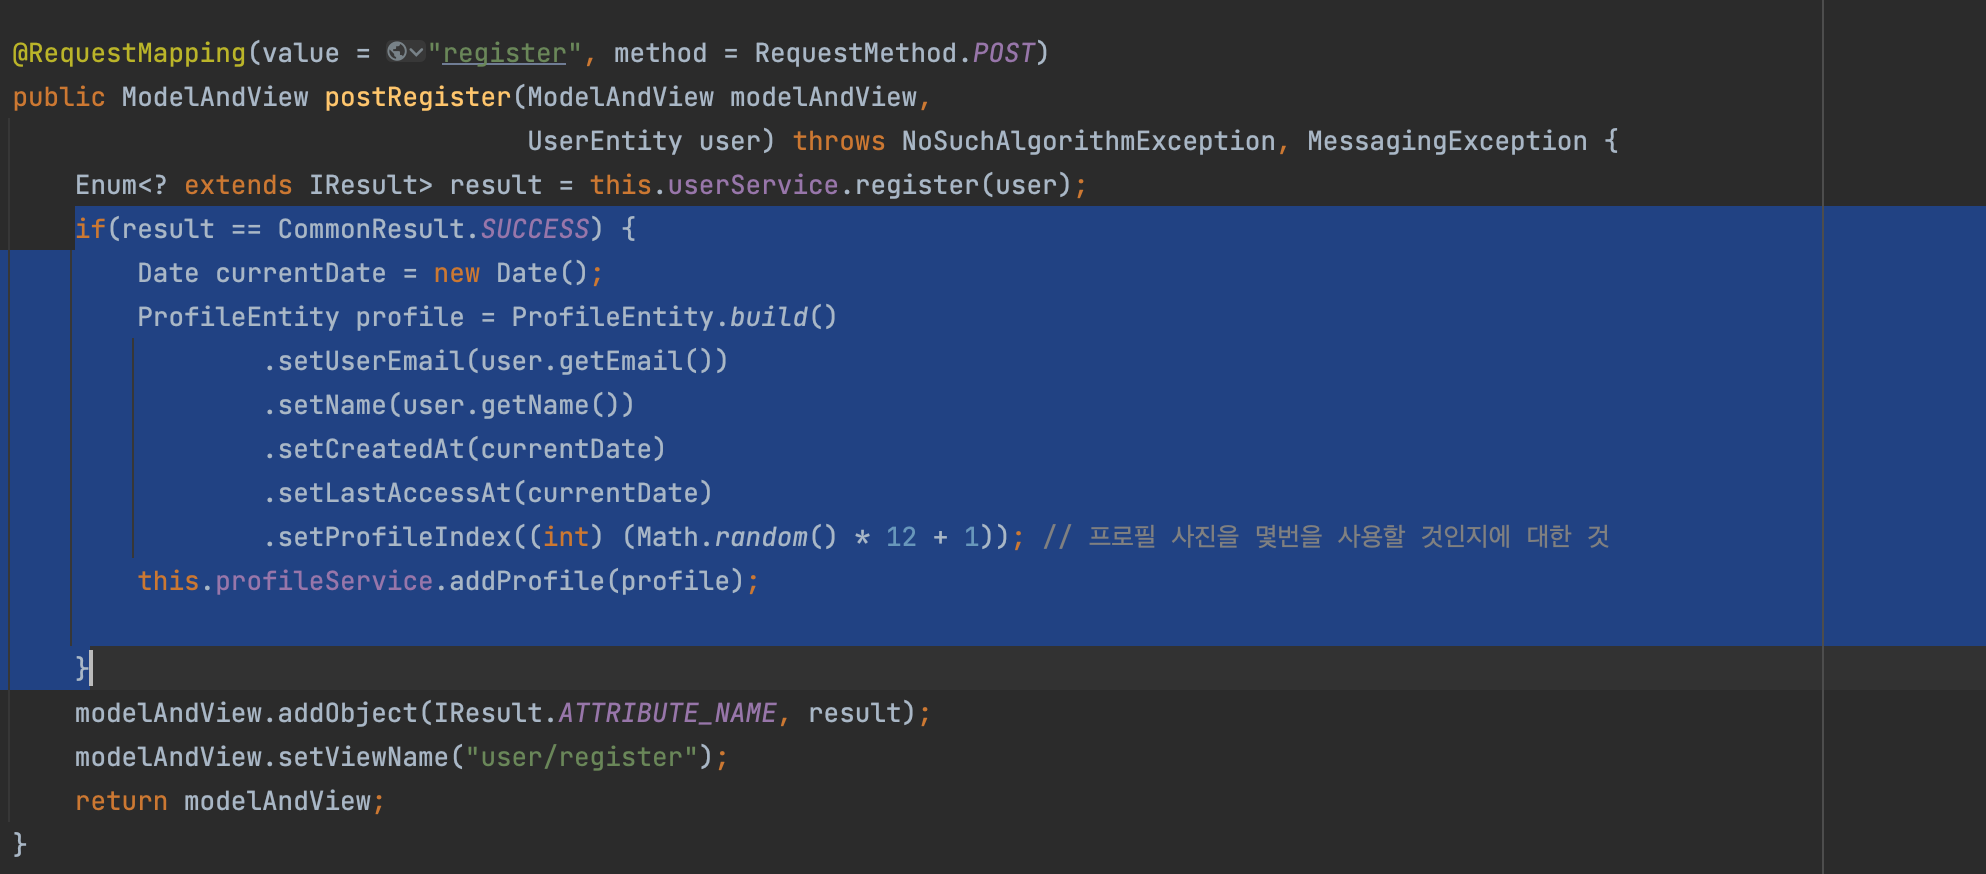
-> UserController postRegister
- UserService
register메서드에 있는 프로필에 관한 로직을 빼내서 컨트롤러에 작성
choose.html 을 완성하자.
프로필 사진은 html이 해당 유저가 혼자 프로필을 정할 수 없기 때문에 백에서 처리해주자.
-> ProfileEntity

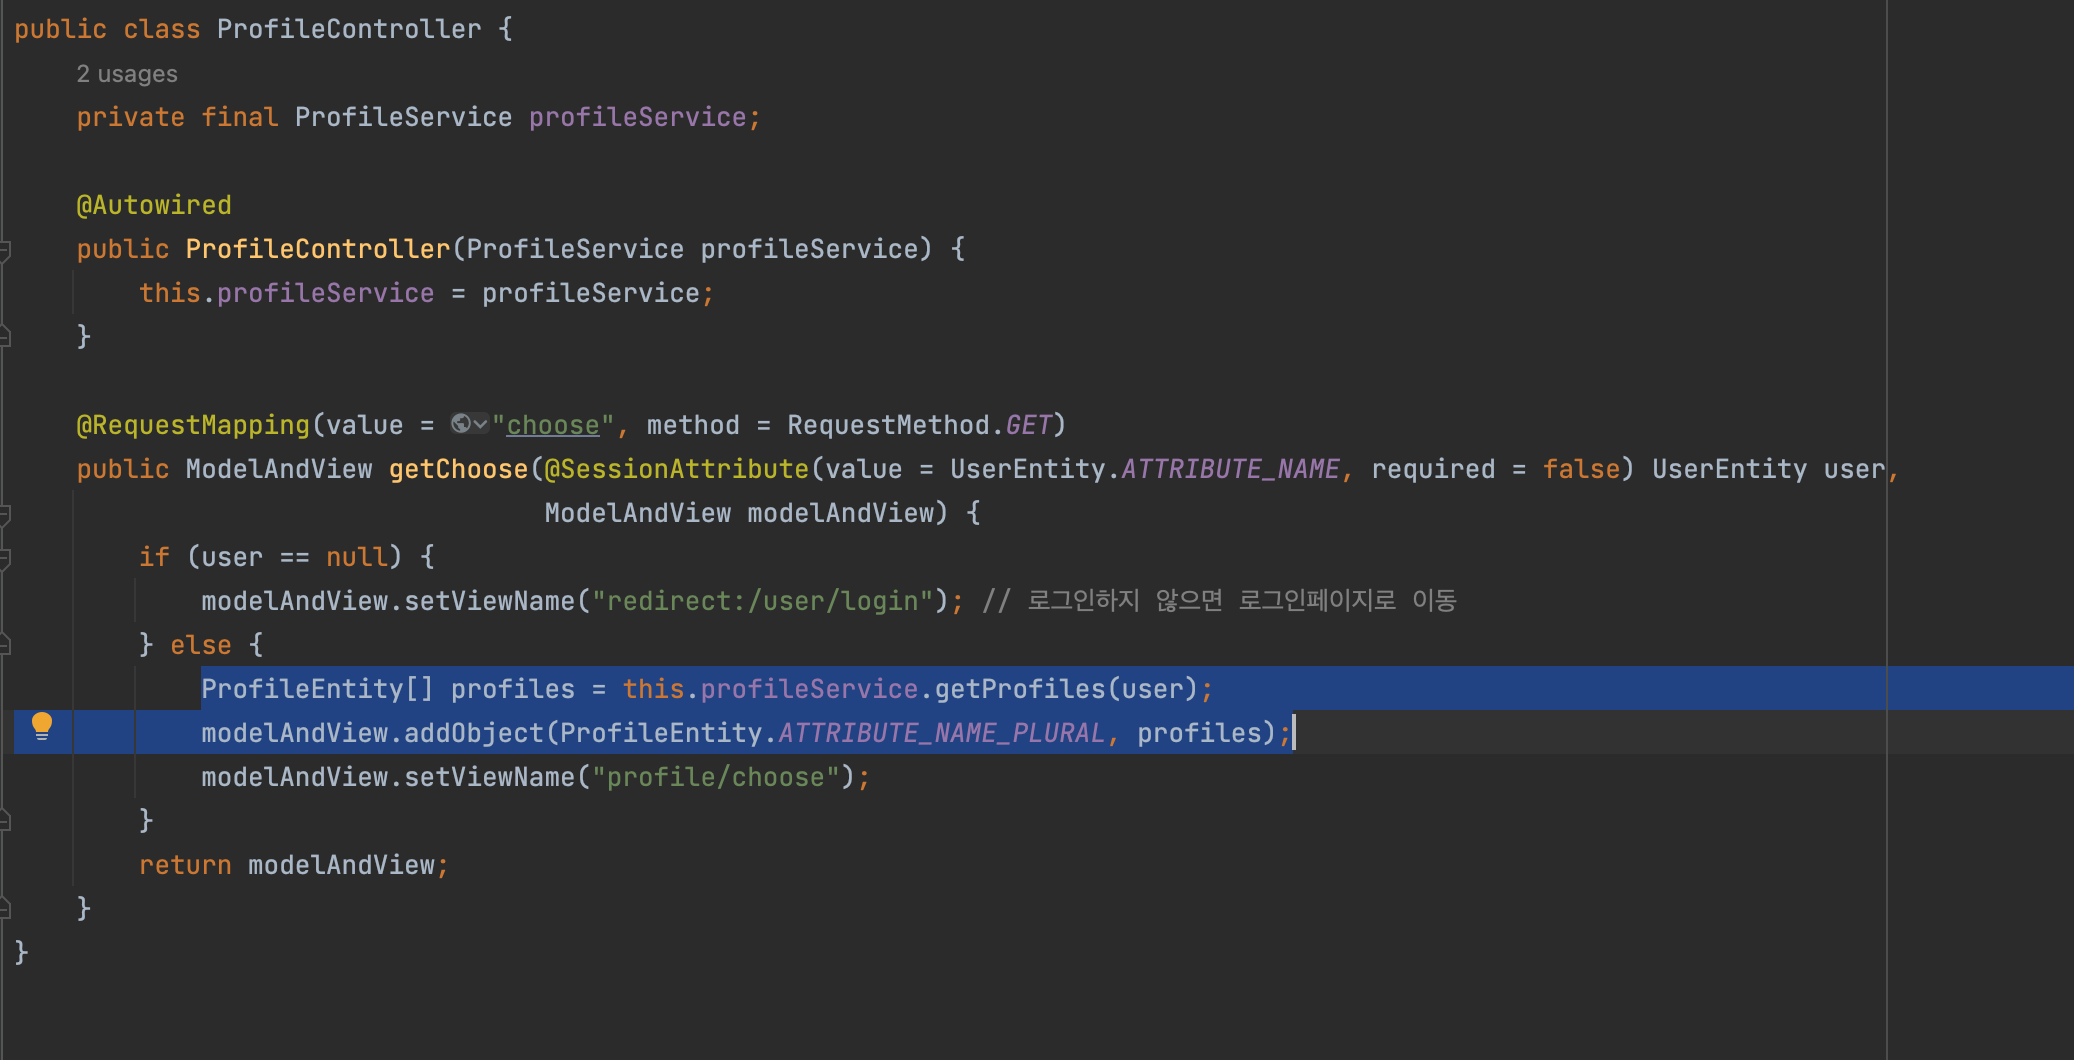
-> ProfileController
- 로그인을 했다라는 것을 보장받기 때문에 null 일 이유가 없기에 처리는 하지 않는다.
-> choose.html
localhost:8080/profile/chooes?name="관리자"해당 프로필을 눌렀을 때 이동하는 주소이다.


<div class="profile-container">
    <a class="profile"
       th:each="profile : ${profiles}"
       th:href="@{/profile/chooes (name=${profile.getName()})}">
        <img alt="" class="image" th:src="@{'/user/resources/images/profile' + ${profile.getProfileIndex()} + '.png'}">
        <span class="name" th:text="${profile.getName()}"><!-- name --></span>
    </a>
</div>
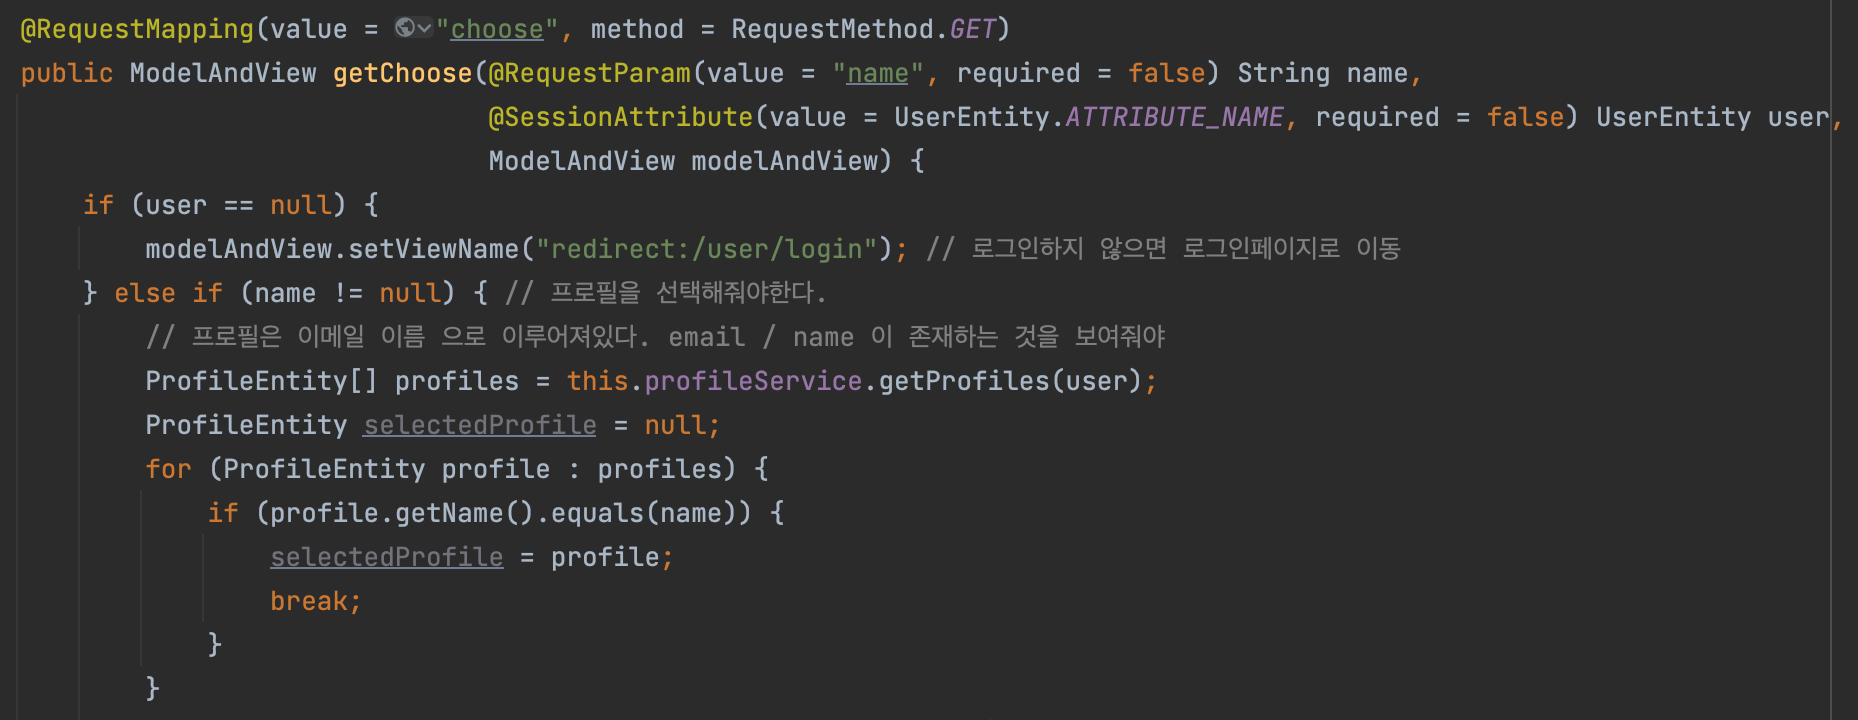
-> ProfileController
else if (name != null) : 프로필 클릭 했다면
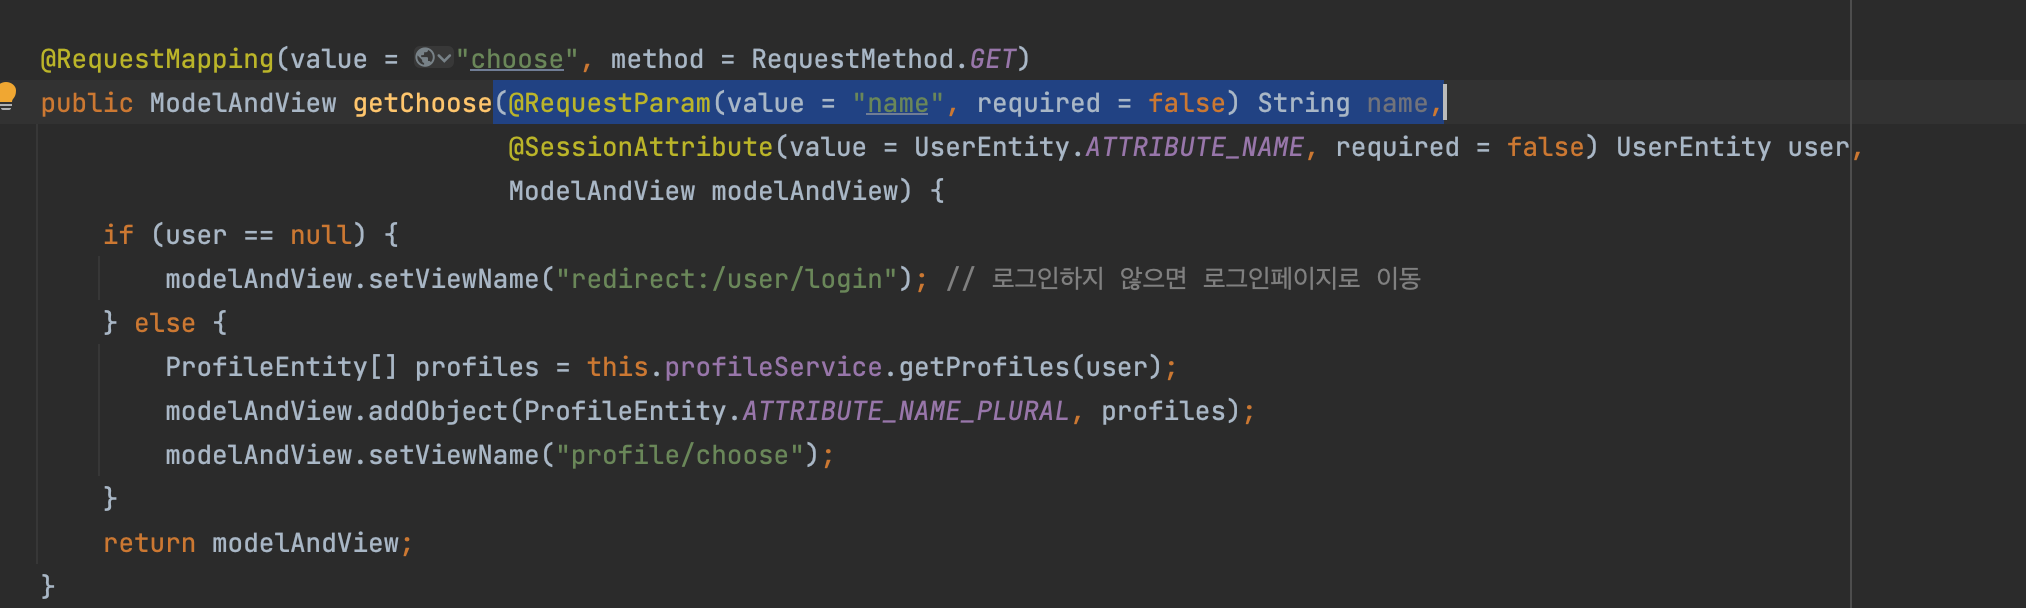
-> ProfileController
- 두 가지 방법으로 처리 ( 속도는 위의 로직이 더 빠르다.)

사용자가 프로필을 선택했는지 안했는지 어떻게 파악할까?
세션이 있는지 없는지 파악하면 된다.
세션에 접근하기 위해서 HttpServletRequest request 받아온다.
ProfileEntity selectedProfile = Arrays.stream(profiles)
        .filter(x -> x.getName().equals(name))
        .findFirst()
        .orElse(null);
if(selectedProfile == null) {
modelAndView.addObject(ProfileEntity.ATTRIBUTE_NAME_PLURAL, profiles);
    modelAndView.setViewName("profile/choose");
} else {
    request.getSession().setAttribute(ProfileEntity.ATTRIBUTE_NAME, selectedProfile);
    modelAndView.setViewName("redirect:/");
if문에
modelAndView.addObject(ProfileEntity.ATTRIBUTE_NAME_PLURAL, profiles);한 것은 존재하지 않는 name이 경로에 찍히게 되면 메인페이지로 보내기 위함이다.
root로 들어가면 프로필 선택하라고 뜨는데 프로필을 실제로 선택하면 로그인한 페이지가 뜨게 된다.


- 존재하지 않는 name을 사용하면 메인페이지로 이동이 된다.

- 유저의 프로필을 누르면 로그인한 페이지로 들어가게 된다.
redirect:/ 되었다가 HomeController 에서 걸러져서 index.signed 로 넘어가게 된다.


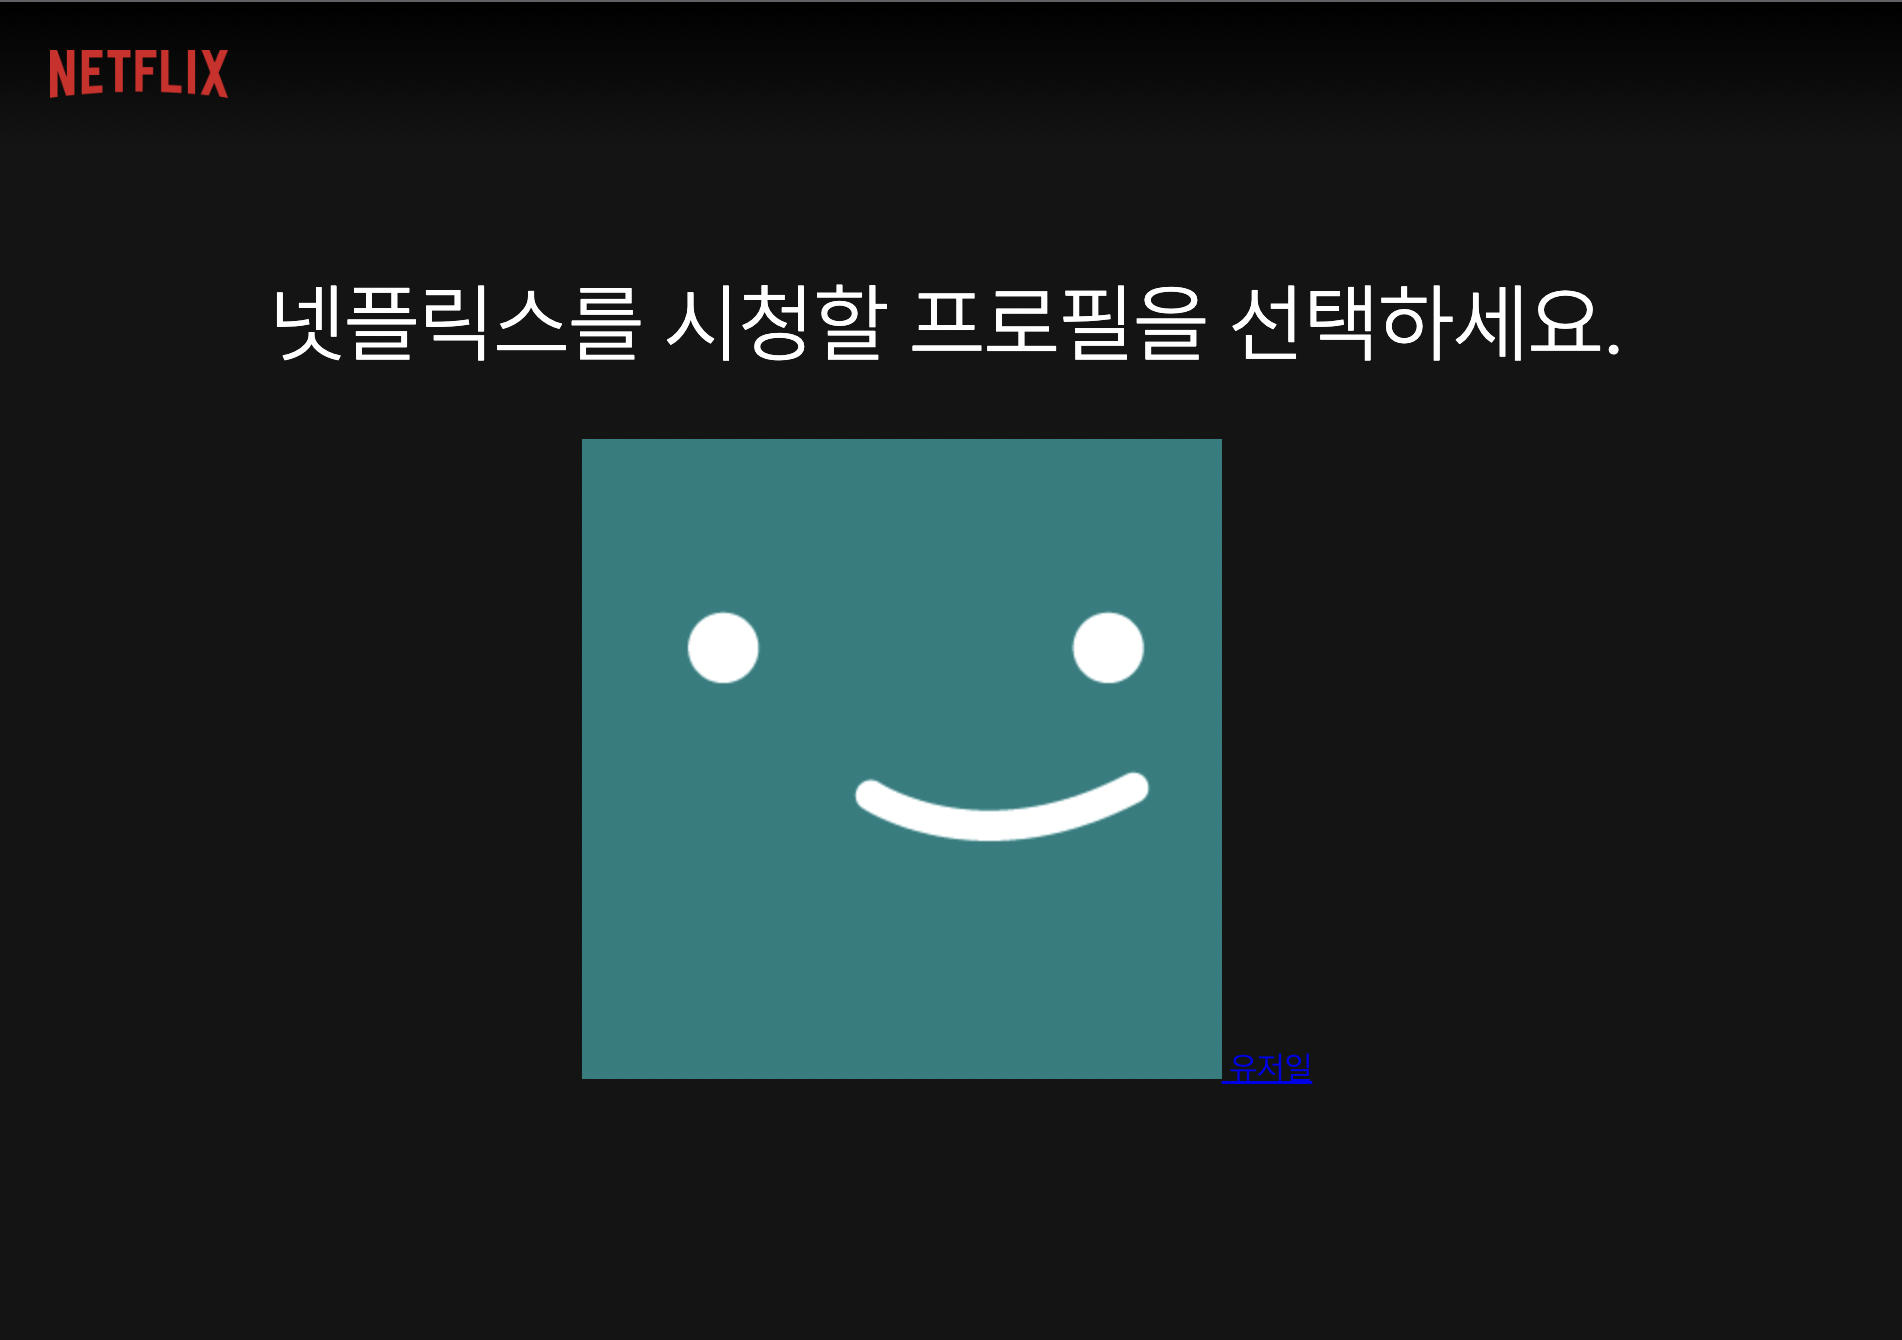
-> choose.html / choose.css 결과
<body class="--theme-dark">
<header class="header">
    <img alt="Netflix" class="logo" th:src="@{/resources/images/logo.png}">
</header>
<div class="profile-dialog">
    <h1 class="title">넷플릭스를 시청할 프로필을 선택하세요.</h1>
    <div class="profile-container">
        <a class="profile"
           th:each="profile : ${profiles}"
           th:href="@{/profile/choose (name=${profile.getName()})}">
            <img alt="" class="image" th:src="@{'/user/resources/images/profile' + ${profile.getProfileIndex()} + '.png'}">
            <span class="name" th:text="${profile.getName()}"><!-- name --></span>
        </a>
        <a class="profile" th:href="@{/profile/add}">
        <span class="letter-container">
            <i class="letter fa-solid fa-circle-plus"></i>
        </span>
            <span class="name">프로필 추가</span>
        </a>
    </div>
    <a class="manage" th:href="@{/profile/manage}">프로필 관리</a>
</div>
<form class="profile-add-form visible">
    <h1 class="title">프로필 추가</h1>
    <span class="message">넷플릭스를 시청할 다른 사용자를 등록하시려면 프로필을 추가하세요.</span>
    <div class="value-container">
        <img alt="" class="profile-image" th:src="@{/user/resources/images/profile6.png}">
        <label class="input-container">
            <span hidden>이름</span>
            <input autofocus class="input" maxlength="10" name="name" placeholder="이름" type="text">
        </label>
        <label class="check-container">
            <input class="check" name="isKids" type="checkbox">
            <span class="checker-container">
                <i class="checker fa-solid fa-check"></i>
            </span>
            <span class="message">어린이인가요?</span>
        </label>
        <span class="kid-message --theme-light">이 옵션을 선택하시면 이 프로필에 만 12세 이하 등급의 시리즈와 영화만 표시됩니다.</span>
    </div>
    <div class="button-container">
        <input class="button next" type="submit" value="다음">
        <input class="button cancel" type="button" value="취소">
    </div>
</form>
</body>