Thumbnail Image 삭제
-> detail.html
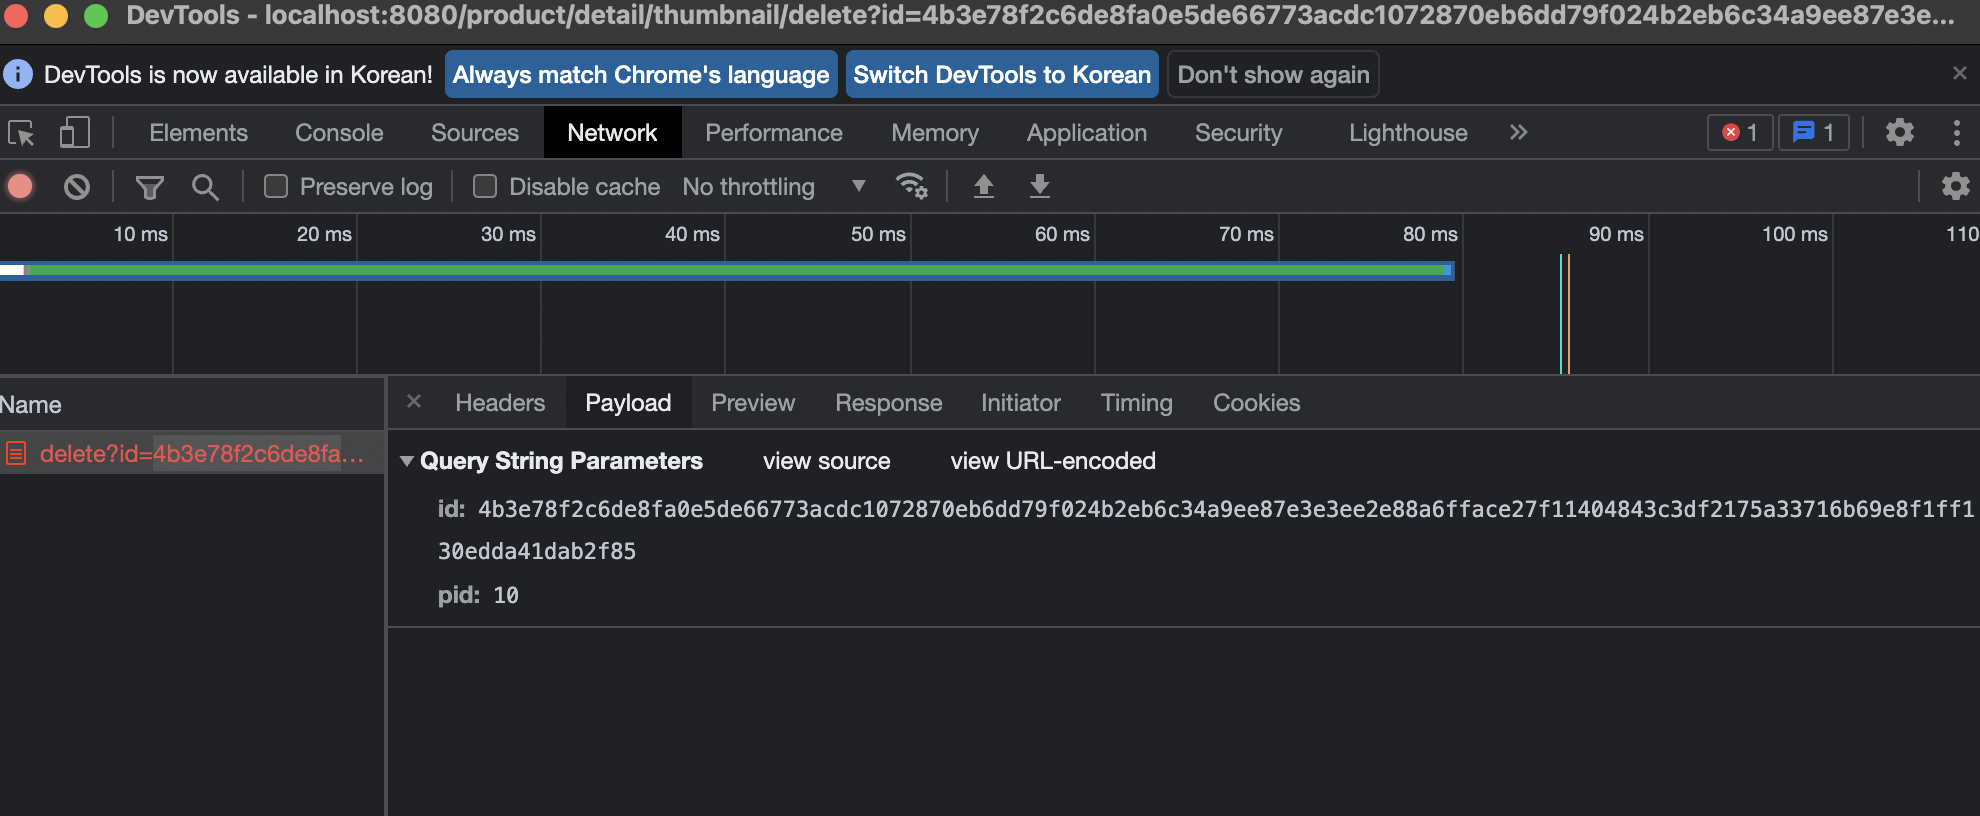
id: 4b3e78f2c6de8fa0e5de66773acdc1072870eb6dd79f024b2eb6c34a9ee87e3e3ee2e88a6fface27f11404843c3df2175a33716b69e8f1ff130edda41dab2f85
pid: 10
- 개발자 도구를 열어보면
id : 삭제할이미지의 아이디/pid : 상품의아이디가 돌아온것을 볼 수 있다.

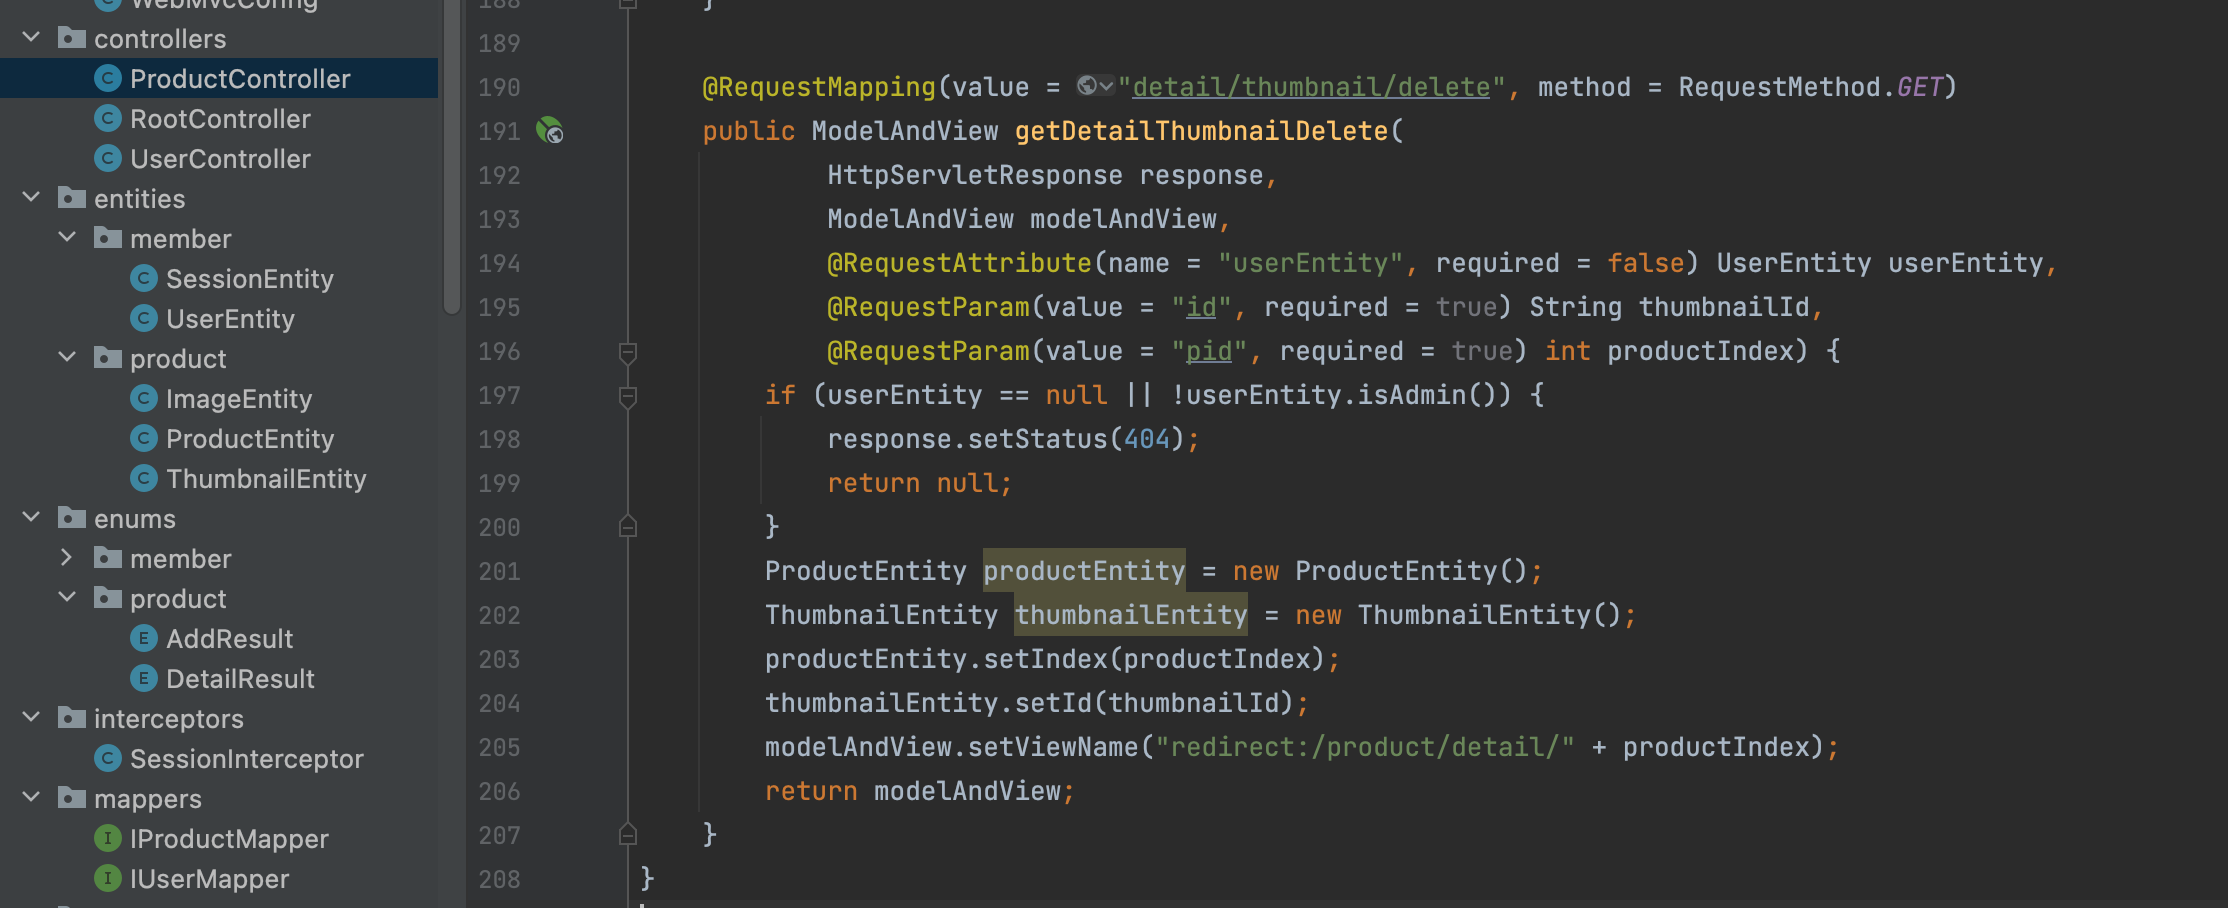
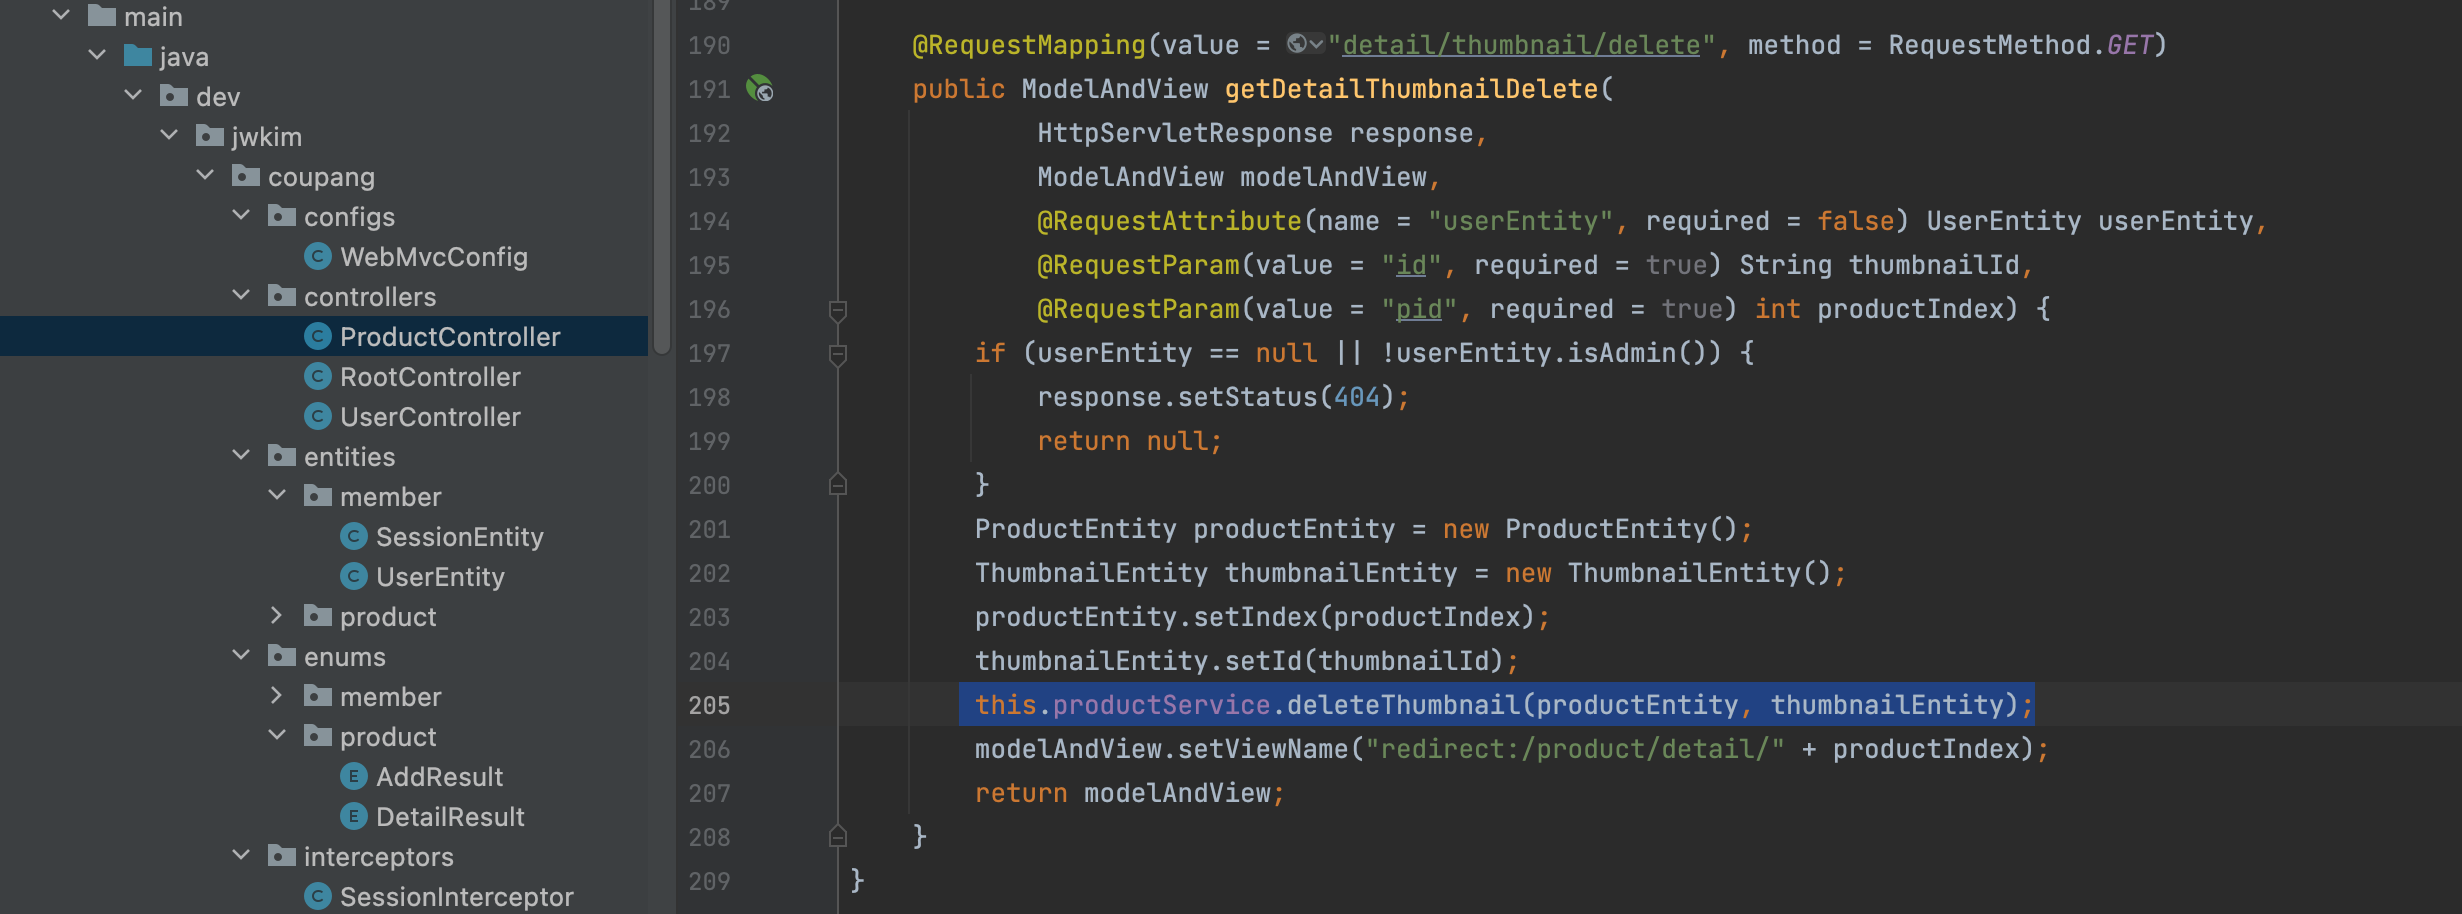
-> ProductController getDetailThumbnailDelete
-> ProductService deleteThumbnail

-> IProductMapper deleteThumbnail

-> ProductMapper.xml deleteThumbnail

-> ProductService
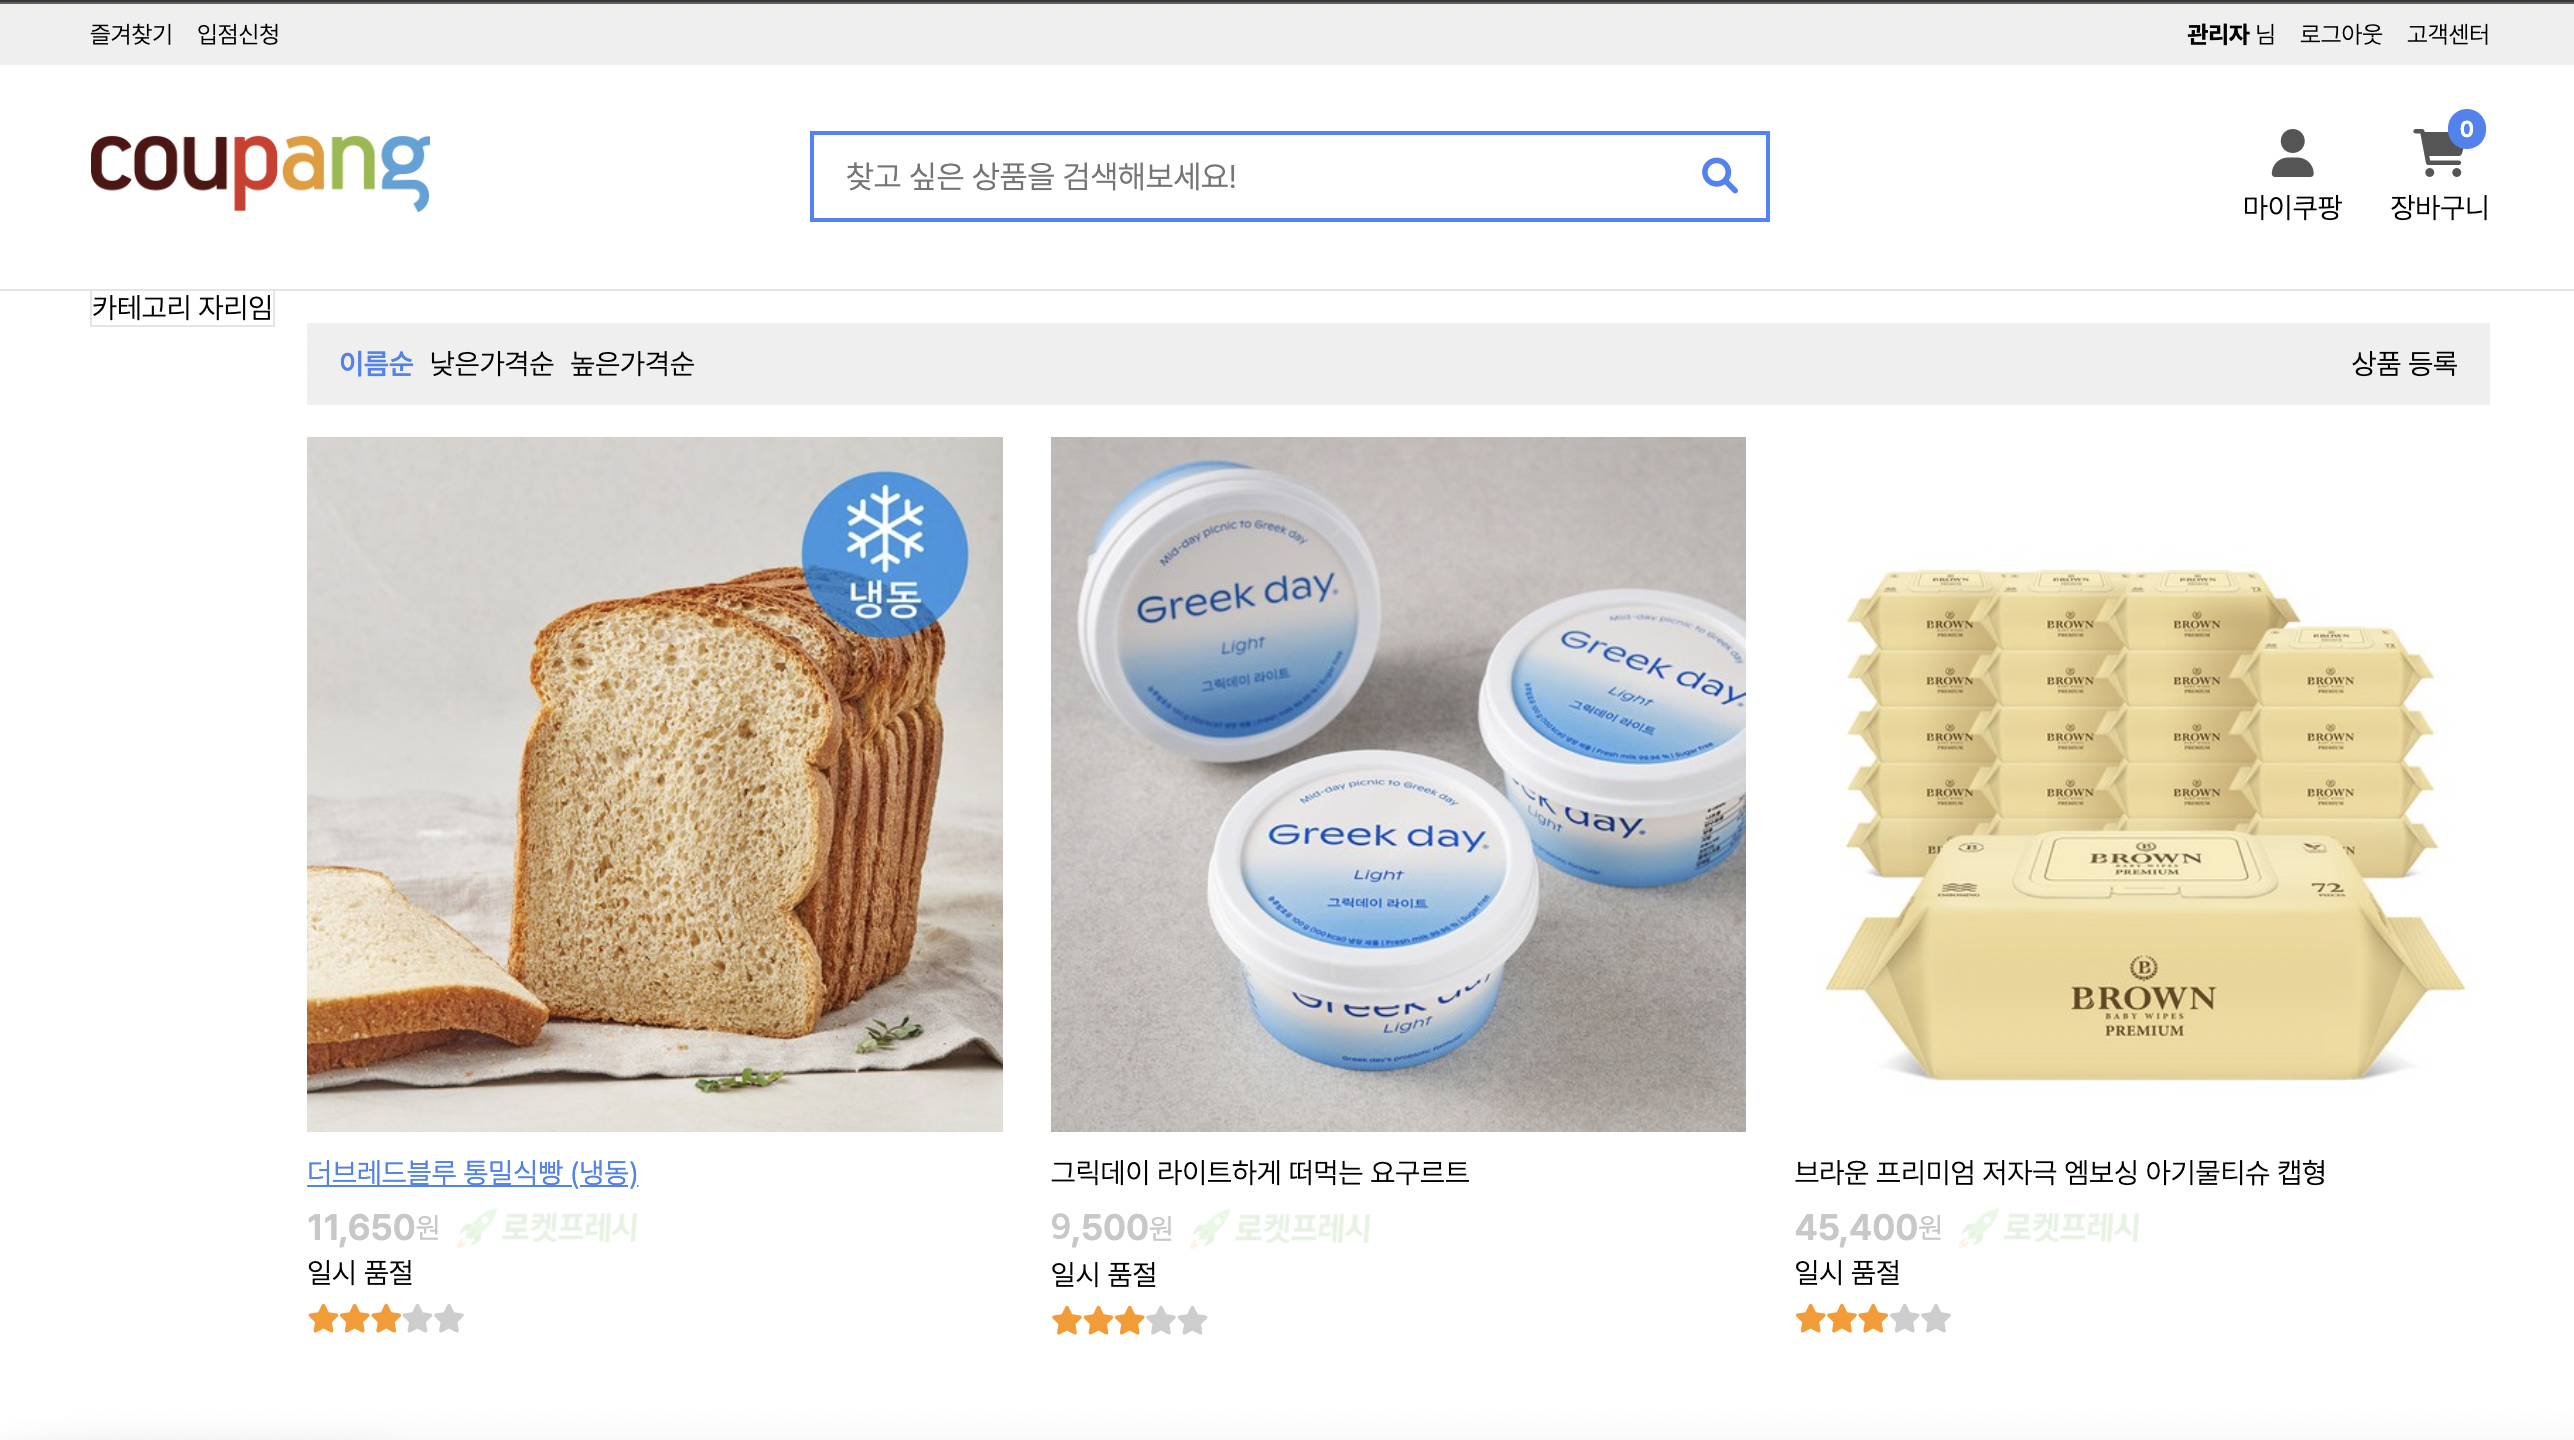
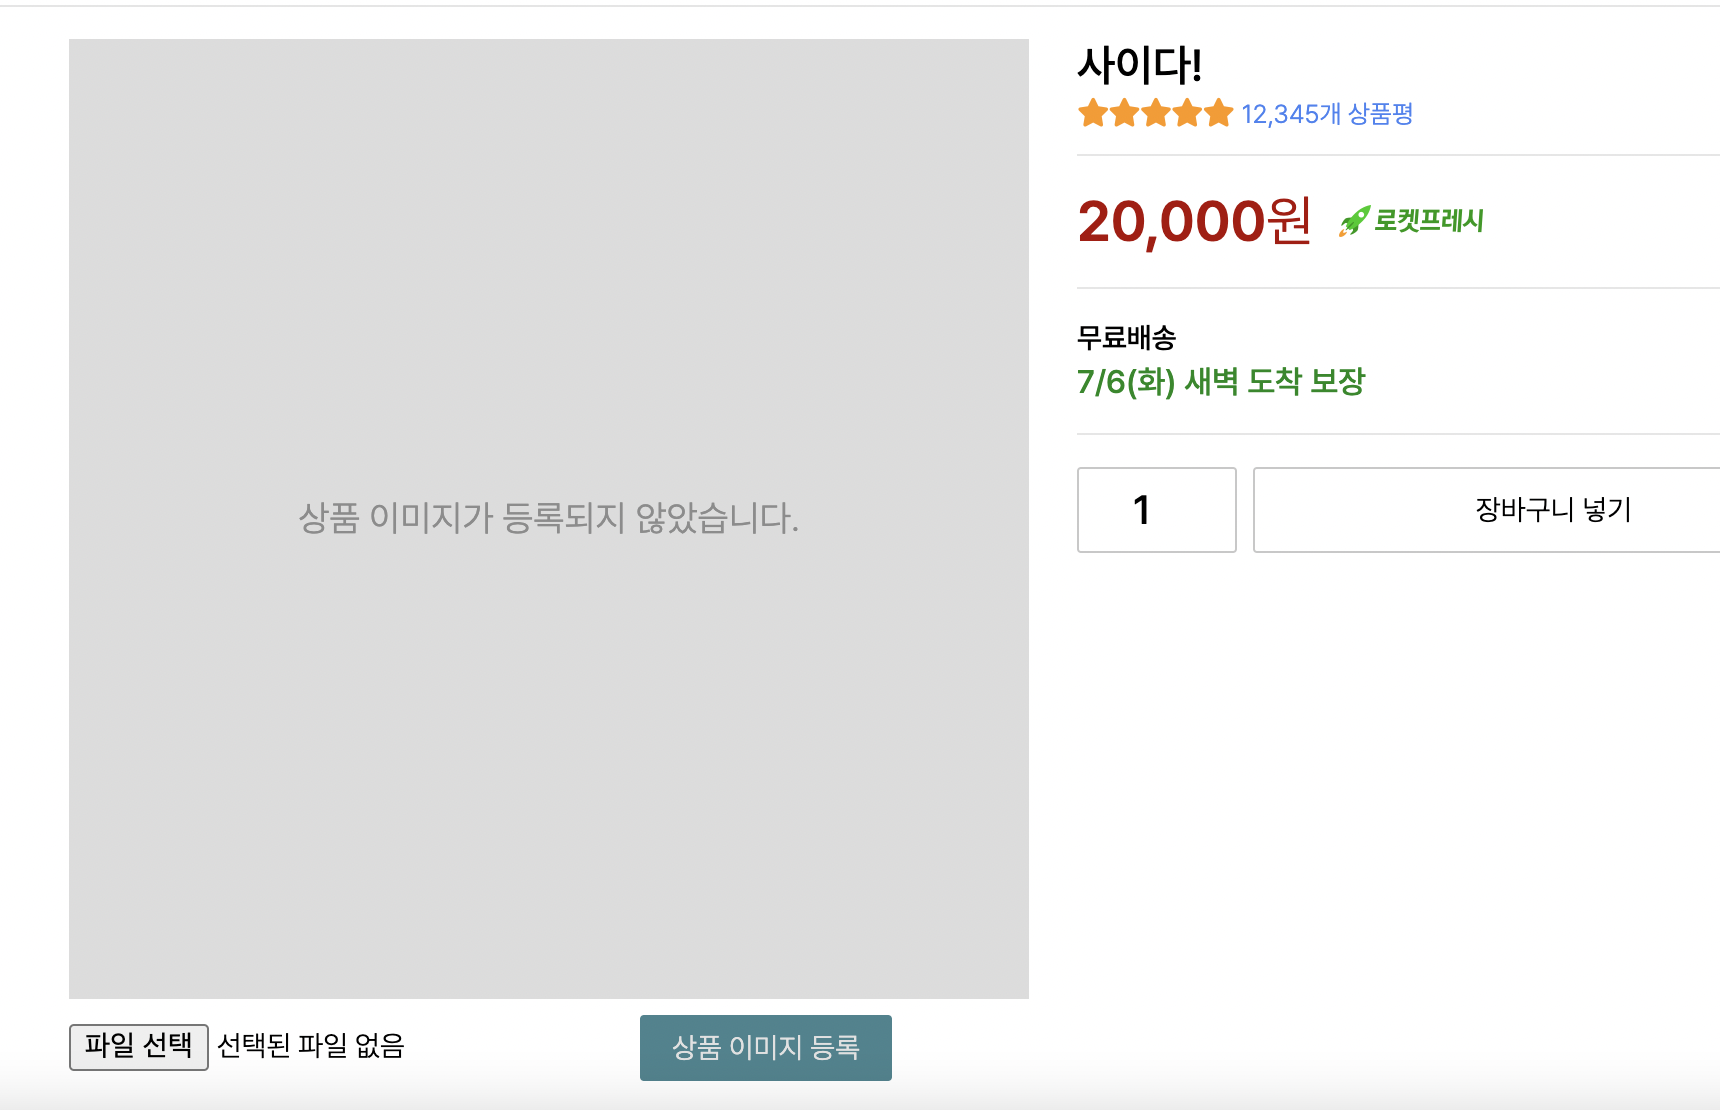
- 썸네일이 없는 상태로 돌아갈것이다.

-> ProductController
this.productService.deleteThumbnail(productEntity, thumbnailEntity);추가
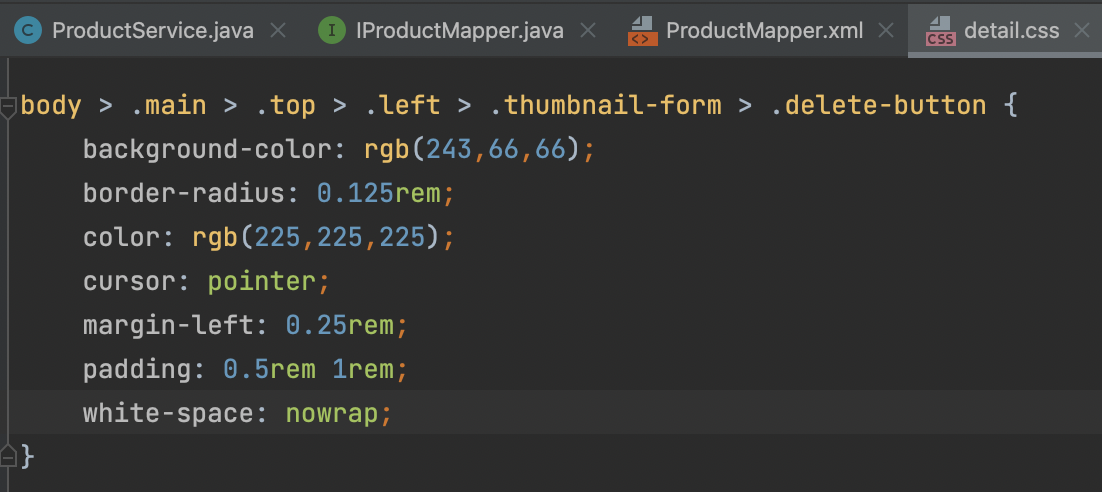
-> detail.css 속성 추가
- 버튼에 대한 css 추가
-> ProductService
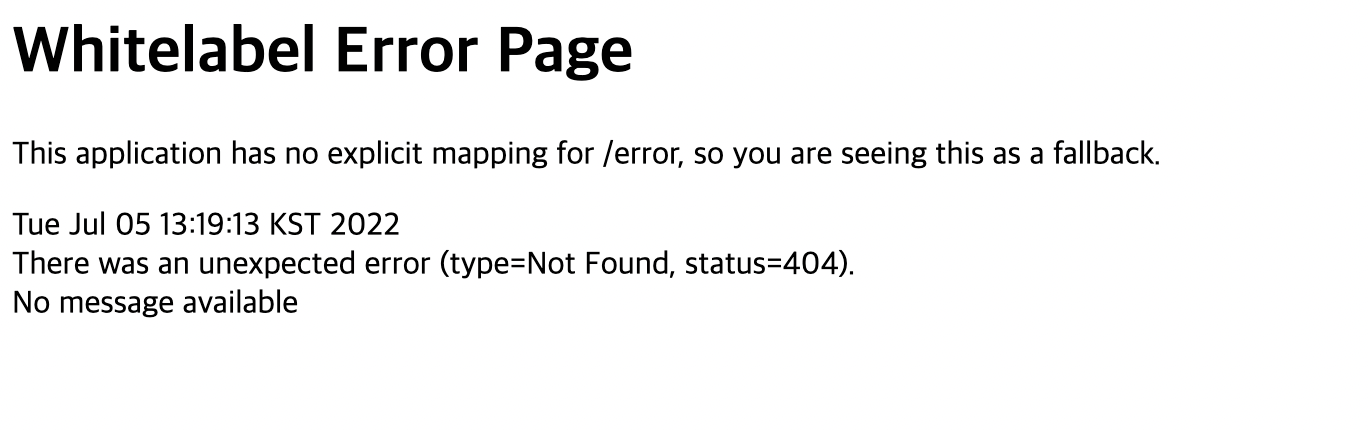
- 2번째줄 추가 하기전에는 404 띄우면서 오류가 뜬다.
- 아래 4줄의 코드를 실행할 때 뒤에서 문제가 터지면 앞에 실행될 코드들의 실행을 멈춘다. 실행 취소처리가 되게 함.

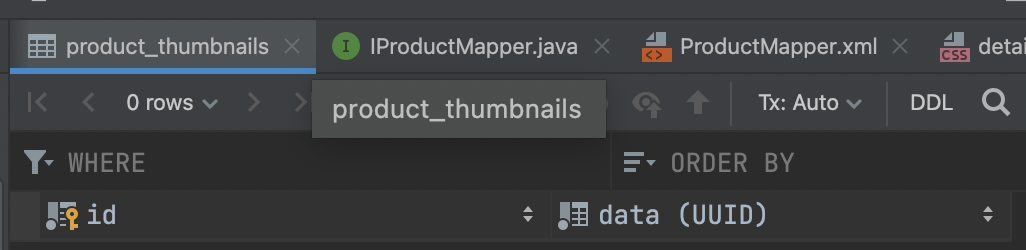
-> 삭제가 되는지 확인해보자.
- 이미지를 동록했다가 삭제하면 삭제가 되는 것을 확인할 수 있다.
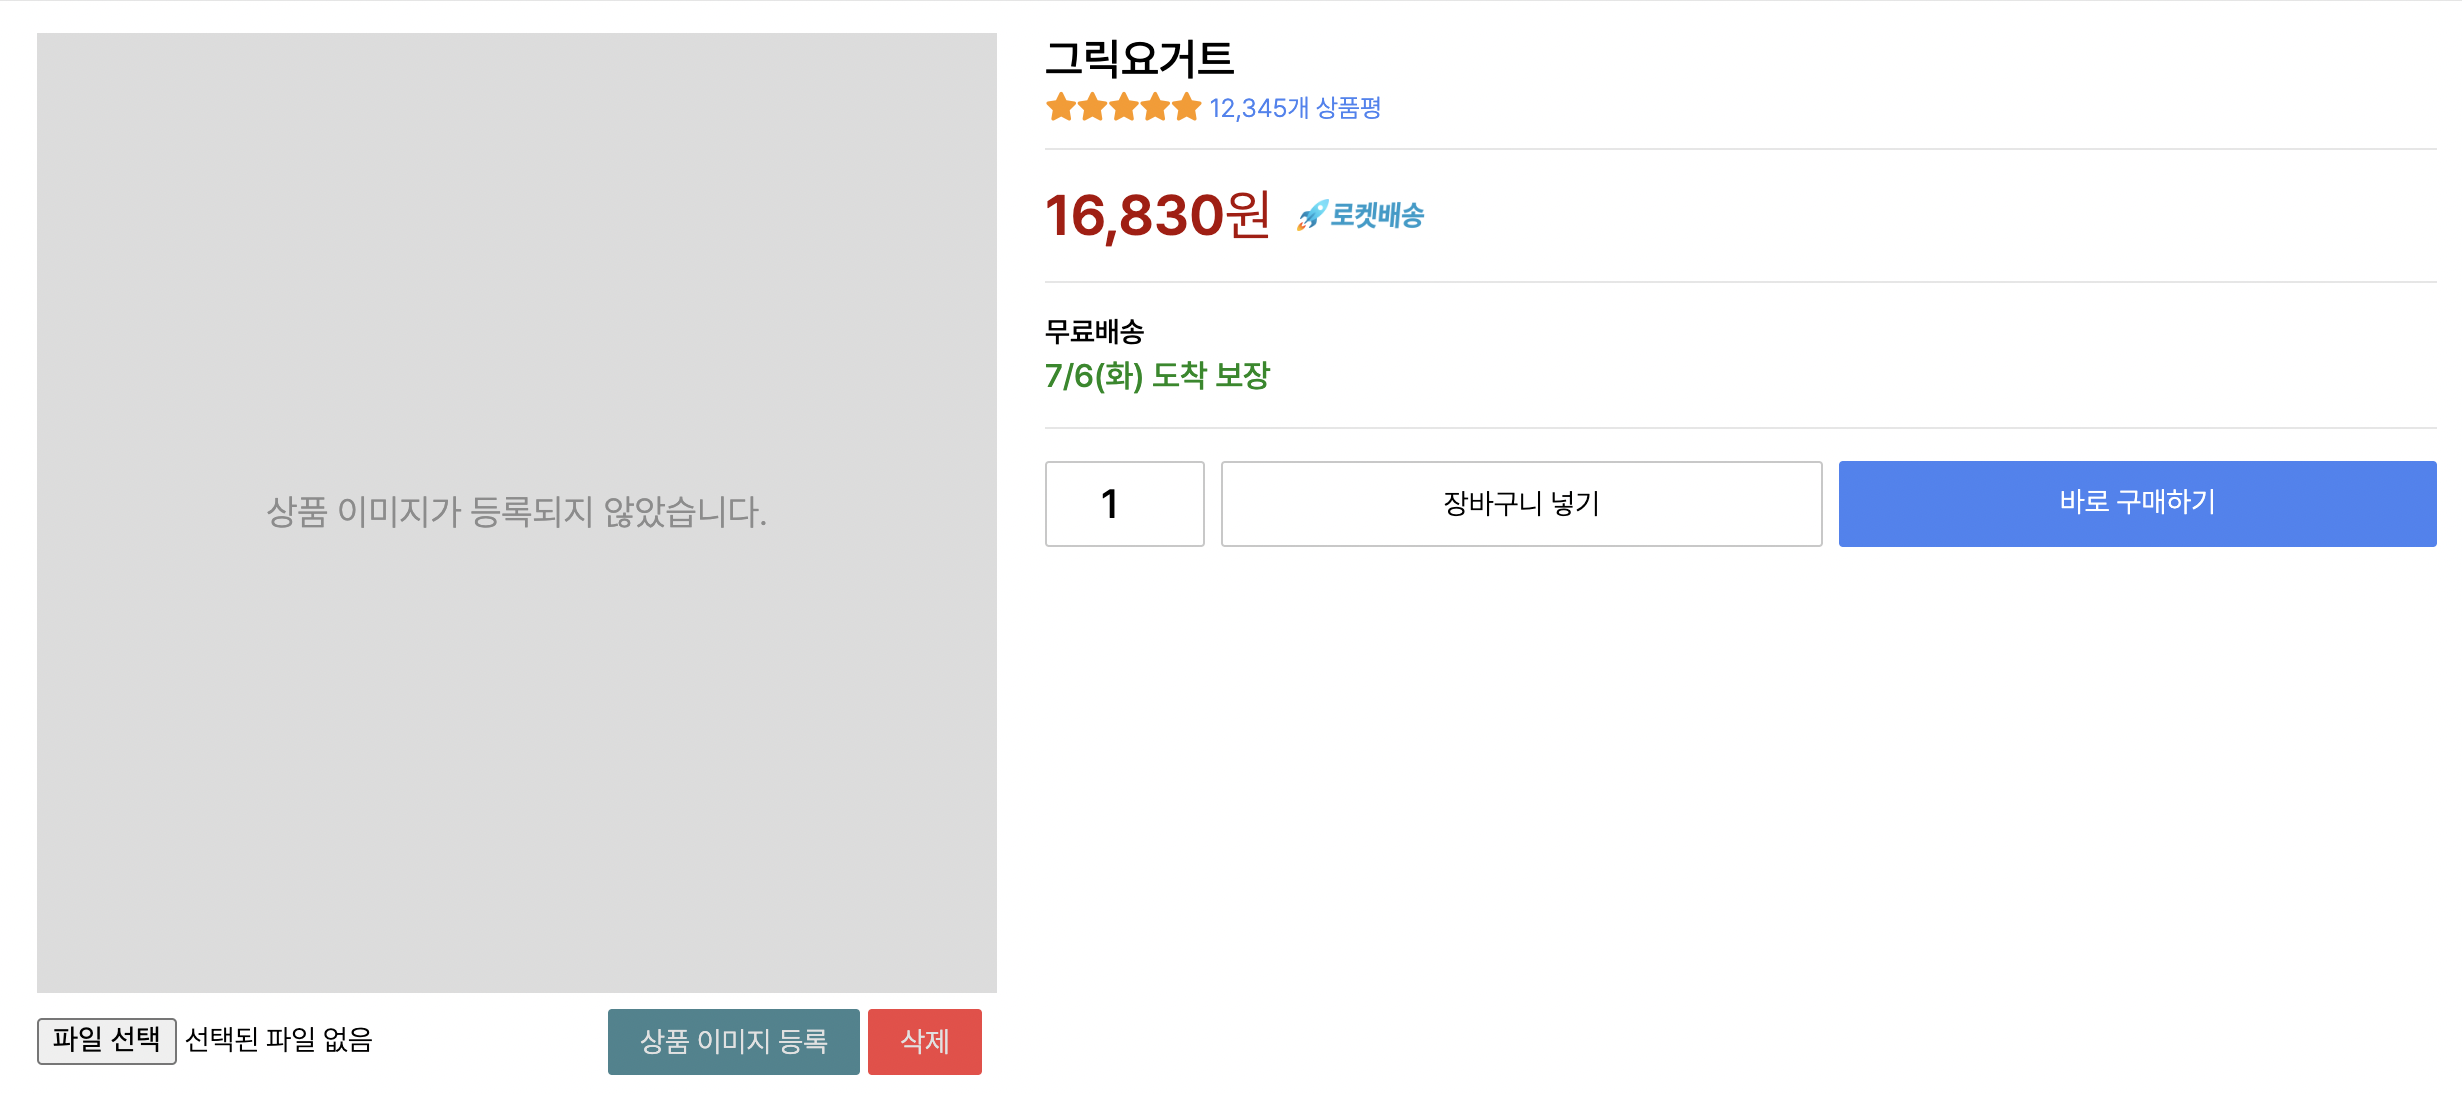
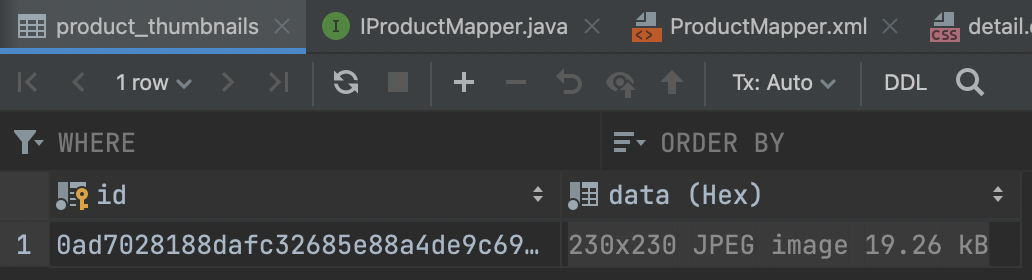
-> DB에서도 확인이 가능하다.
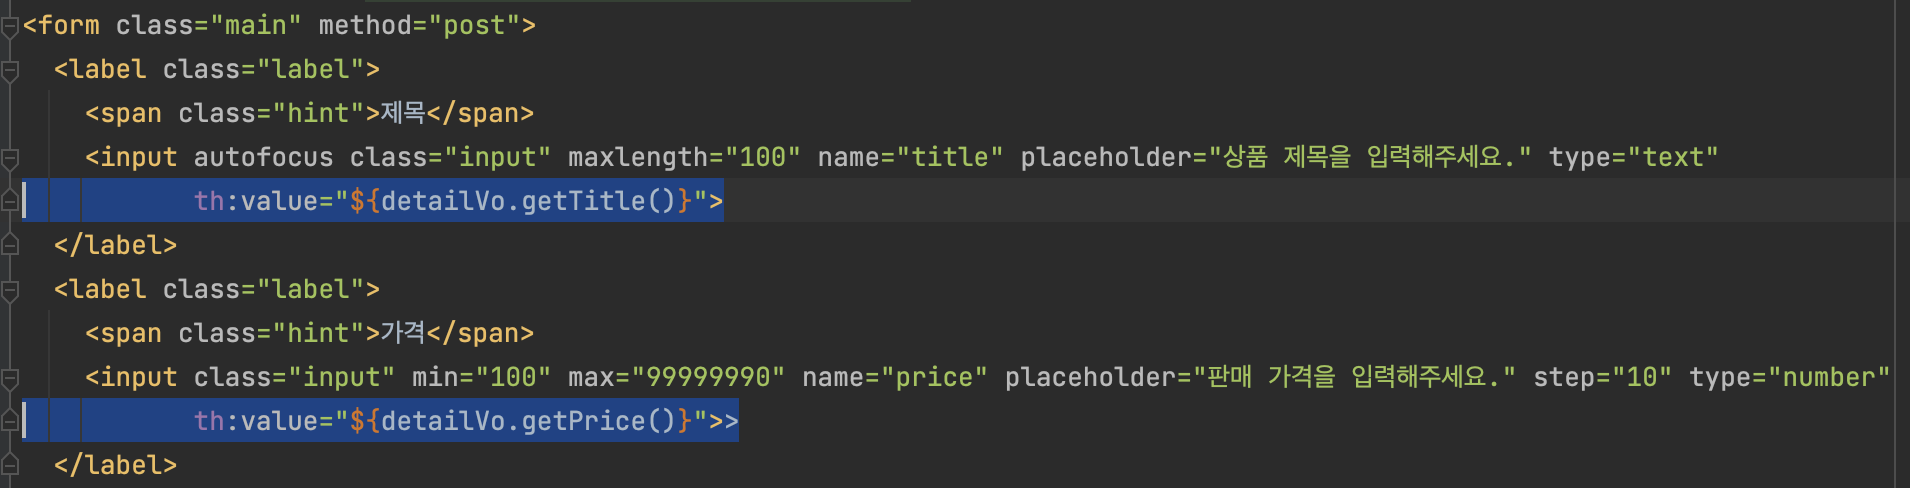
-> detail.html
- 썸네일이 없다면 버튼도 보이지 않게 한다.

표시할 상품 없을 시 처리
-> index.html
- 표시할 상품이 없을 시에 메인페이지에서 띄워준다.

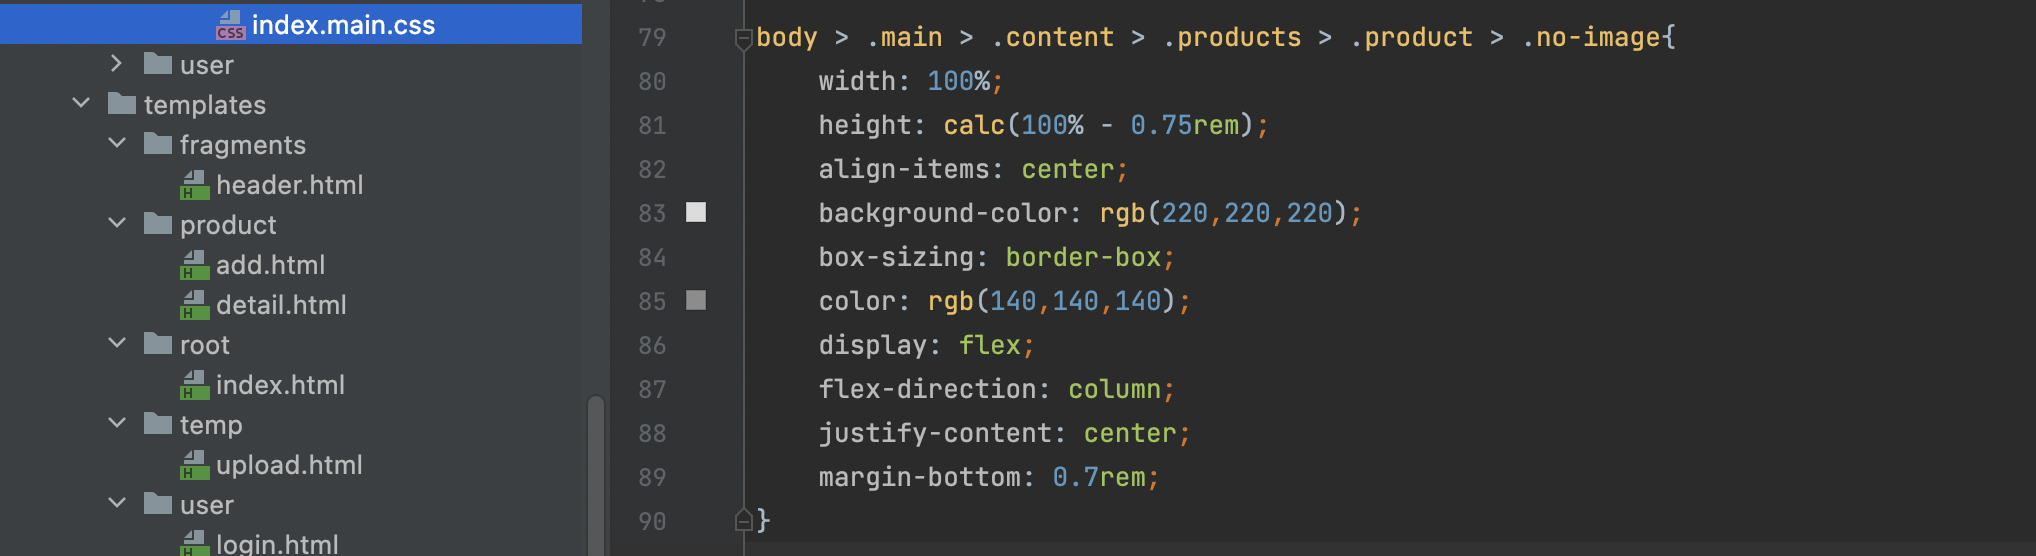
-> index.main.css
grid-column: 1/4;
=grid-column-start = 4
&&grid-column-startend = 4

-> 상품이 없을 때 뜨는 page모습

- 상품 올릴 때 옆으로 튀어나오지 못하게 한다.

썸네일이 없을 시 처리
-> 썸네일이 없을 때 메인 페이지 상태

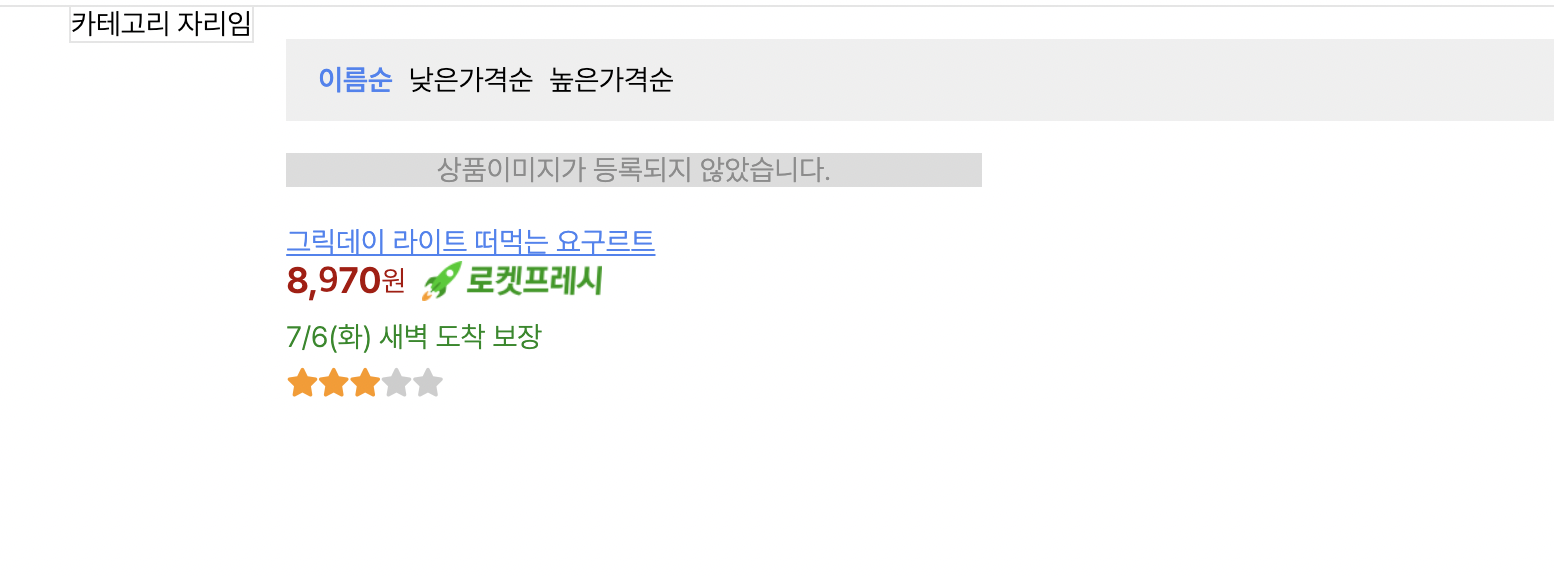
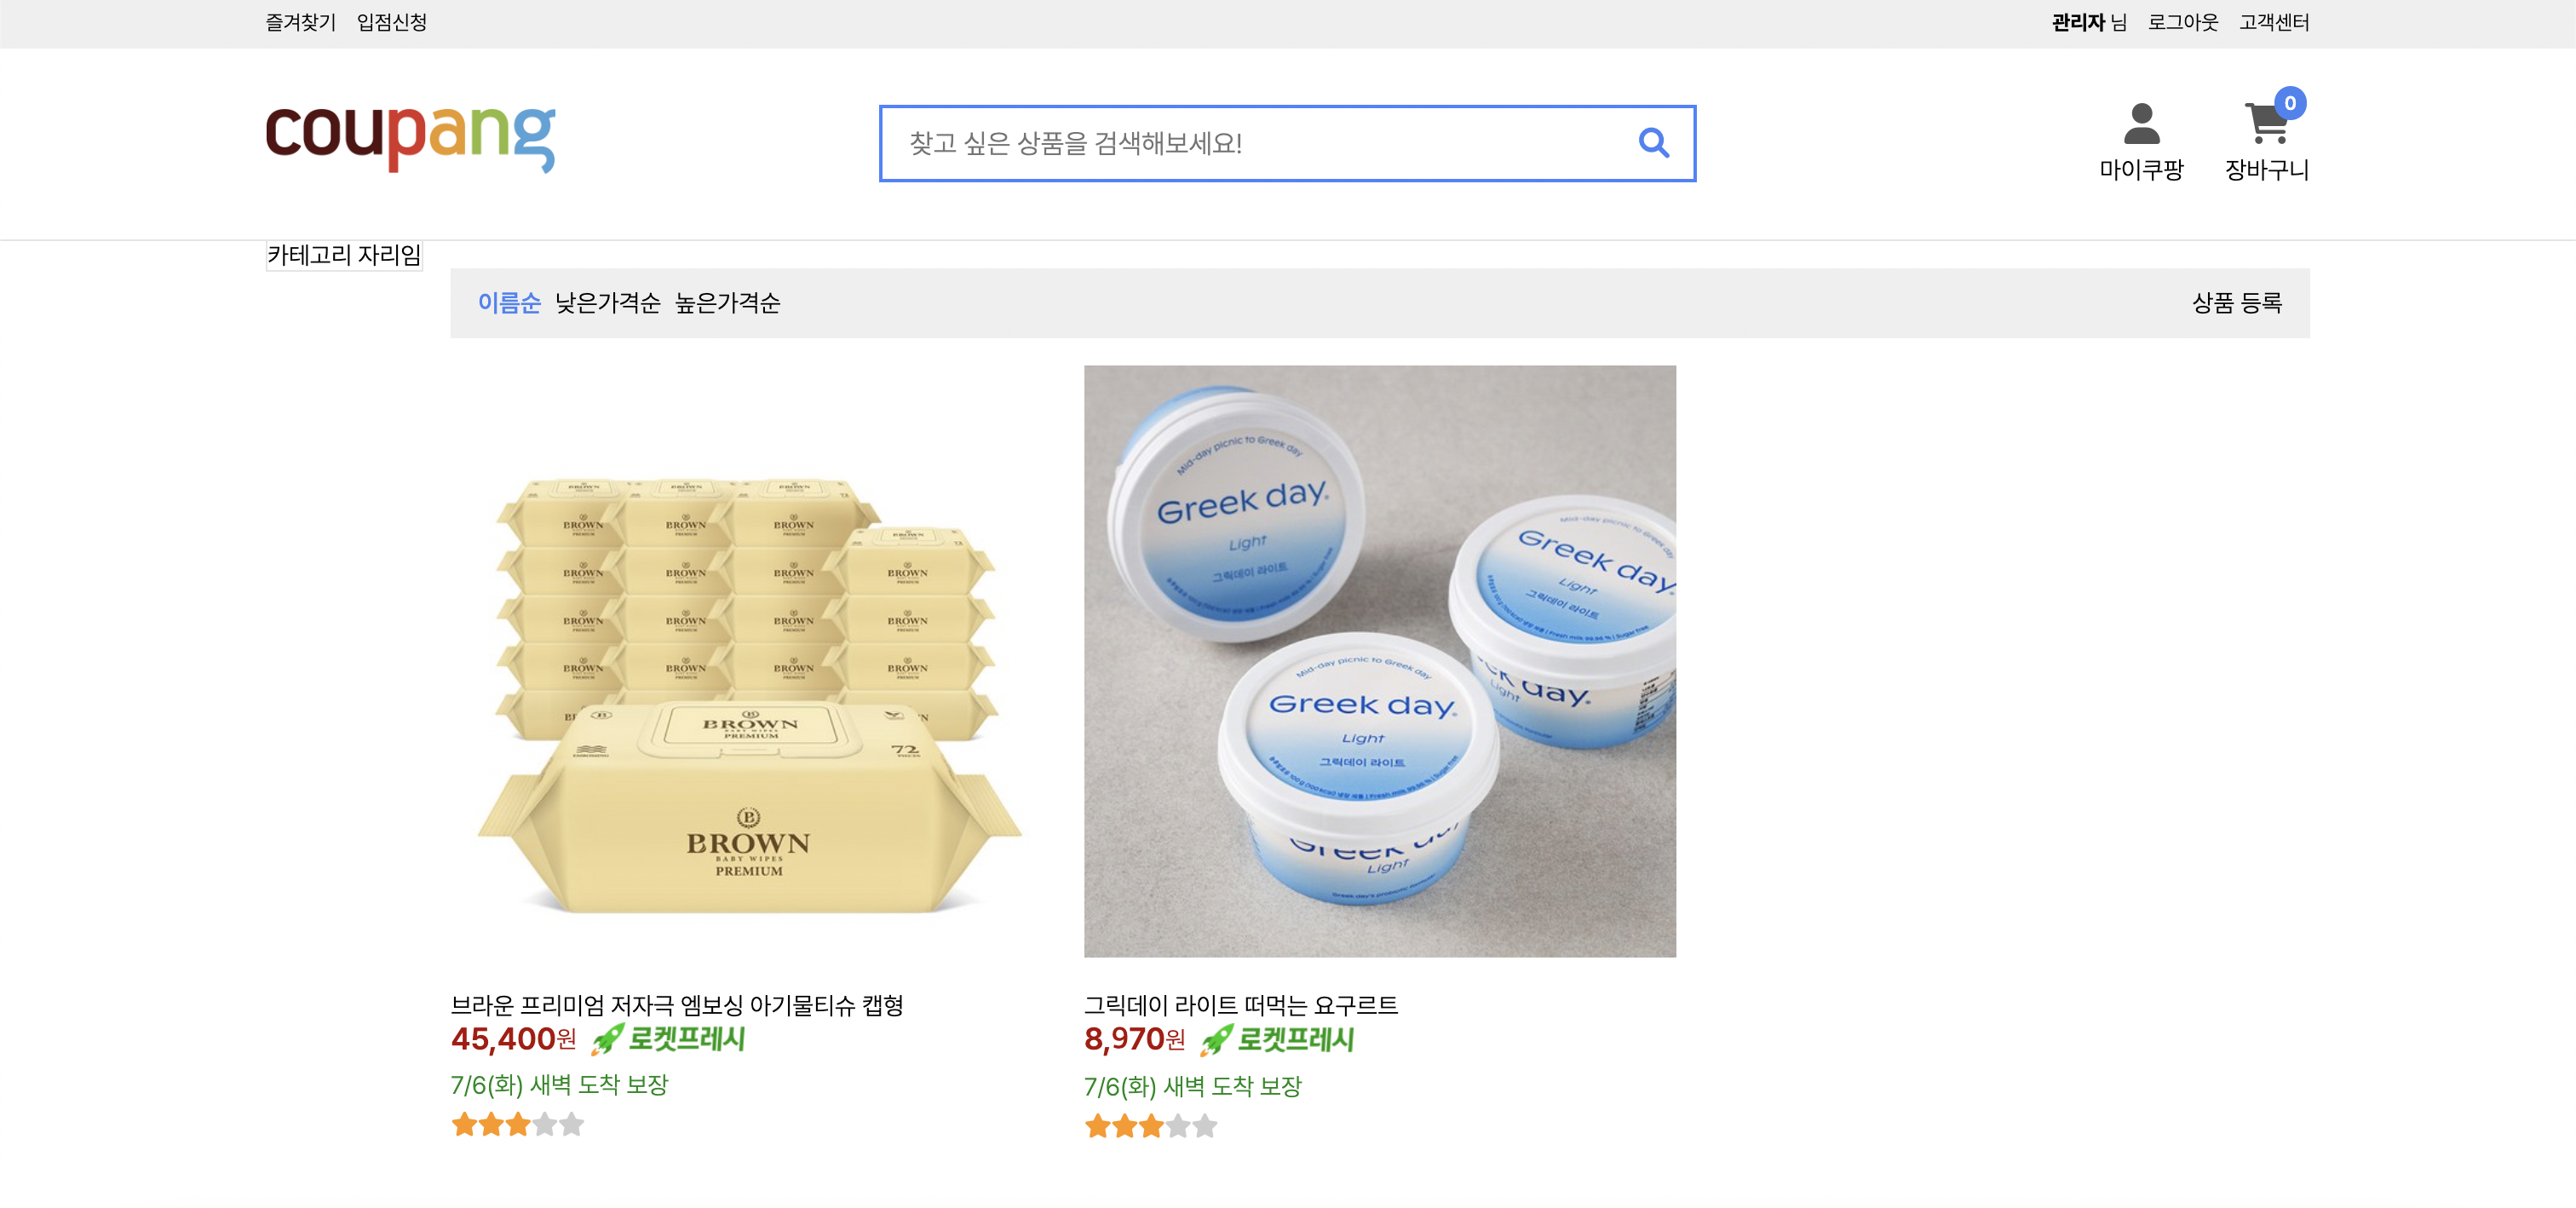
썸네일 있을 때 메인 페이지
-> 썸네일이 있을 경우 메인페이지에서 썸네일 뜨도록 하자

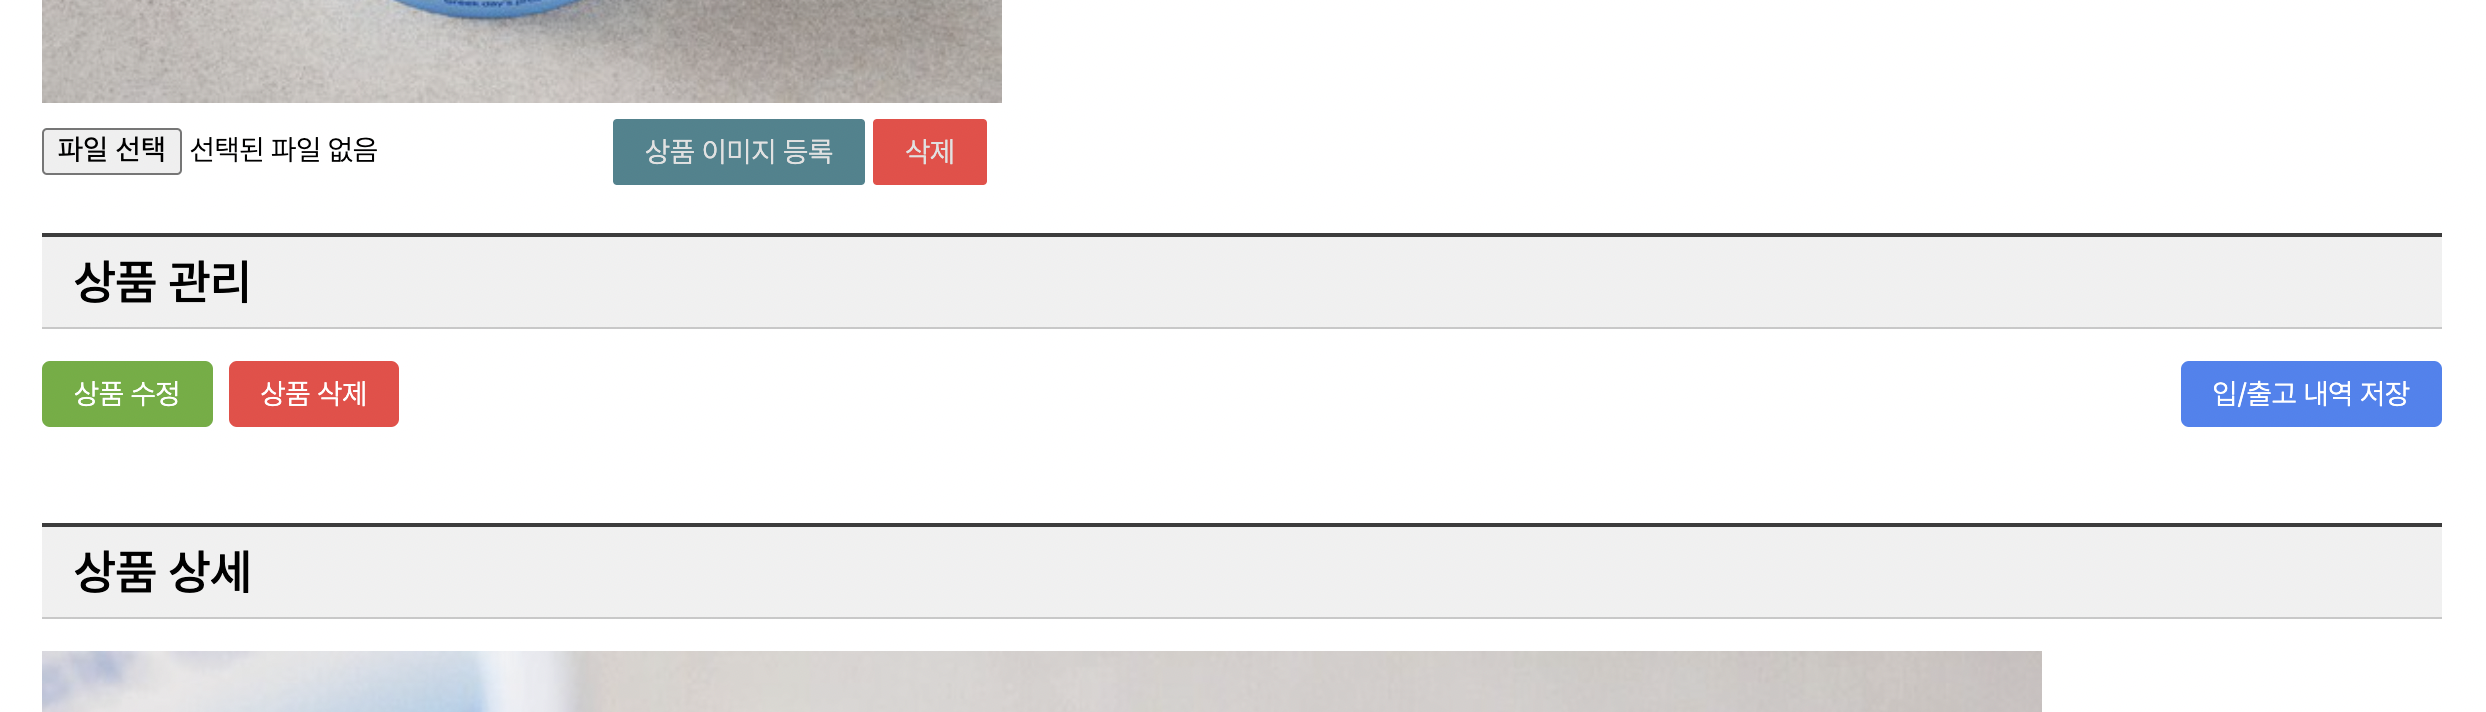
상품 관리 html/css
-> 상품 관리에 대한 detail.html 추가
- 상품 상세 위에 위치.
<section class="admin" th:if="${userEntity != null && userEntity.isAdmin()}">관리자 일때만 보이게 한다.

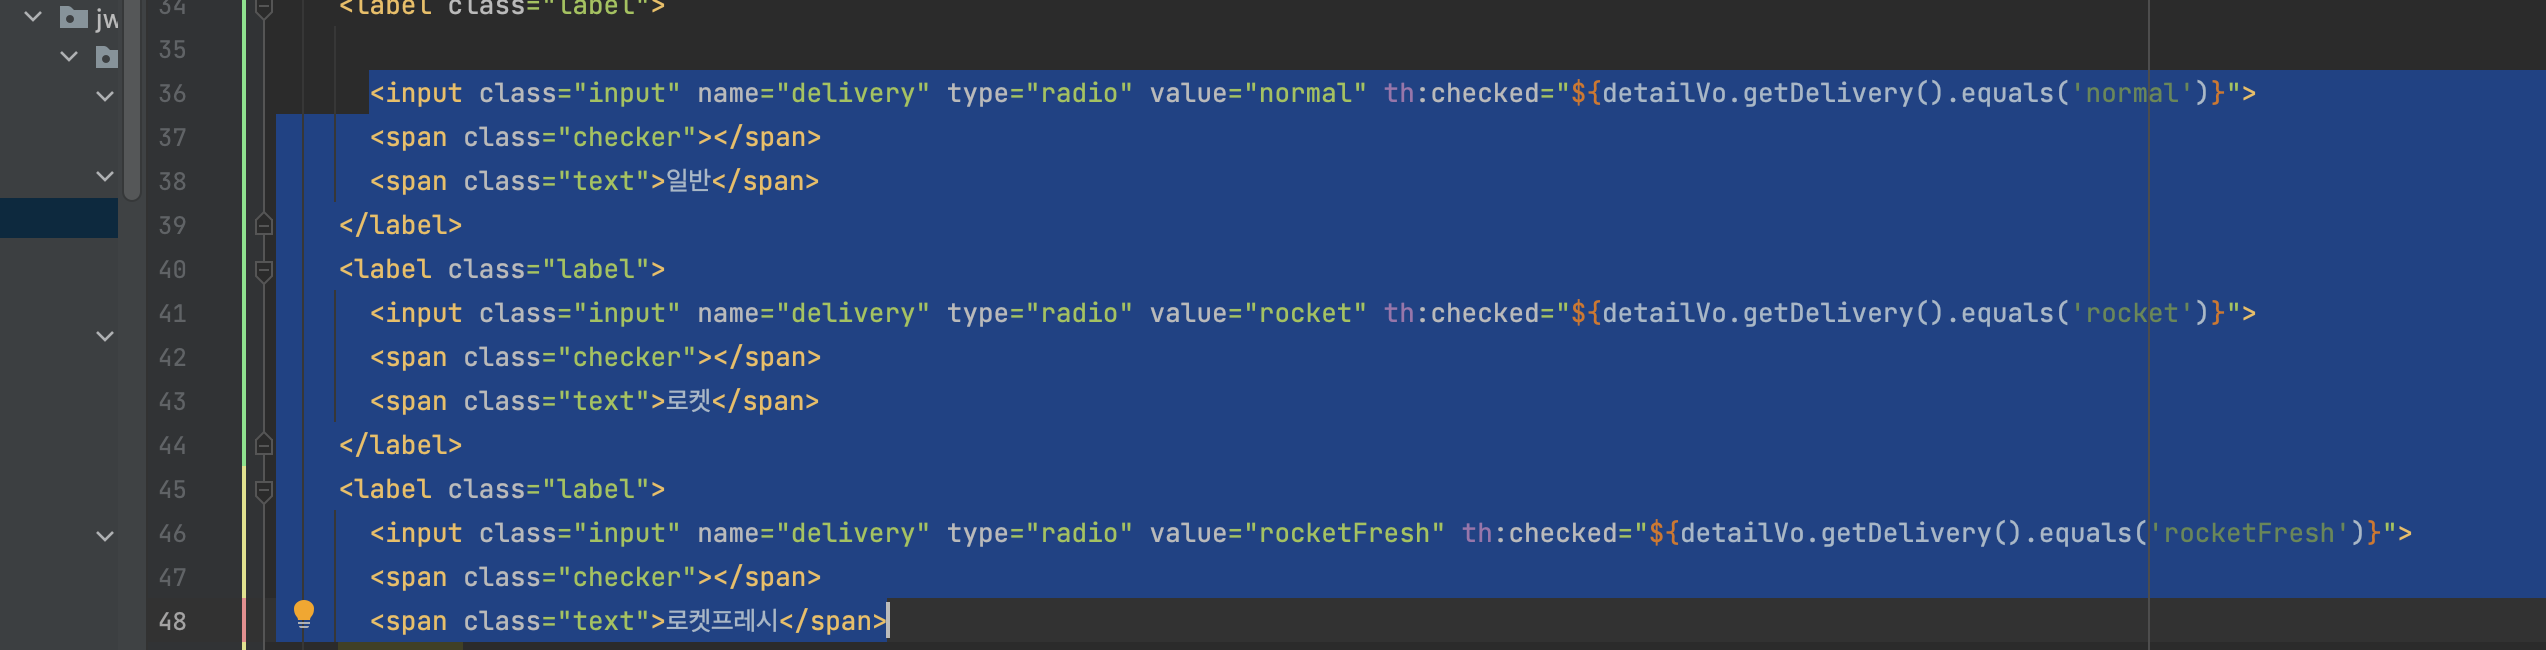
-> 상품 관리에 대한 detail.html
<style>
body > .main > .admin,
body > .main > .body ,
body > .main > .review {
margin: 1.5rem 0;
}
body > .main > .admin > .title,
body > .main > .body > .title,
body > .main > .review > .title {
background-color: rgb(240, 240, 240);
border-top: 0.125rem solid rgb(60, 60, 60);
border-bottom: 0.0625rem solid rgb(200, 200, 200);
font-size: 1.5rem;
font-weight: 500;
margin-bottom: 1rem;
padding: 0.5rem 1rem;
}
body > .main > .admin > .button-container {
align-items: center;
display: flex;
flex-direction: row;
justify-content: flex-start;
}
body > .main > .admin > .button-container > .spring {
flex: 1;
}
body > .main > .admin > .button-container > .button {
border-radius: 0.25rem;
cursor: pointer;
padding: 0.5rem 1rem;
user-select: none;
}
body > .main > .admin > .button-container > .button + .button {
margin-left: 0.5rem;
}
body > .main > .admin > .button-container > .button:hover {
filter: brightness(105%);
}
body > .main > .admin > .button-container > .button:active {
filter: brightness(95%);
}
body > .main > .admin > .button-container > .button.red {
background-color: rgb(243, 66, 66);
color: rgb(255,255,255);
}
body > .main > .admin > .button-container > .button.yellow {
background-color: rgb(100, 175, 50);
color: rgb(255,255,255);
}
body > .main > .admin > .button-container > .button.blue {
background-color: rgb(66,132,243);
color: rgb(255,255,255);
}
body > .main > .admin > .button-container > input[type=submit] {
width: auto;
}
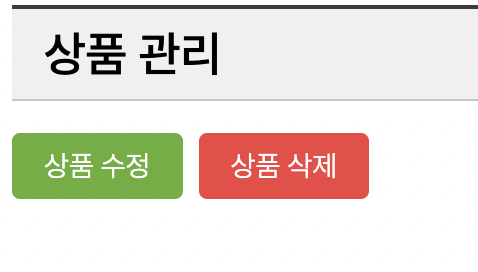
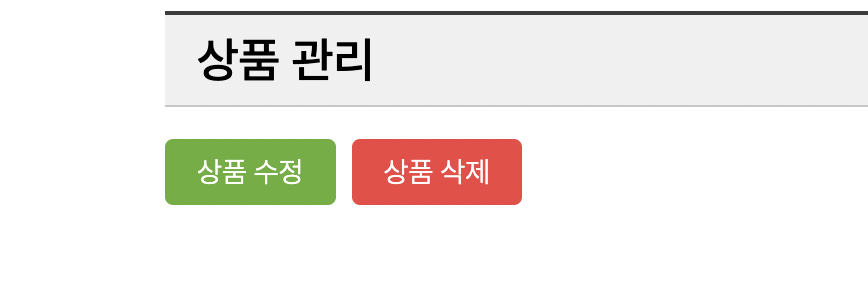
</style>-> 현재 상세페이지의 상품 관리 상태
Back!
3가지 버튼을 만들었고 구현을 해보자. 상품 삭제 먼저 처리해보자.
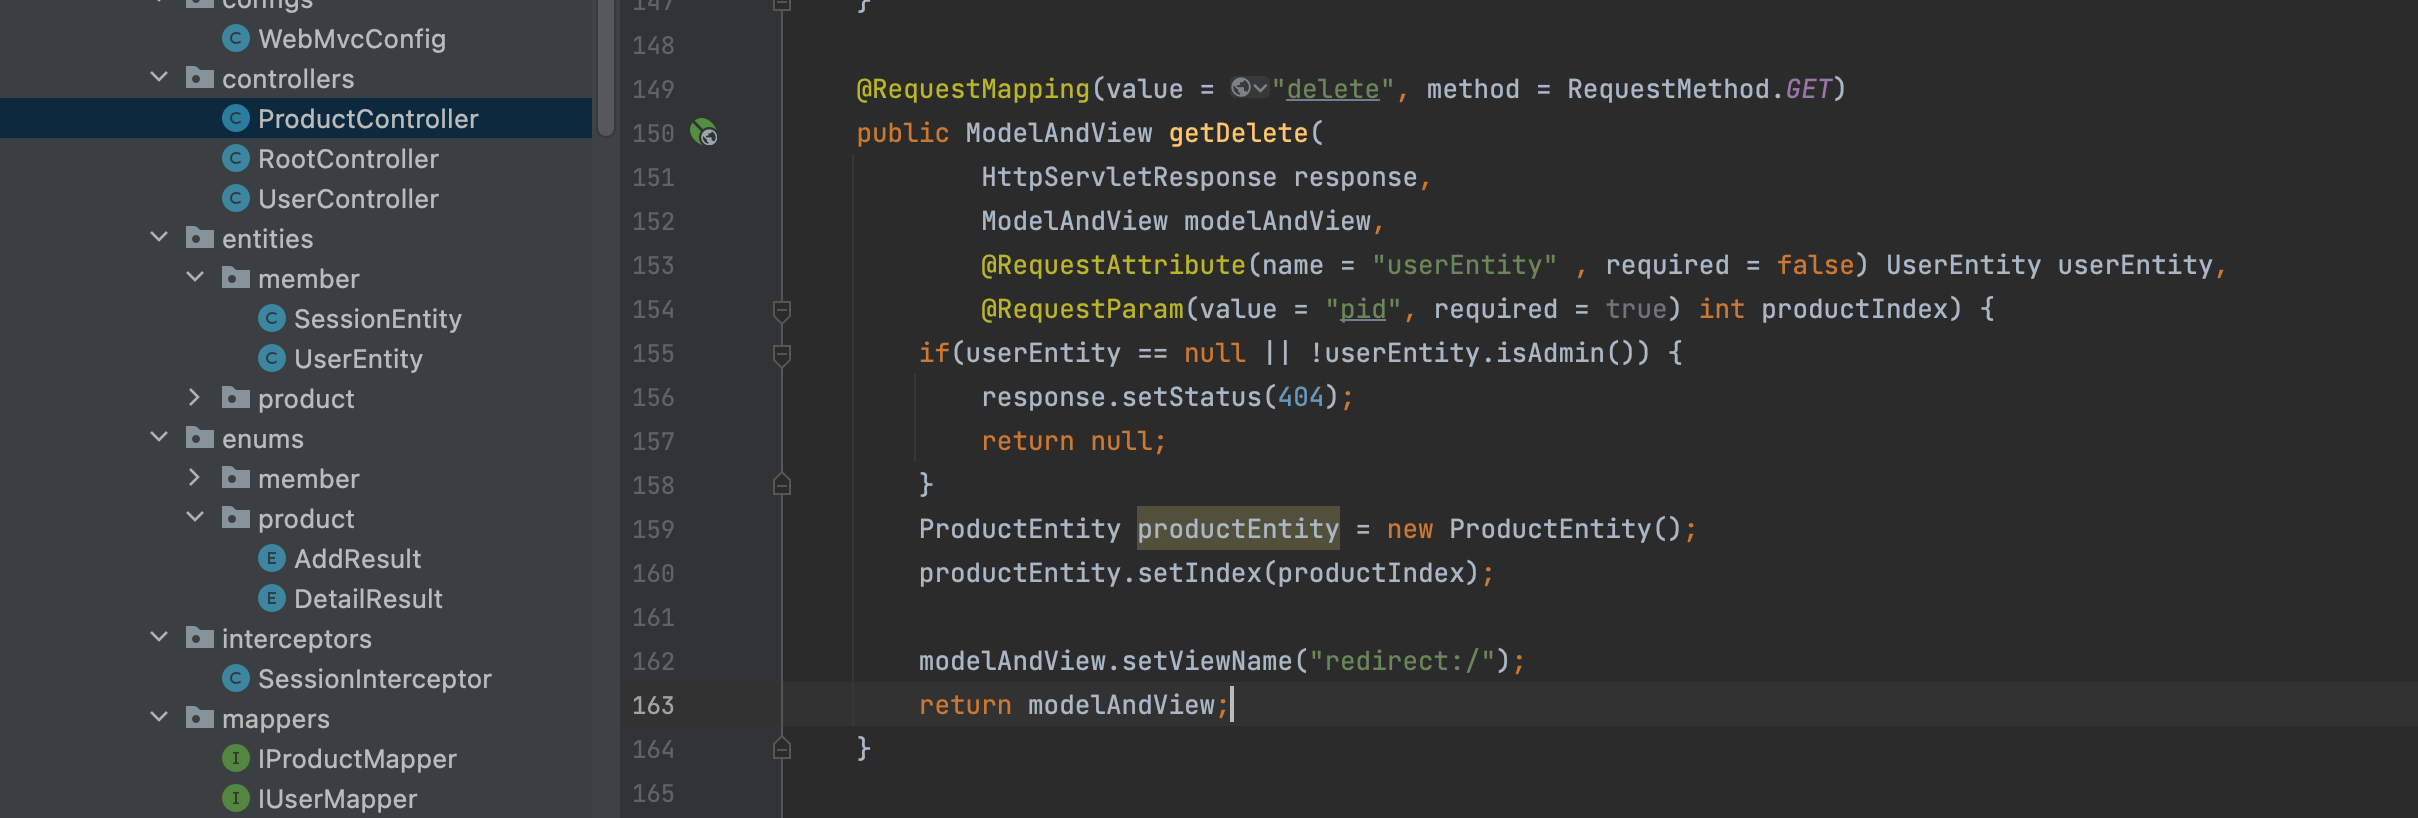
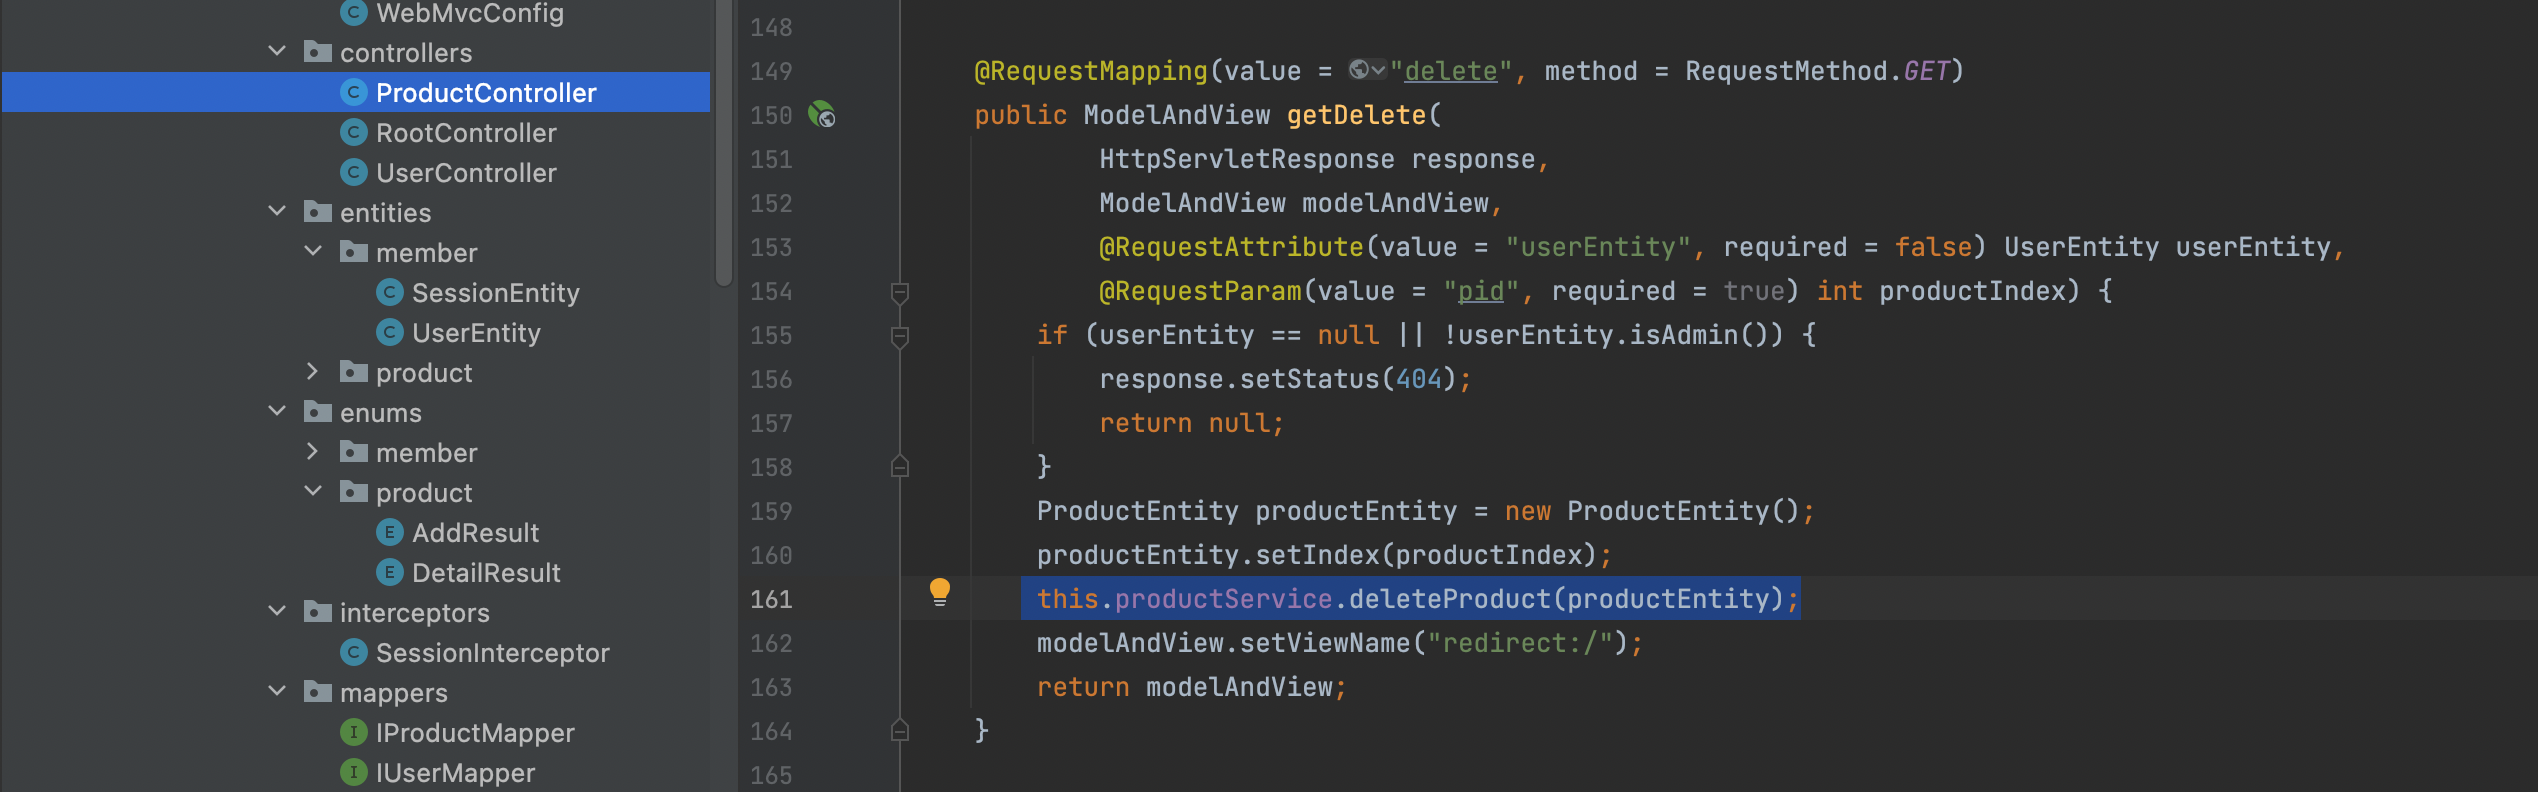
상품 삭제
-> ProductController getDelete
-> ProductService deleteProduct

-> IProductMapper deleteProduct

-> ProductMapper.xml deleteProduct

-> ProductService deleteProduct

-> ProductController getDelete
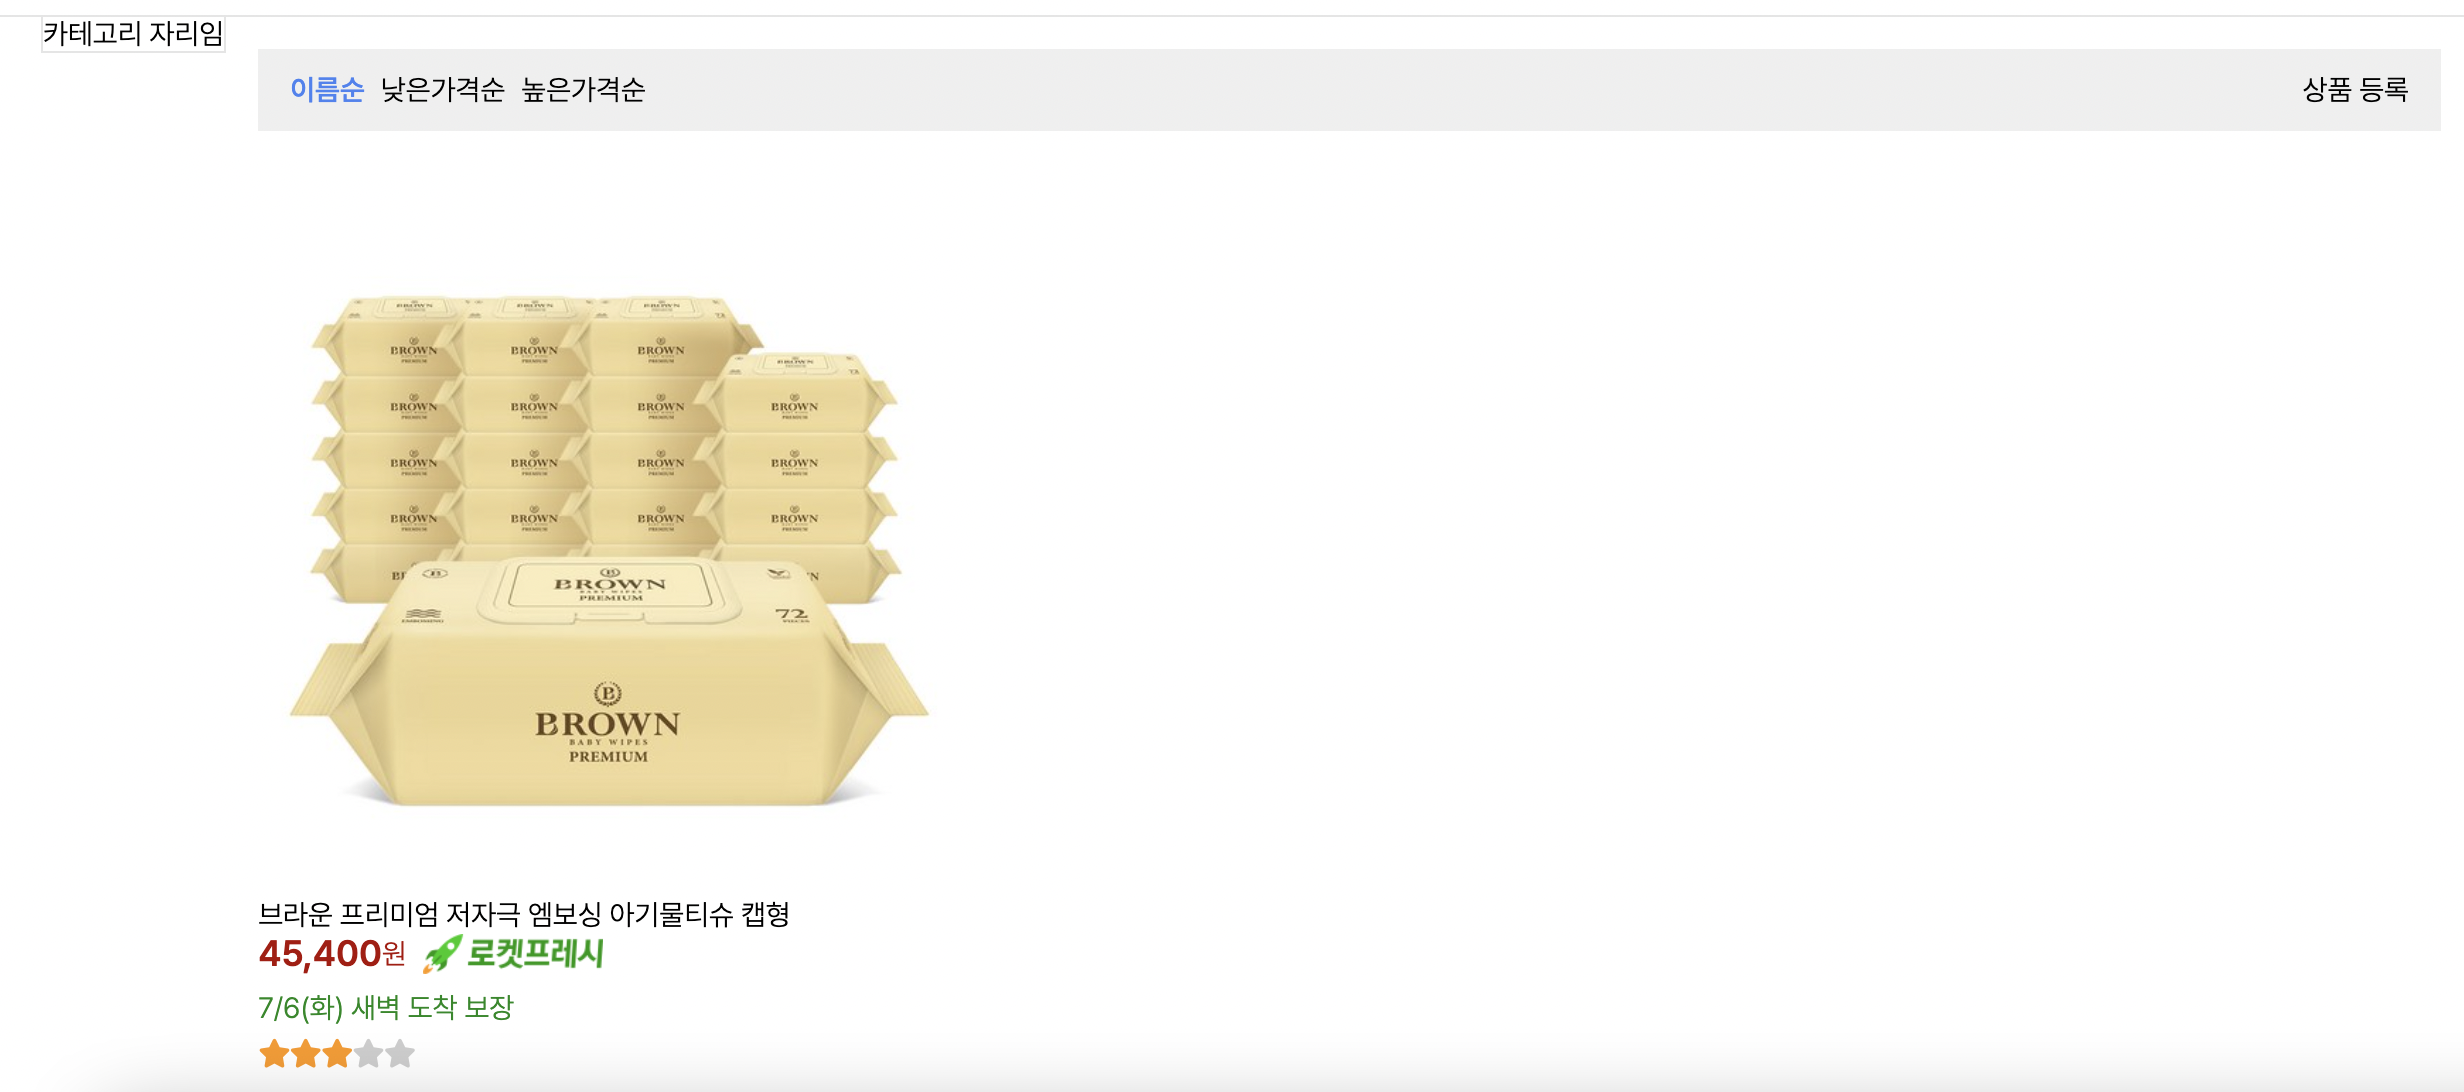
-> 결과
- 상품 삭제 버튼을 누르게 되면 삭제된다!!!
상품 수정
- 페이지가 비슷하니
add = modify이름만 수정해서 복붙.
-> ProductController getModify

-> modify.html
- script 추가


- 수정을 할 수 있도록 설정
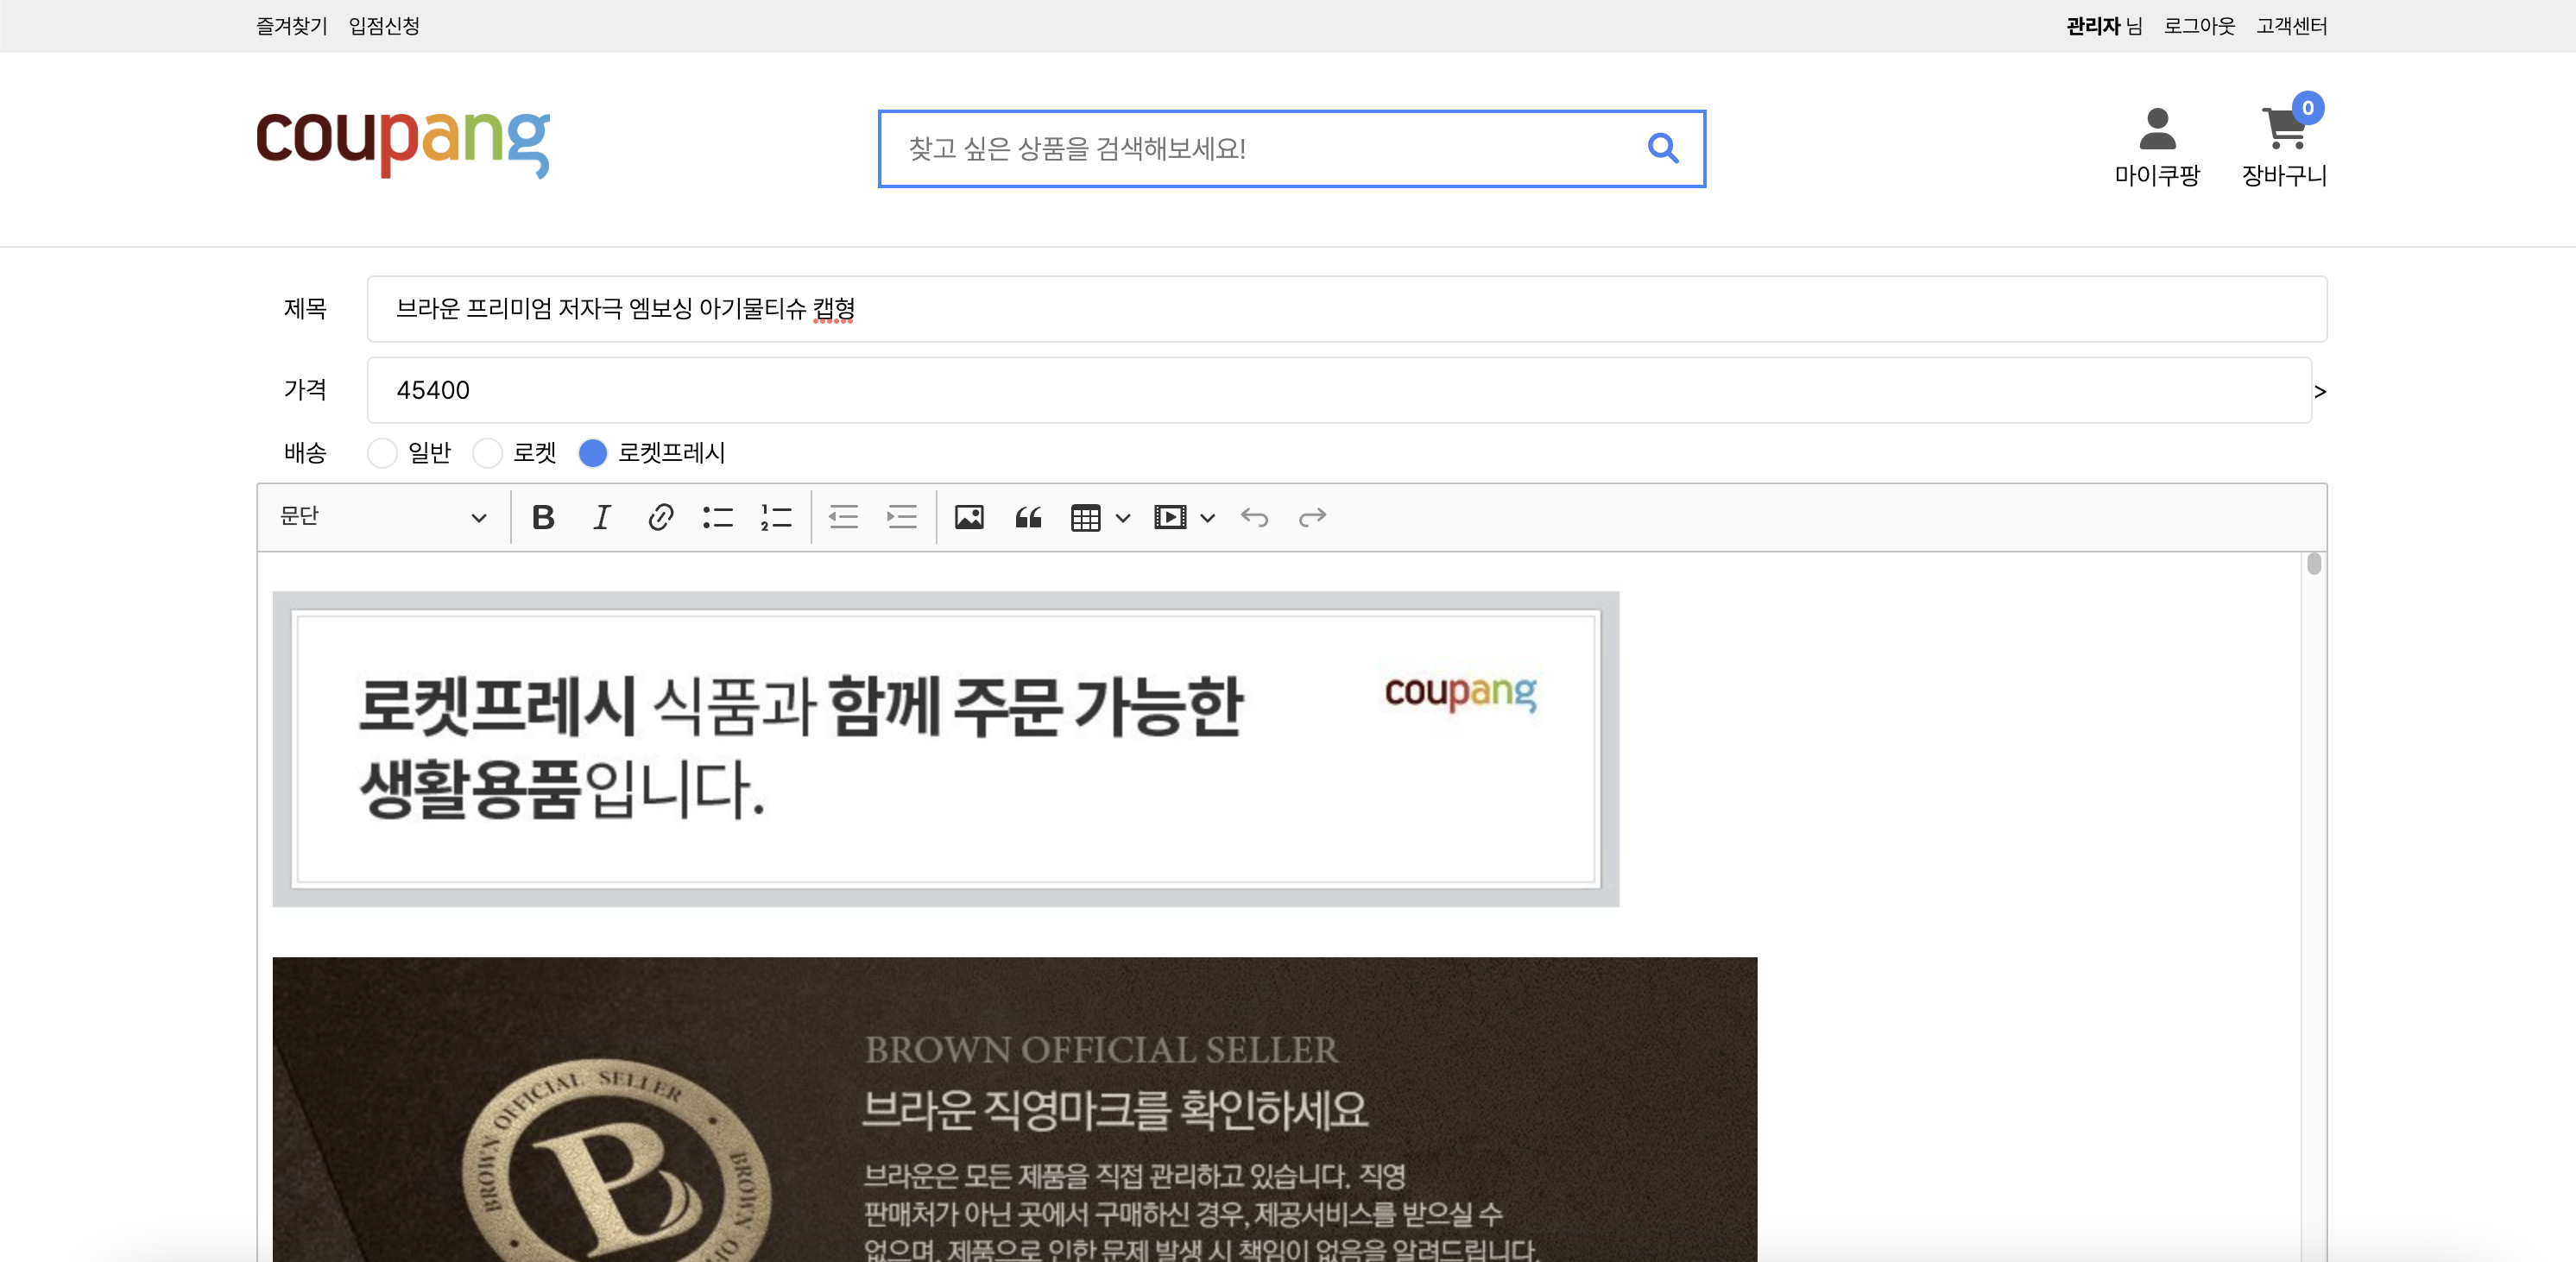
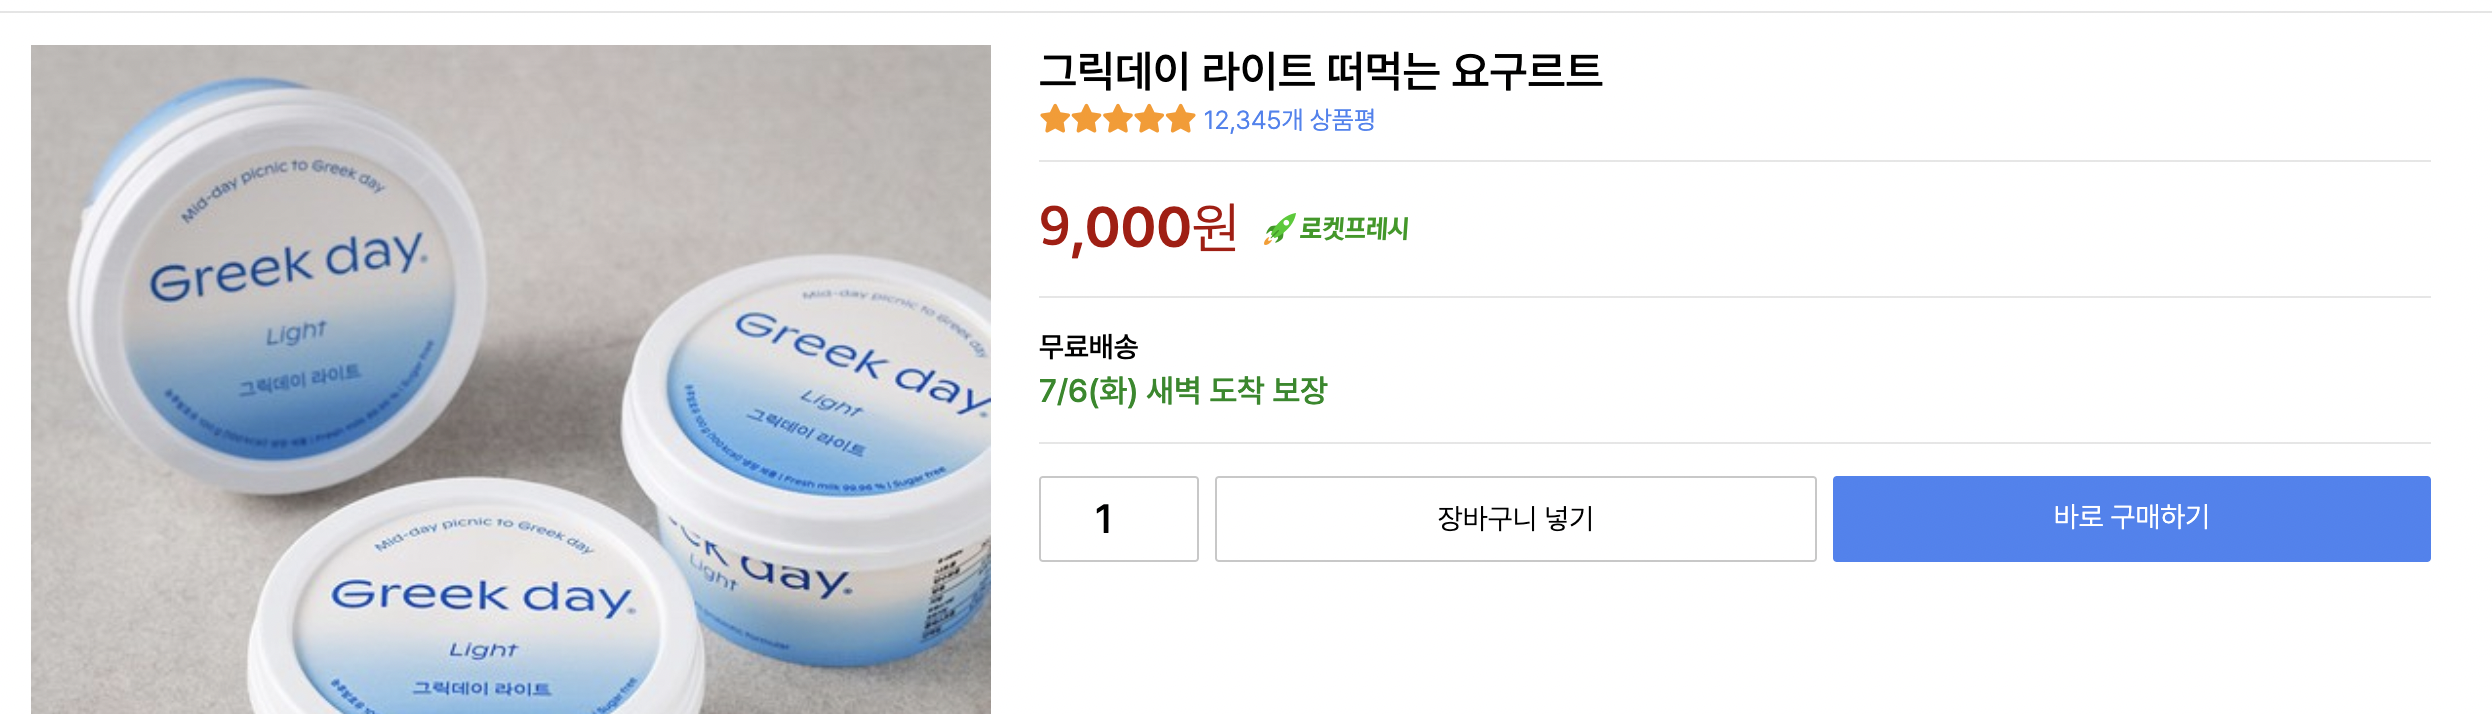
-> 결과
- 상품 수정 버튼 클릭시 수정하는 페이지로 연결
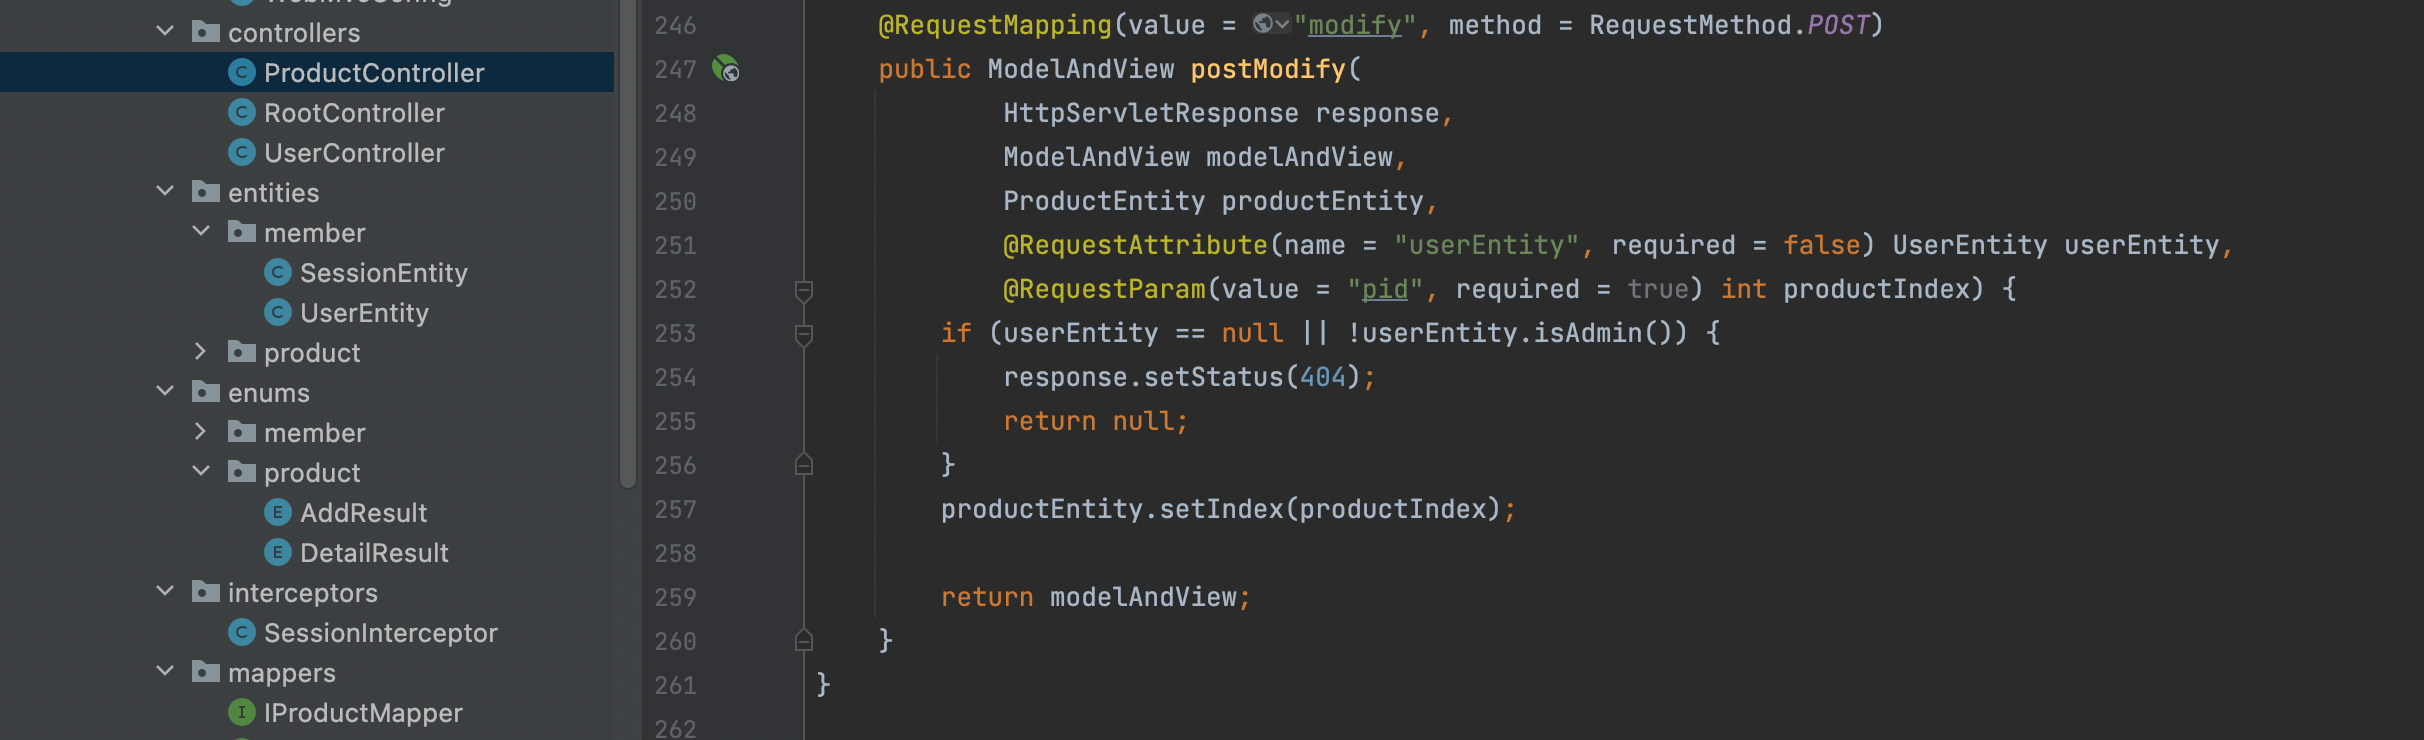
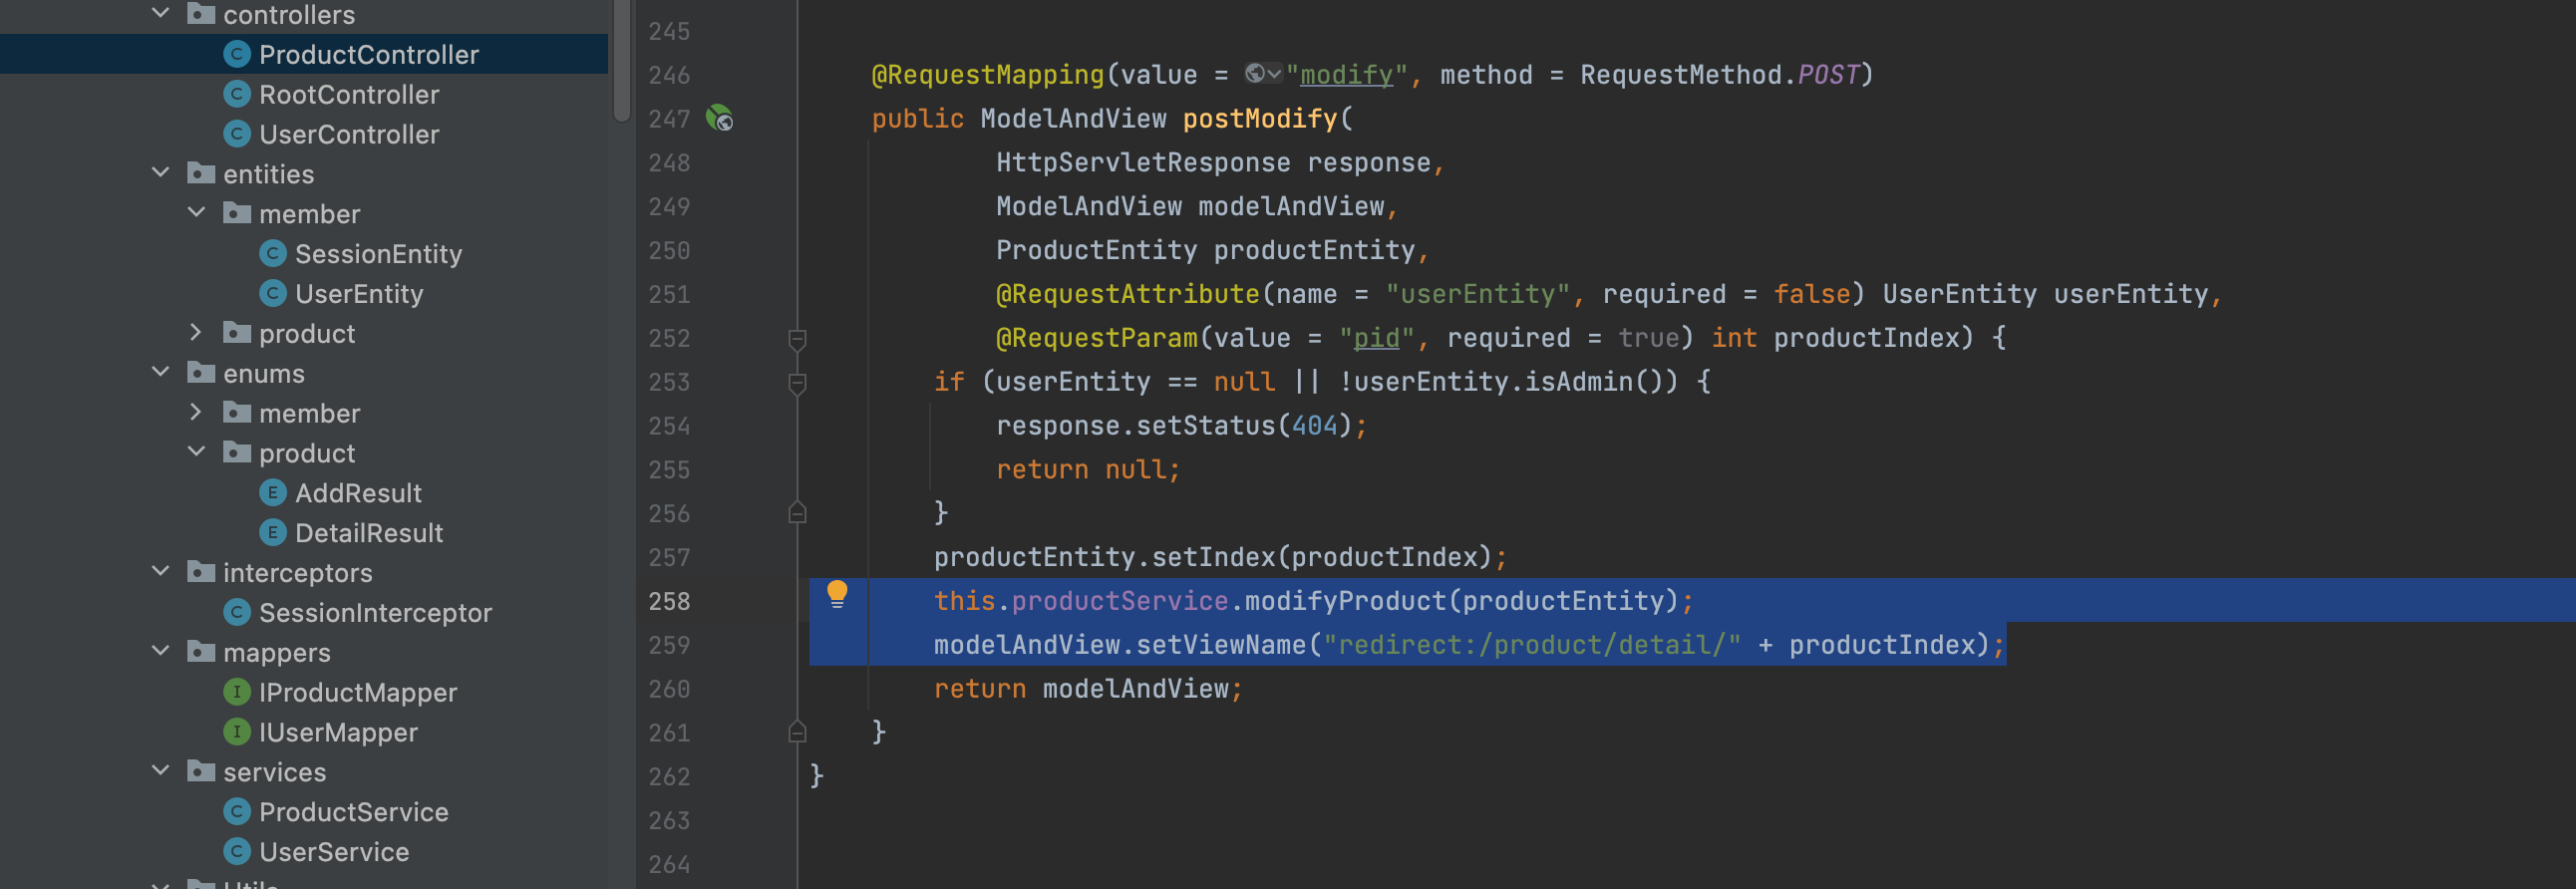
-> ProductController postModify
-> ProductService modifyProduct

-> modify.html
- 썸네일 아이디 날아가는거 막는 조치를 취해줌.

-> ProductController postModify
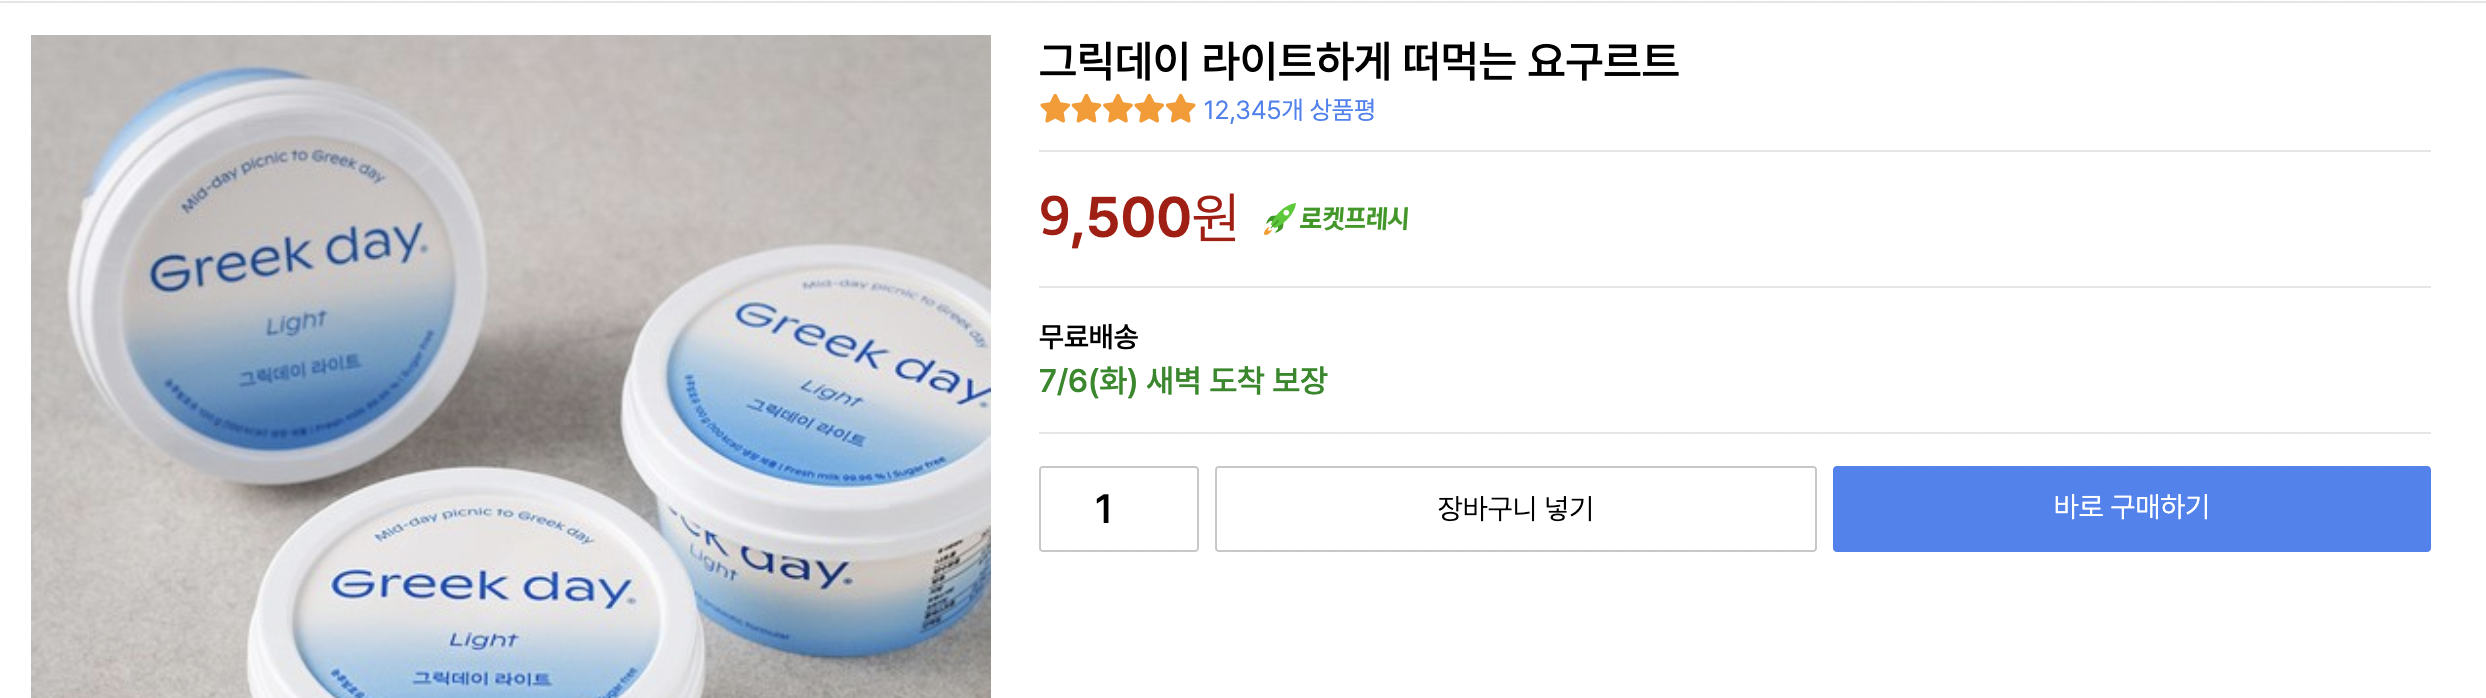
-> 상품 수정을 해보자 결과
- 수정이 잘 되는 것을 확인 할 수 있다.
입/출고 내역 저장
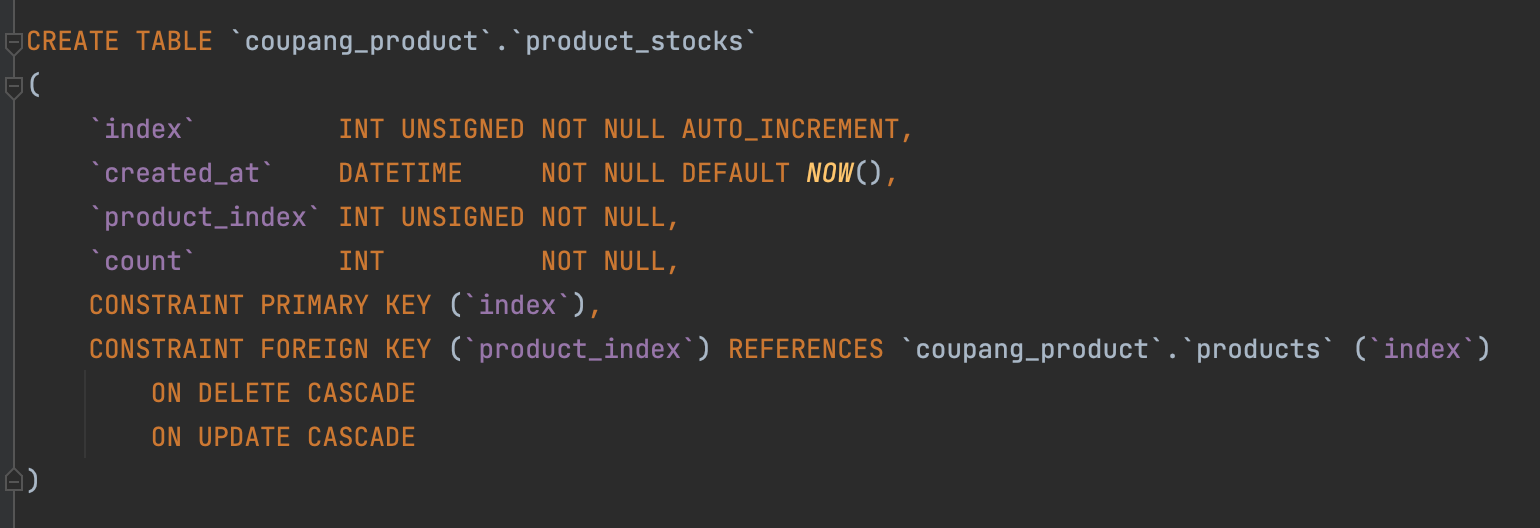
-> product_stocks 테이블 생성
- 입출고 내역을 sum을 통해 이 제품이 몇개가 있다를 나타내는 테이블 생성
10개를 구매햇으면 -10을 인서트하고
-> StockEntity

index에서도 품절인지 아닌지에 대해 뜬다.
product는 재고에대한 수량을 가지고 있지 않는다.
index에서 춤절인지 아닌지 알아야한다.
그래서 했던게 dto이다.
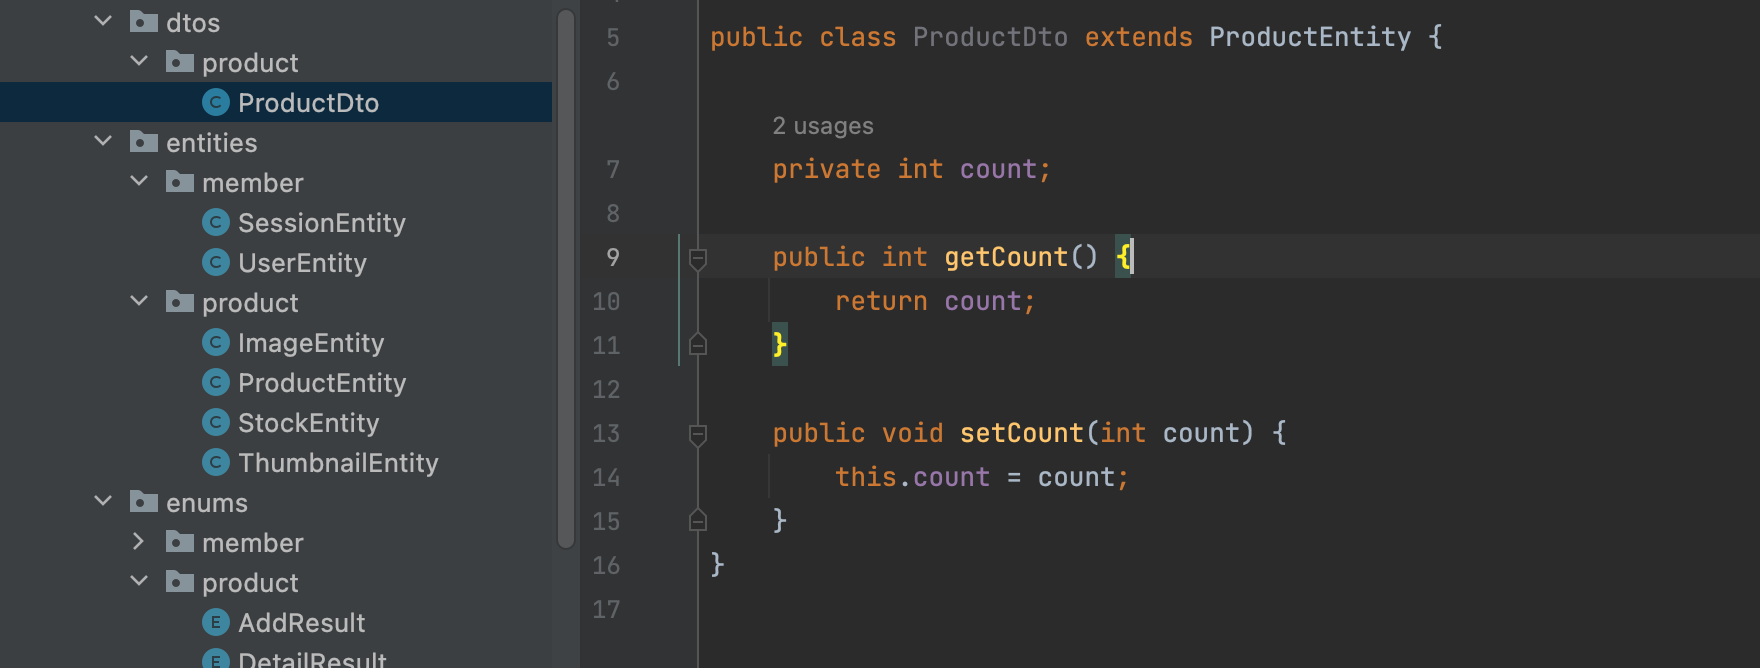
-> ProductDto 생성
- index부터 처리
-> RootController 수정
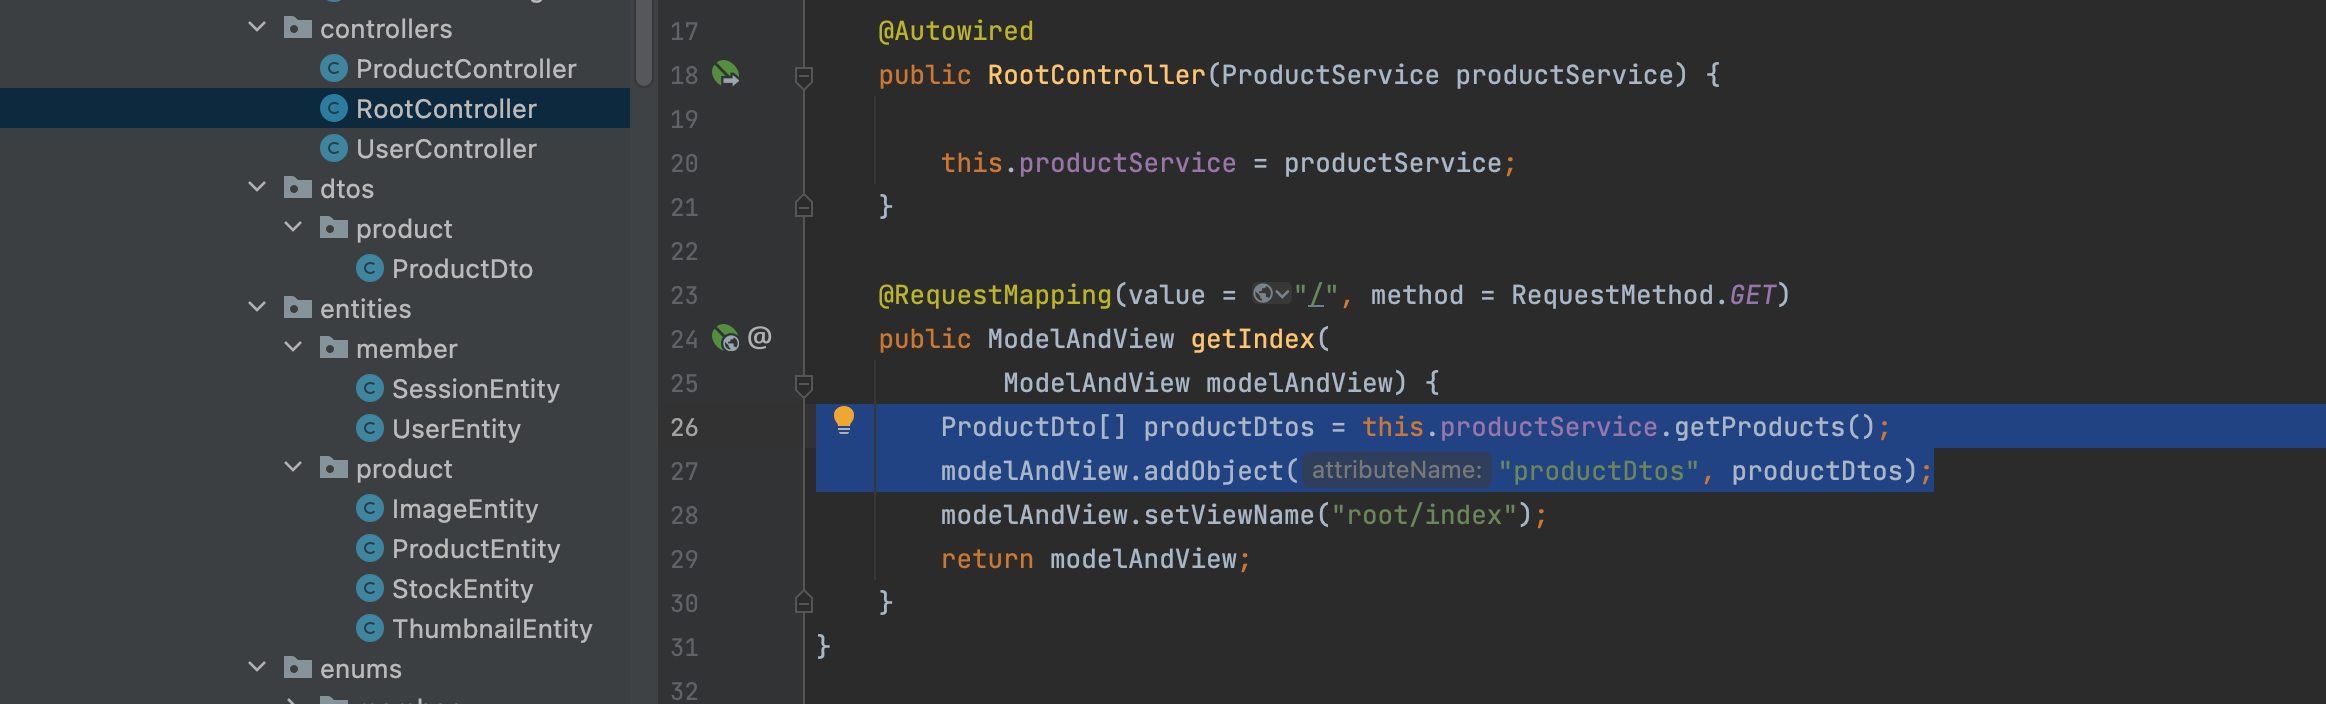
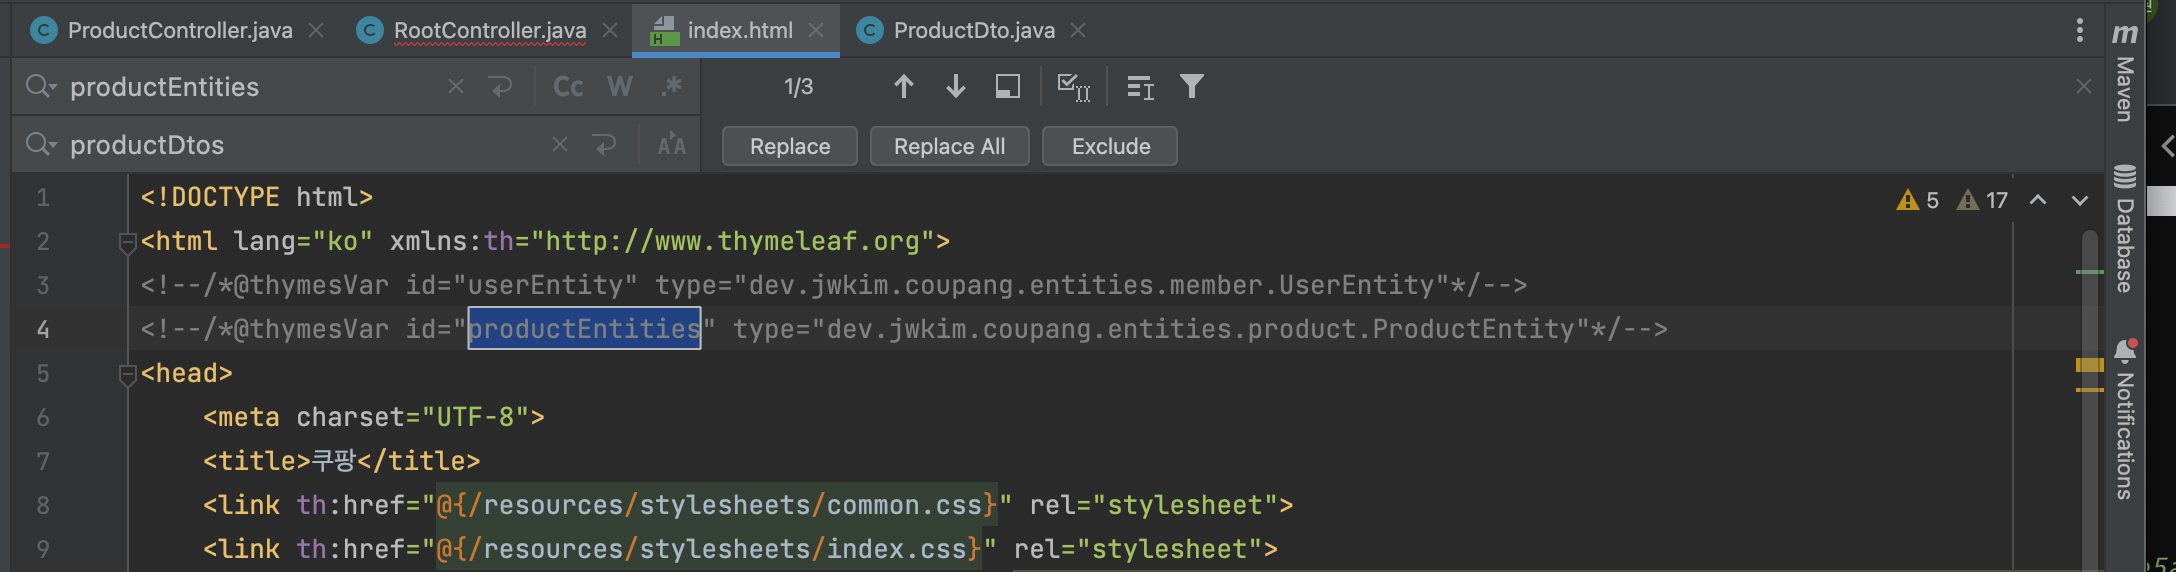
-> index.html 수정
productEntities→productDtos
-> ProductService 수정

-> IProductMapper 수정

-> ProductMapper.xml 수정
- 쿼리도 수정하러가자. console에서 테스트 후 작성하자.
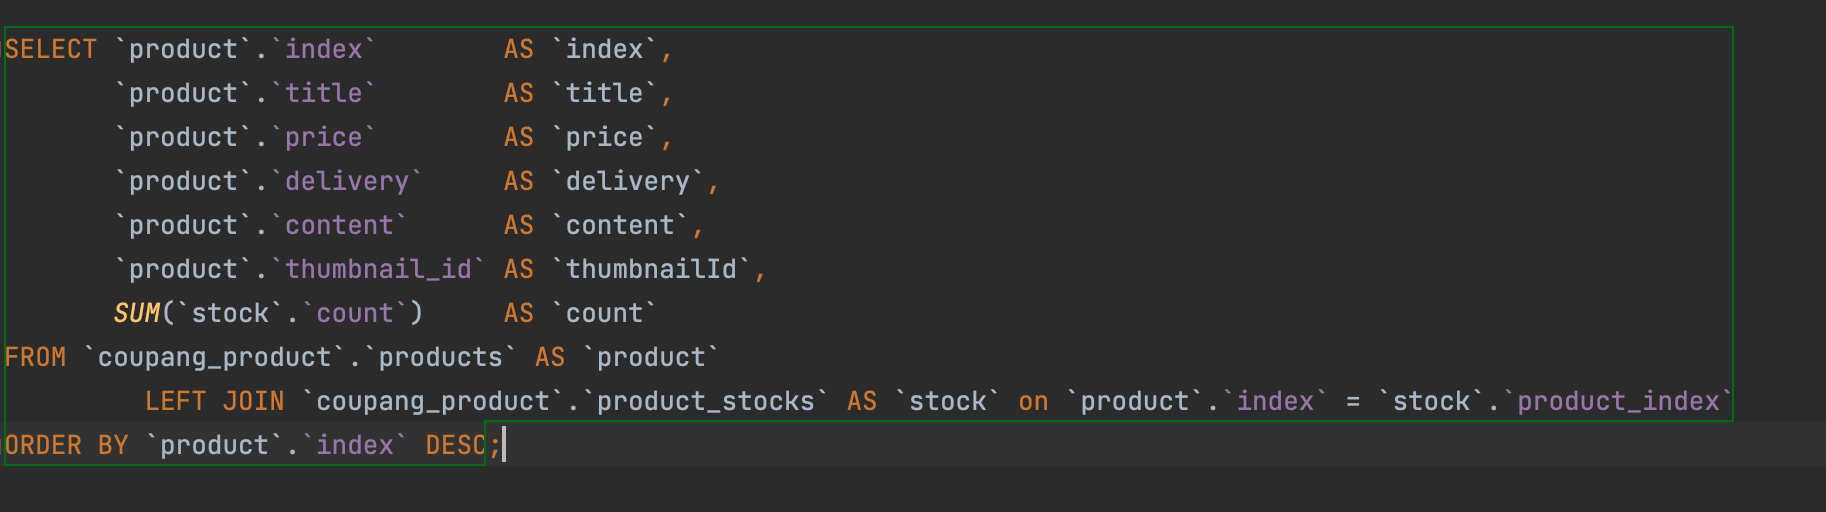
- sum을 해서 하나만 select된다.

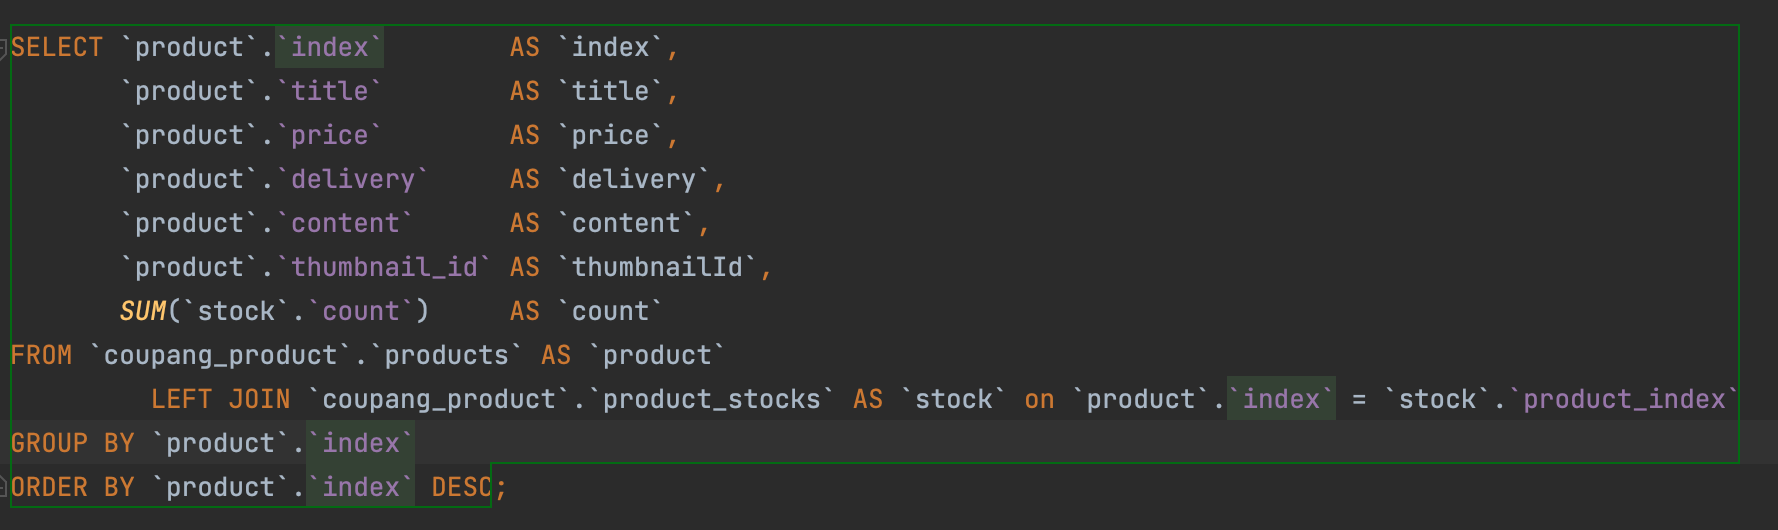
GROUP BY `product`.`index추가
- count 가 null이 나온다. 0을 뜨게하려면 어떻게하면 좋을까?
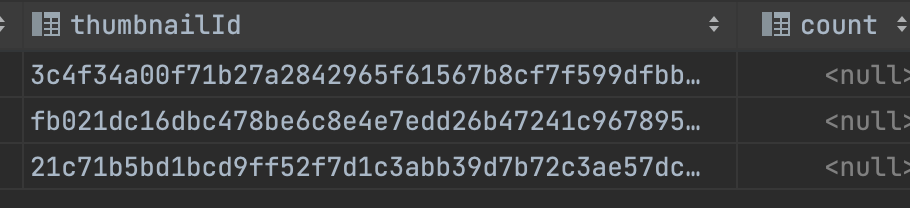
IFNULL(SUM(`stock`.`count`), 0) AS `count추가. 최종 쿼리 완성.
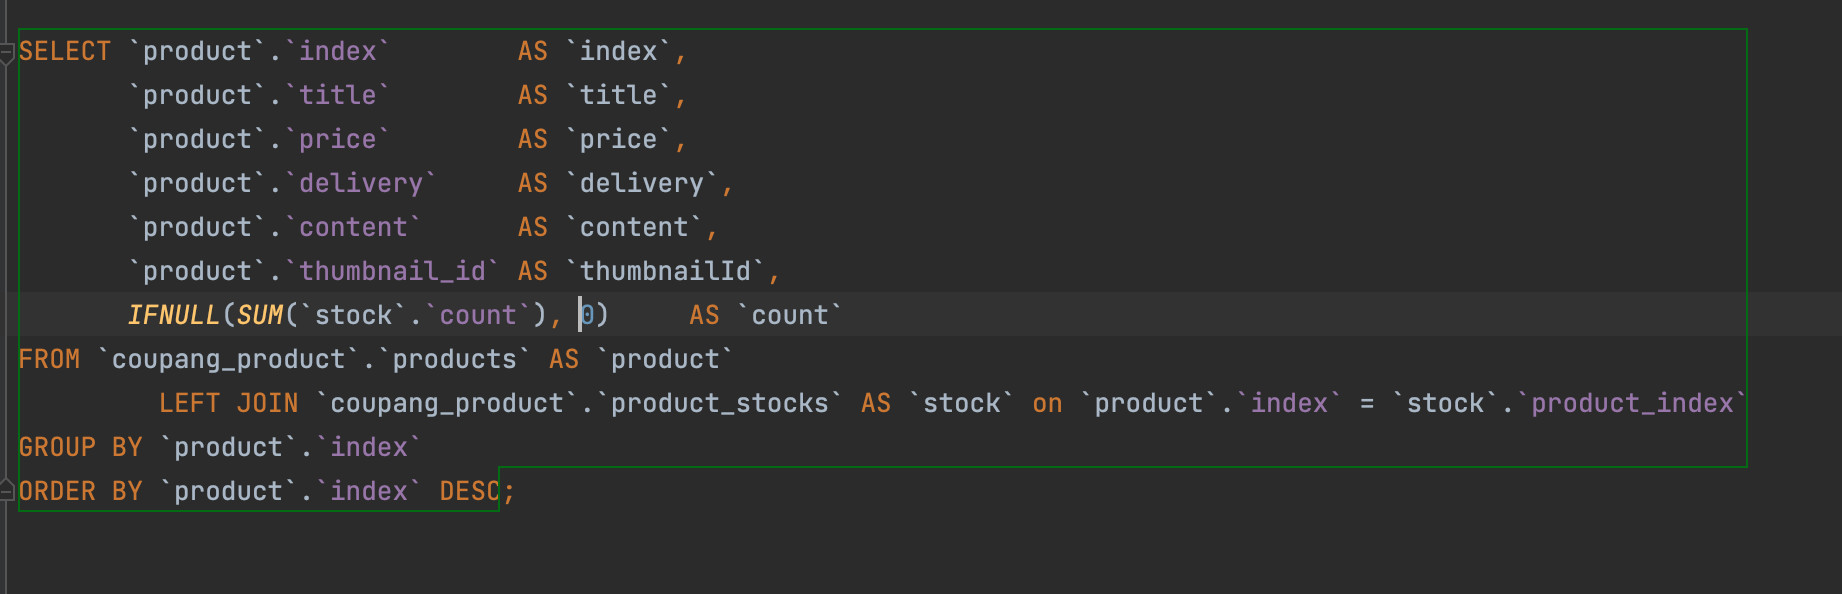
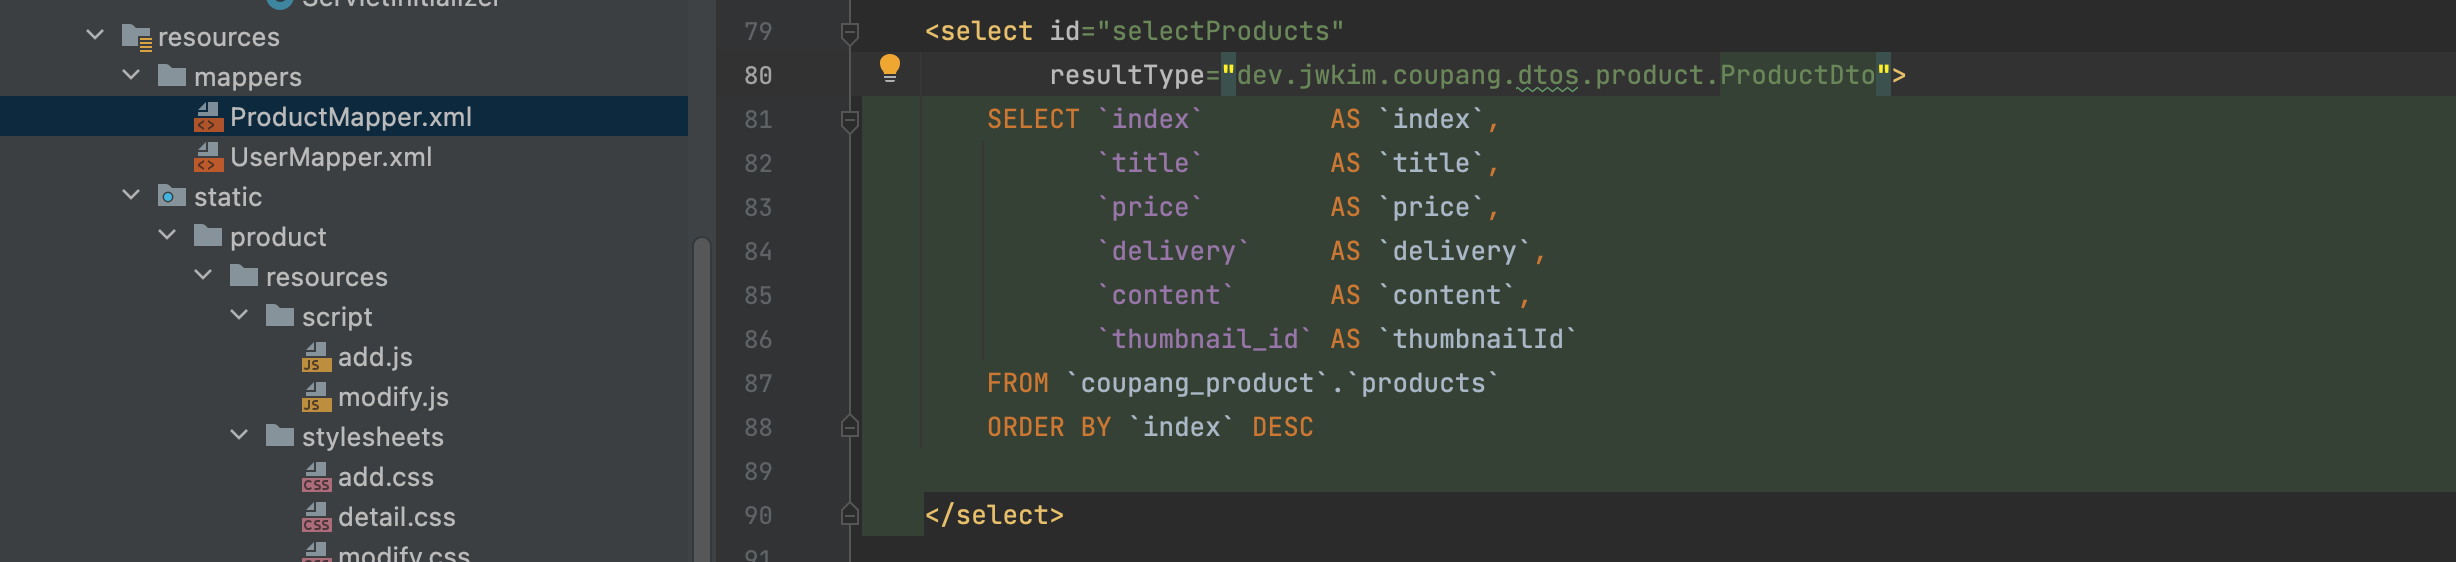
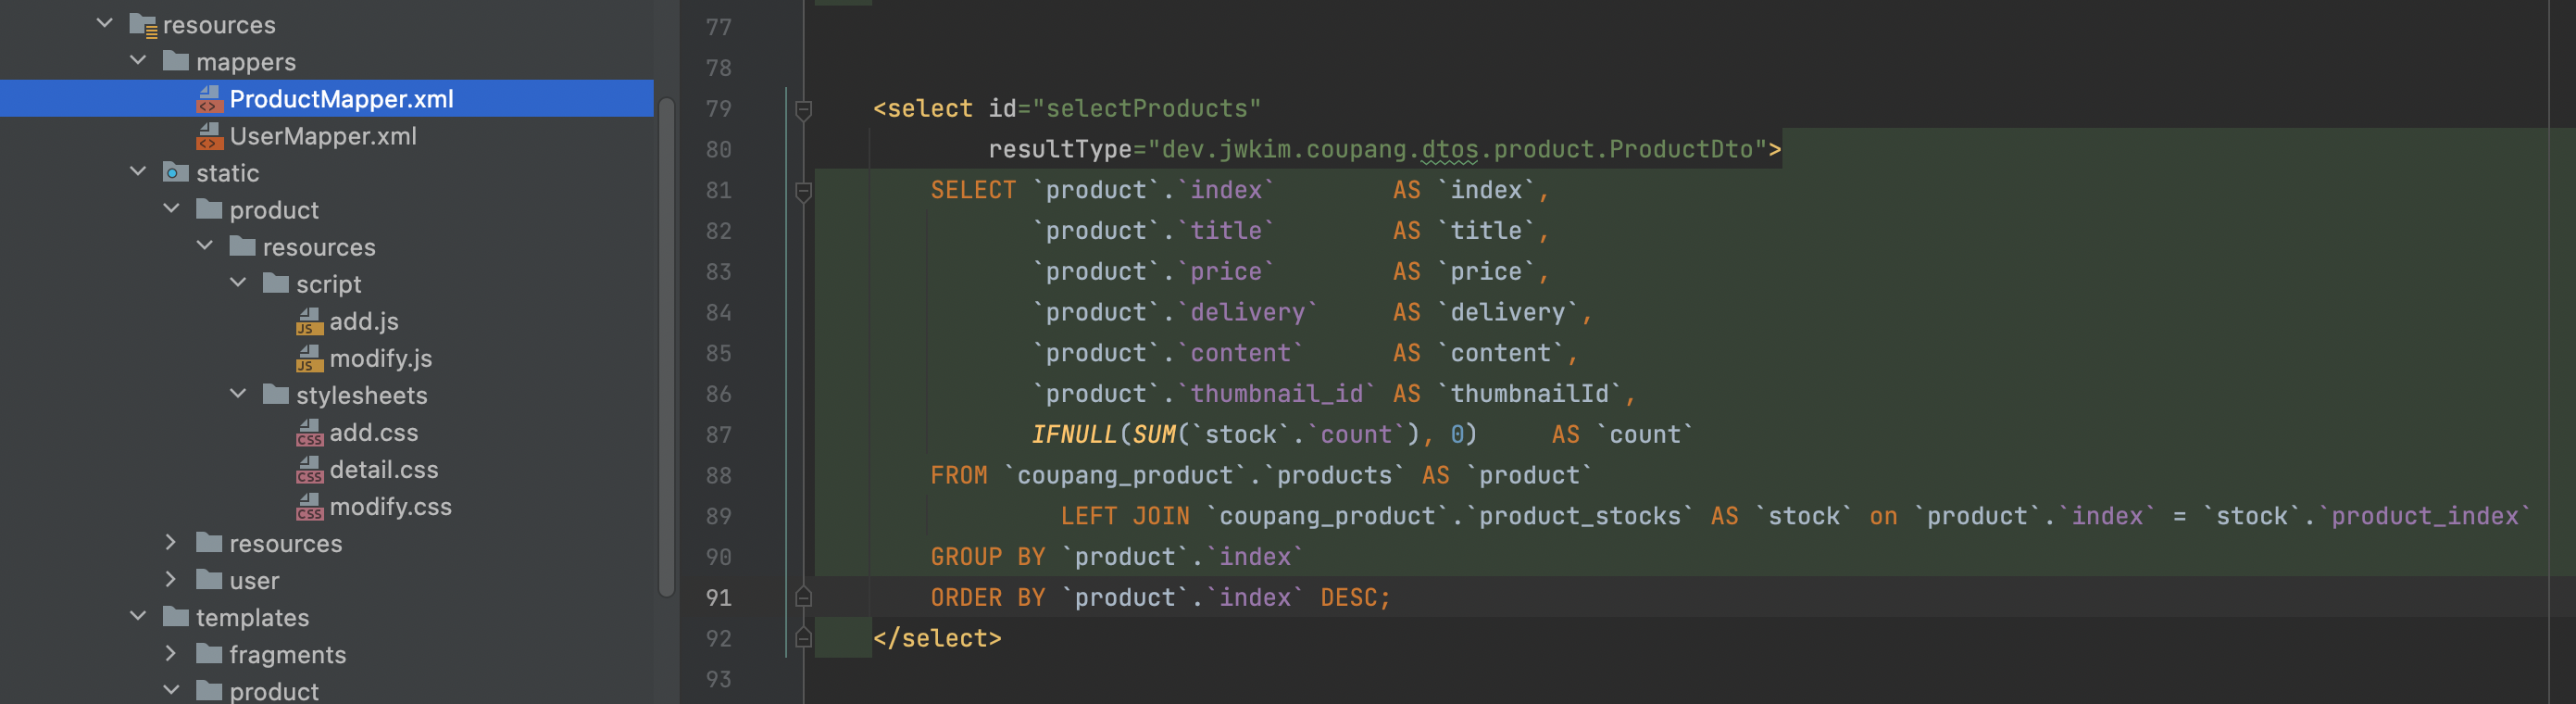
-> ProductMapper.xml selectProducts 쿼리 수정해서 추가
-> index.html
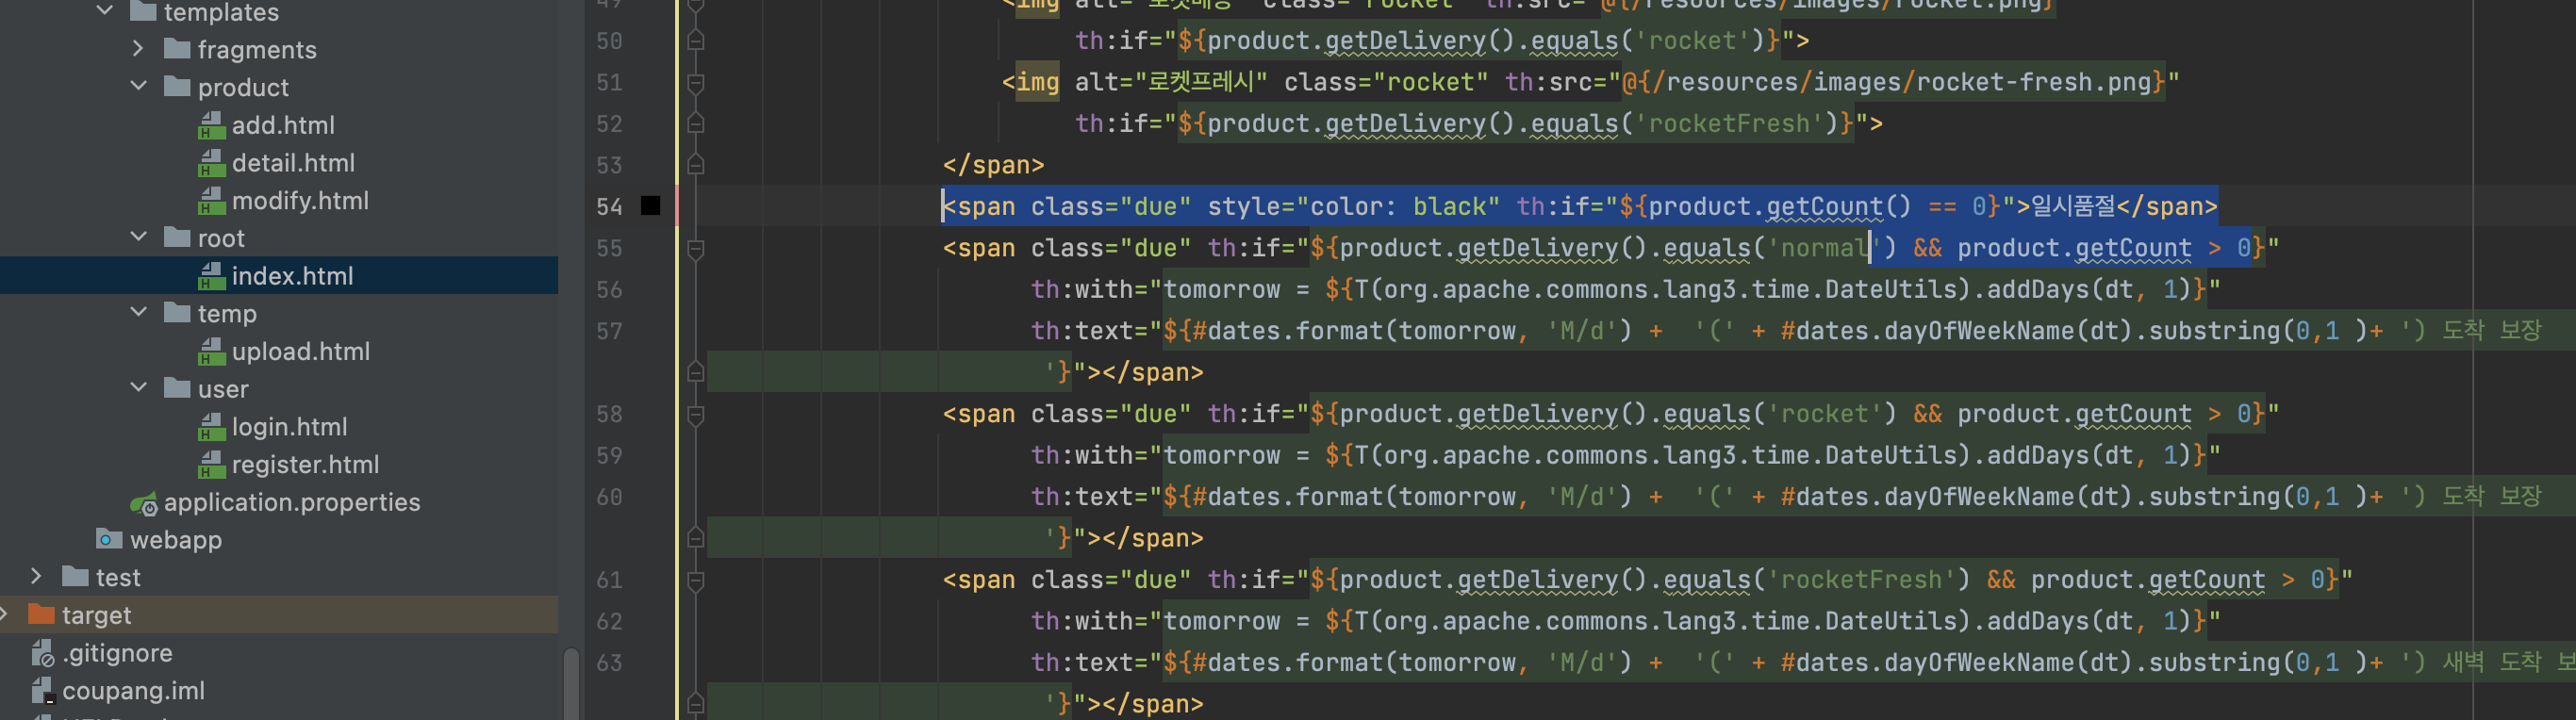

 <div class="no-product" th:if="${productDtos.length == 0}">표시할 게시글이 없습니다.</div>
            <a th:each="product : ${productDtos}"
               th:href="@{'/product/detail/' + ${product.getIndex()}}"
               th:with="dt = ${#dates.createNow()}"
               th:class="${product.getCount() > 0 ? 'product' : 'product sold-out'}">
- 1번 줄
productDtos/ 마지막 줄 삼항식 추가
<span class="due" style="color: black;"
                      th:if="${product.getDelivery().equals('normal') && product.getCount() > 0}"
                      th:with="tomorrow = ${T(org.apache.commons.lang3.time.DateUtils).addDays(dt, 2)}"
                      th:text="${#dates.format(tomorrow, 'M/d') +  '(' + #dates.dayOfWeekName(dt).substring(0,1 ) + ') 도착 예정'}"></span>
product.getCount() > 0추가
-> 결과
- sold out이 뜨면 된다.