
Section 9. Conditional Rendering
Conditional Rendering의 정의와 Inline Conditions
Conditional Rendering
- 조건부 rendering
truthy / falsy
- 자바스크립트의 truthy, falsy: true는 아니지만 true로 여겨지는 값, false는 아니지만 false로 여겨지는 값
// truthy
true
{} (empty object)
[] (empty array)
32 (number, not zero)
"0", "false" (string, not empty)

//falsy
false
0, -0 (zero, minus zero)
0n (BigInt zero)
'', "", `` (empty string)
null
undefined
NaN (not a number)
Element Variables
- 리액트 element를 변수처럼 다루는 방법
- 그냥 변수가 element도 될 수 있다.. 정도로 생각하면 될 듯
Inline Conditions
- Inline If:
&&사용. short circuit evaluation 사용. - Inline If-Else:
삼항 연산자사용.
Component 렌더링 막기
- null을 리턴하면 렌더링 되지 않음
function WarningBanner(props) {
  if (!props.warning) {
    return null; // 렌더링 되지 않음
  }

  return (
    <div>경고!</div>
  );
}- class component의 함수에서 널을 리턴하는 것은 컴포넌트의 lifecycle 함수에 전혀 영향을 미치지 않음
(실습)로그인 여부를 나타내는 툴바 만들기
// Toolbar.jsx
import React from "react";

const styles = {
	wrapper: {
		padding: 16,
		display: "flex",
		flexDirection: "row",
		borderBottom: "1px solid grey",
	},
	greeting: {
		marginRight: 8,
	},
};

function Toolbar(props) {
	const { isLoggedIn, onClickLogin, onClickLogout } = props;

	return (
      // &&으로 inline if
      // ?으로 inline if-else 구현
		<div style={styles.wrapper}>
			{isLoggedIn && <span style={styles.greeting}>환영합니다!</span>}

			{isLoggedIn ? (
				<button onClick={onClickLogout}>로그아웃</button>
			) : (
				<button onClick={onClickLogin}>로그인</button>
			)}
		</div>
	);
}

export default Toolbar;
// LandingPage.jsx
import React, { useState } from "react";
import Toolbar from "./Toolbar";
function LandingPage(props) {
// useState로 isLoggedIn state 변수 선언
const [isLoggedIn, setIsLoggedIn] = useState(false);
// onClickLogin 함수와 onClickLogout 함수 구현
const onClickLogin = () => {
setIsLoggedIn(true);
};
const onClickLogout = () => {
setIsLoggedIn(false);
};
return (
<div>
<Toolbar
isLoggedIn={isLoggedIn}
onClickLogin={onClickLogin}
onClickLogout={onClickLogout}
/>
<div style={{ padding: 16 }}>소플과 함께 하는 리액트 공부!</div>
</div>
);
}
export default LandingPage;//index.js
import React from 'react';
import ReactDOM from 'react-dom/client';
import './index.css';
import App from './App';
import reportWebVitals from './reportWebVitals';
import Library from './chapter_03/Library';
import Clock from './chapter_04/Clock';
import CommentList from './chapter_05/CommentList';
import NotificationList from './chapter_06/NotificationList';
import Accommodate from './chapter_07/Accommodate';
import ConfirmButton from './chapter_08/ConfirmButton';
import LandingPage from './chapter_09/LandingPage';
const root = ReactDOM.createRoot(document.getElementById('root'));
root.render(
<React.StrictMode>
<LandingPage />
</React.StrictMode>,
document.getElementById('root')
);
// If you want to start measuring performance in your app, pass a function
// to log results (for example: reportWebVitals(console.log))
// or send to an analytics endpoint. Learn more: https://bit.ly/CRA-vitals
reportWebVitals();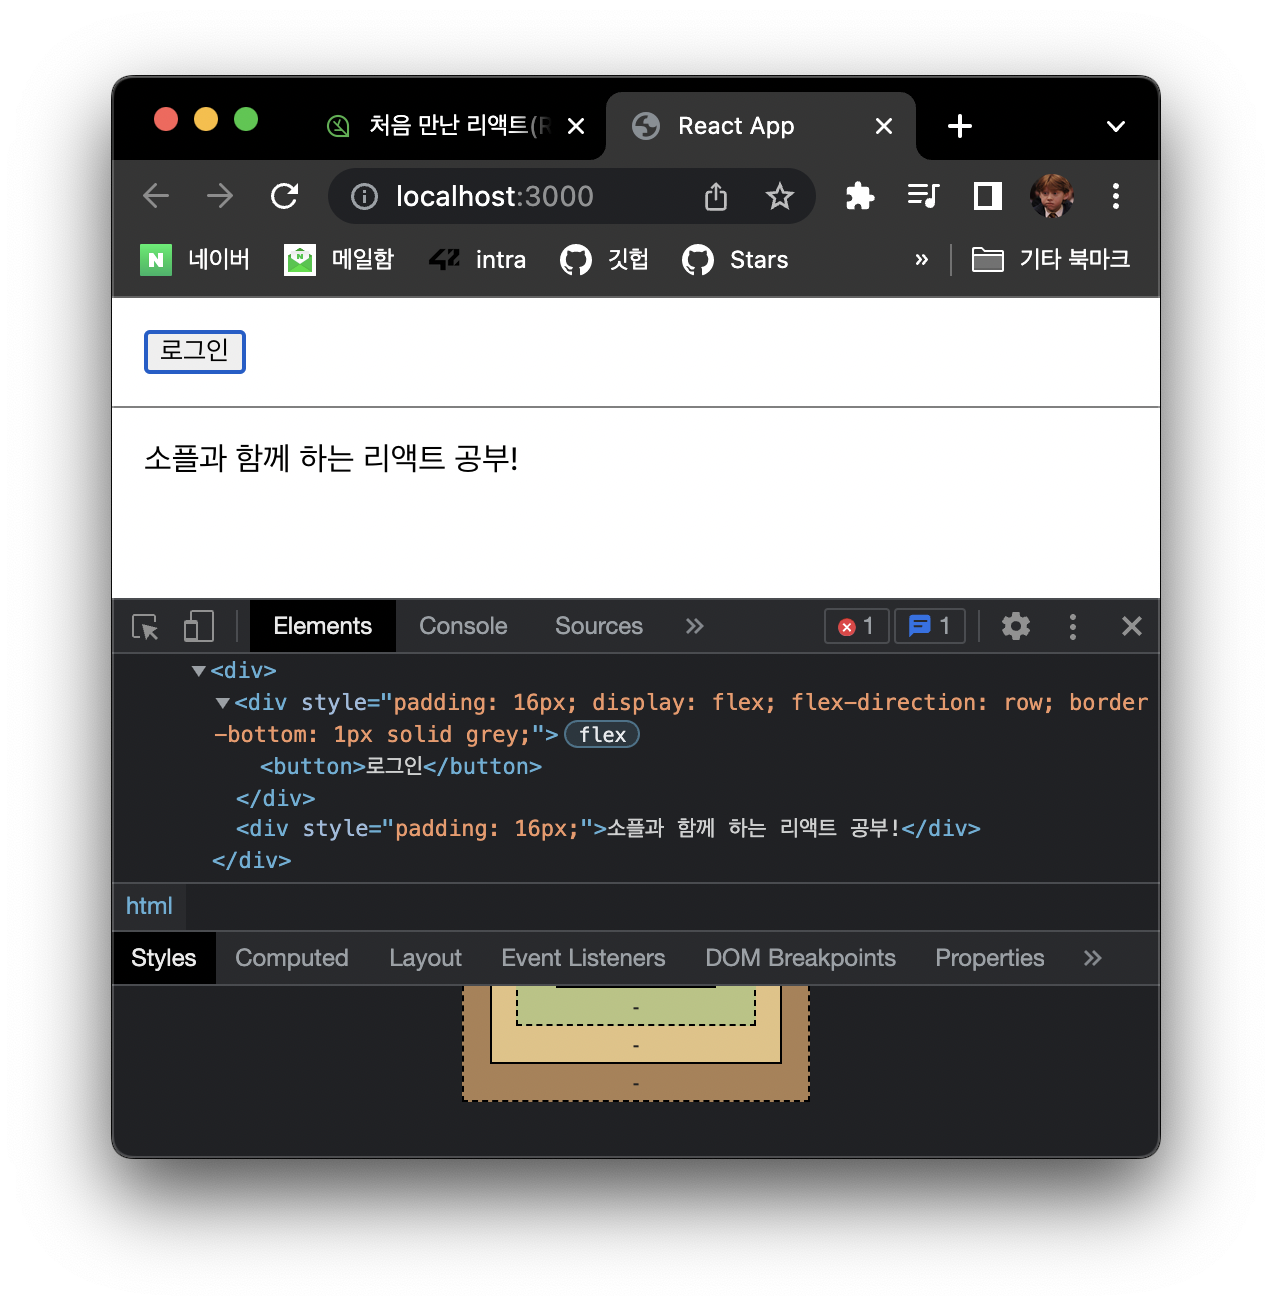 | 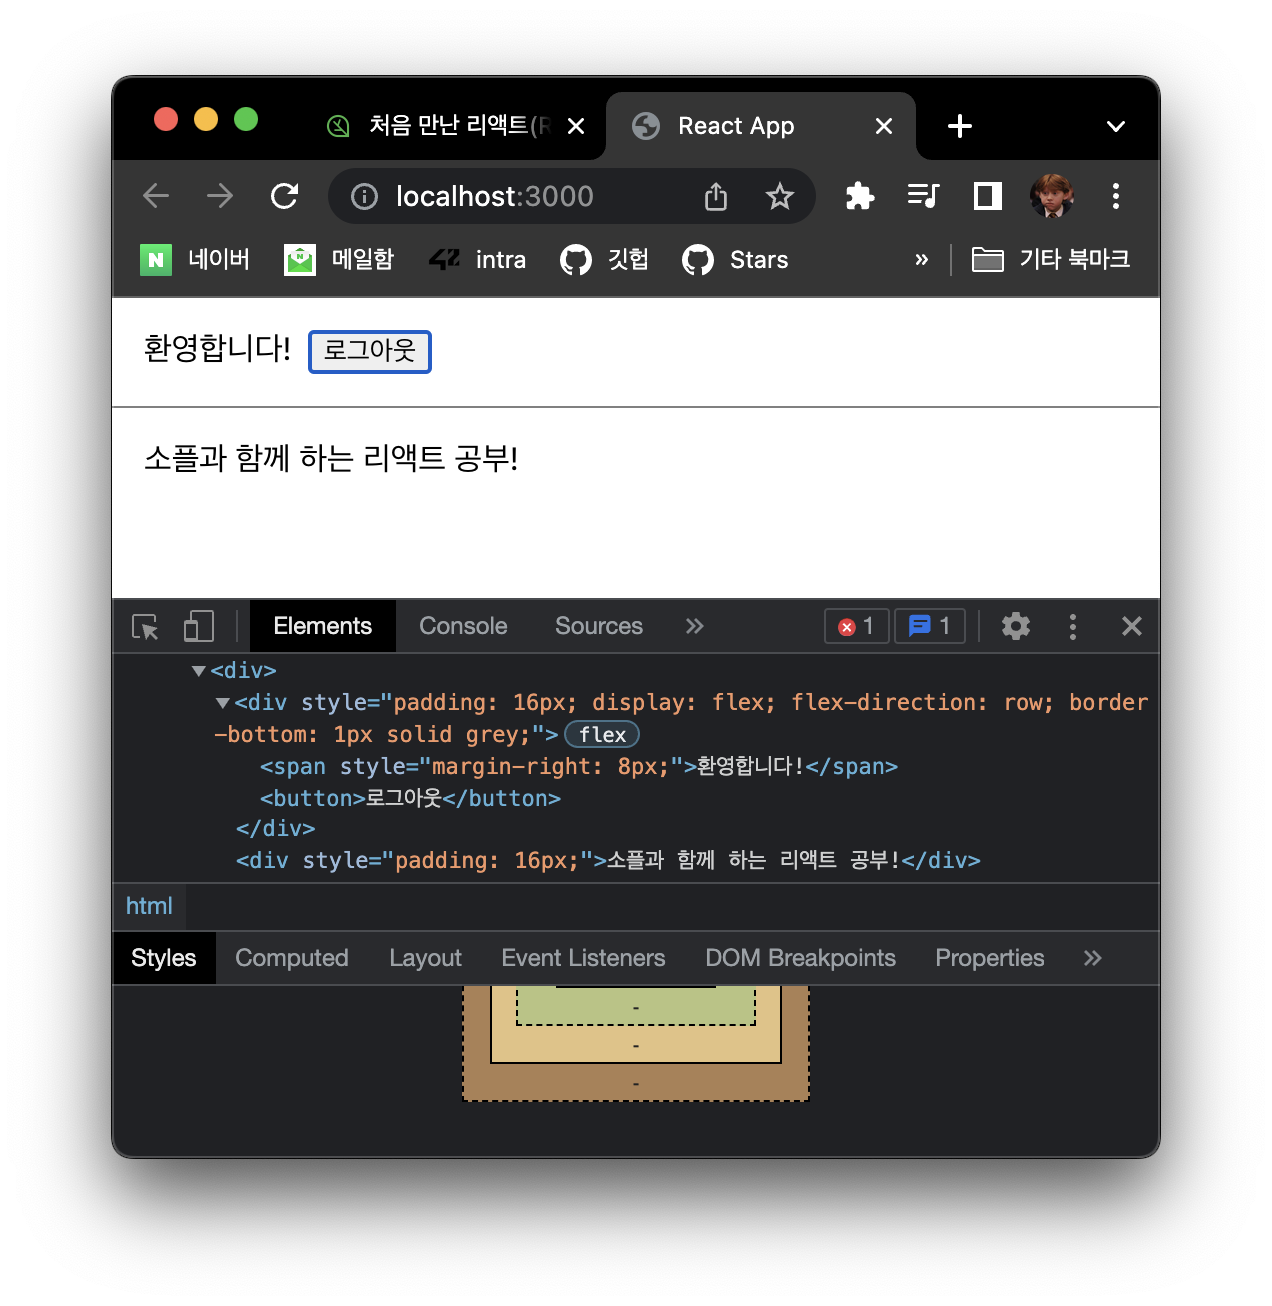 |
|---|
Section 10. List and Keys
List와 Key
- List: 목록. 같은 아이템을 순서대로 모아놓은 것
- Key: 각 객체나 아이템을 구분할 수 있는 고유한 값. 아이템들을 구분하기 위한 고유한 문자열.
여러 개의 Component 렌더링 하기
- map 함수: 배열을 순서대로 돌며 함수 적용한 배열 리턴해줌
배열.map();으로 사용
List의 Key
- Key값은 같은 List에 있는 elemets 사이에서만 고유한 값이면 된다 ex) 1반 1번과 2반 1번이 다른 것처럼
- map 함수 안에 있는 elements는 꼭 key가 필요하다!
- key를 사용하는 방법: 숫자, id, index 등이 있음
- 배열에서 아이템의 순서가 바뀔 수 있는 경우 index사용은 권장되지 않음
- 리액트에서는 key값을 명시적으로 정하지 않은 경우 index가 기본으로 사용됨
(실습)출석부 출력하기
// 키가 빠져있는 경우
const students = [
	{
		name: "Mark",
	},
	{
		name: "Peter",
	},
	{
		name: "Andy",
	},
];

function AttendanceBook(props) {
	return (
		<ul>
			{students.map((student) => {
				return <li>{student.name}</li>;
			})}
		</ul>
	);
}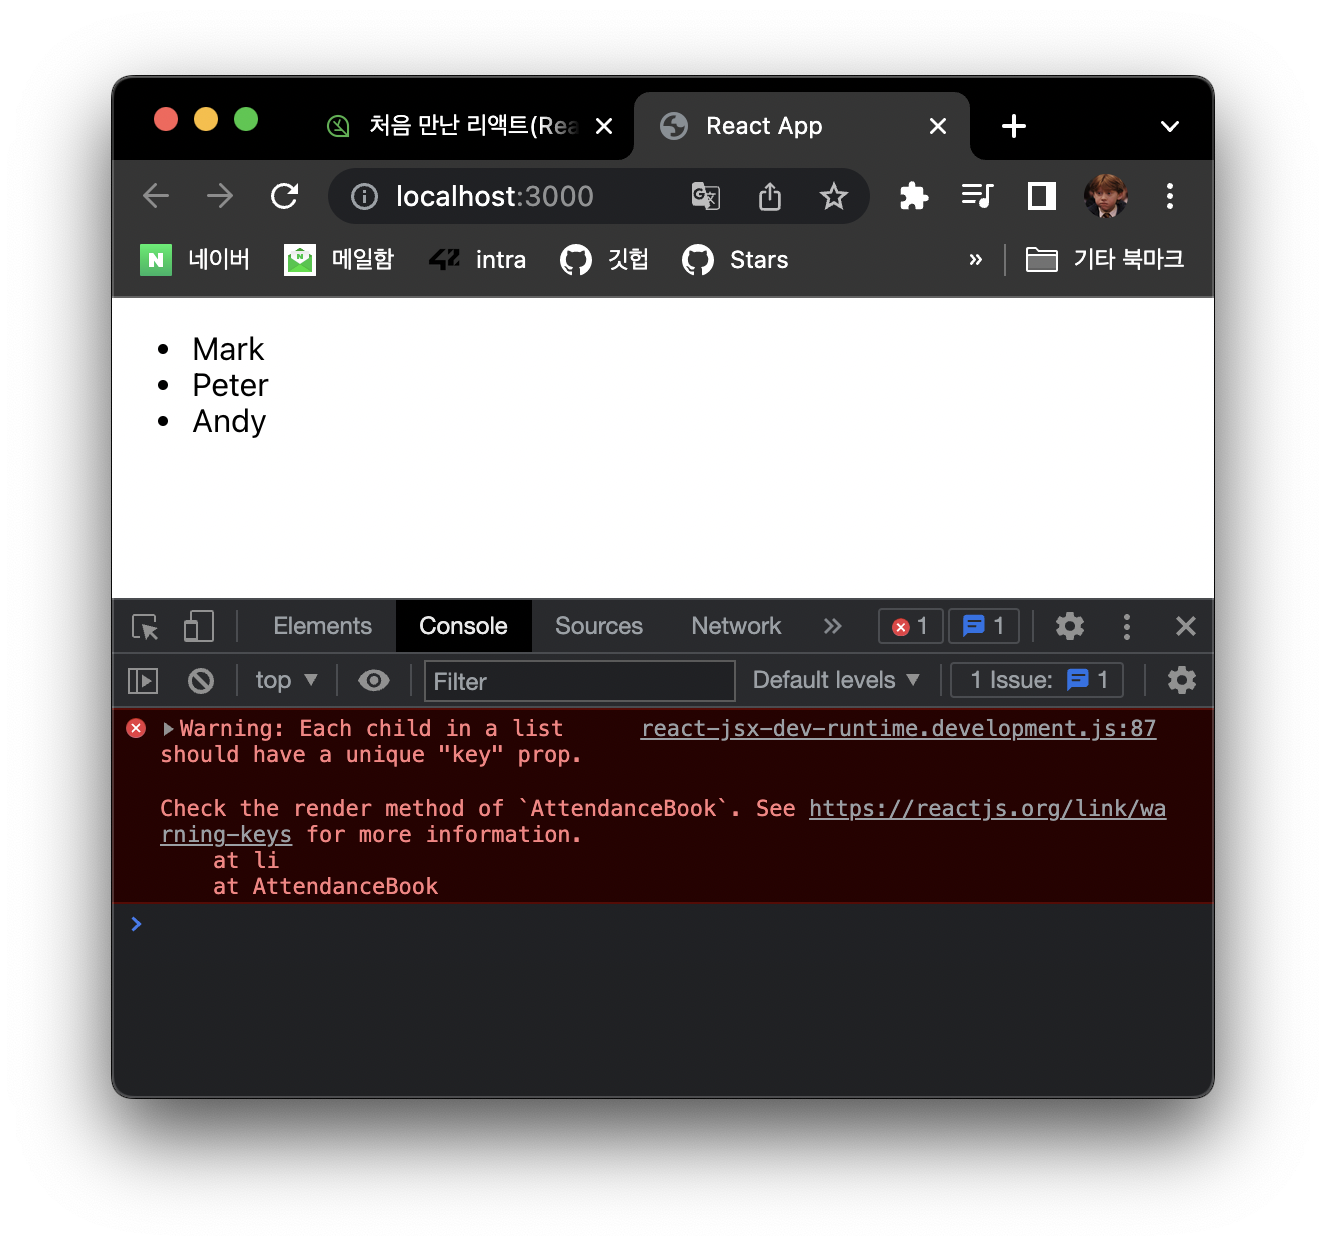
- warning 발생
// 키를 추가해준 경우
import React from "react";

const students = [
	{
		id: 1,
		name: "Mark",
	},
	{
		id: 2,
		name: "Peter",
	},
	{
		id: 3,
		name: "Andy",
	},
];

function AttendanceBook(props) {
	return (
		<ul>
			{students.map((student) => {
				return <li key={student.id}>{student.name}</li>;
			})}
		</ul>
	);
}

export default AttendanceBook;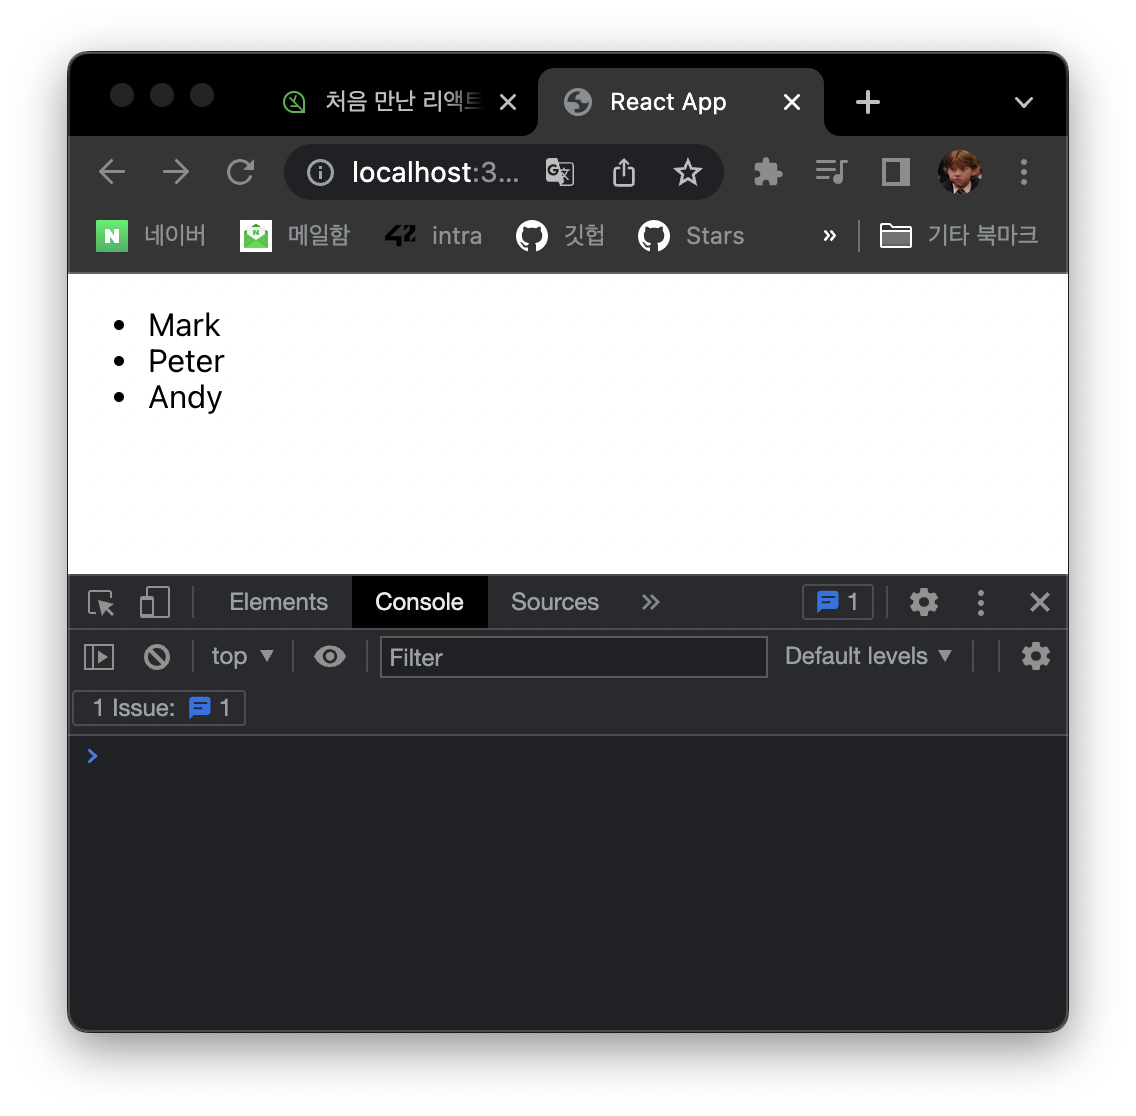
- warning 사라짐
Section 11. Forms
Form과 Controlled Component
- Form: 사용자로부터 입력을 받기 위해 사용
- Controlled Components: 사용자가 입력한 값에 접근하고 제어할 수 있도록 해주는 컴포넌트. 값이 리액트의 통제를 받는 Input Form Element.
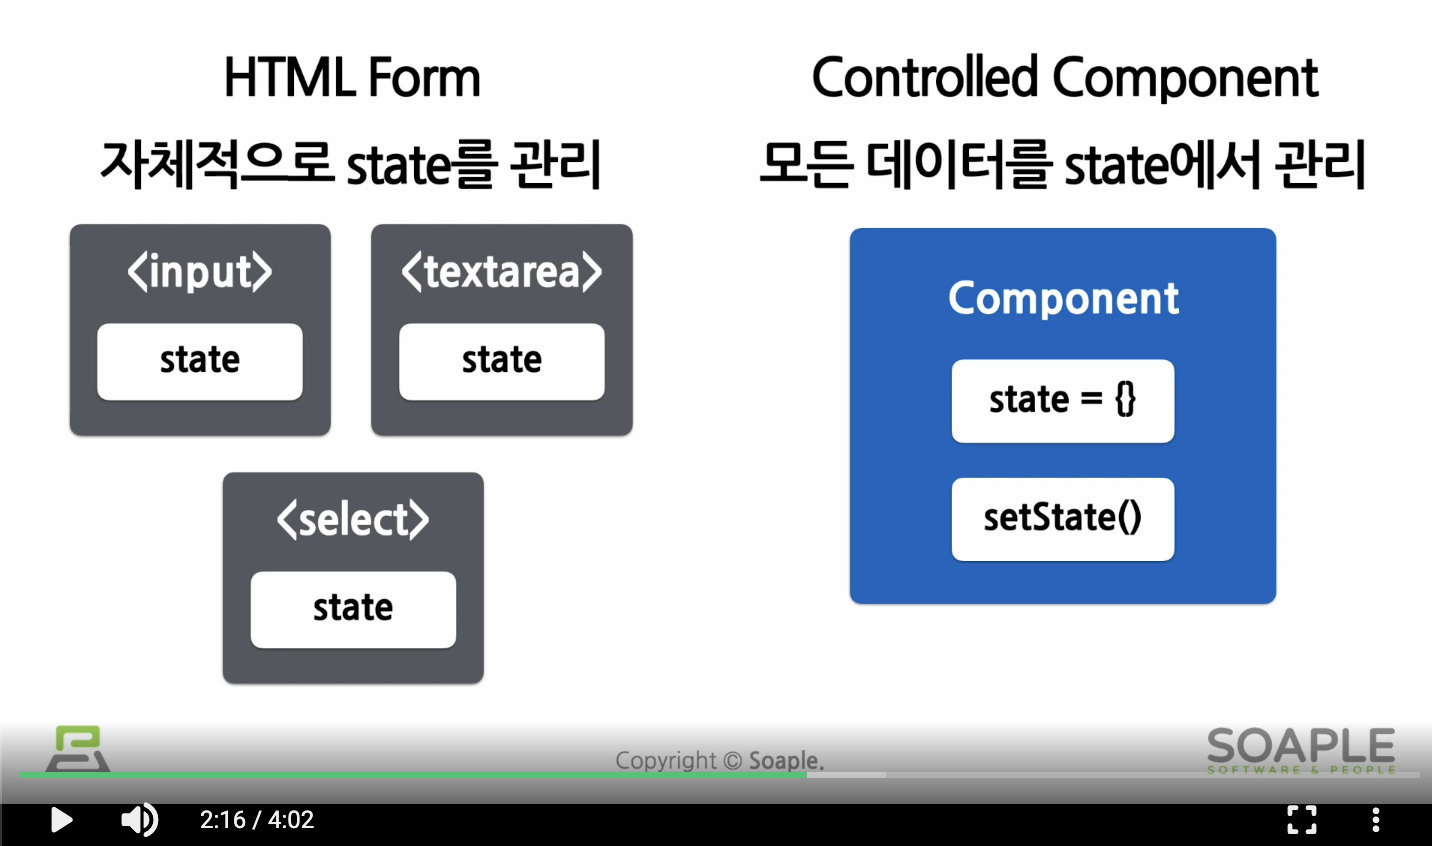
- 위 사진은 class component 기준. 함수 component에선 useState훅을 사용하여 state 관리
- html form에선 각 엘리먼트가 자체적으로 state를 관리. 자바스크립트 코드로 각각의 값에 접근하는 것이 어려움.
- Controlled Component에선 모든 데이터를 state에서 관리. 리액트에서 모든 값 통제 가능
다양한 Forms
Textarea 태그
- 여러줄에 걸친 긴 텍스트 입력을 받기 위한 html 태그
<!-- html 방식 -->
<textarea>
  안녕하세요
</textarea>
// jsx 방식
function RequestForm(props) {
const [value, setValue] = useState('요청사항을 입력하세요.');
const handleChange = (event) => {
setValue(event.target.value);
}
const handleSubmit = (event) => {
alert('입력한 요청사항: ' + value);
event.preventDefault();
}
return (
// textarea의 value로 넣어줘서 사용
<form onSubmit={handleSubmit}>
<label>
요청사항:
<textarea value={value} />
</label>
<button type="submit">제출</button>
</form>
);
}Select 태그
- Drop-down 목록을 보여주기 위한 html 태그
- 리액트에선 select의 value값으로 넣어준다.
각 텍스트 관련 태그(input, textarea, select)를 컨트롤드 컴포넌트로 만드는 방식은 모두 비슷하다. value로 값을 전달하고 값을 변경하고 싶을 때는 onChange에서 setValue함수를 사용하여 값을 업데이트 한다.
File input 태그
- 디바이스의 저장장치로부터 파일을 선택할 수 있게 해주는 html 태그
<input type="file" />- file input태그는 읽기전용이기 때문에 Uncontrolled Component가 된다. 리액트의 통제를 받지 않는 컴포넌트.
Multiple Inputs
- 여러개의 state를 선언하여 각각의 입력에 대해 사용
Input Null Value
// hi가 input value로 들어가 있으면 수정이 안 됨
ReactDOM.render(<input value="hi" />, rootNode);

// 1초 뒤에 input value가 널인 인풋 태그가 렌더링 되면서 입력 가능한 상태로 바뀜
setTimeout(function() {
  ReactDOM.render(<input value={null} />, rootNode);
}, 1000);
(실습)사용자 정보 입력 받기
import React, { useState } from "react";

function SignUp(props) {
	const [name, setName] = useState("");

	const handleChangeName = (event) => {
		setName(event.target.value);
	};

	const handleSubmit = (event) => {
		alert(`이름: ${name}`);
		event.preventDefault();
	};

	return (
		// input태그의 value로 내용을 넣어줌. 여기선 name을 ""로 초기화 했었기 때문에 빈 입력으로 들어가 있음
		<form onSubmit={handleSubmit}>
			<label>
				이름:
				<input type="text" value={name} onChange={handleChangeName} />
			</label>
			<button type="submit">제출</button>
		</form>
	);
}

export default SignUp;
(실습)성별 필드 추가하기
import React, { useState } from "react";

function SignUp(props) {
	const [name, setName] = useState("");
	const [gender, setGender] = useState("남자");

	const handleChangeName = (event) => {
		setName(event.target.value);
	};

	const handleChangeGender = (event) => {
		setGender(event.target.value);
	};

	const handleSubmit = (event) => {
		alert(`이름: ${name} 성별: ${gender}`);
		event.preventDefault();
	};

	return (
		// input태그의 value로 내용을 넣어줌. 여기선 name을 ""로 초기화 했었기 때문에 빈 입력으로 들어가 있음
		<form onSubmit={handleSubmit}>
			<label>
				이름:
				<input type="text" value={name} onChange={handleChangeName} />
			</label>
			<br />
			<label>
				성별:
				<select value={gender} onChange={handleChangeGender}>
					<option value="남자">남자</option>
					<option value="여자">여자</option>
				</select>
			</label>
			<button type="submit">제출</button>
		</form>
	);
}

export default SignUp;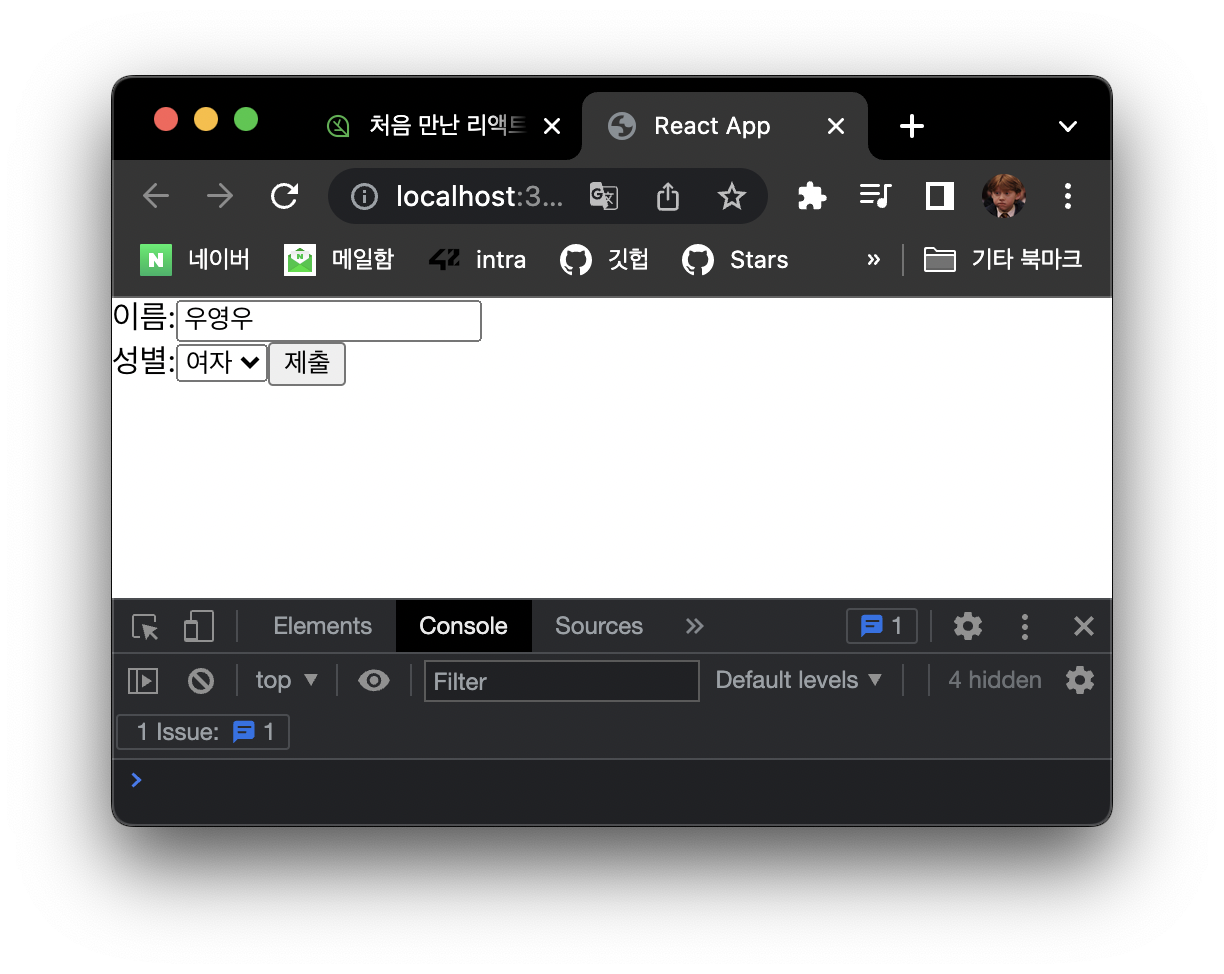 | 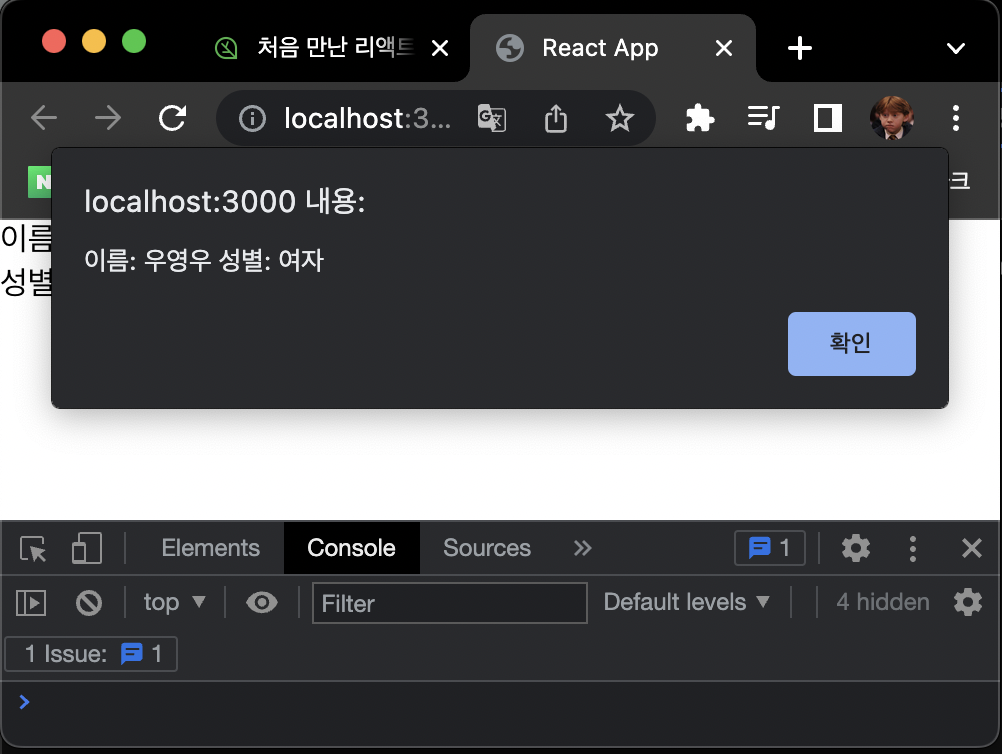 |
|---|