
23.07.24 93일차
SpringBoot
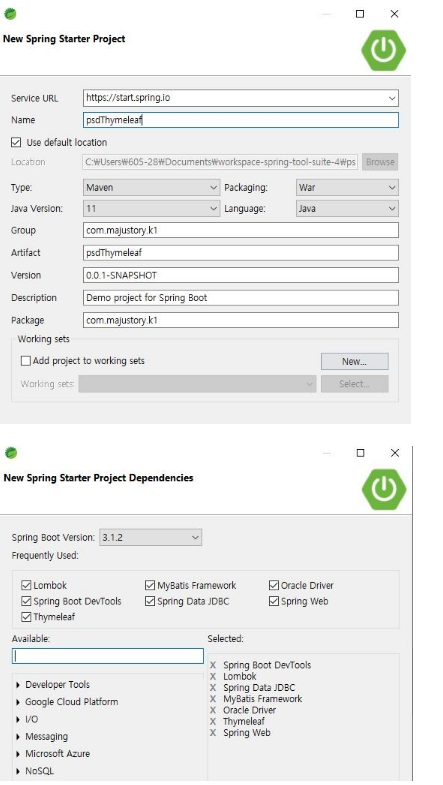
- 자료실 만들기 - thymeleaf 구성 ( 구조잡기 )
application.properties

# 주석 ( none , servlet )
spring.main.web-application-type=servlet
server.port=8888

# 배너 OFF
spring.main.banner-mode=off


# 오라클 컨넥션 정보
spring.datasource.driver-class-name=oracle.jdbc.driver.OracleDriver
spring.datasource.url =jdbc:oracle:thin:@localhost:1521:xe
spring.datasource.username=system
spring.datasource.password=1234

# JSP 경로 설정
# spring.mvc.view.prefix=/WEB-INF/view/
# spring.mvc.view.suffix=.jsp

#thymeleaf cache setting
spring.thymeleaf.cache=false


####  다중 mapper 설정하기
mybatis.mapper-locations=classpath:mappers/**/*.xml


# 자료실 설정
spring.servlet.multipart.enabled=true
spring.servlet.multipart.max-file-size=20MB- HTML
<html xmlns:th="http://www.thymeleaf.org">
<head>
<meta charset="UTF-8">
<title>Insert title here</title>
</head>
<body th:align="center">
<h2 th:text="${title}"> 사진등록 </h2>
<div th:align="center" >
<form action="formInsert.do"  method=post
      enctype="multipart/form-data">
<table border=1 >
<tr> <td> 사진제목 </td><td> <input type=text name="title" ></td></tr>
<tr> <td> 첨부사진 </td><td> <input type=file name=file ></td></tr>
<tr> <td colspan=2  align="center">
     <input type=submit value="사진저장하기" >
     </td>
</tr>
</table>
</form>
</div>
</body>
</html>
html에 타임리프 사용 태그를 추가하고 사용한다.
- HTML 기본 입력
<html xmlns:th="http://www.thymeleaf.org">
<section>
<br>
<div align="center">
<h2> 게시판 목록보기   
<a th:href=psdForm.do th:text="'('+글쓰기+')'"></a>
</h2>
<table border=1>
<tr align="center">
<td th:text="번호"/>
<td th:text="제목"/>
<td th:text="이미지명"/>
<td th:text="사진"/>
</tr>
<tr th:each="m : ${li} ">
<td align="center" th:text="${m.idx}" />
<td align="center" th:text="${m.title}" />
<td align="center" th:text="${m.img}" />
<td align="center">
<a th:href="@{padDelete.do(idx=${m.idx})}" >
<img th:src="@{./files/}+${m.img}" width=30 height=30 />
</a>
</td>
</tr>
</c:forEach>
</table>
</div>
<br>
</section>th: 를 사용하여 텍스트를 입력할때와, 링크, 이미지를 사용할수 있다.
HTML 파일은 Templates 폴더에서 작성할 수 있다.

Back-end Developer Preparation Students
감사합니다. 이런 정보를 나눠주셔서 좋아요.