React에서 테스트는 Testing Library, Jest를 이용해서 할 수 있다. (이것들은 다른 프레임워크에서도 사용할 수 있다.)
Testing Libarary에서 React용 React Testing Library을 제공하고 있기 때문에 creat-react-app을 이용하여 React프로젝트를 생성하면 자동으로 Testing Library를 이용할 수 있다. 이렇게 설치한 Testing Library는 테스트를 실행하고 싶은 컴포넌트나 클릭이벤트 등 다양한 곳에 쓸 수 있다.
Jest는 JavaScript의 Testing Framework / Test Runner로써, 테스트 파일을 자동으로 찾아 테스트를 실행하고, 테스트를 실행한 결과 기대만큼 올바른 값을 가지고 있는지 함수를 이용하여 체크하여 테스트가 성공인지 실패인지 판단해 준다.
Testing Library와 jest는 역할이 각각 다르기 때문에 React에 대한 테스트를 진행할 때는 어느 한쪽 라이브러리를 이용하는 것만으로는 테스트할 수 없다.
React 기본 테스트 환경 확인
npx create-react-app명령을 사용하여 생성한 프로젝트의 package.json파일을 확인하면 dependencies안에 @testing이라는 접두어가 붙은 3개의 라이브러리를 확인할 수 있다. 이것들이 바로 테스트를 수행할 때 이용하는 라이브러리다.
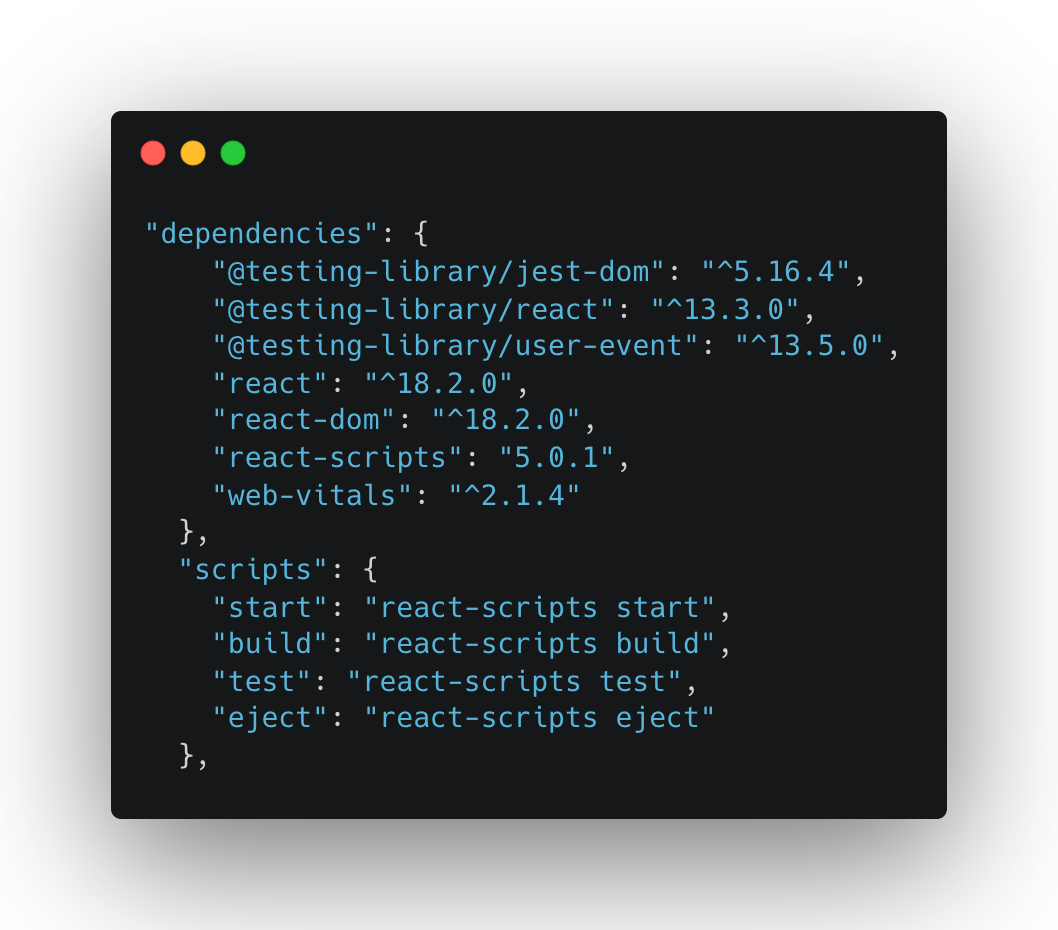
- @testing-library/jest-dom : Jest-dom 제공하는 custom matcher를 사용할 수 있게 해준다.
- @testing-library/react : 컴포넌트의 요소를 찾기 위한 query가 포함되어 있다.
- @testing-library/user-event : click 등 사용자 이벤트에 이용된다.
src 폴더를 보면 setupTest.js와 App.test.js라는 이름의 파일을 확인할 수 있다. App.test.js파일에는 간단한 테스트가 이미 만들어져 있다.
작성한 프로젝트의 package.json파일과 파일 구성을 보면 npx create-react-app 명령을 실행하여 프로젝트를 생성함으로써 테스트를 하기 위한 환경이 사전에 설치되어 있는 것을 알 수 있다.
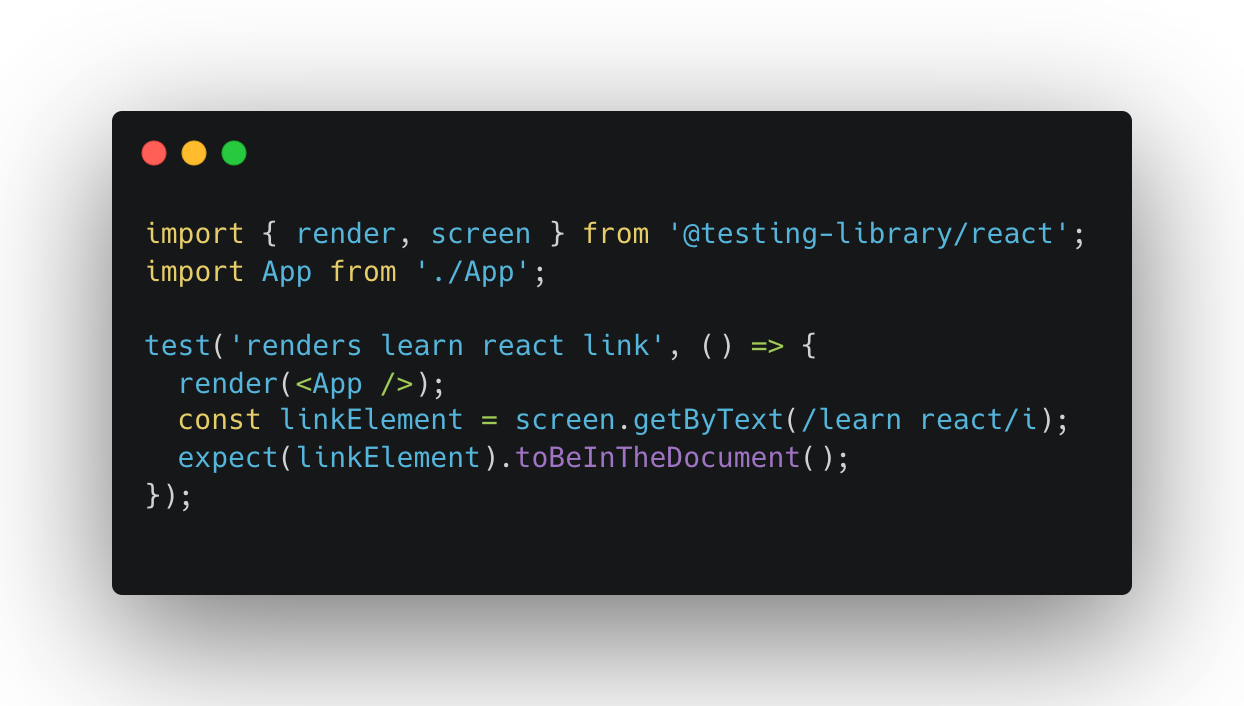
다음은 App.test.js의 코드다.

- 첫번째 줄을 보면, 테스트하고자 하는 컴포넌트를 render()함수로 전달하고 있다. react-testing-library에서는 테스트를 진행할 컴포넌트를 render()함수의 인자로 전달한다.
두번째 줄에 있는 screen의 다양한 메소드 중 getByText() 메서드를 이용하여 render()에서 가져온 App 컴포넌트 중 "learn react"라는 문자열이 있는지 확인하여 linkElement에 할당하고 있다. (“i”는 Regular Expression으로 "i"를 붙임으로써 대소문자를 구분하지 않게 만들어 준다.)
세번째 줄에서는 expect 함수의 인자로 지정한 요소가 document.body에 존재하는지 toBeInTheDocument 함수를 사용하여 체크하고 있다. 여기서 toBeInTheDocument 함수는 matchers 함수라고 부른다.
App.test.js파일 중 이용되고 있는 test함수, expect 함수는 Jest의 함수고, toBeInTheDocument는 jest-dom라이브러리에 포함된 Custom matchers다.
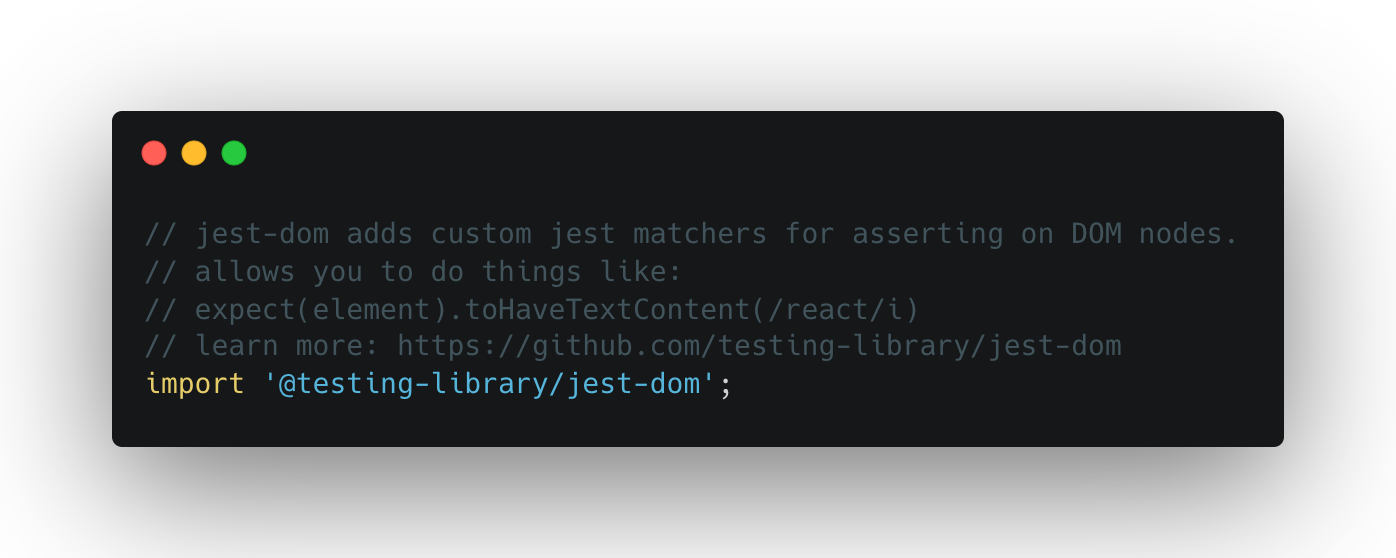
jest-dom은 src폴더의 setupTest.js파일 내에서 import되고 있다. setupTests.js파일에서 import를 삭제하면 toBeInTheDocument 함수를 이용할 수 없다.
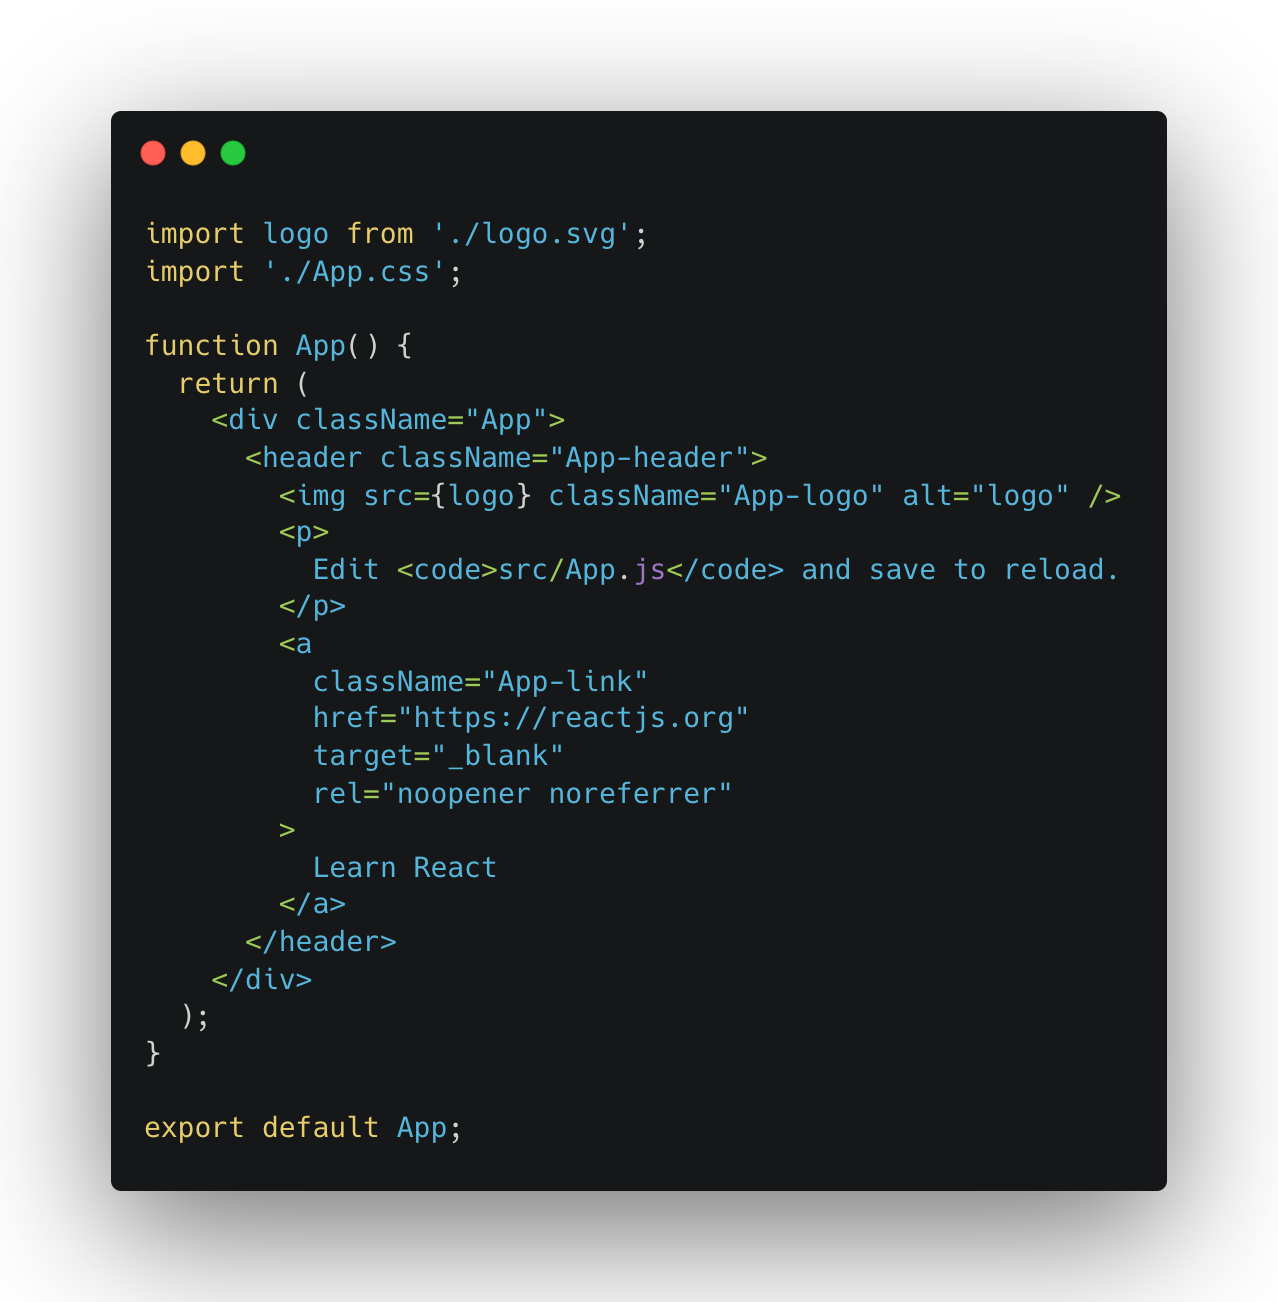
App.js를 보면 a태그의 콘텐츠로 "Learn React"를 찾을 수 있다. App.test.js내부에서 screen의 getByText메서드로 찾아낸 부분이 바로 이 부분이다. 이로인해 테스트를 진행하면 Pass가 뜬다.
태스트 코드의 가장 단순한 형태는 다음과 같다
describe("간단한 테스트들", () => {
  it("2 더하기 2는 ", () => {
    expect(2 + 2).toBe(4); // pass
  })

  it("2 빼기 1은 1", () => {
    expect(2 - 1).toBe(10); // fail
  })
})
컴포넌트 테스트하는 법
다음은 전원의 상태를 off에서 on으로 전환하는 컴포넌트다.
import {useState} from 'react';

const Light = ({ name }) => {
  const [light, setLight] = useState(false);

  return (
    <>
      <h1>
        {name} {light ? 'ON' : 'OFF'}{' '}
      </h1>
      <button
        onClick={() => setLight(true)}
        disabled={light ? true : false}
      >
        ON
      </button>
      <button
        onClick={() => setLight(false)}
        disabled={!light ? true : false}
      >
        OFF
      </button>
    </>
  );
}

export default Light;
import Light from './components/Light';
function App() {
return <Light name="전원" />
}
export default App;다음은 테스트코드다
import {fireEvent, render, screen} from '@testing-library/react';
// fireEvent를 통해 버튼 클릭 이벤트의 유무도 테스트로 구현할 수 있다.
import Light from '../components/Light';

describe("Light Component Test", () => {
  it('renders Light Component', () => {
    render(<Light name="전원"/>);
    const nameElement = screen.getByText(/전원 off/i);
    expect(nameElement).toBeInTheDocument();
  })

  it('off button disabled', () => {
    render(<Light name="전원"/>);
    const offButtonElement = screen.getByRole('button', { name: 'OFF' });
    expect(offButtonElement).toBeDisabled();
  })

  it('on button enable', () => {
    render(<Light name="전원"/>);
    const onButtonElement = screen.getByRole('button', { name: 'ON' });
    expect(onButtonElement).not.toBeDisabled();
  });

  it('change from off to on', () => {
    render(<Light name="전원"/>);
    const onButtonElement = screen.getByRole('button', { name: 'ON' });
    fireEvent.click(onButtonElement);
    expect(onButtonElement).toBeDisabled(); // on button누르면 disable상태로 변경
  });
})