
📌 restful를 활용한 CRUD
✔ rest_content_view.html
<!DOCTYPE html> <html> <head> <meta http-equiv="Content-Type" content="text/html; charset=UTF-8"> <title>Insert title here</title> <script src="https://ajax.googleapis.com/ajax/libs/jquery/3.5.1/jquery.min.js"></script> <script type="text/javascript"> </script> <script type="text/javascript"> $(document).ready(function() { let searchParams = new URLSearchParams(window.location.search) console.log(searchParams.has('bid')); let bid = searchParams.get('bid') console.log(bid); $.ajax({ type : "GET", url : "/rboard/" + bid, success : function(board) { console.log(board); $("#input_hidden").val(board.bid); $("#td_bid").text(board.bid); $("#td_hit").text(board.bhit); $("#input_bname").val(board.bname); $("#input_btitle").val(board.btitle); $("#textarea_bcontent").text(board.bcontent); }, error : function(e) { console.log(e); } }) }); </script> <!-- 수정 스크립트 --> <script type="text/javascript"> $(document).ready(function() { $("#updateForm").submit(function(event) { //prevendDefault()는 href로 연결해 주지 않고 단순히 click에 대한 처리를 하도록 해준다. event.preventDefault(); console.log("ajax 호출전"); var bname = $("#input_bname").val(); var btitle = $("#input_btitle").val(); var bcontent = $("#textarea_bcontent").text(); var bid = $("#input_hidden").val(); var form = { bid : bid, bname : bname, btitle : btitle, bcontent : bcontent }; $.ajax({ type : "PUT", url : "/rboard/" + bid, cashe : false, contentType : 'application/json; charset=utf-8', data : JSON.stringify(form), success : function(result) { console.log("업데이트 된 갯수" + result); $(location).attr('href', '/rest_list.html') // location.href = '/rest_list.html' }, error : function(e) { console.log(e); } }) }); }); </script> </head> <body> <table id="list-table" width="500" cellpadding="0" cellspacing="0" border="1"> <form id="updateForm" action="modify" method="post"> <input id="input_hidden" type="hidden" name="bid" value=""> <tr> <td>번호</td> <td id="td_bid"></td> </tr> <tr> <td>히트</td> <td id="td_hit"></td> </tr> <tr> <td>이름</td> <td><input id="input_bname" type="text" name="bname" value=""></td> </tr> <tr> <td>제목</td> <td><input id="input_btitle" type="text" name="btitle" value=""></td> </tr> <tr> <td>내용</td> <td><textarea id="textarea_bcontent" rows="10" name="bcontent"></textarea></td> </tr> <tr> <td colspan="2"><input id="input_modify" type="submit" value="수정"> <a href="list">목록보기</a> <a id="a-delete" href="${pageContext.request.contextPath}/rest/delete?bId=${content_view.bId}">삭제</a> <a href="reply_view?bId=${content_view.bId}">답변</a></td> </tr> </form> </table> </body> </html>✔ RestBoardController.java
package edu.example.ex.controller;

import java.util.List;

import org.springframework.beans.factory.annotation.Autowired;
import org.springframework.http.HttpStatus;
import org.springframework.http.ResponseEntity;
import org.springframework.stereotype.Controller;
import org.springframework.ui.Model;
import org.springframework.web.bind.annotation.DeleteMapping;
import org.springframework.web.bind.annotation.GetMapping;
import org.springframework.web.bind.annotation.PostMapping;
import org.springframework.web.bind.annotation.PutMapping;
import org.springframework.web.bind.annotation.RequestBody;
import org.springframework.web.bind.annotation.RequestMapping;
import org.springframework.web.bind.annotation.RestController;

import edu.example.ex.page.Criteria;
import edu.example.ex.page.PageVO;
import edu.example.ex.service.BoardService;
import edu.example.ex.vo.BoardVO;
import lombok.extern.slf4j.Slf4j;

@Slf4j // 로그
@RequestMapping("/rboard/*")
@RestController // restful 전용 컨트롤러

public class RestBoardController {
	@Autowired
	private BoardService boardService;

	@GetMapping("/")
	public String rboard() {
		return "<h1>이제는 restful</h1>";
	}

	@GetMapping("/list")
	public List<BoardVO> list() {
		log.info("list() ..");
		return boardService.getList();
	}

//	// rboard/bid
//	@DeleteMapping("/{bid}")
//	public int rest_delete(BoardVO boardVO) {
//		log.info("rest_delete() ..");
//
//		return boardService.delete(boardVO);
//	}

	   @DeleteMapping("/{bid}")
	   public ResponseEntity<String> rest_delete(BoardVO boardVO, Model model) {

	      ResponseEntity<String> entity = null;
	      log.info("rest_delete..");

	      try {
	            int rn = boardService.delete(boardVO);
	            // 삭제가 성공하면 성공 상태메시지 저장
	            log.info("delete 넘어온 숫자:::::" + rn);

	         entity = new ResponseEntity<>(String.valueOf(rn), HttpStatus.OK);
	      } catch (Exception e) {
	         e.printStackTrace();
	         // 댓글 삭제가 실패하면 실패 상태메시지 저장
	         entity = new ResponseEntity<String>(e.getMessage(), HttpStatus.BAD_REQUEST);
	      }
	      // 삭제 처리 HTTP 상태 메시지 리턴
	      return entity;
	   }

	@GetMapping("/{bid}")
	public BoardVO rest_content_view(BoardVO boardVO) {
		log.info("rest_content_view() ..");

		return boardService.get(boardVO.getBid());
	}

	@PutMapping("/{bid}")
	public int rest_update(@RequestBody BoardVO boardVO) { // @requestBody : json을 자바 객체로 변환하는 애너테이션
		log.info("rest_update() ..");

		return boardService.modify(boardVO);
	}

}
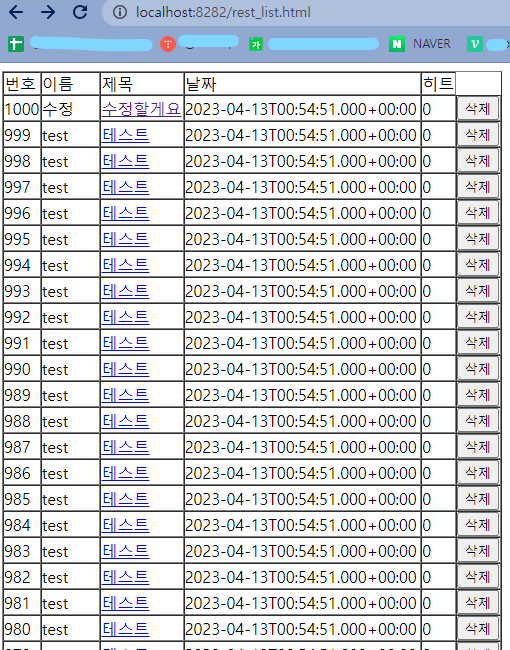
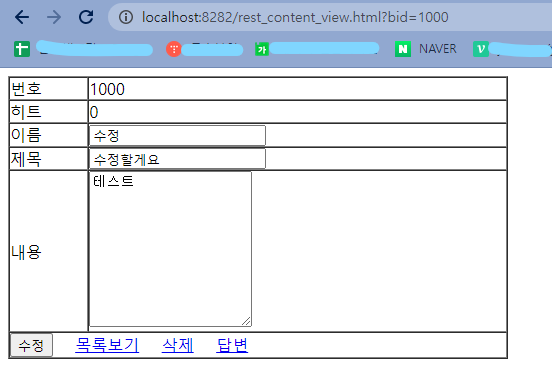
- 결과
📌 정적 리소스, 동적 리소스
-
Static: 정적 리소스 (html, css, js, image..) - 컴파일 대상이 아닌 파일
-
동적 리소스: jsp
📌 스프링 시큐리티
- 인증과 권한을 위한 솔루션(프레임워크)
- 주로 사용되는 로그인 방식은 쿠키-세션방식 / 토큰 방식 / 소셜 로그이 방식이 있음
- 스프링 시큐리티는 기본적으로 쿠키(Cookie)-세션(Session)방식을 응용한 것
📝 스프링 시큐리티 역할
1) 인증과 권한
2) 암호화 모듈 제공
3) CSRF 방어 모듈 제공
✔ 스프링 프로젝트 생성
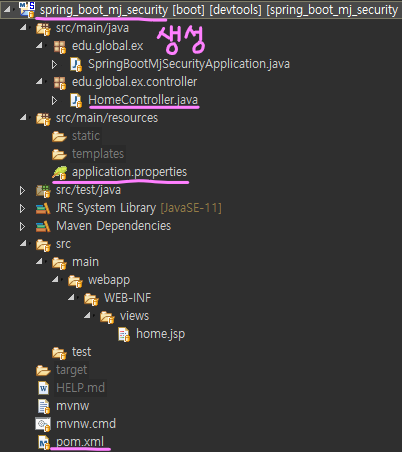
✔ pom.xml
<?xml version="1.0" encoding="UTF-8"?>
<project xmlns="http://maven.apache.org/POM/4.0.0"
	xmlns:xsi="http://www.w3.org/2001/XMLSchema-instance"
	xsi:schemaLocation="http://maven.apache.org/POM/4.0.0 https://maven.apache.org/xsd/maven-4.0.0.xsd">
	<modelVersion>4.0.0</modelVersion>
	<parent>
		<groupId>org.springframework.boot</groupId>
		<artifactId>spring-boot-starter-parent</artifactId>
		<version>2.6.8</version>
		<relativePath /> <!-- lookup parent from repository -->
	</parent>
	<groupId>edu.global</groupId>
	<artifactId>ex</artifactId>
	<version>0.0.1-SNAPSHOT</version>
	<name>spring_boot_mj_security</name>
	<description>Board project for Spring Boot</description>

	<properties>
		<java.version>11</java.version>
	</properties>

	<repositories>
		<repository>
			<id>oracle</id>
			<url>http://www.datanucleus.org/downloads/maven2/</url>
		</repository>
	</repositories>

	<dependencies>
		<dependency>
			<groupId>org.springframework.boot</groupId>
			<artifactId>spring-boot-starter-web</artifactId>
		</dependency>

		<!-- spring-boot-devtools는 클래스 수정시 웹서버를 재시작하여 결과를 바로 반영 -->
		<dependency>
			<groupId>org.springframework.boot</groupId>
			<artifactId>spring-boot-devtools</artifactId>
			<scope>runtime</scope>
			<optional>true</optional>
		</dependency>
		<dependency>
			<groupId>org.projectlombok</groupId>
			<artifactId>lombok</artifactId>
			<optional>true</optional>
		</dependency>
		<dependency>
			<groupId>org.springframework.boot</groupId>
			<artifactId>spring-boot-starter-tomcat</artifactId>
			<scope>provided</scope>
		</dependency>
		<dependency>
			<groupId>org.springframework.boot</groupId>
			<artifactId>spring-boot-starter-test</artifactId>
			<scope>test</scope>
		</dependency>

		<!-- 오라클 JDBC 드라이버 -->
		<dependency>
			<groupId>oracle</groupId>
			<artifactId>ojdbc6</artifactId>
			<version>11.2.0.3</version>
		</dependency>

		<!-- MyBatis 라이브러리 -->
		<dependency>
			<groupId>org.mybatis.spring.boot</groupId>
			<artifactId>mybatis-spring-boot-starter</artifactId>
			<version>2.1.4</version>
		</dependency>

		<!-- MyBatis sql pretty -->
		<dependency>
			<groupId>org.bgee.log4jdbc-log4j2</groupId>
			<artifactId>log4jdbc-log4j2-jdbc4.1</artifactId>
			<version>1.16</version>
		</dependency>

		<!-- JSP를 사용하기 위한 라이브러리 -->
		<!-- 톰캣 파서 -->
		<dependency>
			<groupId>org.apache.tomcat.embed</groupId>
			<artifactId>tomcat-embed-jasper</artifactId>
		</dependency>

		<!-- jstl 라이브러리 -->
		<dependency>
			<groupId>javax.servlet</groupId>
			<artifactId>jstl</artifactId>
		</dependency>

		<!-- 스프링 시큐리티 관련 라이브러리 -->
		<dependency>
			<groupId>org.springframework.boot</groupId>
			<artifactId>spring-boot-starter-security</artifactId>
		</dependency>
		<dependency>
			<groupId>org.springframework.security</groupId>
			<artifactId>spring-security-test</artifactId>
			<scope>test</scope>
		</dependency>
		<!-- 스프링 부트에서는 jsp 태그를 지원 하지 않기 때문에 직접 입력 해야야함 -->
		<dependency>
			<groupId>org.springframework.security</groupId>
			<artifactId>spring-security-taglibs</artifactId>
		</dependency>
	</dependencies>

	<build>
		<plugins>
			<plugin>
				<groupId>org.apache.tomcat.maven</groupId>
				<artifactId>tomcat7-maven-plugin</artifactId>
				<version>2.2</version>
				<configuration>
					<url>http://146.56.137.240:8282/manager/text</url>
					<username>admin</username>
					<password>1234</password>
				</configuration>
			</plugin>
			<!-- cmd에 입력 ( 배포 ) : mvnw.cmd tomcat7:redeploy -->
			<plugin>
				<groupId>org.springframework.boot</groupId>
				<artifactId>spring-boot-maven-plugin</artifactId>
				<configuration>
					<excludes>
						<exclude>
							<groupId>org.projectlombok</groupId>
							<artifactId>lombok</artifactId>
						</exclude>
					</excludes>
				</configuration>
			</plugin>
		</plugins>
	</build>

</project>
✔ HomeController.java
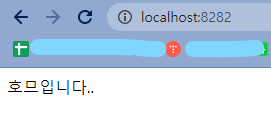
package edu.global.ex.controller;

import org.springframework.stereotype.Controller;
import org.springframework.web.bind.annotation.GetMapping;

@Controller
public class HomeController {

	@GetMapping("/")
	public String home() {
		return "home";
	}

}
✔ home.jsp
<%@ page language="java" contentType="text/html; charset=UTF-8"
	pageEncoding="UTF-8"%>
<%@ taglib prefix="c" uri="http://java.sun.com/jsp/jstl/core"%>
<!DOCTYPE html>
<html>
<head>
<meta charset="UTF-8">
<title>Insert title here</title>
</head>
<body>
	호므입니다..
</body>
</html>
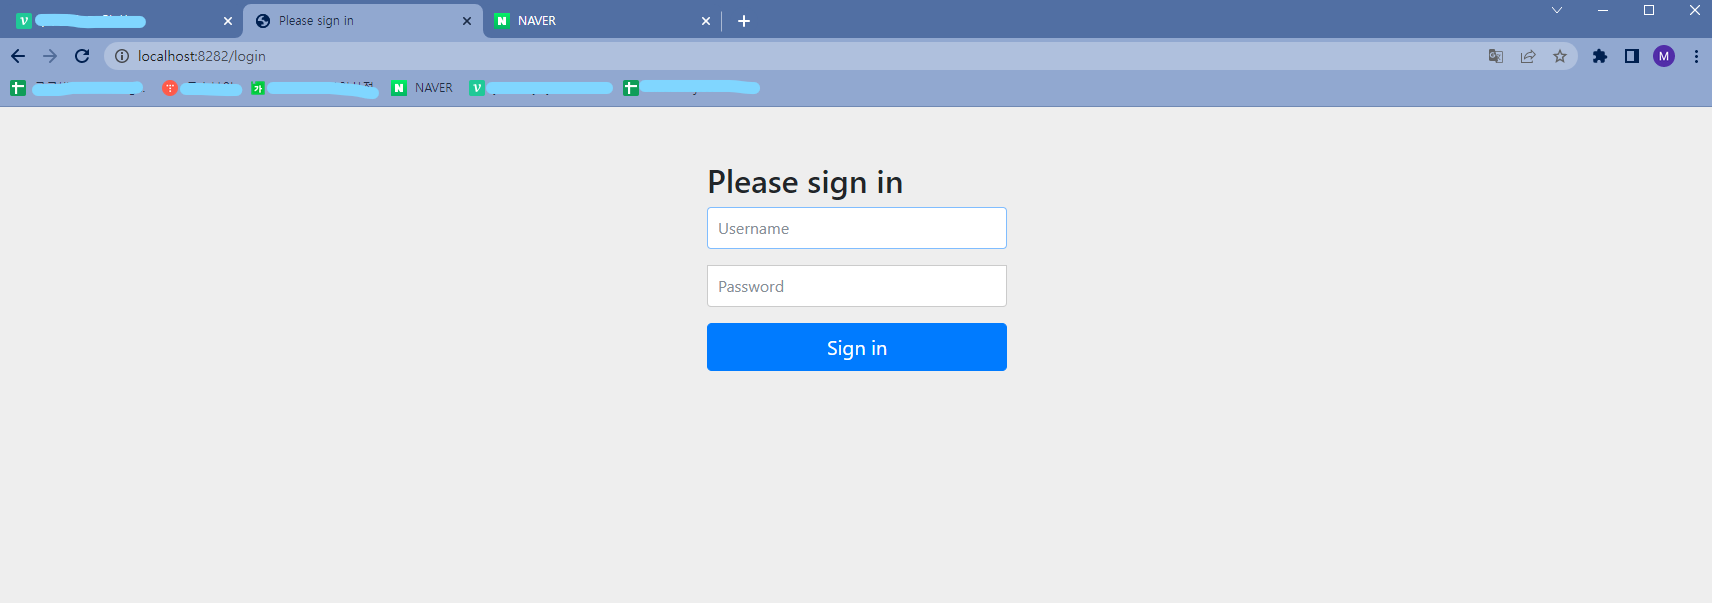
- 결과
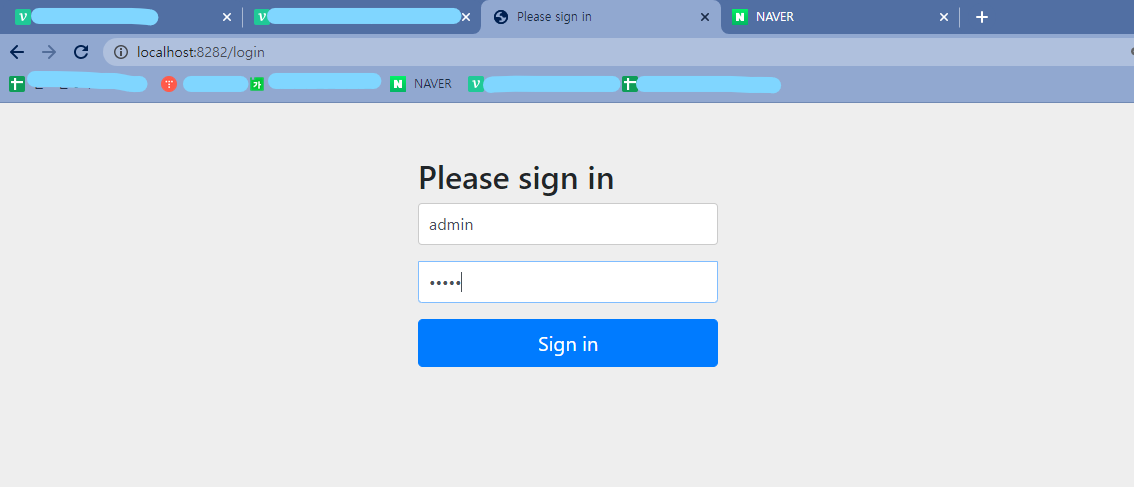
- dependency만 추가해도 Spring Security에서 제공하는 가장 기본적인 인증이 바로 적용됨
- 기본 로그인 화면이 가장 먼저 나올 것이다.
- Username : user (기본 계정)
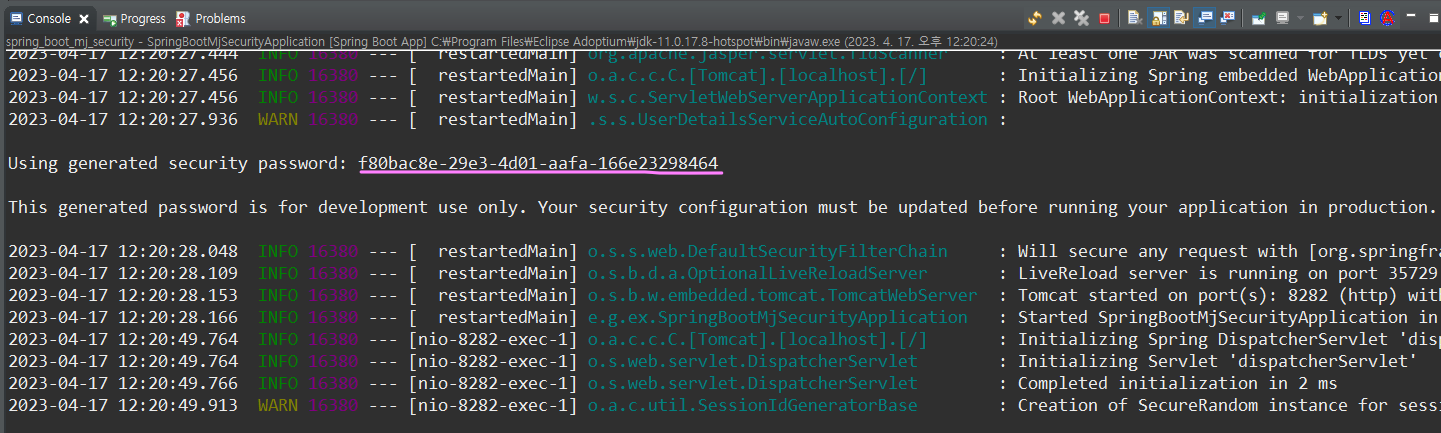
- Password : 비밀번호는 어플리케이션 기동할때 로그로 나오는 Using generated security password 정보
- Using generated security password: 0d07e7fd-0fba-403d-9eff-149ac84f4d56
- This generated password is for development use only. Your security configuration must be updated before running your application in production.
✔ SecurityConfig.java
package edu.global.ex.config;

import org.springframework.context.annotation.Configuration;
import org.springframework.security.config.annotation.authentication.builders.AuthenticationManagerBuilder;
import org.springframework.security.config.annotation.web.builders.HttpSecurity;
import org.springframework.security.config.annotation.web.configuration.EnableWebSecurity;
import org.springframework.security.config.annotation.web.configuration.WebSecurityConfigurerAdapter;

@Configuration// @Component + 의미(설정할수 있는 파일)
@EnableWebSecurity //스프링 시큐리티 필터가 스프링 필터체인에 등록됨 = 스프링 시큐리티를 작동 시키는 파일 이라는걸 알려줌 - 스프링 한테.
public class SecurityConfig extends WebSecurityConfigurerAdapter {

 @Override
 protected void configure(HttpSecurity http) throws Exception {
    //우선 CSRF설정을 해제한다.
    //초기 개발시만 해주는게 좋다.
    http.csrf().disable();
    http.authorizeRequests()
//      .antMatchers("/user/**").hasAnyRole("USER")
//      .antMatchers("/admin/**").hasAnyRole("ADMIN")
    .antMatchers("/**").hasAnyRole("ADMIN");

    http.formLogin(); //스프링 시큐리티에 있는 기본 로그인 폼을 사용하겠다.

 }

 @Override
 protected void configure(AuthenticationManagerBuilder auth) throws Exception {

    auth.inMemoryAuthentication()
         .withUser("user").password("{noop}user").roles("USER").and()
         .withUser("admin").password("{noop}admin").roles("ADMIN");

 }

}
- 결과

개발 연습장