안녕하세요 😊. 오늘은 jsp의 페이지 이동기술에 대해 포스팅해보도록 하겠습니다.
request
request 내장 객체를 이용하여 setAttribute 함수를 통해 정보를 저장한 뒤, 다른 페이지로 이동할 수 있습니다.
Servlet 3.1 - Apache Tomcat 8.0.53에서 javax.servlet에서 ServletRequest라는 인터페이스 클래스에가면 setAttribute 함수를 찾아볼 수 있습니다.
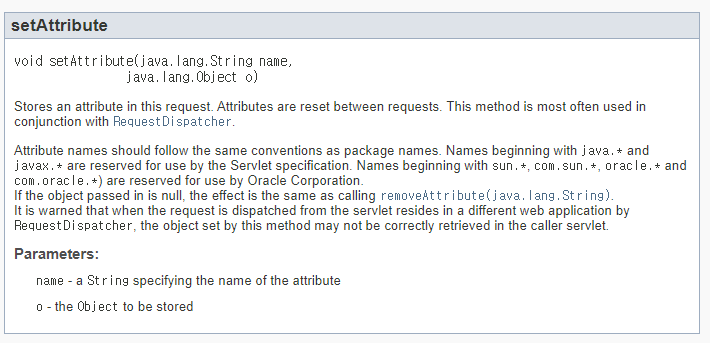
파라미터로는 java의 String 문자열 변수와 java의 Object 객체가 파라미터로 들어갑니다.
설명을 읽어보면, RequestDispatcher가 있습니다.
RequestDispatcher
Servlet 3.1 - Apache Tomcat 8.0.53를 보면 javax.servlet에서 RequestDispatcher라는 인터페이스 클래스가 있습니다.
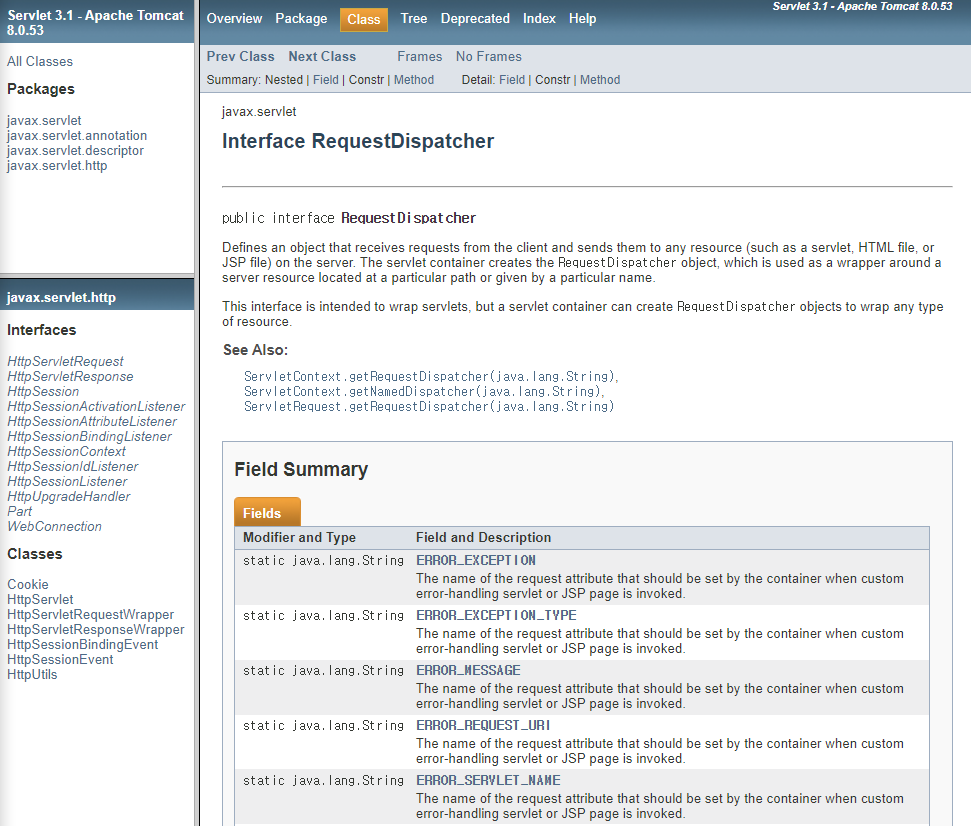
setAttribute 함수에 String과 Object를 저장한 뒤, RequestDispatcher에 참조변수를 만들어서 forward 함수로 해당 페이지에 정보를 입력하여 자기 자신 페이지에서 출력할 수 있습니다.
RequestDispatcher 활용 예제
velog_1.jsp
<%@ page language="java" contentType="text/html; charset=UTF-8"
    pageEncoding="UTF-8"%>
<!DOCTYPE html>
<html>
<head>
<meta charset="UTF-8">
<title>VELOG_1</title>
</head>
<body>
<h3 style="background-color:red;">VELOG_1</h3>
<%
	String s="velog";

	request.setAttribute("v", s);
	RequestDispatcher rd=request.getRequestDispatcher("파일 경로");
	rd.forward(request, response);
%>

</body>
</html>
velog_2.jsp
<%@ page language="java" contentType="text/html; charset=UTF-8"
    pageEncoding="UTF-8"%>
<!DOCTYPE html>
<html>
<head>
<meta charset="UTF-8">
<title>VELOG_2</title>
<style type="text/css">
	h3, p{
		height:100px;
		width:150px;
		margin:10px auto;
	}
</style>
</head>
<body>
<h3 style="background-color:blue;">VELOG_2</h3>
<%
	Object obj=request.getAttribute("v");
	String s1=(String)obj;
%>
<p style="background-color:blue;"><%= s1 %></p>
</body>
</html>
코드 설명
velog_1.jsp
1. v라는 name(String)으로 velog라는 Object를 저장합니다.
request.setAttribute("v", s);
/*
setAttribute
void setAttribute(java.lang.String name,
                java.lang.Object o)
*/
2. request에 경로를 입력한 뒤, RequestDispatcher 참조변수로 리턴합니다.
RequestDispatcher rd=request.getRequestDispatcher("파일 경로");
/*
getRequestDispatcher
RequestDispatcher getRequestDispatcher(java.lang.String path)
Returns a RequestDispatcher object that acts as a wrapper for the resource located at the given path. A RequestDispatcher object can be used to forward a request to the resource or to include the resource in a response. The resource can be dynamic or static.
*/
이 때, 파일 경로에는 컨텍스트를 제외한 나머지 경로를 입력해야 합니다.
- 예시 : 내가 사용하는 eclipse의 Project가 /firstProject 이면, /fisrstProject 뒤의 경로를 입력해야 합니다.
3. forward함수로 서버에 있는 다른 리소스를 요청합니다.
rd.forward(request, response);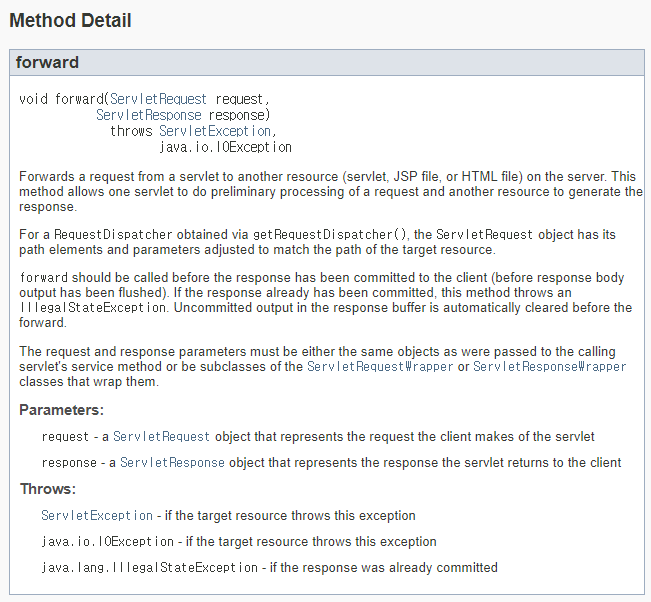
✔ 참고자료
- 출처 : HTTP 프로토콜
velog_2.jsp
1. ServletRequest 인터페이스 클래스의 getAttribute함수로 값을 받아옵니다.
Object obj=request.getAttribute("v");
/*
getAttributeNames
java.util.Enumeration<java.lang.String> getAttributeNames()
Returns an Enumeration containing the names of the attributes available to this request. This method returns an empty Enumeration if the request has no attributes available to it.
*/
attribute 이름의 값을 Object로 return합니다. (단, attribute 이름이 존재해야 합니다.)
2. Object로 받아온 객체를 클래스 다운캐스팅연산자를 사용하여 String 클래스의 참조변수로 대입합니다.
String s1=(String)obj;3. String s1을 html p태그 사이의 요소로 화면에 출력시키기
<p style="background-color:blue;"><%= s1 %></p>화면 결과
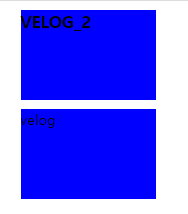
✔ 주소표시줄
http://생략.../velog_1.jsp사진에는 없지만 웹의 주소표시줄에는 velog_1.jsp의 주소로 표시되어 있습니다.
velog_1.jsp의 < h3 > 의 배경색은 빨간색 입니다.
그러나, 실제 화면에 나온 결과를 보면 파란색인 것을 확인 할 수 있습니다.
velog_2.jsp의 < h3 > 의 배경색인 파란색으로 출력 된 것을 확인 할 수 있으며,
velog_1.jsp에서 지정한 변수가 velog_2.jsp의 p태그 안에서 출력 된 것을 확인 할 수 있습니다.
JSP태그로 페이지 이동
액션 포워드 싱글태그
velog_1.jsp
<%@ page language="java" contentType="text/html; charset=UTF-8"
    pageEncoding="UTF-8"%>
<!DOCTYPE html>
<html>
<head>
<meta charset="UTF-8">
<title>VELOG_1</title>
</head>
<body>
<h3 style="background-color:red;">VELOG_1</h3>
<%
	String s="velog";
	request.setAttribute("s", s);
%>
<jsp:forward page="파일경로" />
</body>
</html>
velog_2.jsp
<%@ page language="java" contentType="text/html; charset=UTF-8"
    pageEncoding="UTF-8"%>
<!DOCTYPE html>
<html>
<head>
<meta charset="UTF-8">
<title>VELOG_2</title>
<style type="text/css">
	h3, p{
		height:100px;
		width:150px;
		margin:10px auto;
	}
</style>
</head>
<body>
<h3 style="background-color:blue;">VELOG_2</h3>
<%
	Object o=request.getAttribute("s");
	String s1=(String)o;
%>
<p style="background-color:blue;"><%= s1 %></p>
</body>
</html>
1. jsp태그 중 액션 포워드 싱글 태그 코드
<jsp:forward page="파일경로" />
액션 포워드 싱글태그를 이용하여 setAttribute함수에 저장한 값을 출력시킬 수도 있습니다.
화면 결과
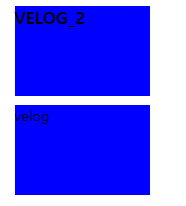
이전과 같이 velog_1.jsp에서 파라미터를 velog_2.jsp로 넘긴 뒤,
velog_2.jsp의 p태그 안에서 출력 된 것을 확인 할 수 있습니다.
✔ 주소표시줄
http://생략.../velog_1.jsp마찬가지로, 주소표시줄의 주소는 velog_1.jsp입니다.
액션 포워드 더블태그
velog_1.jsp
<%@ page language="java" contentType="text/html; charset=UTF-8"
    pageEncoding="UTF-8"%>
<!DOCTYPE html>
<html>
<head>
<meta charset="UTF-8">
<title>VELOG_1</title>
</head>
<body>
<h3 style="background-color:red;">VELOG_1</h3>
<%
	String s="velog";
%>
<jsp:forward page="파일 경로">
	<jsp:param name="s" value="<%= s %>"/>
</jsp:forward>

</body>
</html>
velog_2.jsp
<%@ page language="java" contentType="text/html; charset=UTF-8"
    pageEncoding="UTF-8"%>
<!DOCTYPE html>
<html>
<head>
<meta charset="UTF-8">
<title>VELOG_2</title>
<style type="text/css">
	h3, p{
		height:100px;
		width:150px;
		margin:10px auto;
	}
</style>
</head>
<body>
<h3 style="background-color:blue;">VELOG_2</h3>
<%
	String s1=request.getParameter("s");
%>
<p style="background-color:blue;"><%= s1 %></p>
</body>
</html>
1. jsp태그 중 액션 포워드 더블 태그 코드
<jsp:forward page="파일 경로">
<jsp:param name="s" value="<%= s %>"/>
</jsp:forward>
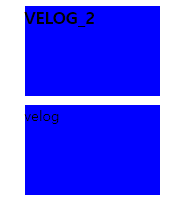
jsp의 액션 포워드 더블태그를 사용하여 value에 파라미터를 넘긴 뒤, 페이지를 이동시킬 수도 있습니다.
✔ 이전과 다른 점은 setAttribute와 getAttribute 함수 없이 velog_1.jsp 링크에서 velog_2.jsp 페이지의 내용을 출력했다는 점입니다.
화면 결과
✔ 주소표시줄
http://생략.../velog_1.jspJSP 내장객체 : pageContext로 페이지이동하기
velog_1.jsp
<%@ page language="java" contentType="text/html; charset=UTF-8"
    pageEncoding="UTF-8"%>
<!DOCTYPE html>
<html>
<head>
<meta charset="UTF-8">
<title>VELOG_1</title>
</head>
<body>
<h3 style="background-color:red;">VELOG_1</h3>
<%
	String s="velog";
	pageContext.forward("파일경로?s="+s);
%>
</body>
</html>
velog_2.jsp
<%@ page language="java" contentType="text/html; charset=UTF-8"
    pageEncoding="UTF-8"%>
<!DOCTYPE html>
<html>
<head>
<meta charset="UTF-8">
<title>VELOG_2</title>
<style type="text/css">
	h3, p{
		height:100px;
		width:150px;
		margin:10px auto;
	}
</style>
</head>
<body>
<h3 style="background-color:blue;">VELOG_2</h3>
<%
	String s1=request.getParameter("s");
%>
<p style="background-color:blue;"><%= s1 %></p>
</body>
</html>
JSP 내장 객체 : pageContext, request, session, application
<%
String s1=request.getParameter("s");
pageContext.forward("파일경로?s1="+s);
%>
✔ 주소표시줄
http://생략.../velog_1.jsprequest 이 외에도 JSP의 내장 객체를 사용하여 값을 쿼리 스트링으로 직접 보내서 동일한 결과를 출력할 수 있습니다. 마찬가지로, setAttribute와 getAttribute 함수 없이 getParameter 로 값을 받아와서 velog_1.jsp 링크에서 velog_2.jsp 페이지의 내용을 출력하였습니다.
🤔 response, location.href와 다른 점이 무엇인가요?
response.sendRedirect
- velog_1.jsp
<%
String s="velog";
response.sendRedirect("파일이름?s="+s);
%>
✔ 주소표시줄
http://생략.../velog_2.jsp?s=velog결과만 보면 차이가 없어보이나, 주소표시줄이 velog_1.jsp에서 velog_2.jsp?s=velog으로 변경 된 것을 볼 수 있습니다.
location.href
<script>
location.href="/kosMember_YYS/kos_jsp_p/velog_2.jsp?s=velog";
</script>
✔ 주소표시줄
http://생략.../velog_2.jsp?s=velog마찬가지로 결과만 보면 차이가 없어보이나, 주소표시줄이 velog_1.jsp에서 velog_2.jsp?s=velog으로 변경이 되었습니다.
이상으로 [jsp] 페이지이동 포스팅을 마치도록 하겠습니다. 😊