
NestJS에서 Swagger 모듈을 사용하여 API테스트 및 문서화를 해보았습니다.
NestJS 장점
- 자동 문서 생성: Swagger는 API 코드의 주석 및 메타 데이터를 기반으로 API 문서를 자동으로 생성합니다. 이로써 개발자는 API에 대한 문서를 수동으로 작성할 필요가 없으며, API가 변경될 때 문서를 업데이트하는 작업이 줄어듭니다.
- UI: Swagger UI를 통해 생성된 문서를 시각적으로 확인할 수 있습니다. 이 UI는 사용자 친화적이며 API 엔드포인트를 테스트하고 호출할 수 있는 기능을 제공합니다.
- 보안 및 인증 통합: Swagger를 사용하여 API에 보안 및 인증 기능을 추가할 수 있습니다. API 엔드포인트에 대한 액세스 권한 및 인증 메커니즘을 문서화하고 구현할 수 있습니다.
사용 방법
const config = new DocumentBuilder()
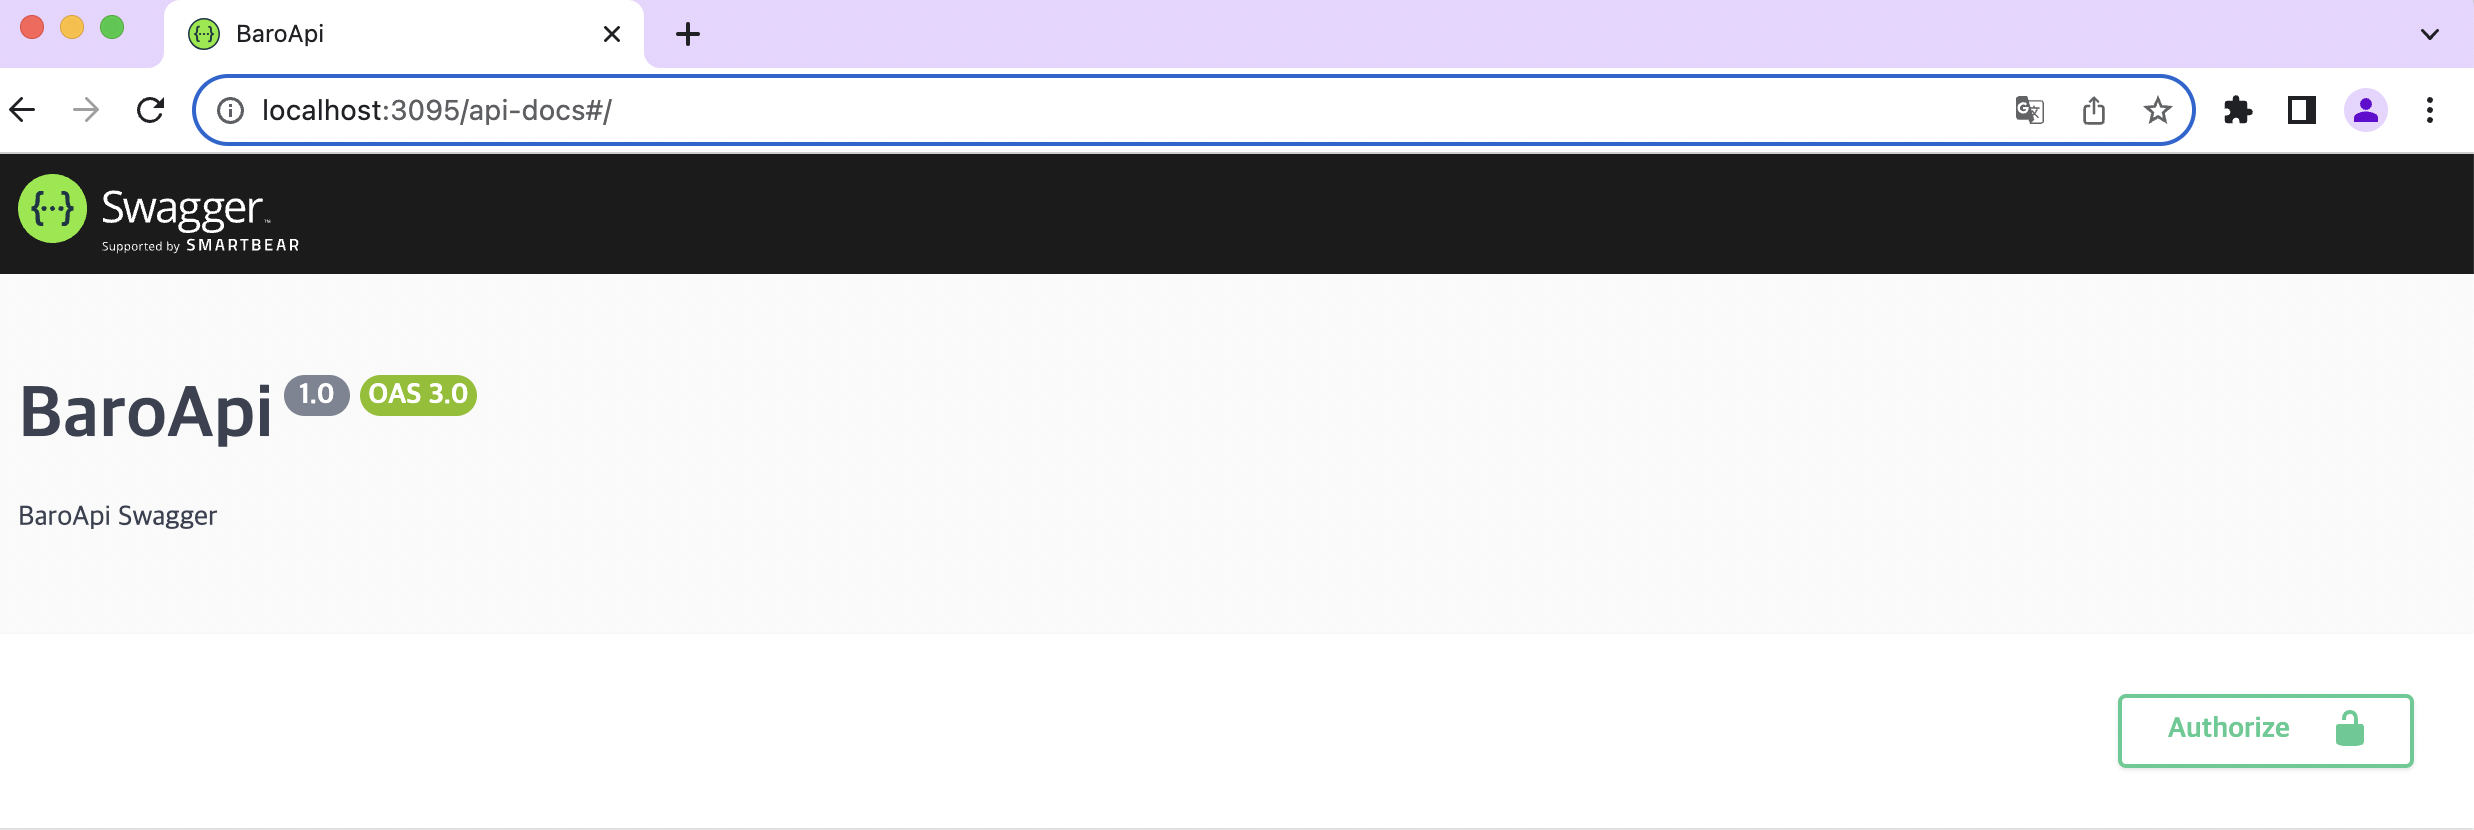
.setTitle('BaroApi')
.setDescription('BaroApi Swagger')
.setVersion('1.0')
.addApiKey(
{
type:'apiKey',
name:'x-access-token',
in:'header'
},
'x-access-token'
)
.build();
const document = SwaggerModule.createDocument(app, config);
SwaggerModule.setup('api-docs', app, document,{
customSiteTitle:'BaroApi'
});- setTitle, setDescription ,setVersion
아래 사진의 버전 및 설명을 세팅할 수 있다. - addApiKey
jwtToken 을 헤더에 x-access-token 을 검사하기위해서 셋팅 해줍니다. - setup(url,app,document,option)
swagger ui를 보여줄 url ,option을통하여 favicon,title등 을 세팅 할 수 있다.
Swagger 함수
@ApiOperation,@ApiTags

- ApiTags
Ex)
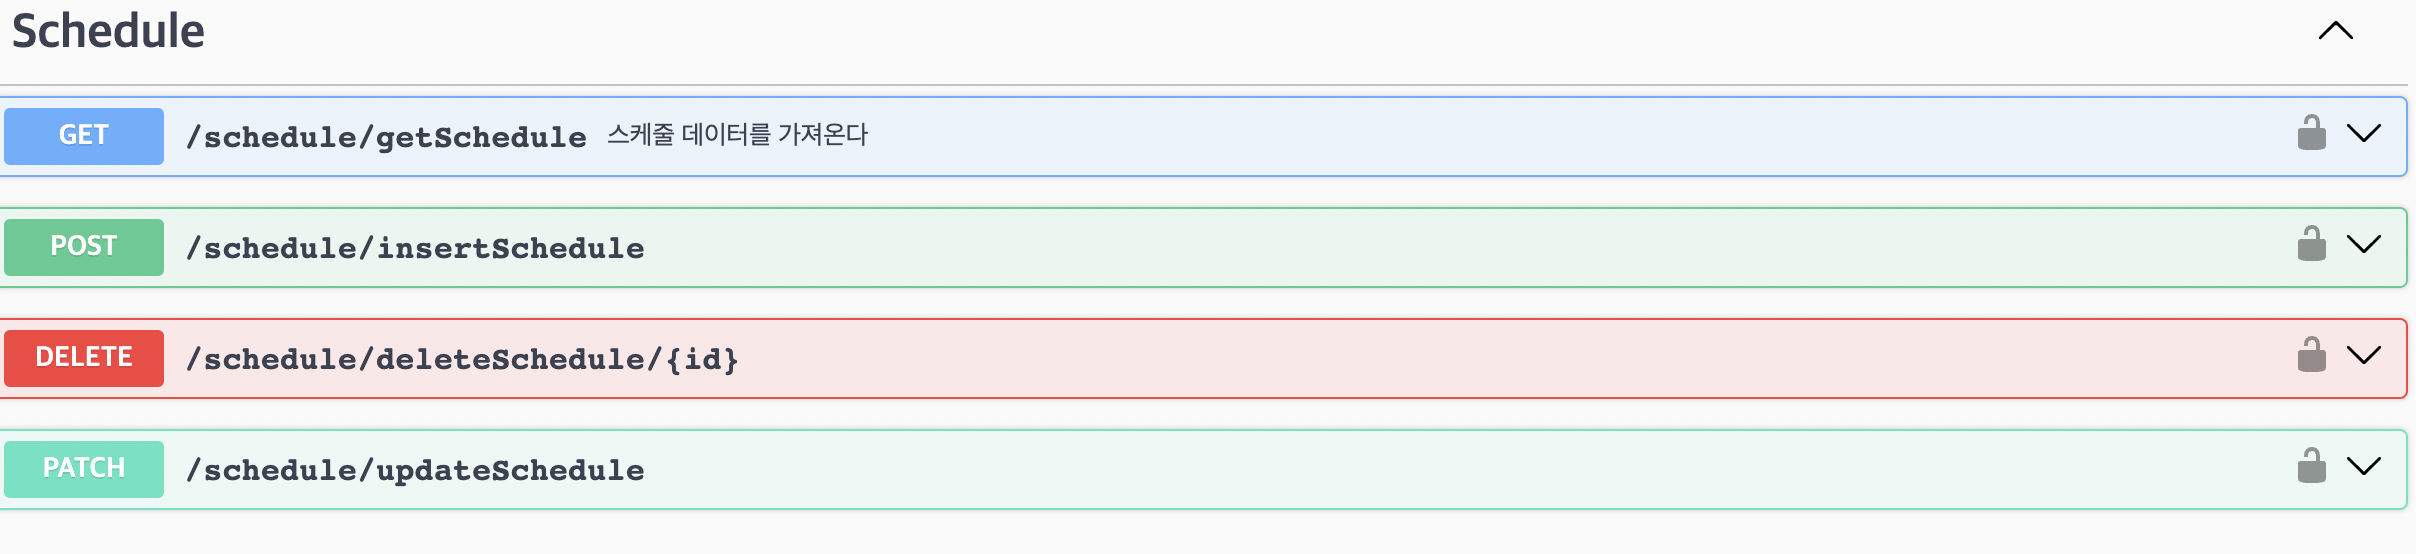
@ApiTags('Schedule')Api의 태그를 붙혀 한페이지,한컨트롤러의 정보를 묶어 쉽게 볼 수 있습니다.
- ApiOperation
Ex)
@ApiOperation({ summary:'스케줄 데이터를 가져온다' })
ApiOperation 함수 사용시 api의 용도및 설명을 적어 표시 할 수 있다.
@ApiSecurity
- ApiSecurity
@ApiSecurity('x-access-token')Api에 보안을 걸어 예시와 같이 x-access-token을 검사하여 x-access-token의 값이 있을시 api를 test해 볼 수 있습니다.
@ApiParam
- ApiParam
  @ApiParam({
        name:'day',
        description:'날짜',
        example:'2023-09-07'
}) 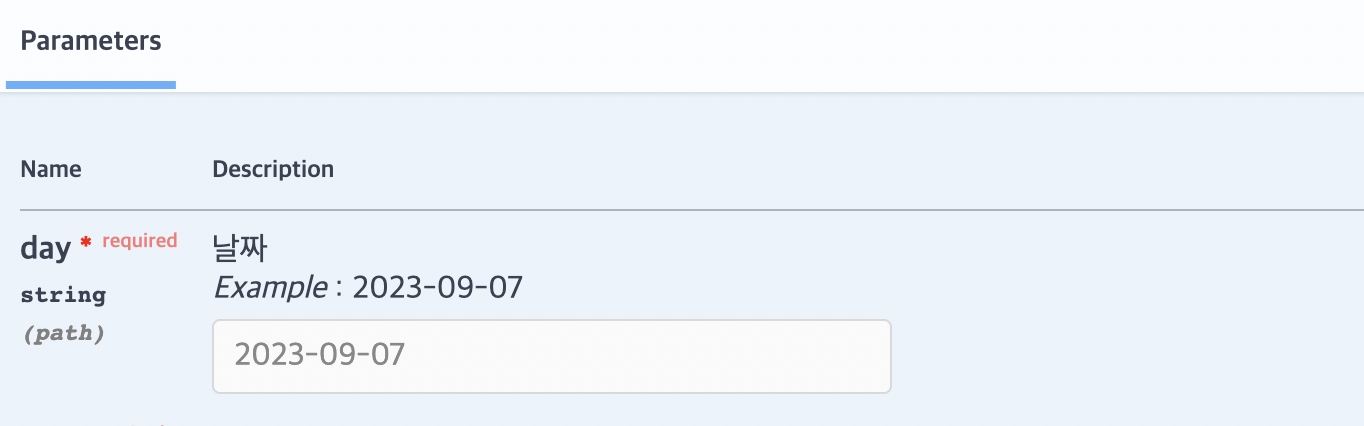
param의 이름 , 예시, 설명을 적어 Get에서 받을 값들을 정리 해 줄 수 있습니다.
Get('/:param/:param2') 같이 파라미터가 여러개일시 그갯수만큼 선언하여 다 정리 할 수 있습니다.
@ApiProperty
- ApiProperty
export class ScheduleDto {
  @ApiProperty({
    example:'08:30',
    description:'시작시간(HH:mm) 형식'
  })
  @IsString()
  start_time: string;
 }
dto나 entity에서 주로 선언 하며 위에 쓰인 param과 비슷하게 칼럼에 대한 정보를 설정 할 수 있습니다.
@ApiUnauthorizedResponse,@ApiOkResponse,@ApiForbiddenResponse
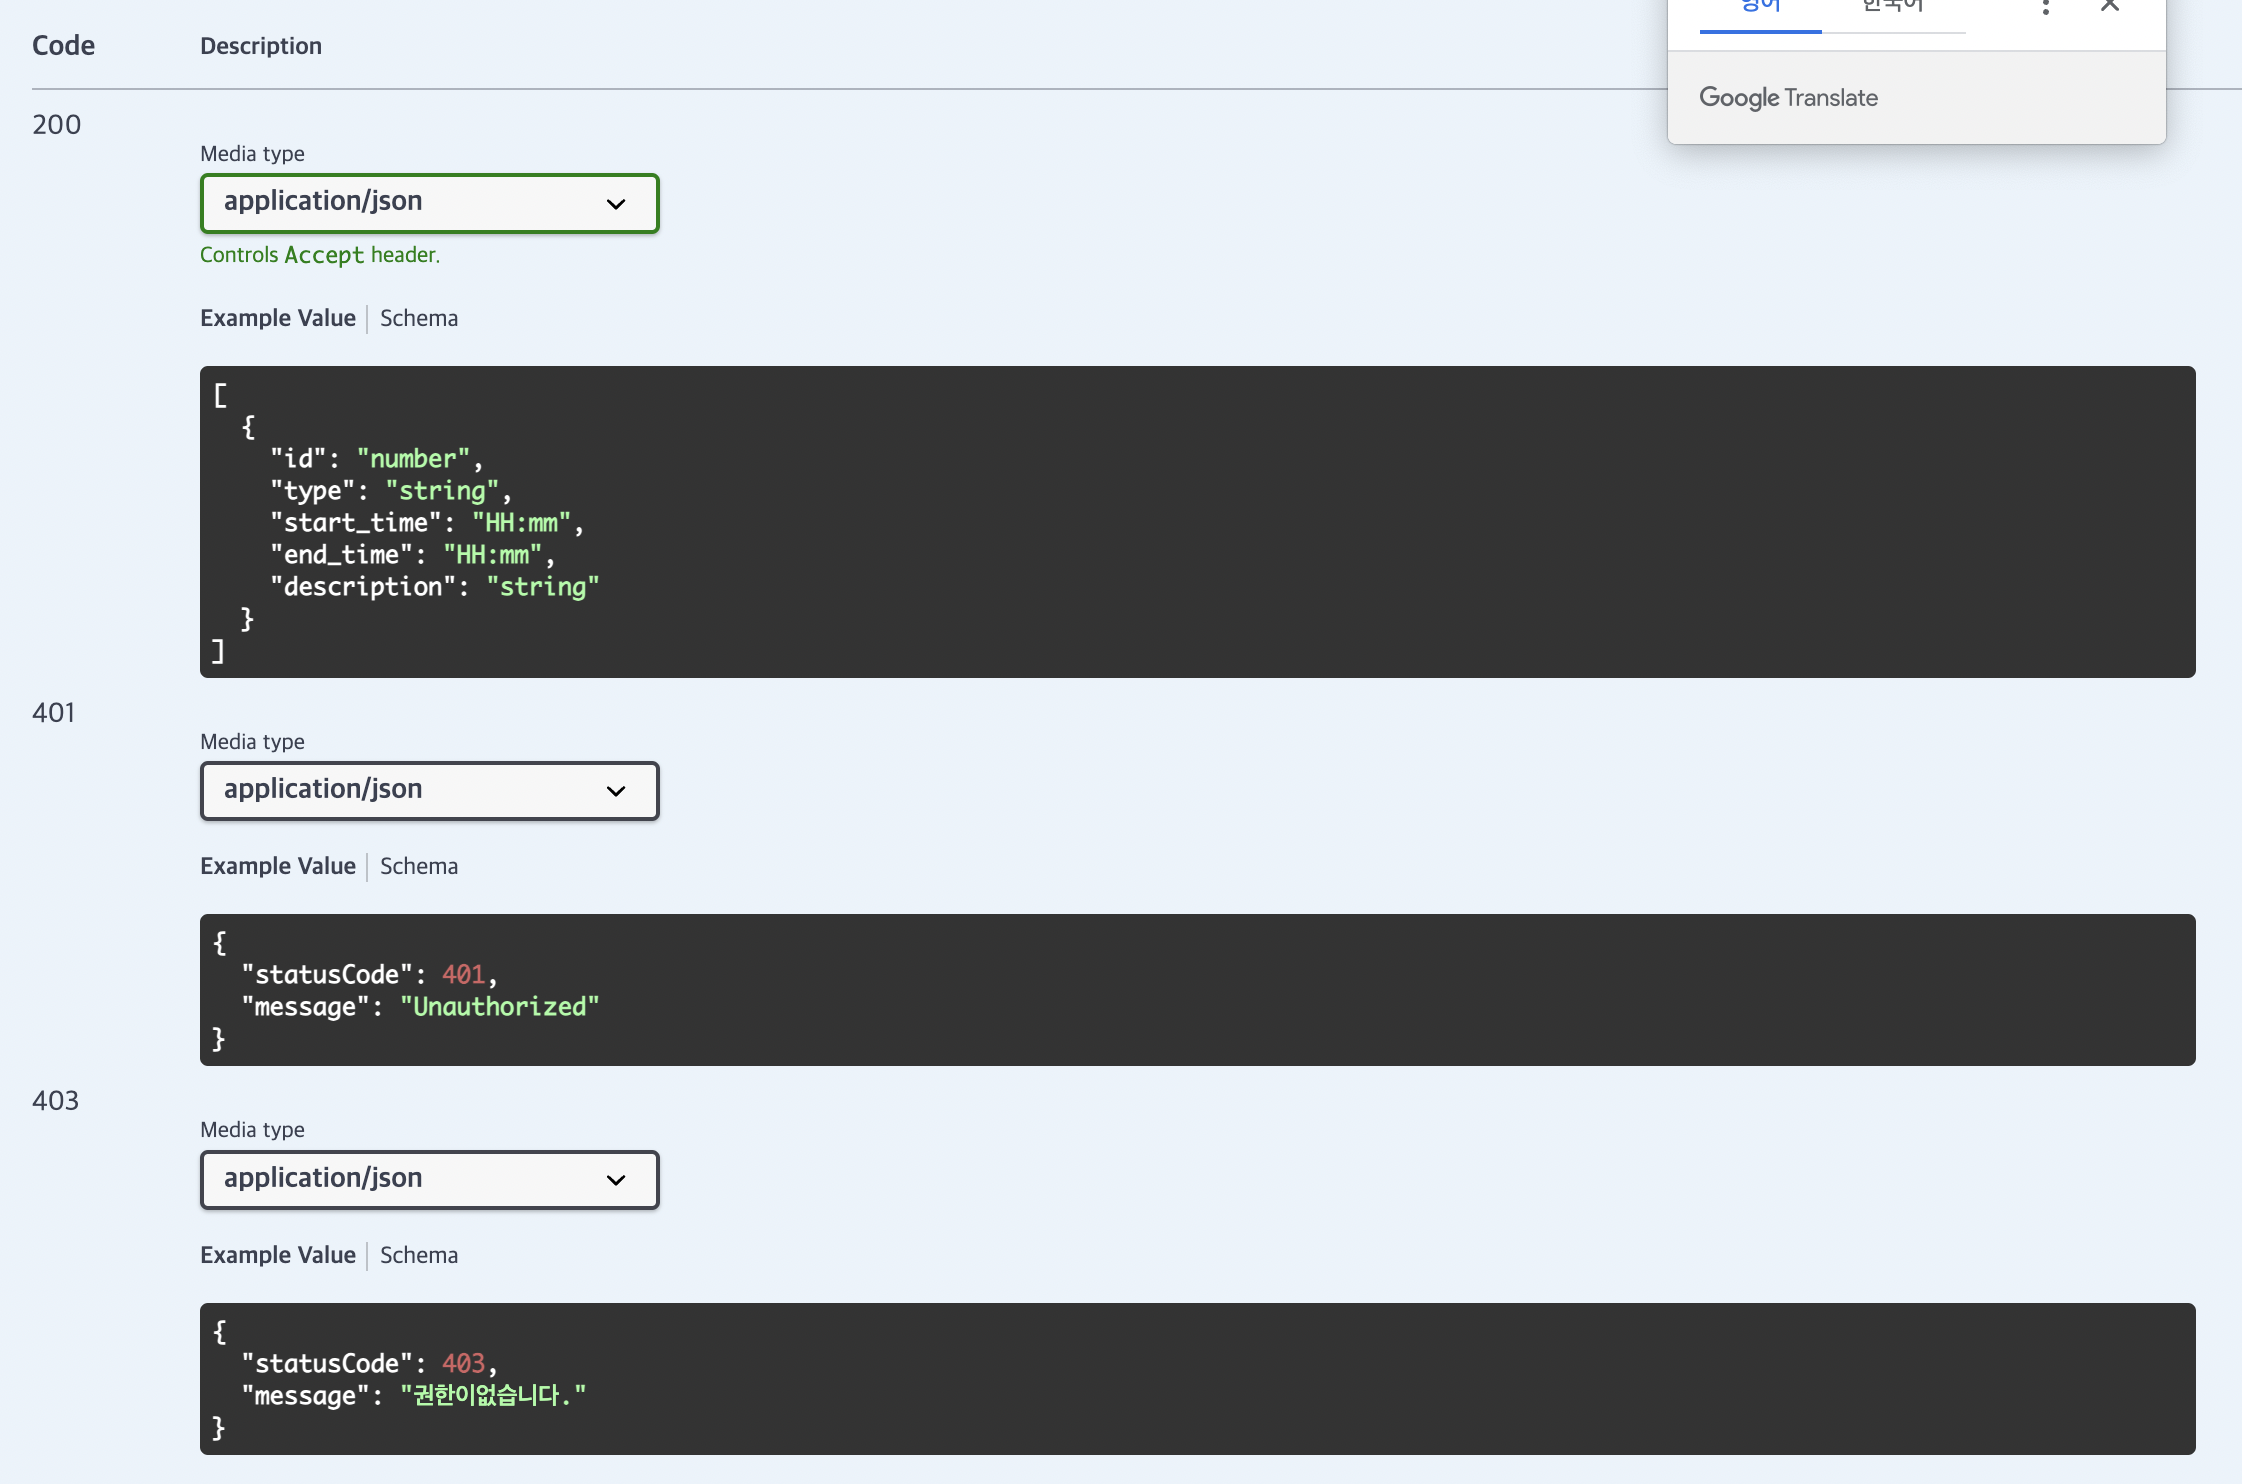
    @ApiUnauthorizedResponse({
        schema:{
            example:{
                statusCode:401,
                message:'Unauthorized'
            }
        }
    })
    @ApiOkResponse({
        schema:{
            example:[{
                id:'number',
                type:'string',
                start_time:'HH:mm',
                end_time:'HH:mm',
                description:'string'
            }]
        }
    })
    @ApiForbiddenResponse({
        schema:{
            example:{
                statusCode:403,
                message:'권한이없습니다.'
            }
        }
    })
리스폰스를 정의하는 함수로 쓰이는 방법은 비슷합니다. api의 특정 상황에 따른 statuscode와 message를 정의 할 수 있습니다.
후기
Api 를 문서화하여 협업을 하거나 인수인계시 깔끔한 ui와 정보들을 쉽게 확인하고 테스트 할 수 있고 코드로 관리하여 한번에 작업 할 수 있어 참 편리 했던것 같습니다.
참조

주니어 백엔드 개발자 공부 정리