시작하며 🌈
저는 이 프로젝트를 하면서, 한 가지 불만이 있었어요.
- 아무래도 제가 사용하는
api가 곧 멘토님께서 닫힌다지만, 악의적인 사용자에게 유출되어 잠시나마 다운이 된다면? - 혹시 제가 여유가 되어 나중에 로그인을 구현할 때, 비밀번호가 유출된다면?
결국, 중요한 변수 및 상수들은 역시 은닉화 해야 하지요.
그래서 저는 정~말 모르는 나중을 위해 dotenv-webpack을 이용하여 구현했습니다.
아니, 왜
dotenv는 안썼어?!
사실 이 걸로 써보고 싶기는 했는데, 제가 워낙 새로운 거에 호기심이 생겨서 말이죠. 하하...! 😅
그래서, 시작해봅니다. dotenv 설정하기!
본론 📃
솔직히 본론이라고 하기도 민망할 정도로?! 간단합니다.
저의 경우 일단 혹시나 모를 미래를 위해 나중에 바꾸기 쉬운 용도로 사용한다에 초점을 둡니다. 따라서, 나중에 서버를 연동했을 때, 환경변수가 중복되지 않기 위해 다음과 같이 설정해주었어요.
아! 혹시나 예전 프로젝트 글을 보시지 않은 분들을 위해 말씀 드리자면,
- 저는 자바스크립트 환경에서 구현했으며,
type: module을 썼기에commonJS를 위해 불가피하게cjs로 썼습니다!
webpack.config.cjs
매우 간단합니다. plugins에 new Dotenv를 추가해주세요. 만약 저처럼 여러 환경 변수를 고려하지 않는다면
- 앞의 화살표 함수 지우시고!
path: [파일이름].env를 넣어주시면 됩니다!!
이는
dotenv는 해당되지 않는 사항이며,dotenv의 경우 별도의 방식인dotenv.config()로 요리조리 처리할 수 있는 듯 합니다!
const path = require('path');
const HtmlPlugin = require('html-webpack-plugin');
const { CleanWebpackPlugin } = require('clean-webpack-plugin');
const MiniCssExtractPlugin = require('mini-css-extract-plugin');
const Dotenv = require('dotenv-webpack');

module.exports = env => ({
  entry: ['@babel/polyfill', './src/index.js', './src/sass/main.scss'],
  output: {
    path: path.resolve(__dirname, 'dist'),
    filename: 'bundle.js',
  },
  devServer: {
    static: './dist',
    hot: true,
  },
  module: {
    rules: [
      {
        test: /\.js$/,
        include: [path.resolve(__dirname, 'src')],
        exclude: /node_modules/,
        use: {
          loader: 'babel-loader',
          options: {
            presets: ['@babel/preset-env'],
            plugins: ['@babel/plugin-proposal-class-properties'],
          },
        },
      },
      {
        test: /\.png$/, // .png 확장자로 마치는 모든 파일
        loader: 'file-loader',
        options: {
          publicPath: './dist/', // prefix를 아웃풋 경로로 지정
          name: '[name].[ext]?[hash]', // 파일명 형식
        },
      },
      {
        test: /\.png$/,
        use: {
          loader: 'url-loader', // url 로더를 설정한다
          options: {
            publicPath: './dist/', // file-loader와 동일
            name: '[name].[ext]?[hash]', // file-loader와 동일
            limit: 10000, // 10kb 미만 파일만 data url로 처리
          },
        },
      },
      {
        test: /\.s?css$/,
        use: [
          'style-loader', // creates style nodes from JS strings
          'css-loader', // translates CSS into CommonJS
          'sass-loader', // compiles Sass to CSS, using Node Sass by default
        ],
        exclude: /node_modules/,
      },
    ],
  },
  plugins: [
    new Dotenv({
      path: `${env.client ? 'client' : 'server'}.env`,
    }),
    new HtmlPlugin({
      template: './index.html',
      hash: true,
    }),
    new CleanWebpackPlugin(),
    new MiniCssExtractPlugin({ filename: 'css/style.css' }),
  ],
  devtool: 'source-map',
  mode: 'development',
});
특이한 사항들이 좀 바뀌었어요!
바로 env라는 매개변수를 받는 건데요, 이 과정을 좀 더 살펴볼게요.
package.json
저는 지금 dev:client를 scripts에 추가했는데요, 여기서 유의할 게 있어요!
"dev:client": "... --env client"여기서 --env라는 옵션이 있는지는 모르겠지만, 항간에 의하면 webpack 4부터 이를 설정할 수 있다고 하는데요.
저의 경우 현재 webpack이 5.51인데, --env 이후의 값을 도저히 못 찾겠더라구요.
다만, 저렇게 env라는 매개변수를 webpack.config.cjs에 넣으면, env에는 [--env 이후의 값]: boolean형태로 남아 있는 것을 확인하여, 다음과 같이 삼항 연산자로 쓸 수 있었답니다.
🚒 만약 이 버전에서 찾으신 분이 있으시다면, 비법을 공유해주세요!
{
  "type": "module",
  "name": "no-hesitation",
  "version": "1.0.0",
  "description": "",
  "main": "index.js",
  "dependencies": {
    "@babel/polyfill": "^7.12.1",
    "normalize.css": "^8.0.1"
  },
  "devDependencies": {
    "@babel/cli": "^7.14.8",
    "@babel/core": "^7.15.0",
    "@babel/plugin-proposal-class-properties": "^7.14.5",
    "@babel/preset-env": "^7.15.0",
    "babel-eslint": "^10.1.0",
    "babel-loader": "^8.2.2",
    "clean-webpack-plugin": "^4.0.0-alpha.0",
    "css-loader": "^6.2.0",
    "dotenv": "^10.0.0",
    "dotenv-webpack": "^7.0.3",
    "eslint": "^7.32.0",
    "eslint-config-prettier": "^8.3.0",
    "eslint-plugin-prettier": "^3.4.1",
    "file-loader": "^6.2.0",
    "html-webpack-plugin": "^5.3.2",
    "mini-css-extract-plugin": "^2.2.1",
    "node-sass": "^6.0.1",
    "prettier": "^2.3.2",
    "sass-loader": "^12.1.0",
    "style-loader": "^3.2.1",
    "url-loader": "^4.1.1",
    "webpack": "^5.51.1",
    "webpack-cli": "^4.8.0",
    "webpack-dev-server": "^4.1.0"
  },
  "scripts": {
    "test": "echo \"Error: no test specified\" && exit 1",
    "lint": "eslint src",
    "lint:fix": "eslint src --fix",
    "dev:client": "webpack-dev-server --mode development --env client",
    "build": "webpack --mode production"
  },
  "repository": {
    "type": "git",
    "url": "git+https://github.com/JengYoung/No-Hesitation.git"
  },
  "keywords": [],
  "author": "",
  "license": "ISC",
  "bugs": {
    "url": "https://github.com/JengYoung/No-Hesitation/issues"
  },
  "homepage": "https://github.com/JengYoung/No-Hesitation#readme"
}
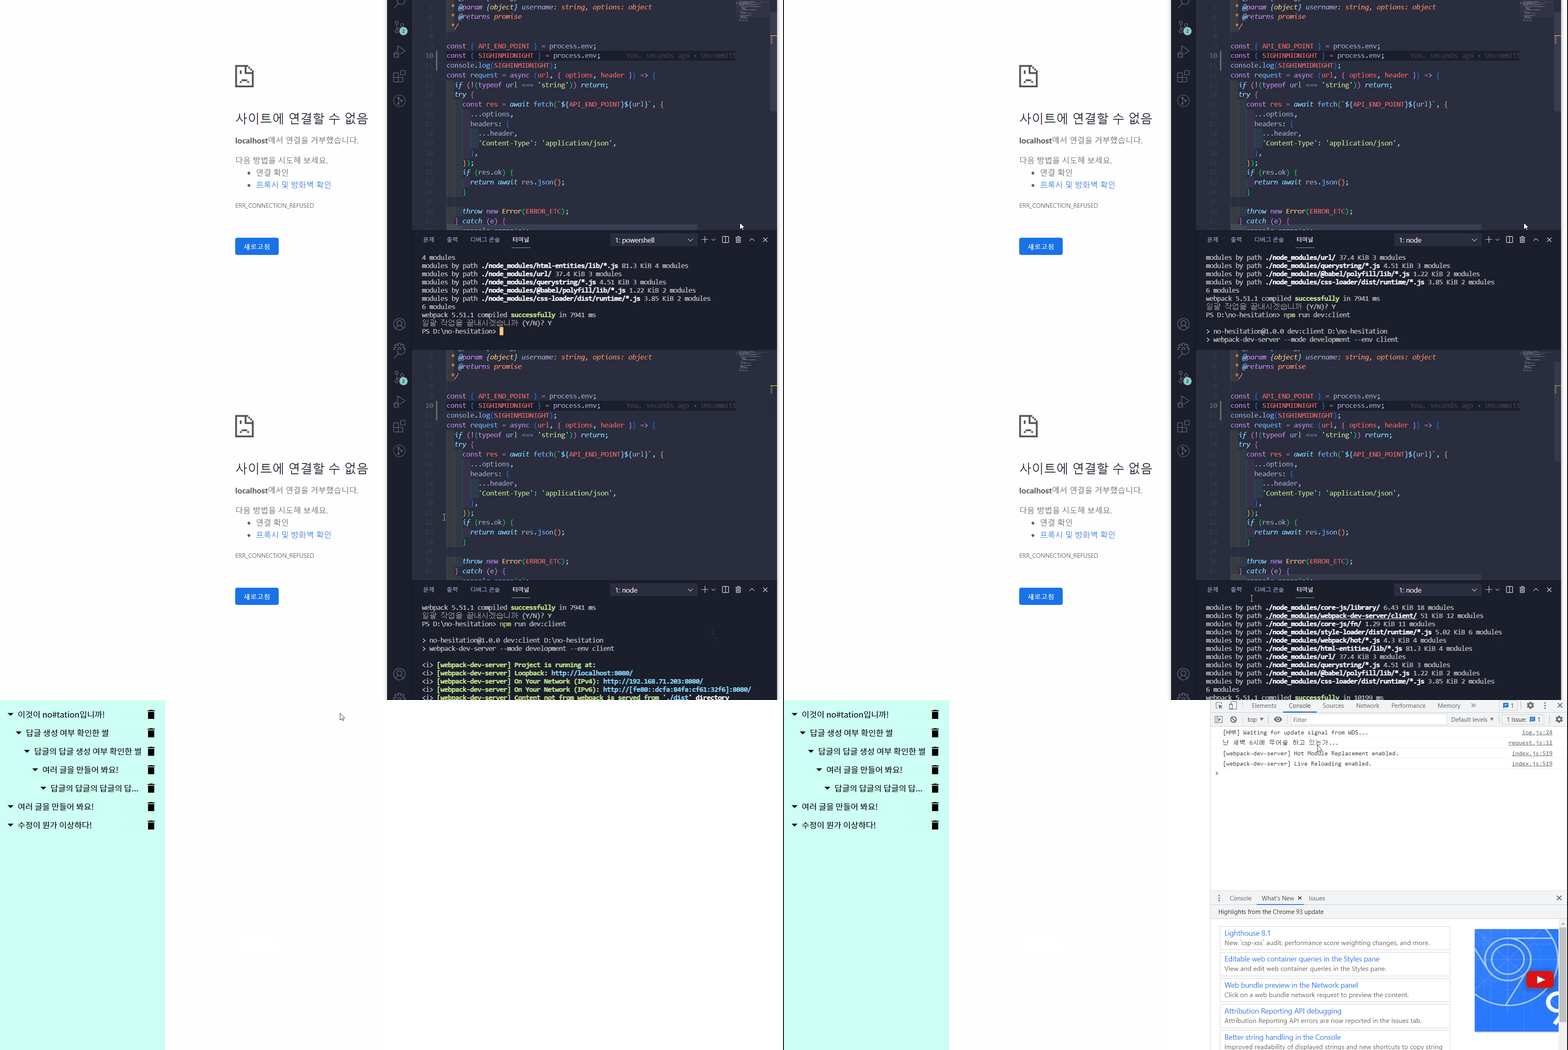
잘 되나 볼까요?!
네! 한숨을 잘 쉬는군요?! 😂😂😂
마치며🌈
결국 환경변수도 잘 세팅했어요!
이제 프로젝트는 내일 끝내기를 목표로 하였음에도 본격적으로 돌입합니다?!😂
그래도, 결국 크게 보면, 이게 훨씬 많이 도움이 됐어요.
저는 이제 혼자서도 번들을 잘 할 수 있겠다는 자신감을 얻었기 때문이죠!
그럼 이제 다음엔, 재귀함수로 구현한 노드에 토글 기능을 구현하는 것을 살펴볼게요!
제 글 읽어주셔서 감사드리며, 날카로운 비판은 환영합니다!😝
.jpg)