🚨 해당 레포는 pnpm과 next.js + typescript프로젝트를 기반해서 작성한 내용입니다.
모노레포의 개념?
모노레포의 개념은 이전 포스팅을 참고하면 됩니다.
프로젝트 구성
먼저 폴더를 생성하고, pnpm 을 설치해줍니다.
$ mkdir [folder name]
$ cd [folder name]
$ pnpm init
그러면 다음과 같은 package.json이 생성될 것 입니다.
{
  "name": "monorepo",
  "version": "1.0.0",
  "description": "",
  "main": "index.js",
  "scripts": {
    "test": "echo \"Error: no test specified\" && exit 1"
  },
  "keywords": [],
  "author": "",
  "license": "ISC"
}
프로젝트 구조
저는 아래와 같이 프로젝트 구조를 구성하였습니다.
├──packages (공유 파일)
	├── shared
	├── types
	└── api
├──apps (서비스)
	├── client
	└── admin
그리고 프로젝트 구조에 따라 package들을 pnpm-workspace.yaml에 명시해주어야 합니다.
// pnpm-workspace.yaml
packages:
  - "apps/*"
  - "packages/*"
자 이제 본격적으로 세팅을 시작해보겠습니다. 프로젝트 구조에 맞게 폴더부터 생성할게요.
mkdir packages
mkdir packages/shared
mkdir packages/types
mkdir packages/api

mkdir apps
mkdir apps/client
mkdir apps/admin
그런 다음 next 프로젝트를 생성하겠습니다.
pnpx create-next-app@latestdependency 세팅
root에 dependency를 설치하게 되면, 하위 packages에서 dependency를 설치하지 않아도 해당 dependency를 사용할 수 있습니다.
그래서 공통 dependecy라면 root에 설치하는게 좋습니다!
하지만 root에 dependency 설치 시 에러가 발생합니다.
$ pnpm install [dependency name]

ERR_PNPM_ADDING_TO_ROOT  Running this command will add the dependency to the workspace root, which might not be what you want - if you really meant it, make it explicit by running this command again with the -w flag (or --workspace-root). If you don't want to see this warning anymore, you may set the ignore-workspace-root-check setting to true.
root에 실수로 dependecy를 추가하는 것을 방지하기 위해서 인데요. root에 dependecy를 설치한다는 것을 명시하기 위해선 -w 옵션을 사용하면 됩니다.
pnpm install [dependency name] -w명령어 세팅
workspace를 구성하였다면 각 해당 workspace에는 —filter 옵션을 사용해서 접근합니다.
pnpm --filter client dev 하지만 매번 filter 옵션을 사용하기 불편합니다. 그래서 root package.json에서 명령어를 지정할 수 있습니다.
"scripts": {
    "test": "echo \"Error: no test specified\" && exit 1",
    "api": "pnpm --filter api",
    "client": "pnpm --filter client",
    "admin": "pnpm --filter admin",
    "shared": "pnpm --filter shared"
},
pnpm client dev패키지 공유하기
A package와 B package를 공유하고 싶으시다면 해당 패키지를 설치해야합니다.
pnpm --filter [package A] add [package B] --workspace만약 내가 client 서비스에서 api package를 의존해야 한다!라면 아래 명령어처럼 입력하시면 됩니다.
두 package다 package.json이 기본 세팅이 되어있어야 설치가 가능합니다.
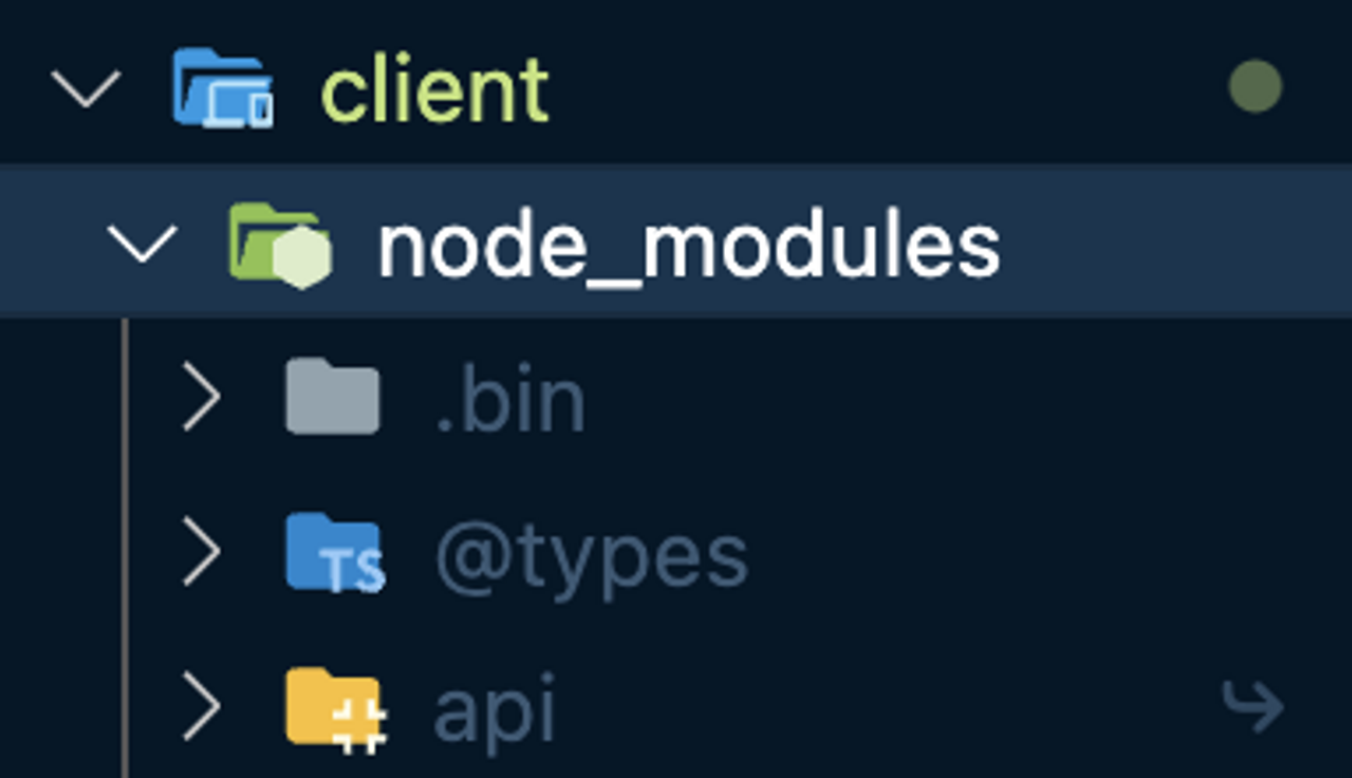
pnpm --filter client add api --workspace그러면 client/node_modules에 api package가 설치되어있는 걸 확인하실 수 있습니다.
이제 한번 shared에 공유 컴포넌트를 생성하고 client서비스에 불러오겠습니다.
🚨 'React' 이름을 찾을 수 없습니다….
shared workspace에 검포넌트를 생성하려고 하니 발생한 에러입니다. 해당 에러는 tsconfig 구성이 되어있지 않아서 발생한 것입니다. 그래서 아래와 같이 구성하여 해결하였습니다.
{
  "main": "index.ts",
  "compilerOptions": {
    "jsx": "preserve"
  },
  "include": ["**/*.ts", "**/*.tsx"],
  "exclude": ["node_modules"]
}
++ 만약 root에 설치한 dependecy를 찾지 못한다면 pnpm [workspace name] install을 시도해주세요.
다른 패키지에 있는 컴포넌트 불러오기
아래와 같이 shared workspace에서 button을 생성해주었습니다.
"use client";

import styled from "@emotion/styled";

const Button = () => {
  return <ButtonStyle>버튼입니다.</ButtonStyle>;
};

export const ButtonStyle = styled.button`
  width: 200px;
  height: 70px;
  border-radius: 20px;
  background-color: #7acdf4;
  color: #ffffff;
  border: 0;
  cursor: pointer;
`;

export default Button;
그런 다음 client에서 불러오려고 하면, 다음과 같이 shread에서 추가할 수 있습니다.

🚨 Module parse failed: Unexpected token
컴파일에선 문제가 없는 것 처럼 보이지만 런타임에서 에러가 발생합니다. 바로 웹펙 관련한 에러인데, 다른 패키지에 있는 파일을 불러오려고 할 때 로더가 설정되어 있지 않아서 발생한 것입니다.
common-styles 라는 패키지로 분리되기 전에는 next 내부에서 transpiling을 하였으나
common-styles 외부 패키지로 분리된 뒤로 따로 transpiling 하지 않아 발생하였다.
A 패키지의 next에서 common-styles 패키지를 로딩하기 위해서는 사전에 transpiling을 해줘야한다.
모노레포에서 NEXT.js 사용 시 Module parse failed: Unexpected token 에러 발생
해당 자료에는 next js에서 file을 로딩하기 전에 원하는 패키지를 사전에 transpiling 시켜주는 패키지를 추가해주면 된다. 라고 하여 next-compose-plugins 을 설치해주면 된다고 하였지만 플러그인 없이 해결하고 싶어 다른 자료를 찾아보았다.
여기 자료에서 강조하는 것이 transpiling이여서 next transpiling라는 키워드로 검색해보았습니다.
next 공식자료를 찾게되었고, next.config.js에 package를 추가하게 되면 자동 transpiling 해준다고 합니다.
++ 해당 기능은 next v13.0.0부터 지원합니다.
next.config.js Options: transpilePackages
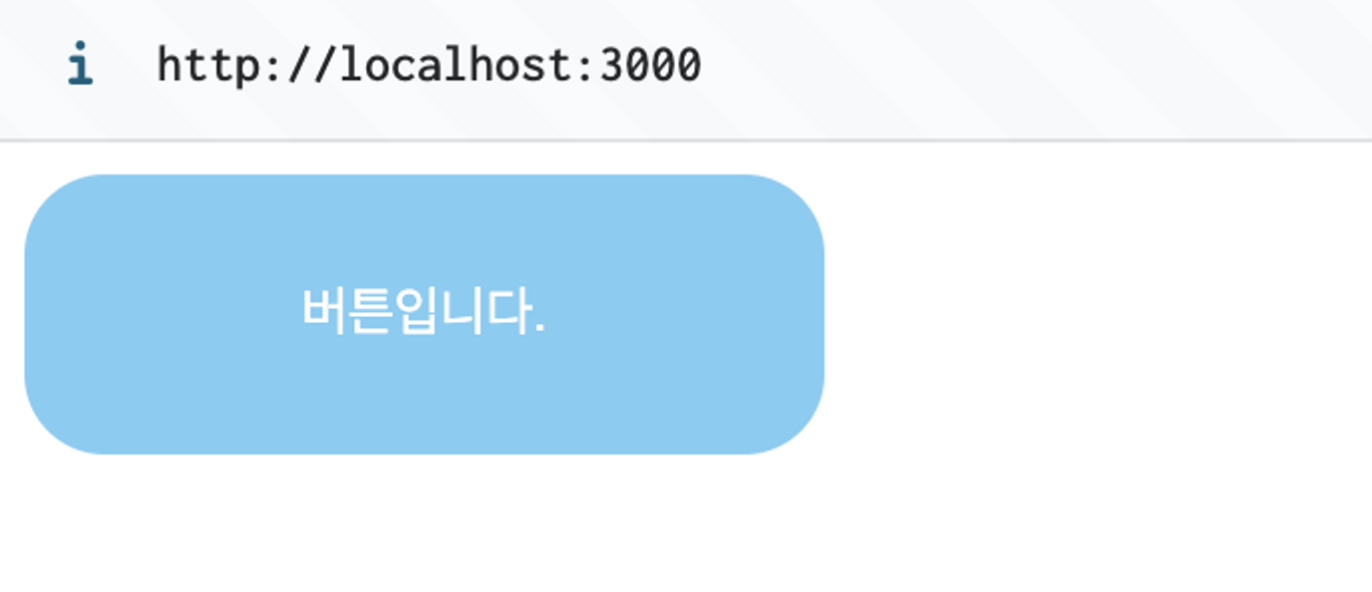
그래서 client workspace에 있는 next.config.js에 아래와 같이shared package를 추가해주었습니다.
/** @type {import('next').NextConfig} */
const nextConfig = { transpilePackages: ["shared"] };

module.exports = nextConfig;
그러면 이렇게 shared에 있는 컴포넌트를 client 서비스에서 불러올 수 있게됩니다!
마무리
이렇게 해서 모노레포 세팅을 마쳤는데요.
모노레포의 가장 중요한 점은 프로젝트 요구사항에 맞게 세팅을 유동적으로 해야하는 것입니다. 모노레포의 구조를 요구사항에 맞게 하지 않는다면, 모노레포가 오히려 독이 될수 있다는 말인데요. 어떻게 해야 프로젝트의 특징을 잘 살릴 수 있을지 고민해보시면 좋을 것 같습니다.
이 글이 도움이 되셨길 바라면서 긴 글 읽어주셔서 감사합니다!
References