Supabase
Supabase는 백엔드 기능을 제공하는 오픈 소스 Firebase 대안이다. Supabase는 다음과 같은 기능들을 제공해준다.
- A dedicated Postgres database.
- Auto-generated APIs.
- Auth and User management.
- Storage.
Supabase는 호스팅 플랫폼이다. 서버에 아무것도 설치할 필요 없이 바로 Supabase를 사용할 수 있다. 또한 로컬에서 무엇이든 호스팅하고 개발할 수 있다.
Prisma
Prisma는 차세대 Node.js와 TypeScript ORM이다. Prisma는 다음과 같은 기능들을 제공해준다.
- Prisma Client : Node.js와 Typescript를 위한 자동 생성과 안전한 타입 쿼리 빌더
- Prisma Migrate : 마이그레이션 시스템
- Prisma Studio : 데이터 베이스의 데이터를 보고 편집할 수 있는 GUI 편집기
Supabase 프로젝트를 Prisma로 관리하기
1. Create project
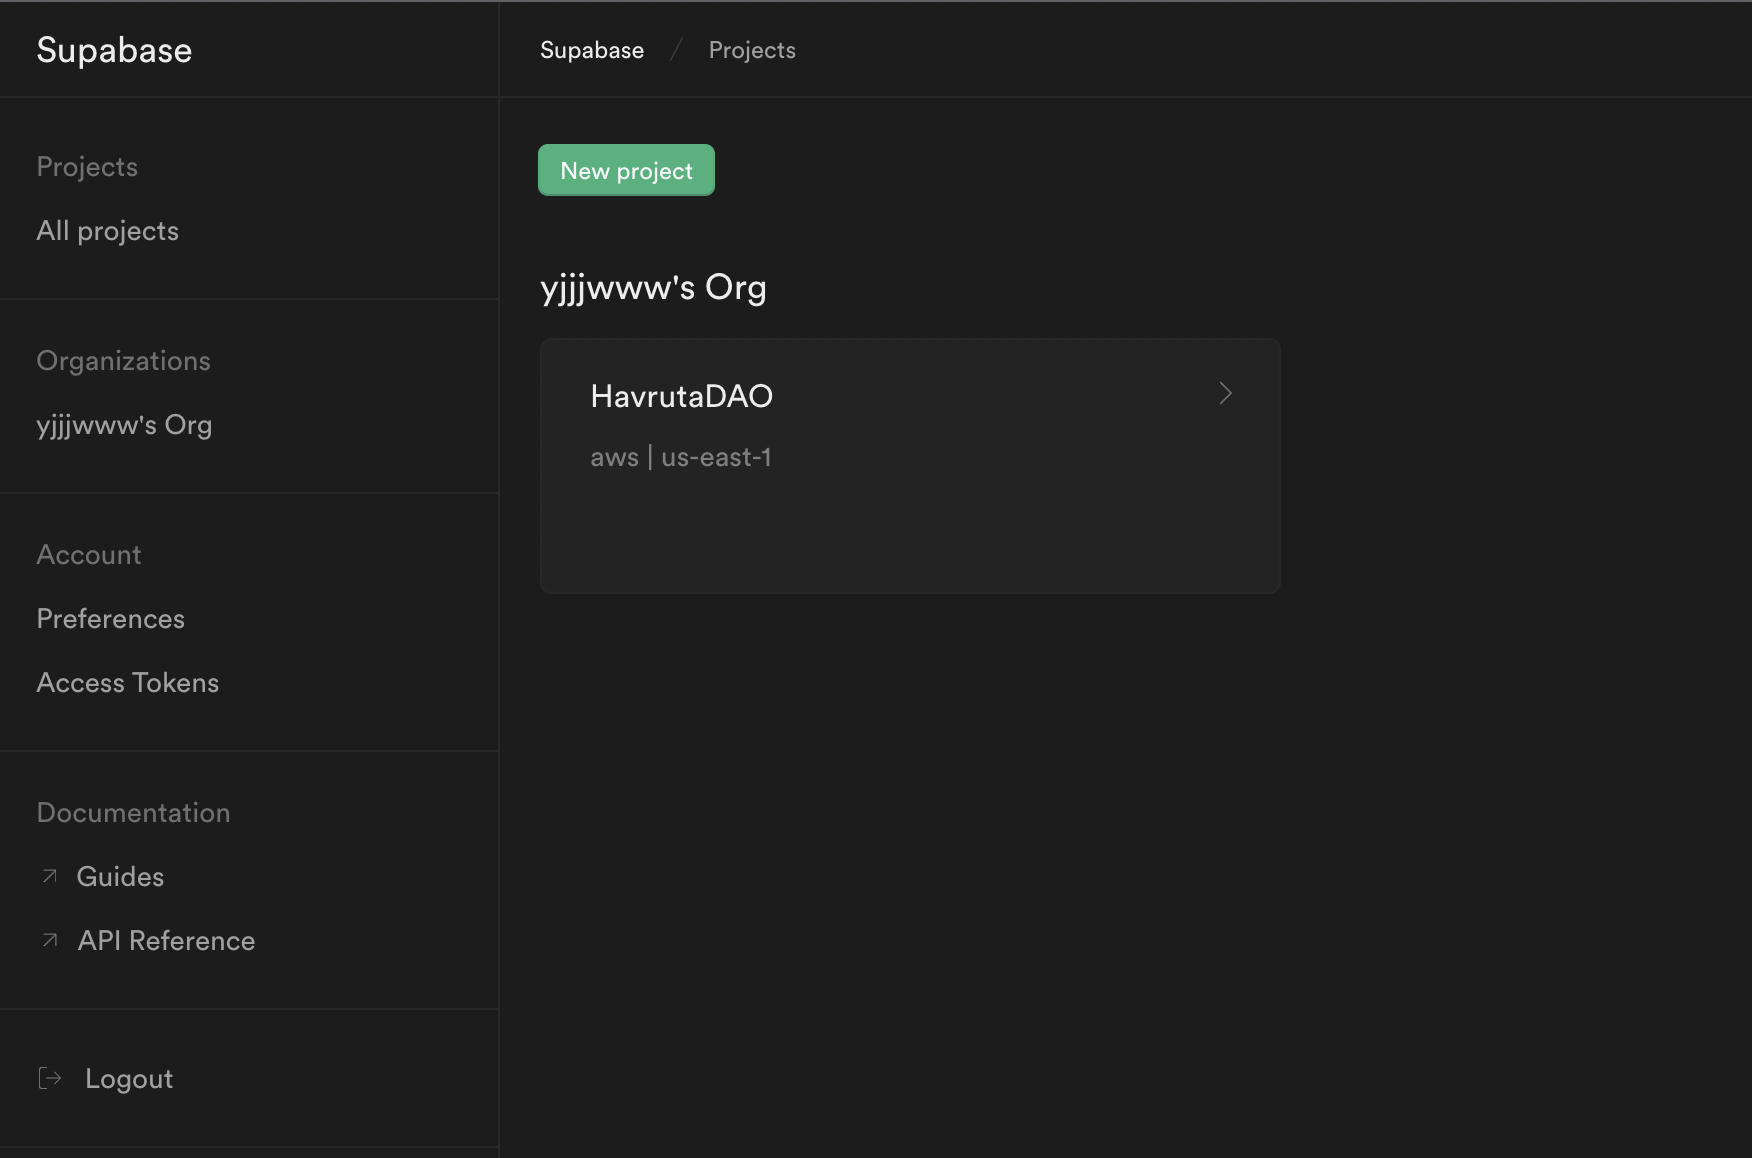
Supabase 사이트에서 New project 클릭
organization 선택 후 프로젝트 정보 입력, Create new project 클릭
2. Create Typescript project and set up Prisma
npm init -y
npm install prisma typescript ts-node @types/node --save-dev
touch tsconfig.json
tsconfig.json
{
  "compilerOptions": {
    "sourceMap": true,
    "outDir": "dist",
    "strict": true,
    "lib": ["esnext"],
    "esModuleInterop": true
  }
}
npx prisma
npx prisma init
이렇게 하면 prisma폴더와 .env파일이 생성된다.
3. Connect your database
.env 파일에서 DATABASE_URL 값을 넣어줘야한다.
Supabase에서 Settings > Database에 들어가면 Connection string이 존재한다. 여기서 URI값을 복사해주면 된다.

[YOUR-PASSWORD] 에는 Supabase project 비밀번호를 입력하면 된다.
4. Creating the database schema
prisma 폴더 안에 있는 schema.prisma 파일에 data model을 설정해준다.
ex)
model Post {
  id        Int      @id @default(autoincrement())
  createdAt DateTime @default(now())
  updatedAt DateTime @updatedAt
  title     String   @db.VarChar(255)
  content   String?
  published Boolean  @default(false)
  author    User     @relation(fields: [authorId], references: [id])
  authorId  Int
}

model Profile {
  id     Int     @id @default(autoincrement())
  bio    String?
  user   User    @relation(fields: [userId], references: [id])
  userId Int     @unique
}

model User {
  id      Int      @id @default(autoincrement())
  email   String   @unique
  name    String?
  posts   Post[]
  profile Profile?
}
5. Using Prisma Migrate
npx prisma migrate dev --name init
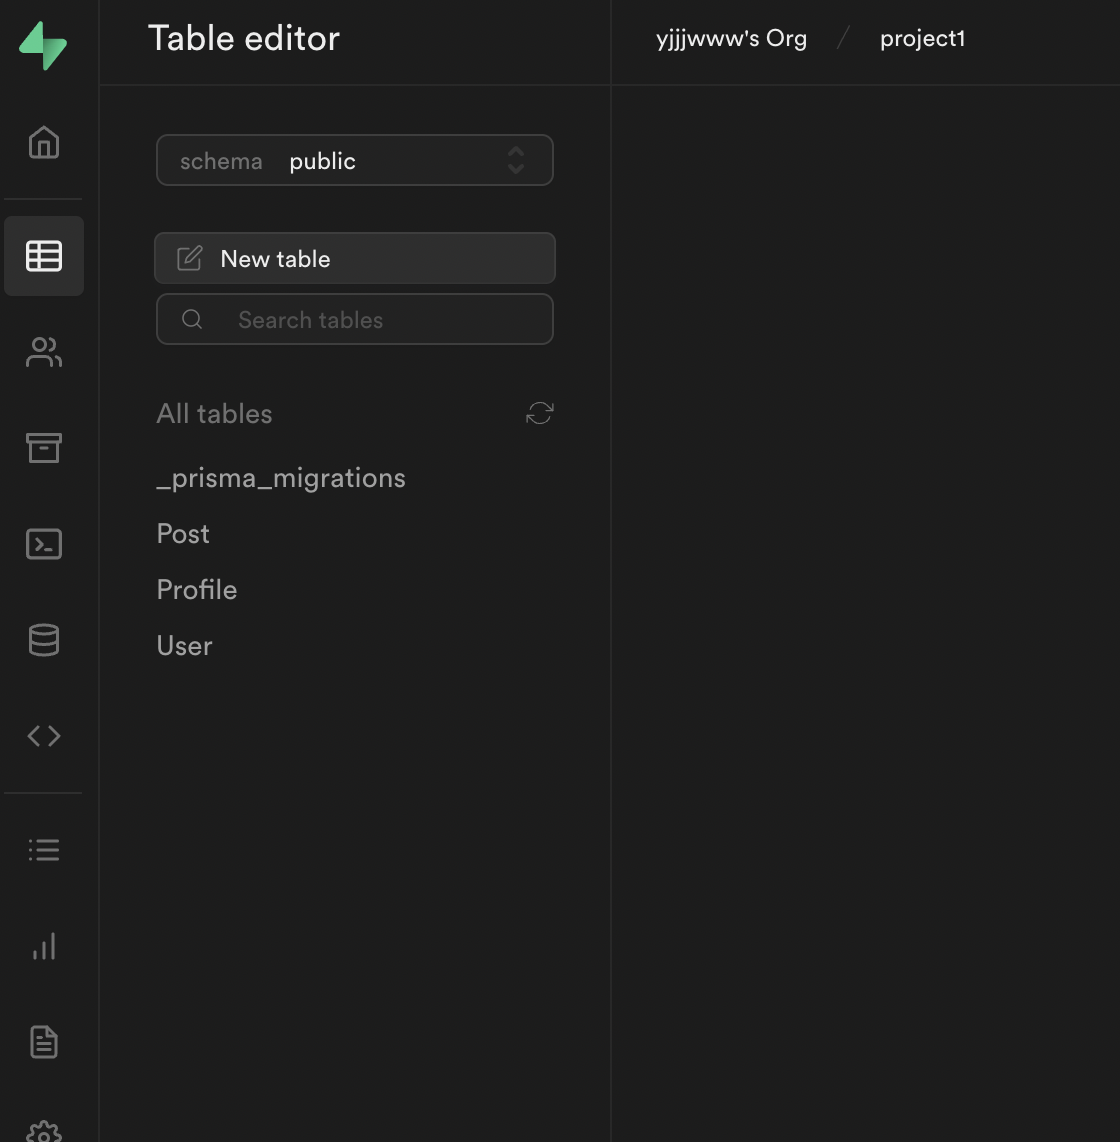
migration을 위한 새로운 SQL migration 파일을 생성하고 연결한 데이터베이스에 해당 파일을 적용한다.
Supabase에서 Table editor에 들어가보면 설정한 테이블들이 생성된 것을 볼 수 있다.
6. Querying the database
npm install @prisma/client
@prisma/client를 이용하여 데이터베이스를 관리할 수 있다.
ex)
touch index.ts
index.ts
import { PrismaClient } from "@prisma/client";

const prisma = new PrismaClient();

async function main() {
  const allUsers = await prisma.user.findMany();
  console.log(allUsers);
}

main()
  .then(async () => {
    await prisma.$disconnect();
  })
  .catch(async (e) => {
    console.error(e);
    await prisma.$disconnect();
    process.exit(1);
  });
npx ts-node index.ts
콘솔창에 [] 를 확인할 수 있다.
index.ts
import { PrismaClient } from "@prisma/client";

const prisma = new PrismaClient();

async function main() {
  await prisma.user.create({
    data: {
      name: "Alice",
      email: "alice@prisma.io",
      posts: {
        create: { title: "Hello World" },
      },
      profile: {
        create: { bio: "I like turtles" },
      },
    },
  });

  const allUsers = await prisma.user.findMany({
    include: {
      posts: true,
      profile: true,
    },
  });
  console.dir(allUsers, { depth: null });
}

main()
  .then(async () => {
    await prisma.$disconnect();
  })
  .catch(async (e) => {
    console.error(e);
    await prisma.$disconnect();
    process.exit(1);
  });
npx ts-node index.ts
결과는 다음과 같다.
[
{
id: 1,
email: 'alice@prisma.io',
name: 'Alice',
posts: [
{
id: 1,
createdAt: 2022-09-11T09:12:06.117Z,
updatedAt: 2022-09-11T09:12:06.118Z,
title: 'Hello World',
content: null,
published: false,
authorId: 1
}
],
profile: { id: 1, bio: 'I like turtles', userId: 1 }
}
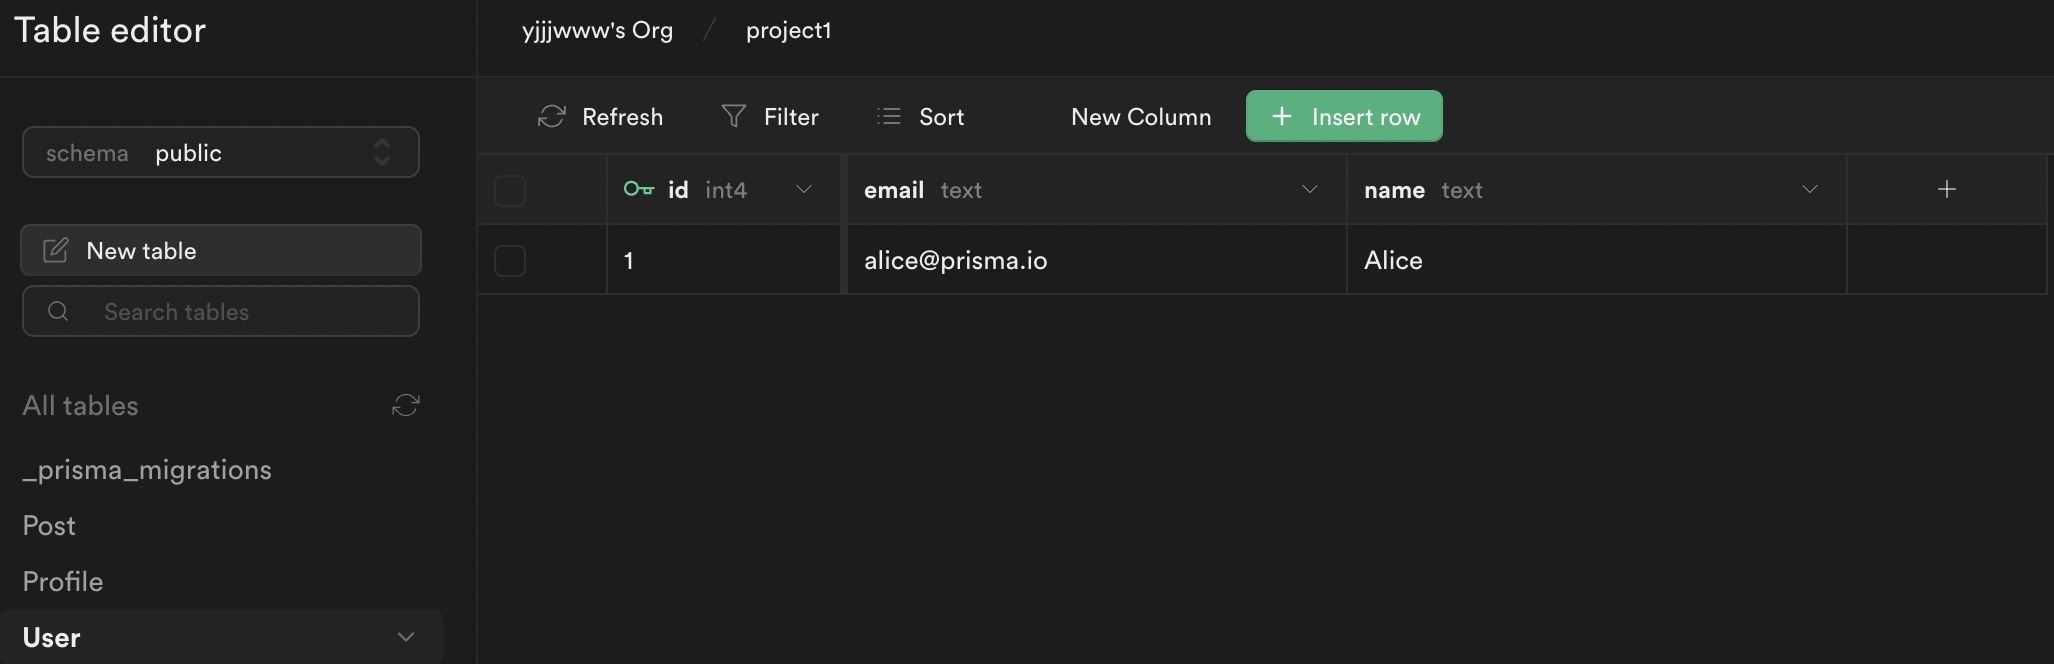
]Supabase에서도 데이터가 추가된 것을 확인할 수 있다.
이런식으로 Prisma Client API를 이용하여 데이터베이스를 관리할 수 있다.
[Prisma Client API] https://www.prisma.io/docs/concepts/components/prisma-client
