Spring Framework
JAVA ENTERPRISE APPLICATION 개발에 사용되는 자바플랫폼을 위한 오픈소스 어플리케이션 프레임워크이다.
특징
-
자바 객체를 담고 있는 경량 컨테이너 이다.
객체의 생성, 소멸과 같은 라이프 사이클을 관리하며 스프링으로 부터 필요한 객체를 얻어올 수 있다. -
POJO(Plain Old Java Object)ㄱ반의 개발
-
제어 반전(IoC - Inversion of Control)을 지원
컨트롤의 제어권이 사용자가 아니라 프레임워크에 있어서 필요에 따라 스프링에서 사용자 코드를 호출할 수 있다. -
★★의존성 주입 DI(Dependency Injection)을 wldnjs
설정파일을 통해서 객체간의 의존 관계를 설정할 수 있다. -
AOP(Aspect Oriented Programming)지원
oop를 사용하는 이유
결합도를 낮춘다..
중복이 안되게
-
트랜잭션 처리를 위하 방법 제공
-
부모는 인터페이스
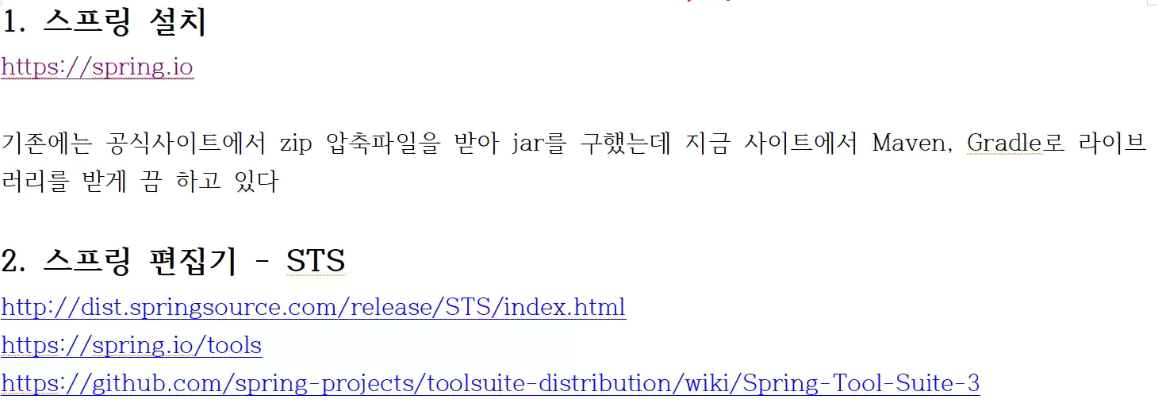
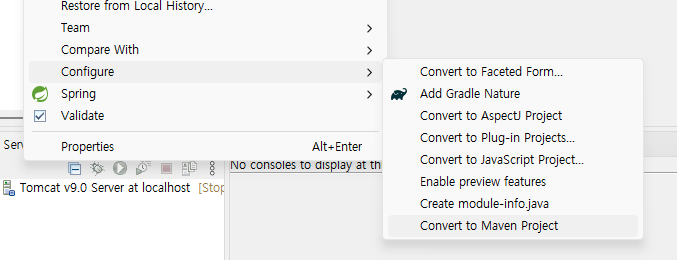
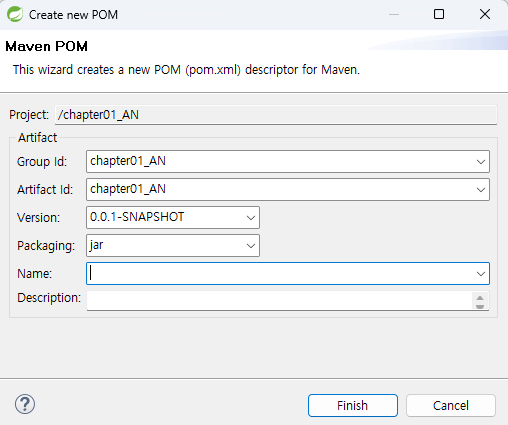
스프링은 Maven
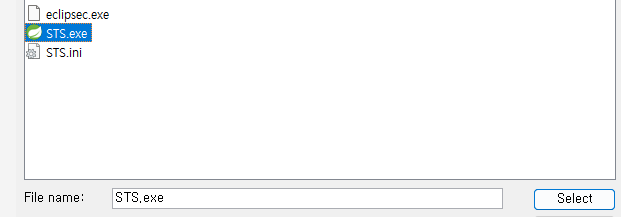
스프링 전용 편집기인 STS를 저기 중에 하나 들어가서 받으면 된다.
http://commons.apache.org/logging/download_logging.cgi
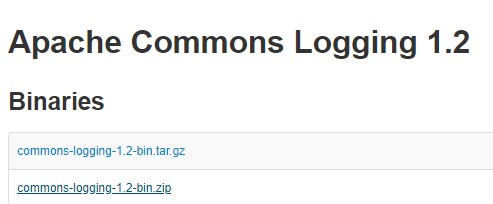
. zip 다운
Spring 안 lib에 다운받고 압축은 Spring(내가 만든)폴더에 생성

전용이라고 하네여,,

스프링 한글 설정
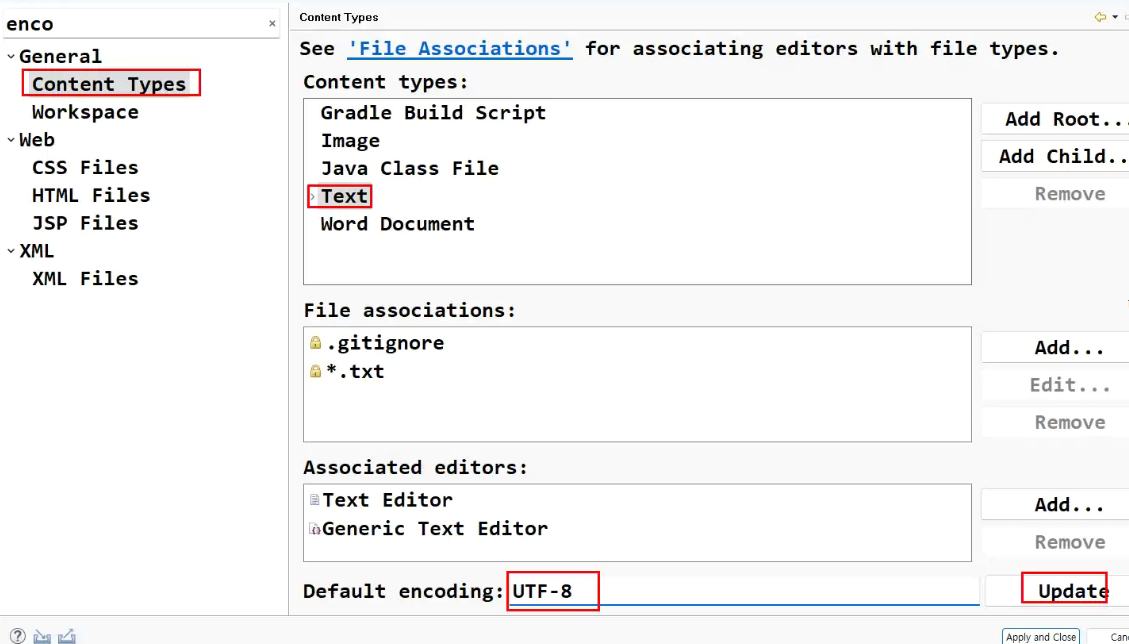
모든 것을 UTF-8로 바꿔줌
스프링 Tomcat 연결
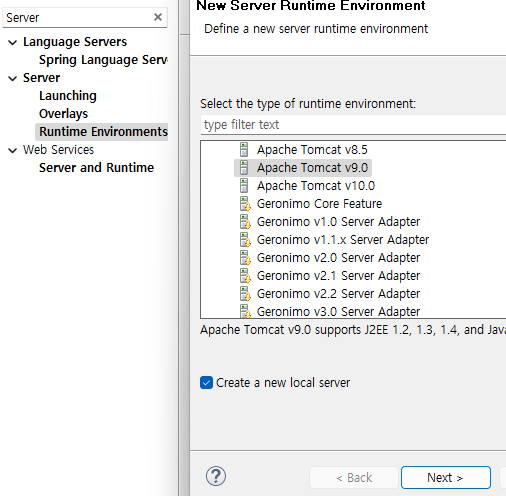

의미 없어 아무거나 눌러
스프링 lombok 연결
sts 끄고
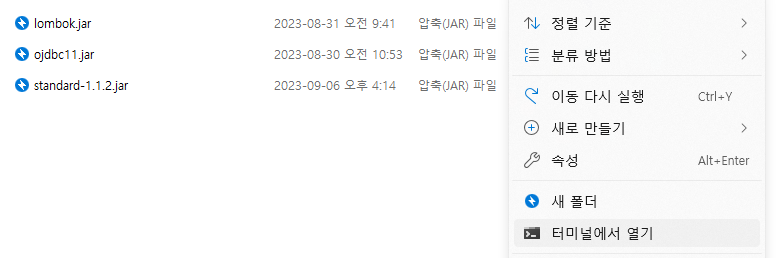
롬복 파일 있는 곳에서 터미널 열기
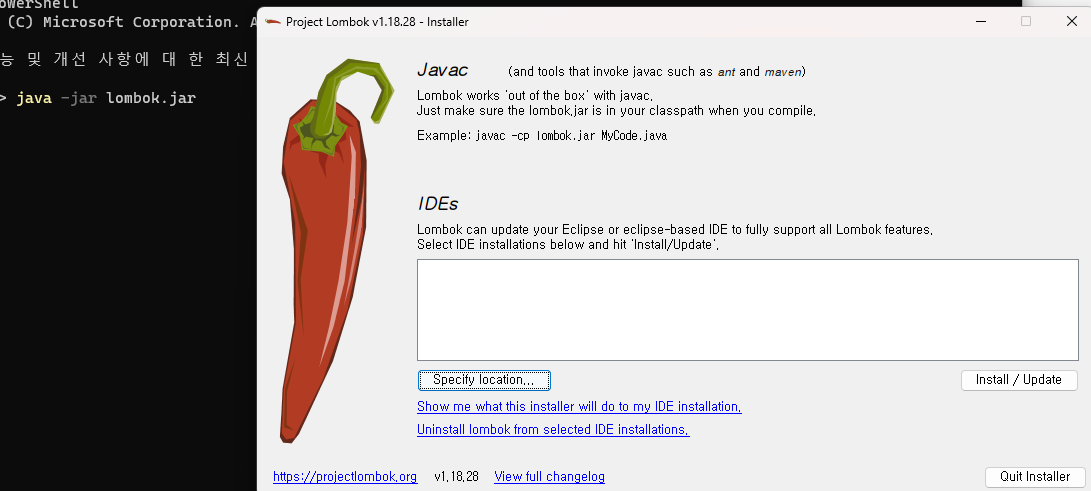
java -jar lombok.jar

설치된것 확인
나이스
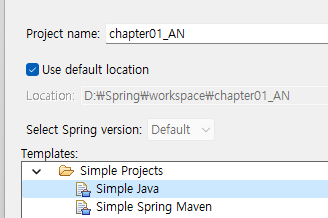
시작

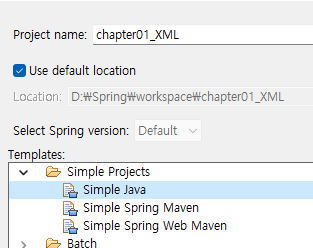
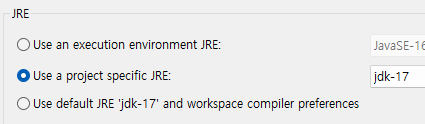
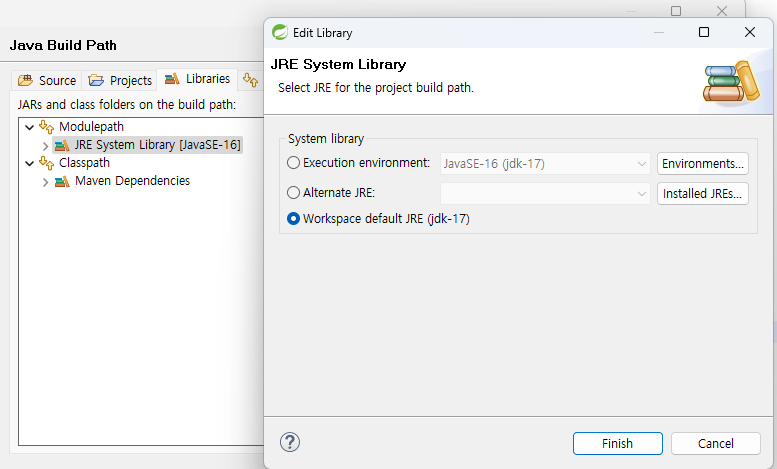
JDK-17로 쓸래~
finish -> module 나오면 만들지마~
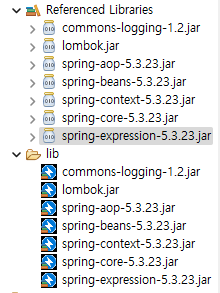
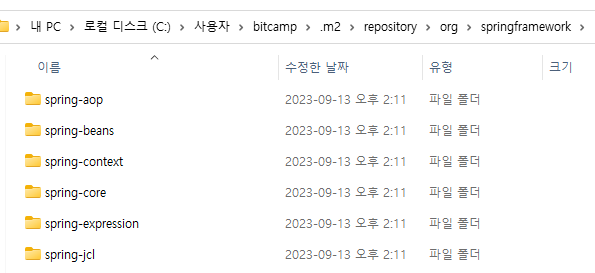
lib 폴더 만들어서 jar 넣기
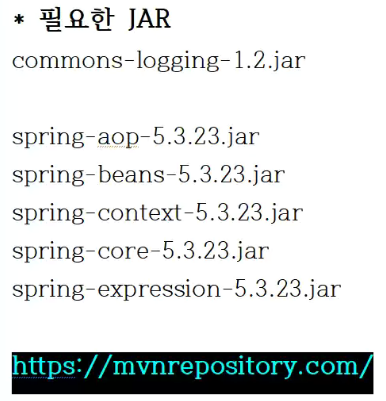
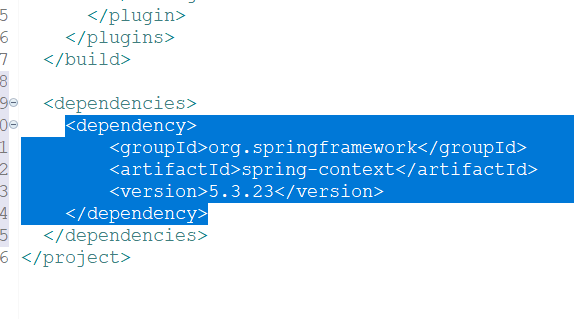
spring-aop-5.3.23.jar
spring-beans-5.3.23.jar
spring-context-5.3.23.jar
spring-core-5.3.23.jar
spring-expression-5.3.23.jar

6 부터는 JDK 17이상부터 사용가능
jar 다운
복사
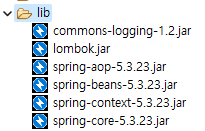
이와 같이 6개를 넣고
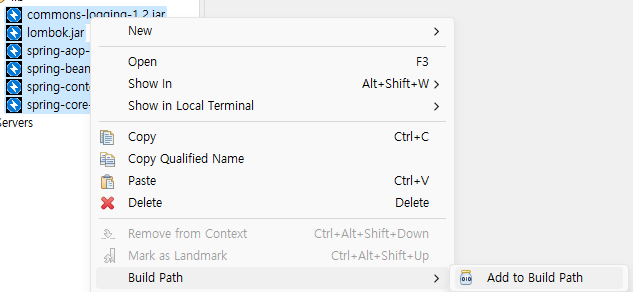
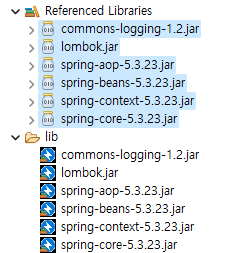
기존에 있던 폴더가 아니라 add to 로 연결해 주어야한다.
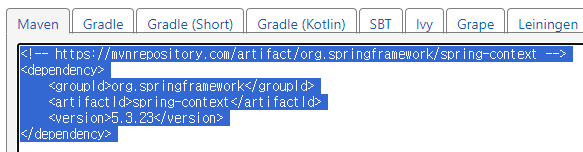
Maven 사에서 모든 jar을 제공하기 때문에
1. 인터넷이 되고
2. jar 파일을 (로컬)저장소에 내려받기
↓

그냥 다운
17로 바꾸기

아까 복사한거 붙여넣기
연관(상속)관계가 있다는 것을 알 수 있다.
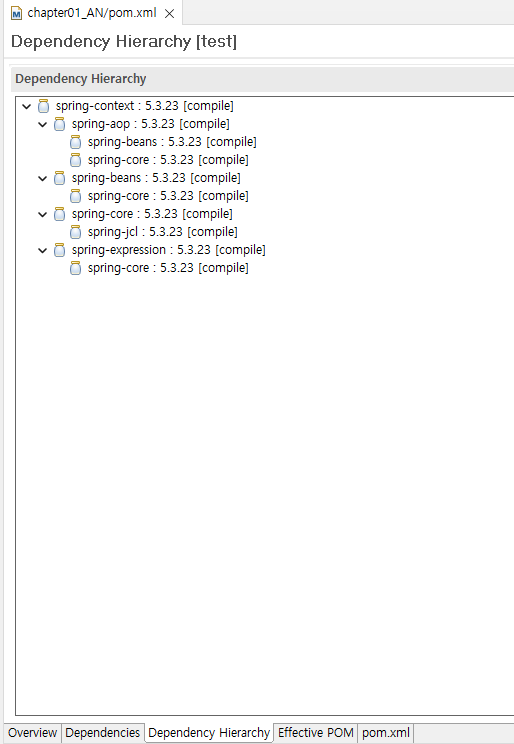
상속관계
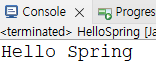
------------------------------HelloSpring.java------------------------------

package sample01;

public class HelloSpring {

	public static void main(String[] args) {

		MessageBean messageBean = new MessageBean();
		messageBean.sayHello("Spring");

	}

}

------------------------------MessageBean.java------------------------------

package sample01;

public class MessageBean {

	public void sayHello(String name) {
		System.out.println("Hello " + name);
	}

}
static이 아닌 것은 new를 해서 가져와야함
------------------------------MessageBean.interface------------------------------
package sample02;

public interface MessageBean {

	public void sayHello(String name); // 추상 메소드
}
------------------------------MessageBeanKo.java------------------------------
package sample02;

public class MessageBeanKo implements MessageBean{

	@Override
	public void sayHello(String name) {
		System.out.println("안녕하세요 " + name);
	}
}
------------------------------MessageBeanEn.java------------------------------
package sample02;

public class MessageBeanEn implements MessageBean{

	@Override
	public void sayHello(String name) {
		System.out.println("Hello " + name);
	}
}
------------------------------HelloSpring.java------------------------------
package sample02;

public class HelloSpring {

	public static void main(String[] args) {

		MessageBeanKo messageBeanKo = new MessageBeanKo(); // 1 : 1 관계, 결합도 100%

		// 결합도 낮추기, 다형성, 부모 = 자식
		MessageBean messageBean = new MessageBeanEn();
		messageBean.sayHello("Spring");

	}
}
진짜 Spring

xml 파일
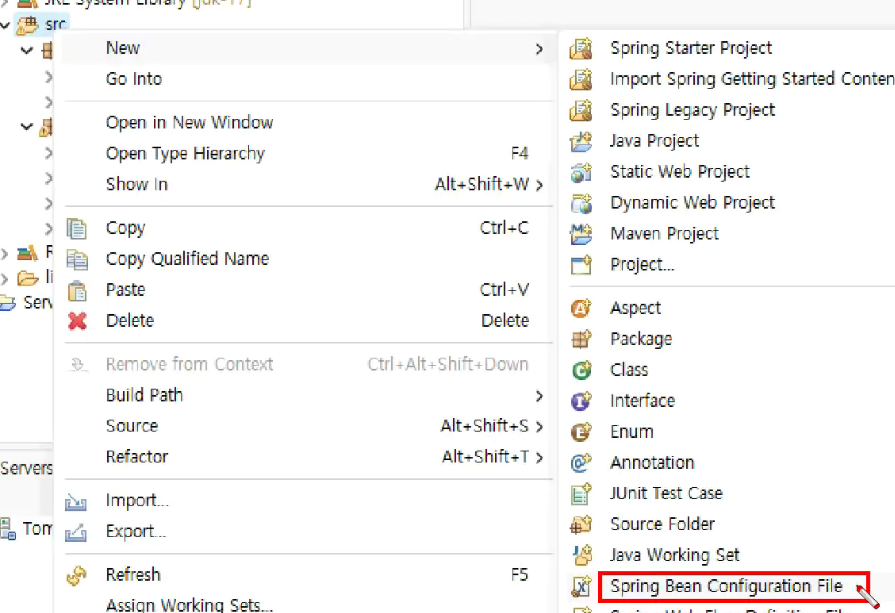
DTD 설정


위랑 같은 의미임
------------------------------HelloSpring.java------------------------------
package sample03;
import org.springframework.context.ApplicationContext;
import org.springframework.context.support.FileSystemXmlApplicationContext;
public class HelloSpring {
public static void main(String[] args) {
ApplicationContext applicationContext =
new FileSystemXmlApplicationContext("src/applicationContext.xml");
// 인터페이스라 new 불가 대신 xml에 쓰고 이렇게 씀
MessageBean messageBean = (MessageBean)applicationContext.getBean("messageBean");
messageBean.sayHello("Spring");
}
}
------------------------------MessageBean.interface------------------------------
package sample03;
public interface MessageBean {
public void sayHello(String name); // 추상 메소드
}
------------------------------MessageBeanEn.java------------------------------
package sample03;
public class MessageBeanEn implements MessageBean{
@Override
public void sayHello(String name) {
System.out.println("Hello " + name);
}
}
------------------------------MessageBeanKo.java------------------------------
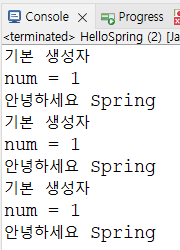
package sample03;
public class MessageBeanKo implements MessageBean{
private int num; // 필드, 초기화 => 0
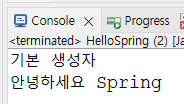
public MessageBeanKo() {
System.out.println("기본 생성자");
}
@Override
public void sayHello(String name) {
num++;
System.out.println("num = " + num);
System.out.println("안녕하세요 " + name);
}
}
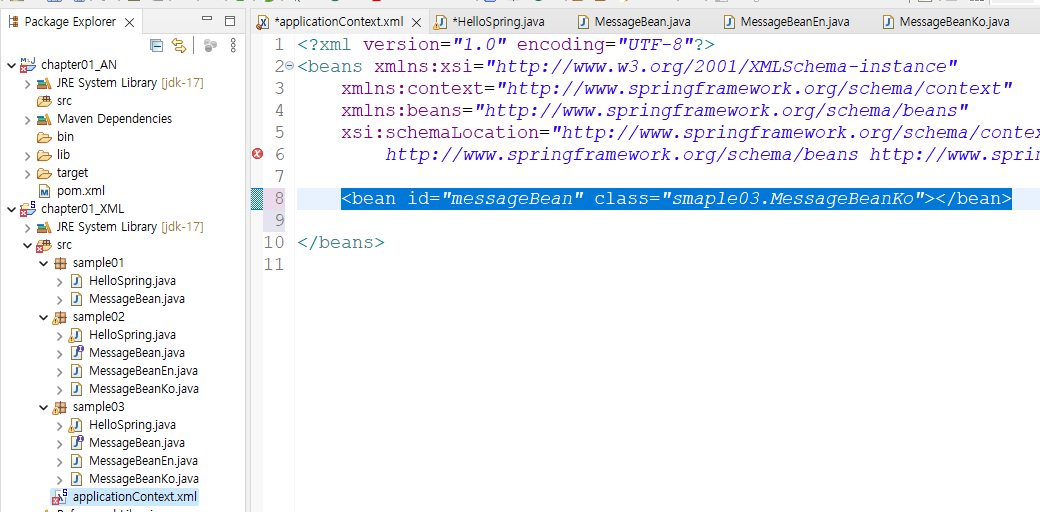
------------------------------ApplicationContext.xml------------------------------
<?xml version="1.0" encoding="UTF-8"?>
<beans xmlns="http://www.springframework.org/schema/beans"
xmlns:xsi="http://www.w3.org/2001/XMLSchema-instance"
xmlns:context="http://www.springframework.org/schema/context"
xsi:schemaLocation="http://www.springframework.org/schema/beans http://www.springframework.org/schema/beans/spring-beans.xsd
http://www.springframework.org/schema/context http://www.springframework.org/schema/context/spring-context-4.3.xsd">
<bean id="messageBean" class="sample03.MessageBeanKo"></bean>
</beans>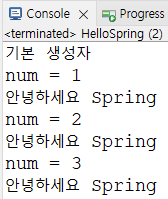
★★★스프링은 싱글톤 형태
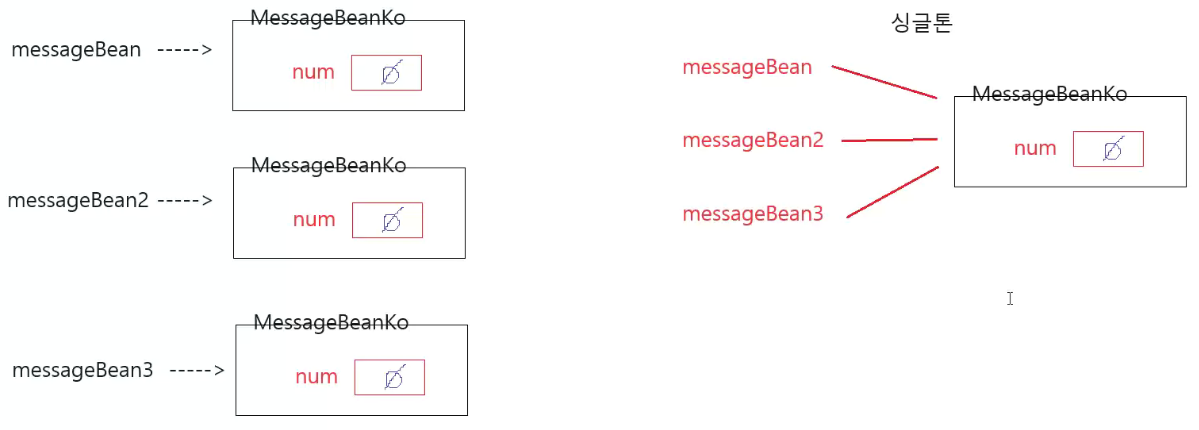
: 하나의 클래스만 만들고 같이 접근하는 형태

xml scope="prototype"을 적어주면 왼쪽같이 객체가 개인이다.
※ scope : prototype, requeest, session, singleton 의 4개의 형태가 있다.
------------------------------HelloSpring.java------------------------------

package sample04;

import org.springframework.context.ApplicationContext;
import org.springframework.context.support.ClassPathXmlApplicationContext;

public class HelloSpring {

	public static void main(String[] args) {

		ApplicationContext applicationContext = new ClassPathXmlApplicationContext("applicationContext.xml");

		Calc calc = (Calc)applicationContext.getBean("calcAdd");
		calc.calculate(25, 36);

		calc = applicationContext.getBean("calcMul", Calc.class);
		calc.calculate(25, 36);
	}

}

------------------------------Calc.interface------------------------------
package sample04;

public interface Calc {

	public void calculate(int x, int y);
}

------------------------------CalcAdd.java------------------------------

package sample04;

public class CalcAdd implements Calc {

	@Override
	public void calculate(int x, int y) {
		System.out.println(x + " + " + y + " = " + (x+y));

	}
}

------------------------------CalcMul.java------------------------------

package sample04;

public class CalcMul implements Calc {

	@Override
	public void calculate(int x, int y) {
		System.out.println(x + " * " + y + " = " + (x*y));

	}
}

------------------------------ApplicationContext.xml------------------------------
<?xml version="1.0" encoding="UTF-8"?>
<beans xmlns="http://www.springframework.org/schema/beans"
	xmlns:xsi="http://www.w3.org/2001/XMLSchema-instance"
	xmlns:context="http://www.springframework.org/schema/context"
	xsi:schemaLocation="http://www.springframework.org/schema/beans http://www.springframework.org/schema/beans/spring-beans.xsd
		http://www.springframework.org/schema/context http://www.springframework.org/schema/context/spring-context-4.3.xsd">

<!-- smaple03 -->
<bean id="messageBean" class="sample03.MessageBeanKo" scope="prototype"></bean>

<!-- sample04 -->
<bean id="calcAdd" class="sample04.CalcAdd"></bean>
<bean id="calcMul" class="sample04.CalcMul"></bean>
</beans>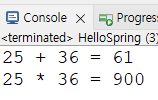
xml 쪽에 bean 생성하지 않고.


@Component만 써도 위와 같음.
같은 의미임.
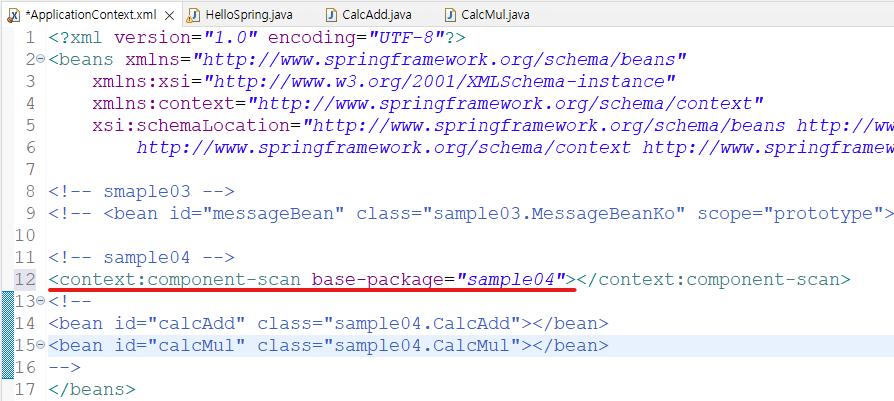
컴포넌트를 쓰고 있다고 알려줌

------------------------------ApplicationContext.xml-------------------------
-----
<bean id="sungJukImpl" class="sample05.SungJukImpl"></bean>
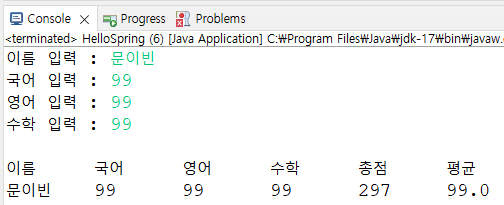
------------------------------HelloSpring.java------------------------------
package sample05;
import org.springframework.context.ApplicationContext;
import org.springframework.context.support.ClassPathXmlApplicationContext;
public class HelloSpring {
public static void main(String[] args) {
ApplicationContext applicationContext = new ClassPathXmlApplicationContext("applicationContext.xml");
SungJuk sungJuk = (SungJuk)applicationContext.getBean("sungJukImpl");
sungJuk.calc();
sungJuk.display();
}
}
------------------------------SungJukImpl.java------------------------------
package sample05;
import java.util.Scanner;
public class SungJukImpl implements SungJuk {
private String name;
private int kor;
private int eng;
private int math;
private int tot;
private double avg;
public SungJukImpl() {
Scanner scan = new Scanner(System.in);
System.out.print("이름 입력 : ");
name = scan.next();
System.out.print("국어 입력 : ");
kor = scan.nextInt();
System.out.print("영어 입력 : ");
eng = scan.nextInt();
System.out.print("수학 입력 : ");
math = scan.nextInt();
System.out.println();
}
@Override
public void calc() {
tot = kor + eng + math;
avg = tot/3;
}
@Override
public void display() {
System.out.println("이름"+"\t"+"국어"+"\t"+"영어"+"\t"+"수학"+"\t"+"총점"+"\t"+"평균");
System.out.println(name+"\t"+kor+"\t"+eng+"\t"+math+"\t"+tot+"\t"+avg);
}
}
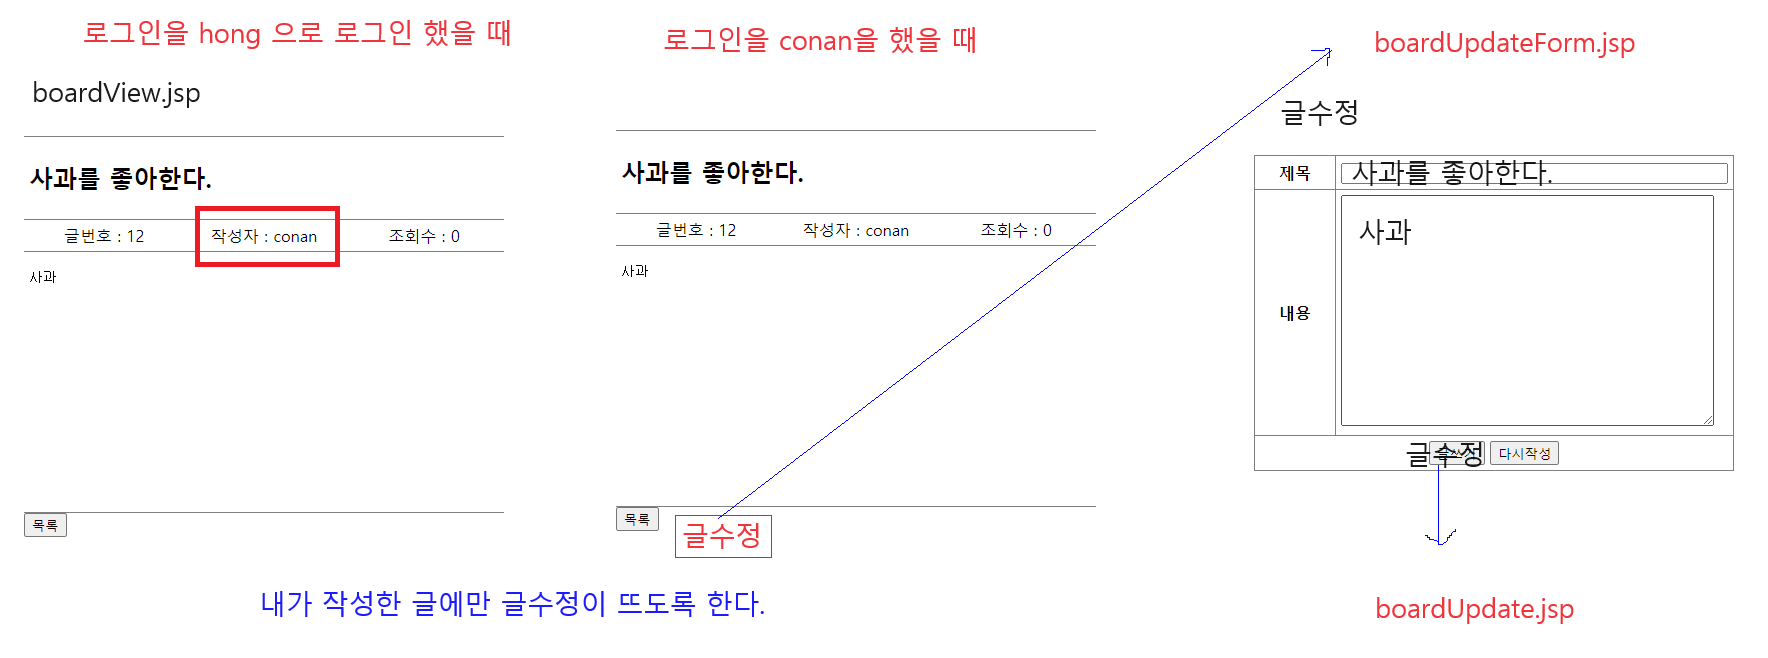
글 수정