
로딩화면
로딩화면을 어떻게 추가할까 생각해보다가. window에 이벤트리스너를 추가해야하나 라고 고민했다. 찾아보니 DOMcontentloaded 와 onload 이벤트가 있었다. 근데 복잡해서 우수졸업자분의 코드를 보았다(loading library가 여러개 검색되기는 했다 참고로.)
로딩화면은 생각보다 간단했다. 평소에는 visibility:hidden 으로 하다가 검색하거나 링크를 클릭했을 경우 visible 로 바꾸어 주면 되는거다.
그럼 handleHistory에 추가해주고, display함수안에서 anchor 에다가 click 이벤트를 추가해주면 될것이다.
우선 static 폴더에다가 loading.gif를 추가해주고 html에 loading 태그를 추가해주자. 그리고 css에다가 hidden이라고 표시해주면 된다.
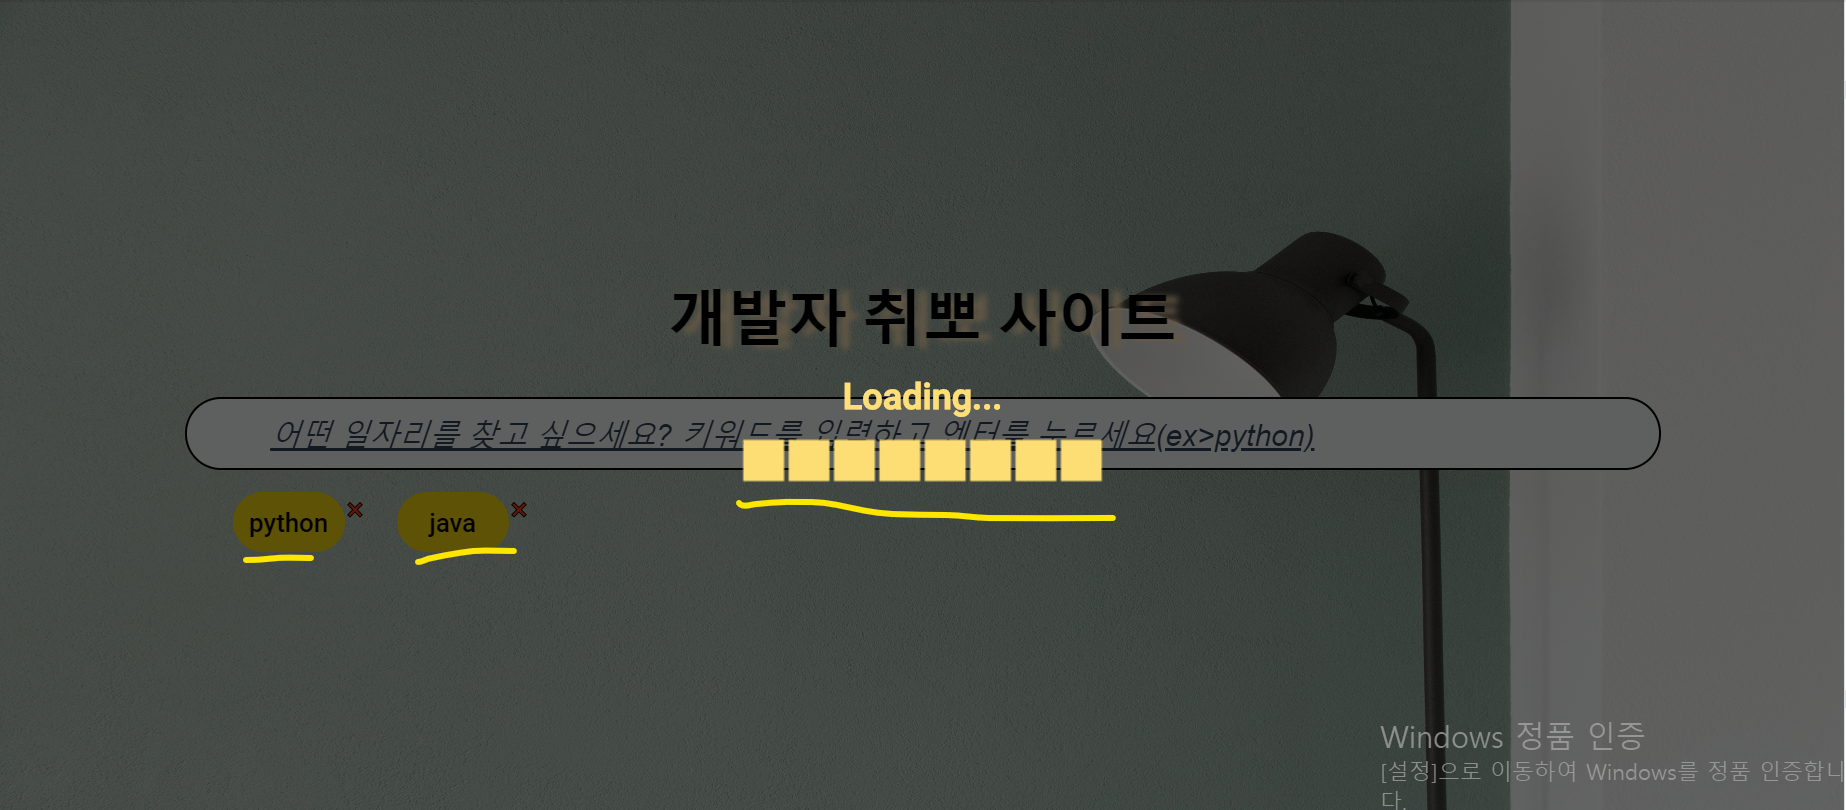
html 추가
<section class="loading">
    <span>Loading...</span>
  <img src="`{url_for('static', filename='loading.gif')}`"  alt="loading image">
</section>
css 추가
.loading{
	visibility: hidden; /* 그럼 나타나지 않게 된다 */
	width: 100%;
	height: 100%;
	background-color: rgba(0, 0, 0, 0.6);
	display: flex;
	flex-direction: column;
	justify-content: center;
	align-items: center;
	position: absolute;
    left: 0vmin;
    top: 0vmin;
	z-index: 10;
}

.loading span{
	color: #ffdf76;
	font-size: 1.5rem;
	font-weight: var(--font-weight-black);
	margin-bottom: 10px;
}

.loading img{
	width: 42vmin;
}
js 코딩하기
const loading = document.querySelector(".loading");

function displayHistory(text){
  .
  .
  .
  anchor.addEventListener("click", ()=> {
    console.log("anchor click")
    loading.style.visibility='visible';
  })
  .
  .
  .
}
function handleHistory(event) {
  event.preventDefault();
  job_form.submit();
  loading.style.visibility='visible';
  .
  .
  .
}
그럼 home.html일때는 loading이 visible 되다가 다음 페이지로 넘어가면 자연스럽게 html 전체가 아예 바뀌므로 loading이 사라지게 된다.
검색창에 입력하면 history가 나타나면서 동시에 loading 화면이 나타난다. history를 클릭해도 loading 화면이 나타난다. 그리고 결과페이지가 나타나면 꺼진다. 드디어 다 완성했다!!! 참 많이도 돌아왔지만 다른 사람 코드를 해석할 정도로 실력을 쌓고 그걸 실제 적용하고 작동되는 걸 보니깐 또다시 엄청난 희열과 뿌듯함이 느껴진다. 수고했다!!

'과연 이게 최선일까?' 끊임없이 생각하기