create-react-app으로 만든 리액트 앱 리팩토링 하고 깃허브 페이지 배포하기
create-react-app의 좋은(편리한) 점이 무엇인지, 그리고 이것에 커스텀 webpack을 적용할 때에는 뭐를 더 만져줘야 하는지 알아보기 위함이다.
깃허브 보러가기
https://github.com/y0ungg/cra-refactor-bundling
🧩 create-react-app
$ npx create-react-app 명령어로 앱을 생성하고
public/index.html
src/App.js, index.css, index.js 파일만 가져와서 사용할 예정이다!
나는 기존에 있던 create-react-app으로 만든 cilent와
node.js환경의 server가 담긴 파일을 활용했다.
그 중 client단 파일을 번들링할 예정이다.
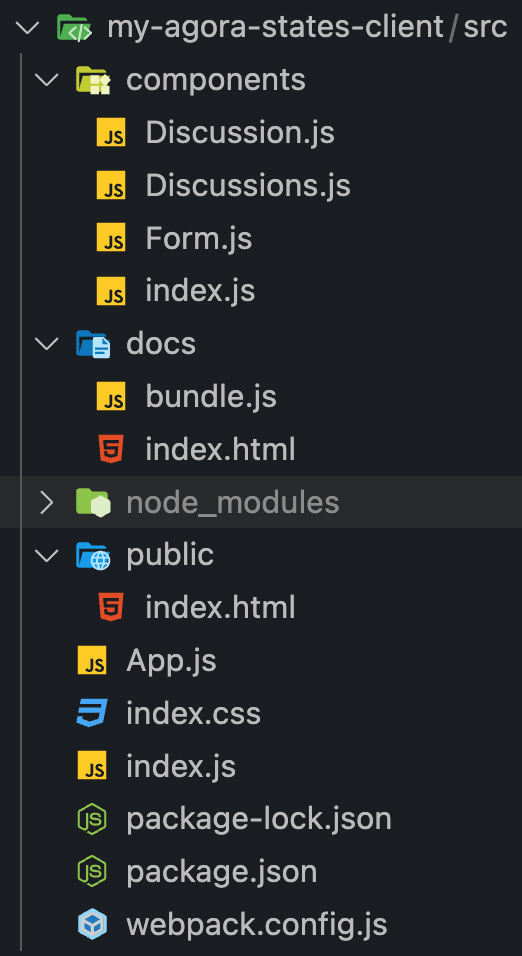
(완성 후의 캡쳐라 docs 폴더가 있는 상태다.)
내가 활용할 파일들
src/components/하위파일전부
src/public/index.html
src/App.js
src/index.css
src/index.js
그 외 "전부" 삭제하고 시작함
🧩 package.json 생성
$ npm init 으로 package.json을 조건에 맞게 생성한다.
"main": "index.js",
"scripts" {..., "build": "webpack"}으로 설정해서 npm run build 명령어로 webpack 실행 설정
$ npm install react react-dom로 react와 react-dom 설치
$ npm install -D --save로 devDependencies에 아래 모듈을 설치
$ npm install -D babel-loader @babel/core @babel/preset-env @babel/preset-react 이런식으로 한 줄에 작성해서 설치할 수도 있다.
    "@babel/core": "^7.18.9",
    "@babel/plugin-proposal-class-properties": "^7.18.6",
    "@babel/preset-env": "^7.18.9",
    "@babel/preset-react": "^7.18.6",
    "babel-loader": "^8.2.5",
    "css-loader": "^6.7.1",
    "html-webpack-plugin": "^5.5.0",
    "style-loader": "^3.3.1",
    "webpack": "^5.74.0",
    "webpack-cli": "^4.10.0",
    "webpack-dev-middleware": "^5.3.3",
    "webpack-dev-server": "^4.9.3"
🧩 Webpack.config.js 생성
const path = require("path");
const HtmlWebpackPlugin = require("html-webpack-plugin");

module.exports = {
  mode: "development",
  entry: {
    app: "./index.js",
  },
  resolve: {
    extensions: ['.js', '.jsx']
  },
  plugins: [
    new HtmlWebpackPlugin({
      title: "development",
      template: './public/index.html' //이거 작성 꼭 할 것. 안하면 에러남
    }),
  ],
  module: { //모듈 연결 설정
    rules: [
      {
        test: /\.js$/, // 대상 설정 정규식
        loader: "babel-loader",
        options: {
          presets: ["@babel/preset-env", "@babel/preset-react"],
        },
      },
      {
        test: /\.css$/i,
        use: ["style-loader", "css-loader"],
        exclude: /node_modules/,
      },
    ],
  },
  output: {
    filename: "bundle.js",
    path: path.resolve(__dirname, "docs"), //깃허브 배포 위해 docs 설정
    clean: true,
  },
};
여기까지 하면 간단한 설정은 끝난다.
파일 뜯어보기
🧩 index.js
지금 상태에서 index.html 파일을 브라우저에서 확인하면 콘솔 에러가 난다.
ReactDOM.render() 문법 대신 createRoot() 문법을 사용하라고 그래서 공식문서를 보면서 수정했으나,
또 다른 에러가 발생했다.
아래와 같이 ReactDOM이 element를 render할 수 없다는 내용으로 기억한다.
> Target container is not a DOM element avatar
검색 끝에 StrictMode와 createRoot를 각각 import해오고 아래와 같이 적용하면 된다는 것을 알 수 있었다.
여기서 정말 많은 시간을 보냈다...
import React from 'react';
import {StrictMode} from 'react';
import {createRoot} from 'react-dom/client';
import './index.css';
import App from './App';

import App from './App';

const rootElement = document.getElementById('yourID');
const root = createRoot(rootElement);

root.render(
  <StrictMode>
    <App />
  </StrictMode>,
);
참고로,
index.html body 내부의 div 태그 id값과,
App.js return문의 최상위 div태그 id값과,
index.js에서 target으로 정하는 id값을 일치시켜야 한다.
여기까지 하고 npm run build를 해보자.
output path의 index.html을 브라우저에서 확인하면 콘솔 에러가 잔뜩 있다.
> Uncaught ReferenceError: React is not defined
at App (App.js:82:3)
> react-dom.development.js:2962 The above error occurred in the component:
at App(webpack://development/./App.js?:27:66)
🧩 App.js
파일 최상단에 import React from 'react';를 작성하여 위 에러를 해결한다.
그럼 이제 다른 stack trace의 같은 에러가 출력되는 것이 보인다.
🧩 Components 폴더의 하위 컴포넌트 파일들
> Uncaught ReferenceError: React is not defined
at 하위컴포넌트 (하위컴포넌트.js:22:3
각각의 컴포넌트 파일에 마찬가지로 import React from 'react';를 작성하여 위 에러를 해결한다.
서버 연결 확인하기
모든 설정을 마치고,
npm run build로 번들 파일을 생성한다.
그리고 server 폴더에서 $ node server.js (서버열기)하면 번들링된 파일에서 fetch와 같이 서버와의 통신도 잘 실행하는 것을 볼 수 있다.
깃허브 페이지 배포하기
server 폴더와,
client 내부의 docs 폴더를 레파지토리에 push한다.
settings -> pages에서 배포 옵션을 /docs로 설정 후 배포하면 끝!